 Adobe Community

Copy link to clipboard
Copied
I'm working on re-creating the arc'ed lines since on this dial. I must recreate it as near to exact as possible. I have tried using the Arc and Arch tools, but even at 100%, the arch isn't high enough. I've tried drawing it using the pen tool and that did not work for me. I tried using the Ellipse tool and then adding and adjusting anchor points. Which would be the best method to use to re-create the lines? For those of you that are interested this dial is from a 1937 Buick.


 1 Correct answer

jber,
You may:
1) Create three concentric circles corresponding to the outer stroked paths of the three arc pairs, then cut them at the left and right Anchor Points and delete the lower half;
2) Create a rectangle with the same width and a height equalling the vertical distance from the end of the largest half circle and down to the bottommost stroke, then cut it at the top corners coinciding with the lower corners from 1), then Effect>Round Corners to get the right rounding at the remaining bottom
...Explore related tutorials & articles
 8
Replies
8
8
Replies
8
Copy link to clipboard
Copied
jber,
You may:
1) Create three concentric circles corresponding to the outer stroked paths of the three arc pairs, then cut them at the left and right Anchor Points and delete the lower half;
2) Create a rectangle with the same width and a height equalling the vertical distance from the end of the largest half circle and down to the bottommost stroke, then cut it at the top corners coinciding with the lower corners from 1), then Effect>Round Corners to get the right rounding at the remaining bottom corners, then Object>Expand Appearance to make real corners;
3) Select the outermost half circle from 1) and the half rounded rectangle from 2) and Ctrl/Cmd+J to join them;
4) Object>Path>Offset Path by a negative amount equalling the distance between the outer ind inner circle in the outermost pair;
5) Select both paths from 4) and Object>Compound Path>Make, then lock it;
This should give you the shape of the outermost arc with an outer and inner stroked path;
To create the middle and innermost arcs, for each:
6) Create a rectangle with the same width and a height equalling the vertical distance from the end of the half circle and down to the bottommost stroke, then cut it at the top corners coinciding with the lower corners from 1);
7) Select the half circle from 1) and the half rectangle from 6) and Ctrl/Cmd+J to join them;
8) Object>Path>Offset Path by a negative amount equalling the distance between the outer ind inner circle in the pair;
5) Select both paths from 8) and Object>Compound Path>Make, then lock it;
This should give you all the arcs with their bottommost parts on top of one another;
8) Unlock and select all arcs and Pathfinder>Unite.
This should give you the whole shape as one Compound Path.
Depending on version, it may be another Pathfinder command in 8), such as Add to shape area in older versions, and in older versions you may need to hold Alt/Option to get a single Compound Path rather than a Compound Shape.
Here is a simplified imagery with two arcs, made in haste about an hour after midnight; high time to attend to other duties, before the sun is up.

Copy link to clipboard
Copied
Thank you so much Jacob! I'm going to try this now. May the Sandman bring you wonderful dreams.
Copy link to clipboard
Copied
You are welcome, jber.
Who was talking about sleeping?
This dial was quite different from the others.
Copy link to clipboard
Copied
lol your right, you never mentioned sleep as one of the other duties you needed to do before the sun came up, I just thought it might be one of them.
Yes, this dial is very different and quite the challenge actually, mainly because of the lettering which is both etched and with a shadow. Everything must be on separate layers, which includes the shadows. When I have the artwork re-created, the transparencies are printed and each layer is laid on the bare metal dial in proper order because these are actually not made into "stickers".
Thank you so much for your help.
Copy link to clipboard
Copied
And thank you for sharing, Jber.
Just of of curiosity, the missing lower part of the descender in the g in Battery Chg, was it worn off or never there, and especially in the former case will it be missing in the recreated version too?
Copy link to clipboard
Copied
Good question Jacob. The descender is not actually missing, it's the way that it was originally drawn and yes, it will also be re-created by my very talented brother (difficult fonts are his department lol), just so that you can see the complexity of that particular descender better...
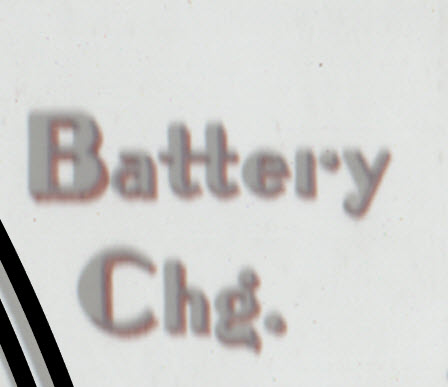
it's fussy, but you can see the descender better now.
Copy link to clipboard
Copied
Very nice, Jber, and thank you again.
Copy link to clipboard
Copied
Yay, it worked!!

 AdChoices