jber,
You may:
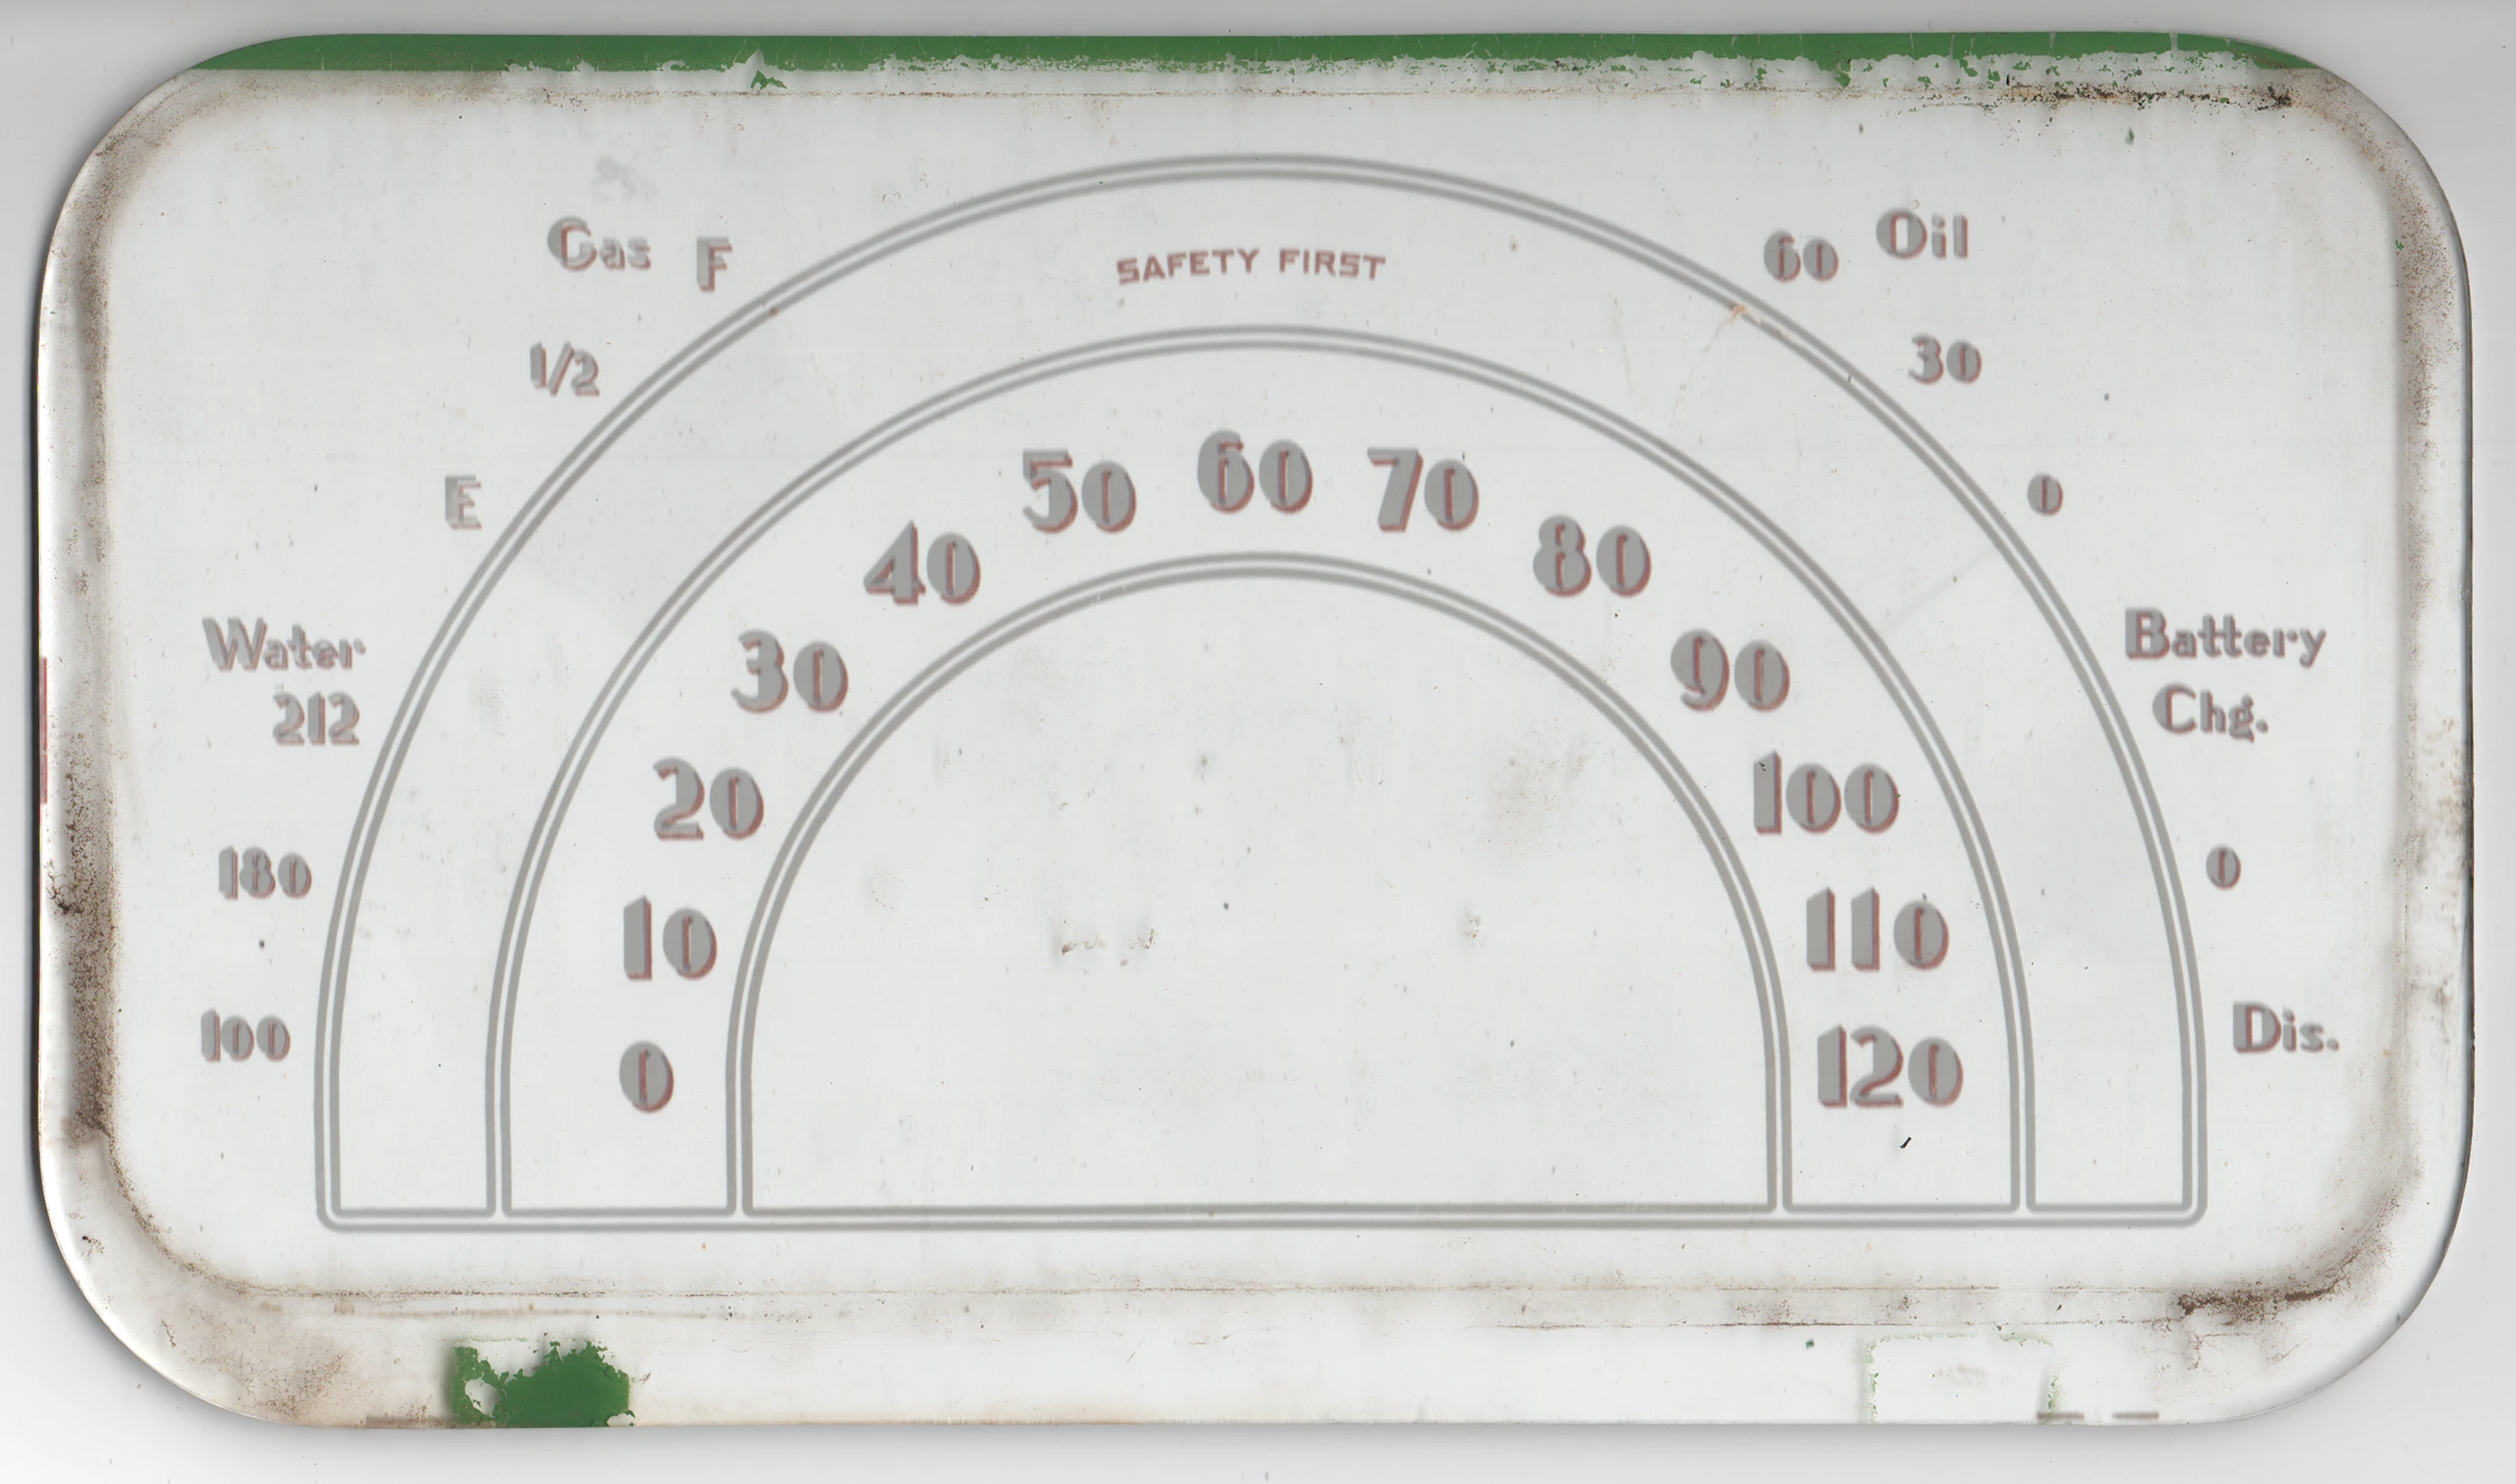
1) Create three concentric circles corresponding to the outer stroked paths of the three arc pairs, then cut them at the left and right Anchor Points and delete the lower half;
2) Create a rectangle with the same width and a height equalling the vertical distance from the end of the largest half circle and down to the bottommost stroke, then cut it at the top corners coinciding with the lower corners from 1), then Effect>Round Corners to get the right rounding at the remaining bottom corners, then Object>Expand Appearance to make real corners;
3) Select the outermost half circle from 1) and the half rounded rectangle from 2) and Ctrl/Cmd+J to join them;
4) Object>Path>Offset Path by a negative amount equalling the distance between the outer ind inner circle in the outermost pair;
5) Select both paths from 4) and Object>Compound Path>Make, then lock it;
This should give you the shape of the outermost arc with an outer and inner stroked path;
To create the middle and innermost arcs, for each:
6) Create a rectangle with the same width and a height equalling the vertical distance from the end of the half circle and down to the bottommost stroke, then cut it at the top corners coinciding with the lower corners from 1);
7) Select the half circle from 1) and the half rectangle from 6) and Ctrl/Cmd+J to join them;
8) Object>Path>Offset Path by a negative amount equalling the distance between the outer ind inner circle in the pair;
5) Select both paths from 8) and Object>Compound Path>Make, then lock it;
This should give you all the arcs with their bottommost parts on top of one another;
8) Unlock and select all arcs and Pathfinder>Unite.
This should give you the whole shape as one Compound Path.
Depending on version, it may be another Pathfinder command in 8), such as Add to shape area in older versions, and in older versions you may need to hold Alt/Option to get a single Compound Path rather than a Compound Shape.
Here is a simplified imagery with two arcs, made in haste about an hour after midnight; high time to attend to other duties, before the sun is up.