

- Home
- Illustrator
- Discussions
- Re: How to wrap different objects along a circular...
- Re: How to wrap different objects along a circular...

Copy link to clipboard
Copied
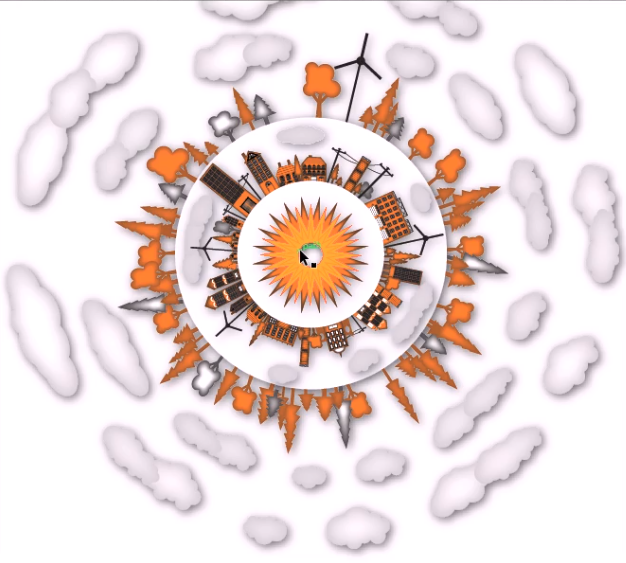
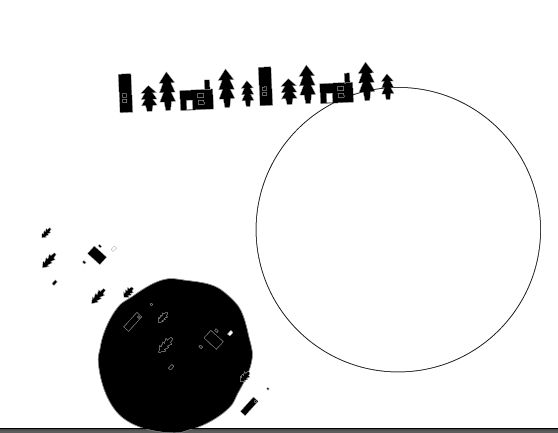
I've searched for this method but can't seem to figure out how to wrap different objects along a circular path. Many tutorials simply show patterns or the same object being rotated but I wanted to produce a city landscape such as the one shown below. Any tips or tricks to get started is greatly appreciated. Thanks!


 1 Correct answer

pattern brush might work better. your mileage may vary
Explore related tutorials & articles
 12
Replies
12
12
Replies
12
Copy link to clipboard
Copied
you could draw your cityscape on a straight plane and then make it into an art brush. (and then apply that to a circle. just make sure the ends match up).
Copy link to clipboard
Copied
pattern brush might work better. your mileage may vary
Copy link to clipboard
Copied
doug,
Thanks for the advice. Yeah, pattern brush works better and I still need to tweak it so that it wraps around perfectly. Here's what I came up with.

Copy link to clipboard
Copied
jaygoo,
When you wish to have undistorted objects distributed and you know the number, you may use the 1 step fake blend foe each set of objects, with some preparation to make things fit together:
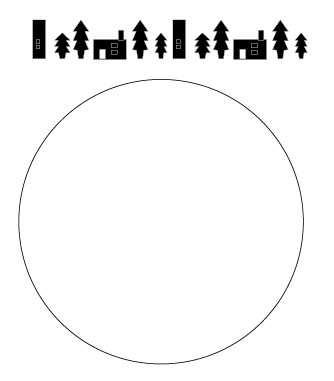
1) First place the objects on a straight horizontal line as they would be on a straight path, with a copy of the first object as the last object;
2) With the centre Reference Point selected in the Transform palette use the X values of the first and last objects to establish the total width for the next steps;
3) Create the circle, copy it in front of itself and cut the copy where you want the centre of the first/last object and establish the total circumference (length) (you should be able to see it in the Document Info palette);
4) Adapt the size of the objects 1) or the circle 3) so that the width and the circumference become identical;
5) Object>Blend>Options>Specified steps, set the value to 1 and set Orientation to Align to Path;
6) Select all the objects and Object>Blend>Make, create a copy just in case (now you have some distorted shapes between the objects, but not for long);
7) Select the Blend from 6) and the circle from 3) and Object>Blend>Replace Spine;
8) Object>Blend>Expand and Ungroup, and delete the distorted shapes, and the copy of the first object (which is on top of it) if you wish;
9) Enjoy.
Copy link to clipboard
Copied
Jacob,
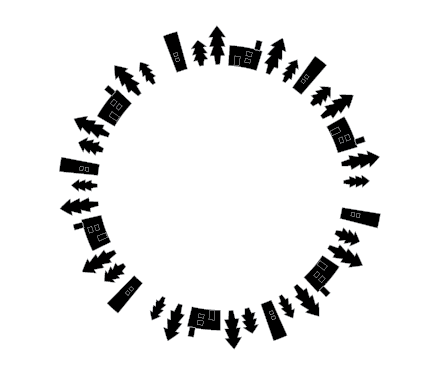
I tried to follow your method but I cant get it to work from Step 5-8. Not sure what I'm doing wrong but here is what happened...
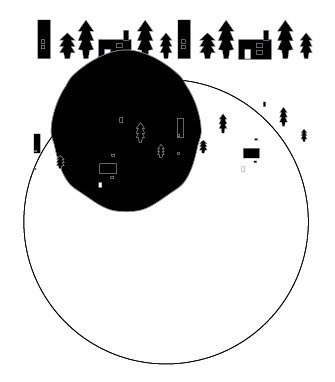
obviously im doing something wrong. thanks anyways for your help. greaty appreciate it.
Copy link to clipboard
Copied
jaygo,
Did you set Orientation to Align to Path in 5), and what does the Blend look like in 6)?
Copy link to clipboard
Copied
Yeah I did set the orientation to align. The Blend looks like the last image I posted.

Copy link to clipboard
Copied
If you want to do this with a blend you would have to do it with each single object, not with the row.
Copy link to clipboard
Copied
jaygoo,
It seems that some of the complex shapes are just individual paths. What happens if you group them or turn them into (compound) paths, so that each shape is a Compound Path or a Group?
Copy link to clipboard
Copied
Sorry for the late response Jacob. Yea I tried to group them and it still distorts for some reason. I'll try to play around with it again later.

Copy link to clipboard
Copied
Did anyone ever manage to perfect this paricular issue? My own, albiet brief, experiments using a pattern brush left objects filled with hundreds more points than in the original objects. This looks like a very poor solution to this issue.
Copy link to clipboard
Copied
Did anyone ever manage to perfect this paricular issue? My own, albiet brief, experiments using a pattern brush left objects filled with hundreds more points than in the original objects. This looks like a very poor solution to this issue.
By @Gerard28908883dtps
This thread is ten years old.
Please create a new thread and show your objects

Get ready! An upgraded Adobe Community experience is coming in January.
Learn more
 AdChoices