Copy link to clipboard
Copied
Following this tutorial, I run into trouble at 4. Step 1. He's got cute little circles filled with the gradient...I have squares filled with gradient. Why? (And they stay squares, even as I follow the rest of the tutorial
The problem seems to be that in the current version of Illustrator the no-stroke, no-fill rectangles that are formed when the brush is created are not deleted by the Expand Appearance process as they were at the time the tutorial was created.
1) Follow the instructions in the tutorial for making the Art Brush, drawing a path, Expand Appearance, and Ungroup. Do not apply gradient.
2) Make sure that Smart Guides are turned on (View menu > Smart Guides or cmd/ctrl + U).
3) Choose the Direct Selection
...Copy link to clipboard
Copied
The problem seems to be that in the current version of Illustrator the no-stroke, no-fill rectangles that are formed when the brush is created are not deleted by the Expand Appearance process as they were at the time the tutorial was created.
1) Follow the instructions in the tutorial for making the Art Brush, drawing a path, Expand Appearance, and Ungroup. Do not apply gradient.
2) Make sure that Smart Guides are turned on (View menu > Smart Guides or cmd/ctrl + U).
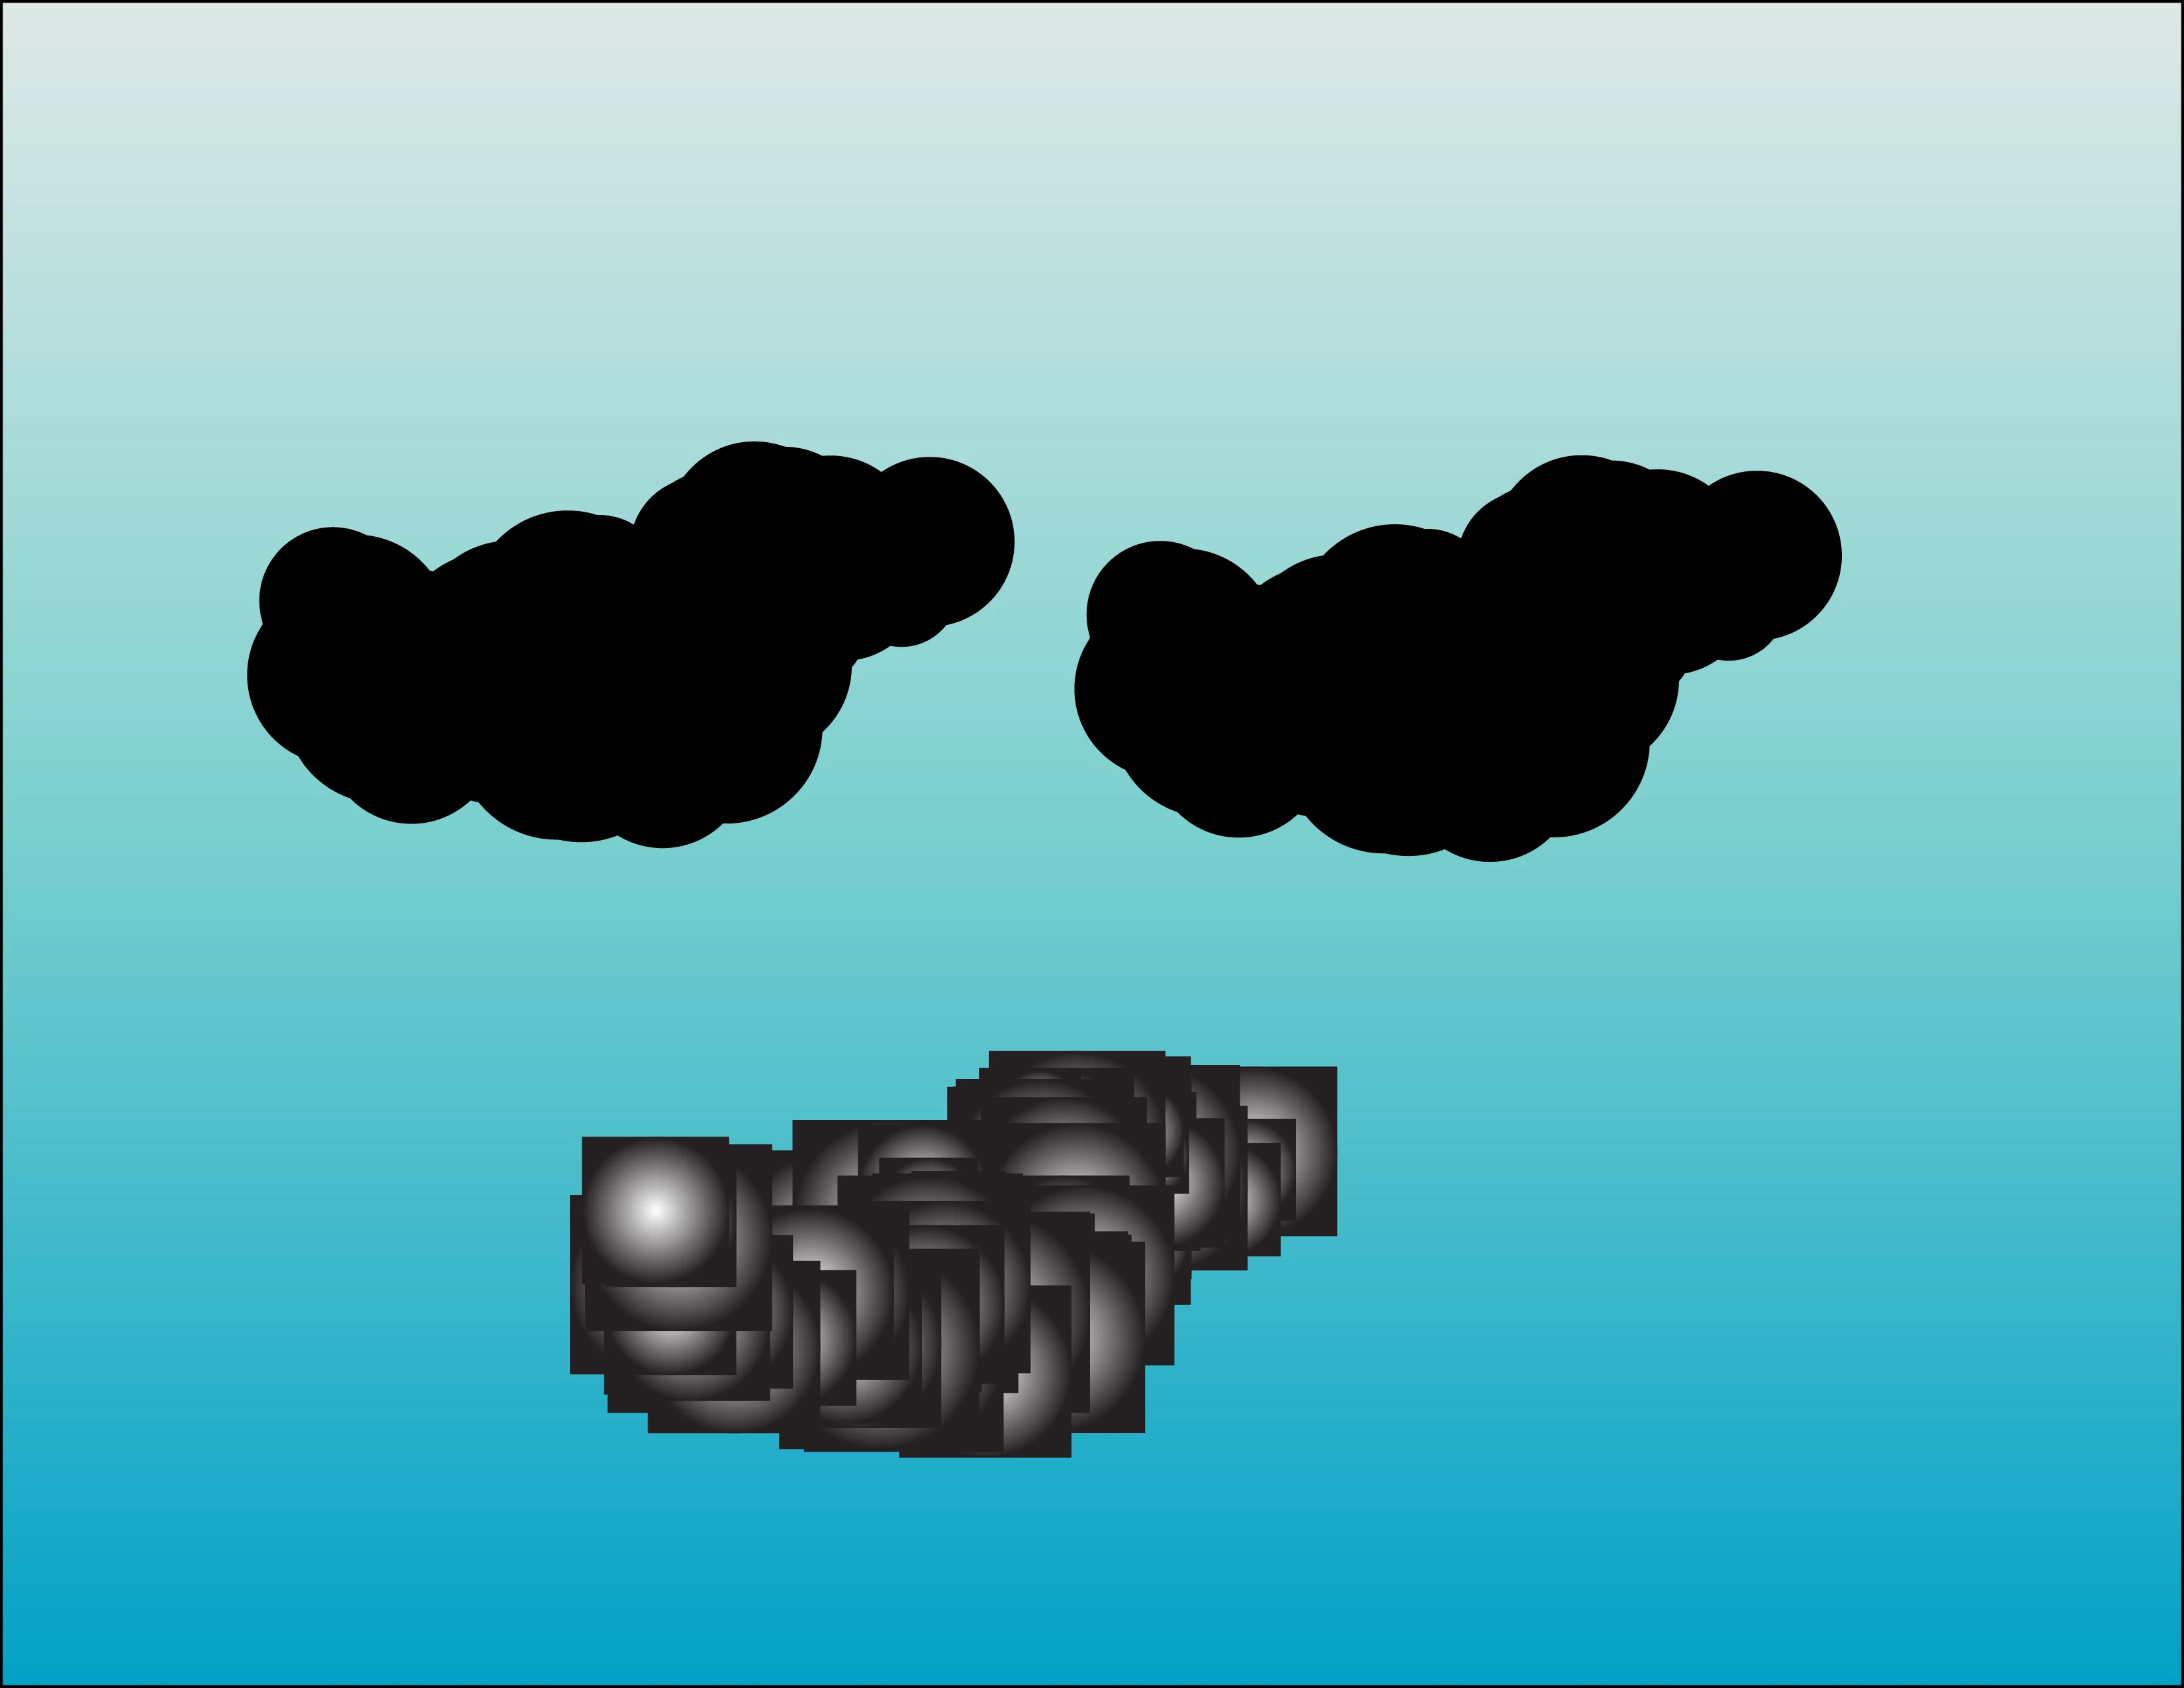
3) Choose the Direct Selection Tool (white pointer) and drag it close to the cloud shape. When a square outline appears under the cursor, click on it.
4) Go to the Select menu > Same > Fill & Stroke, then delete the selected squares. If the circles disappear, undo and be sure to select only a square, not a circle!
5) Select the circles forming the cloud shape and proceed with the tutorial.
Peter
Copy link to clipboard
Copied
Thank you Peter, it worked perfectly!!!
Copy link to clipboard
Copied
Excellent! You're welcome.
Copy link to clipboard
Copied
Here is another solution requiring fewer steps. Although Illustrator "Brushes" do not accept "Gradients" they DO accept "Blends", with Transparency no less. One caution: A Blend will be "expanded" in the Brush so dragging the Brush out for editing will not work well. BUT, if you save the blend object as a Symbol you can drag the Symbol to the Brush then make any changes to the Symbol and Option+Drag onto the Brush icon to update it at any time.
Here's the actual Cloud.ai brush file. I edited it to be pressure sensitive with the Brush Tool. Play around with the settings, change the Symbol and…
Copy link to clipboard
Copied
Thanks, love learning new ways to do things!