

- Home
- Illustrator
- Discussions
- Re: Problem with clipping mask and cut paste
- Re: Problem with clipping mask and cut paste

Copy link to clipboard
Copied
Let me reface this with everything I know about any Adobe program is from YouTube.
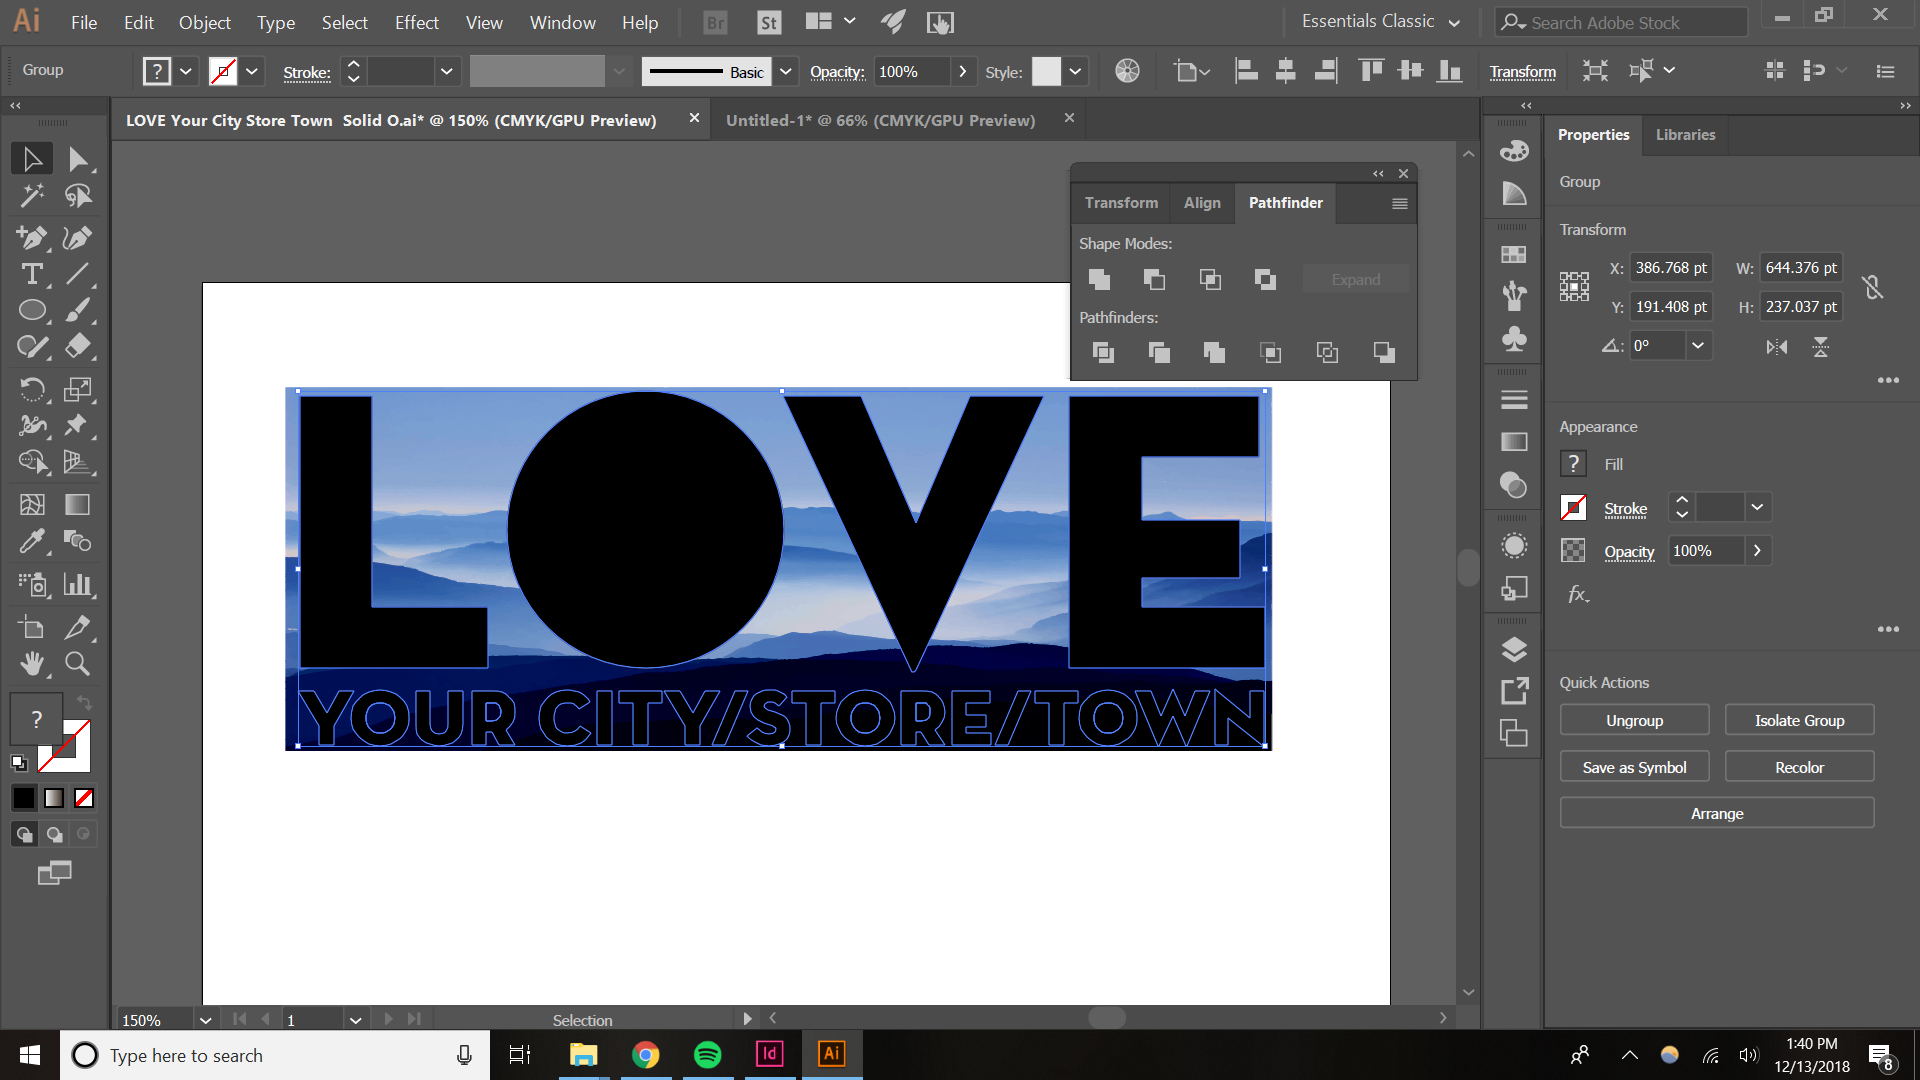
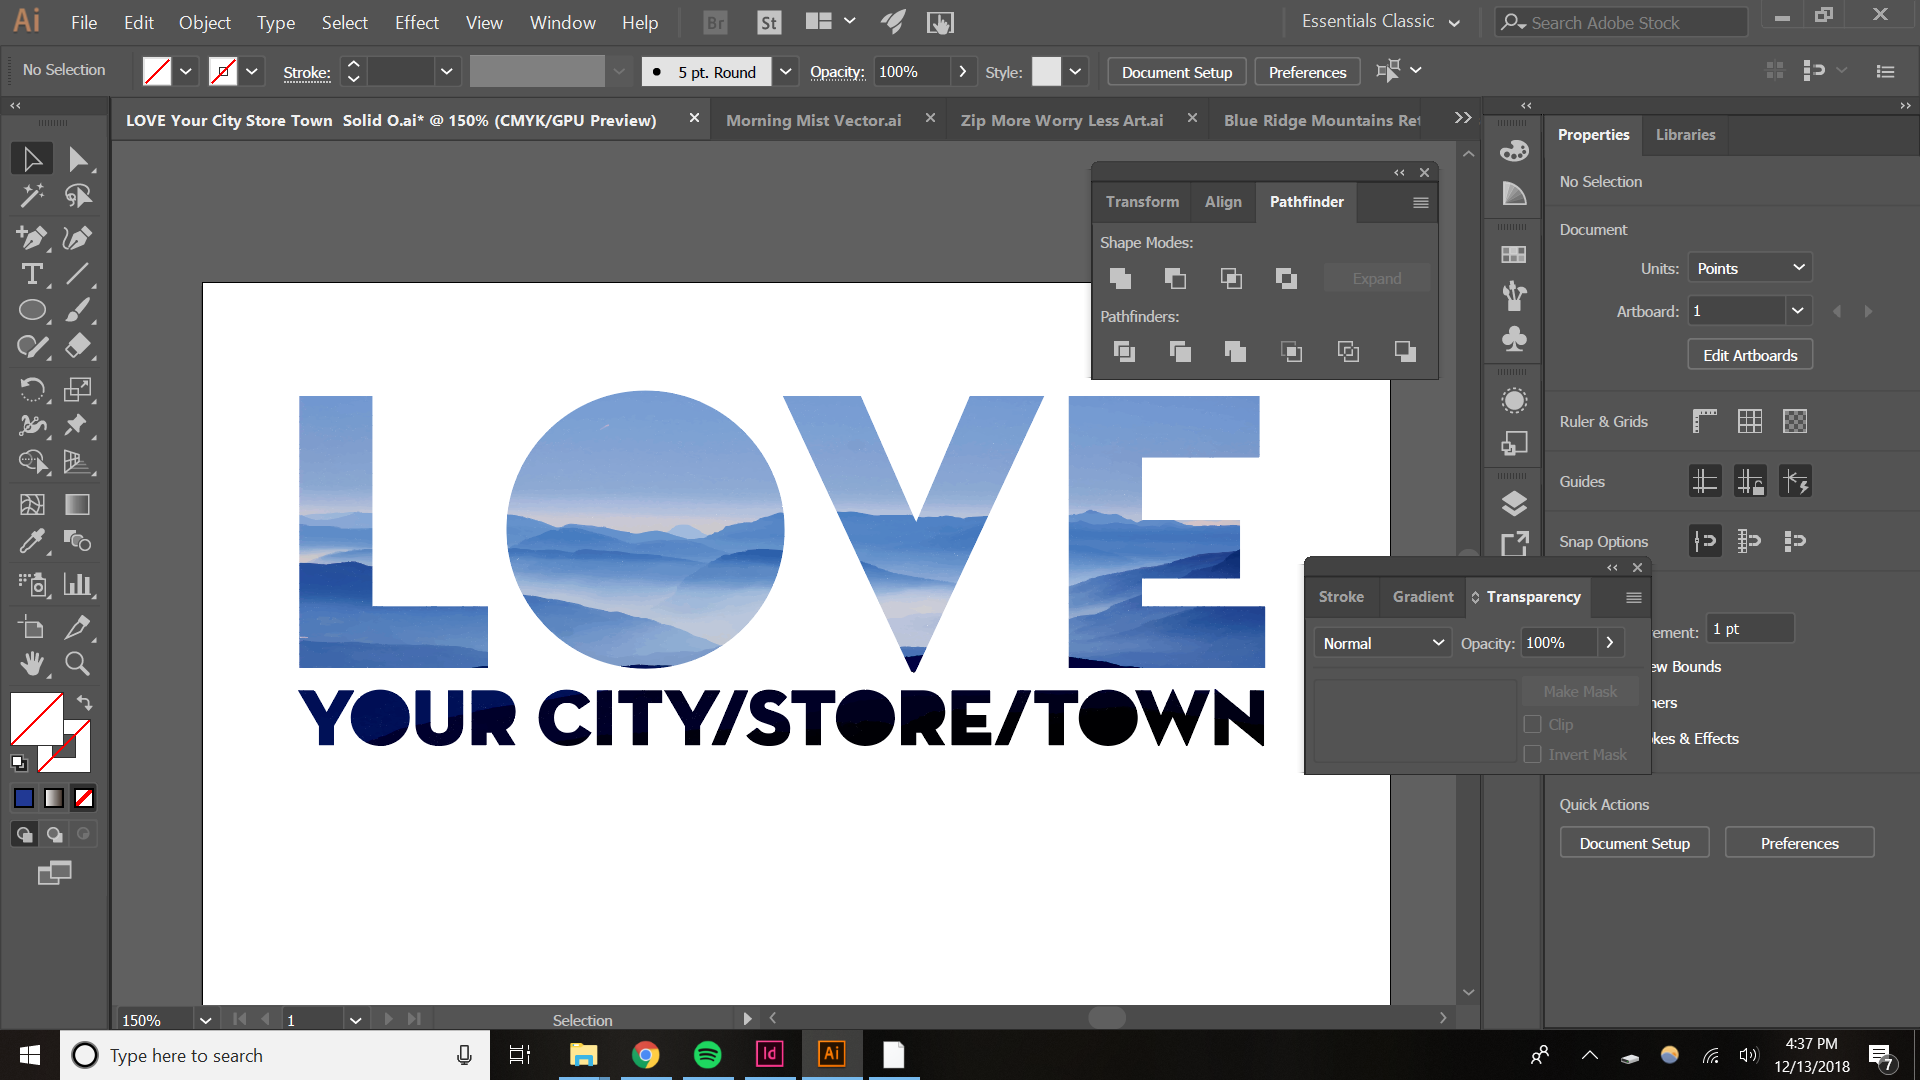
So, I want to clip the mountain image to take the shape of the "LOVE Your City/Store/Town" design. I can do it in Photoshop with a paste special, but I'd like to learn how to do it Illustrator as well.
LOVE Your City is grouped:
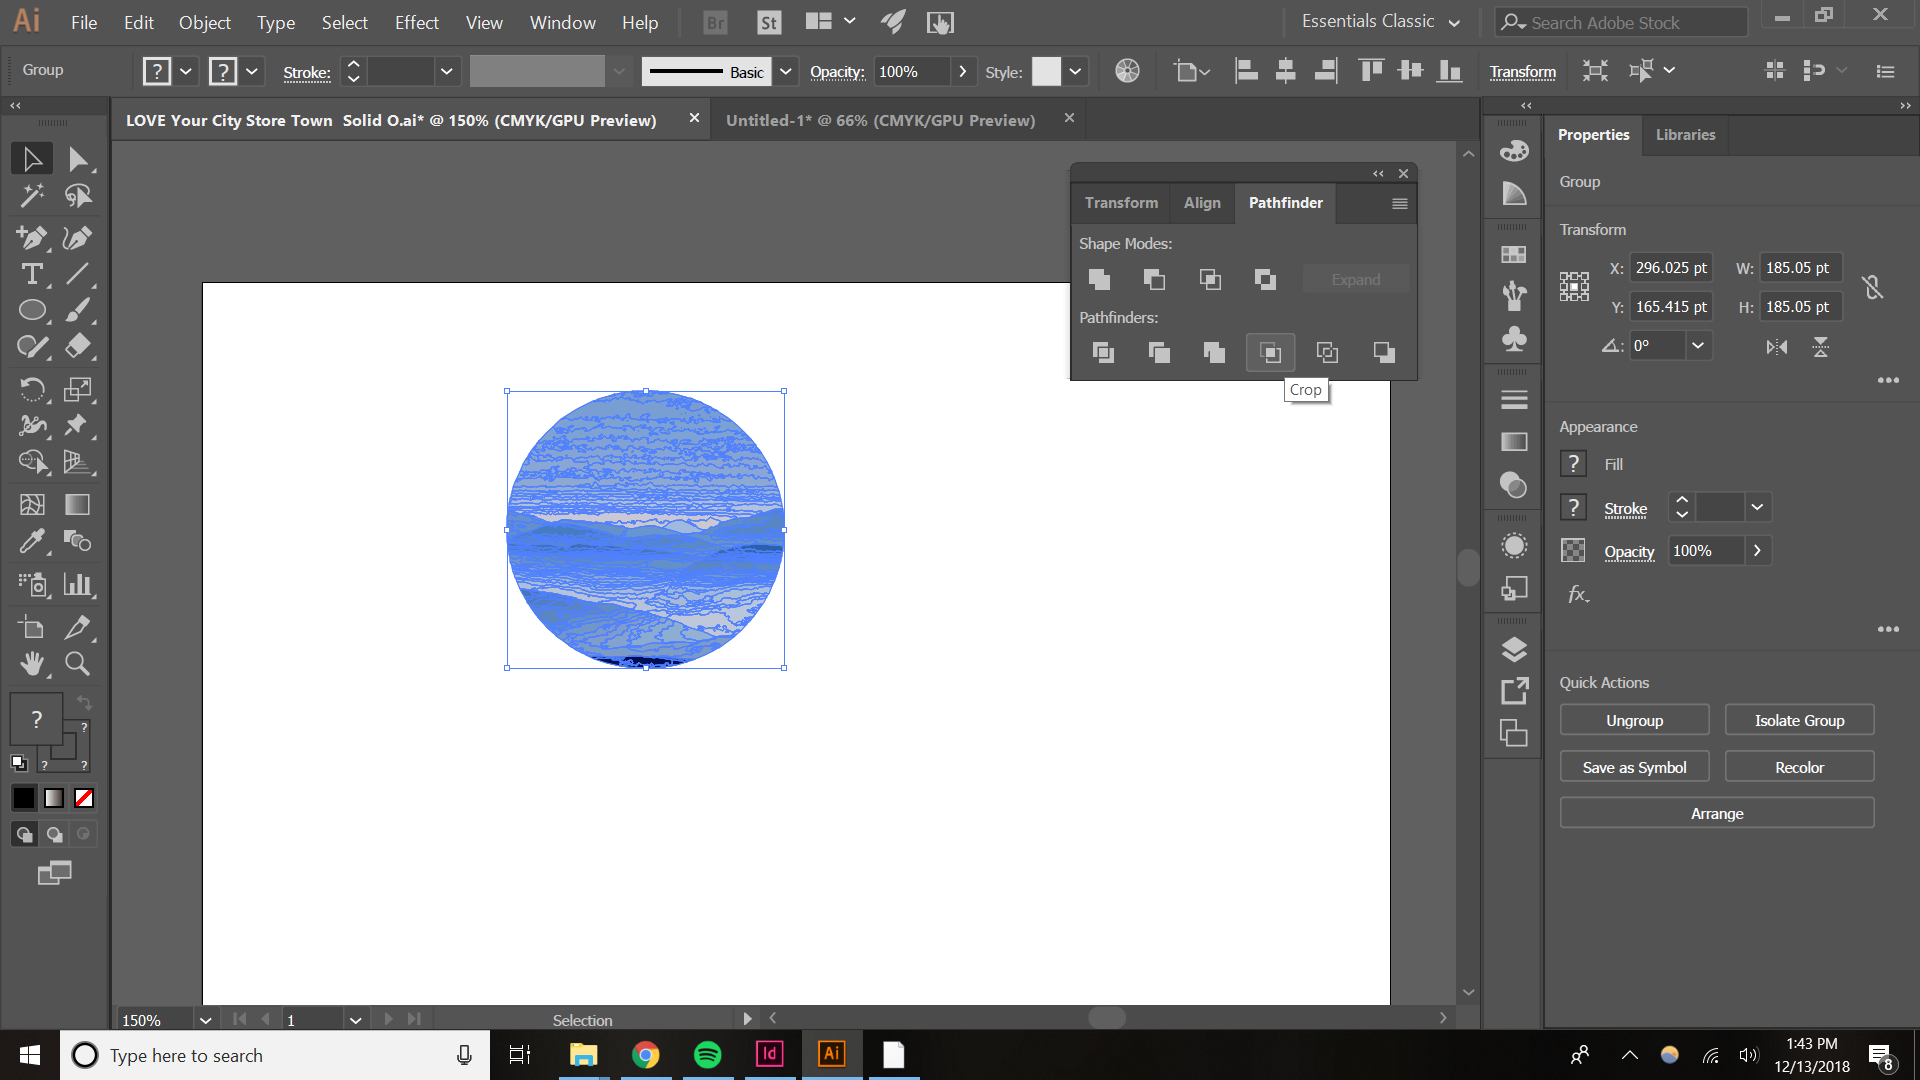
When I ctrl+a > crop in the pathfinder tool, this happens:
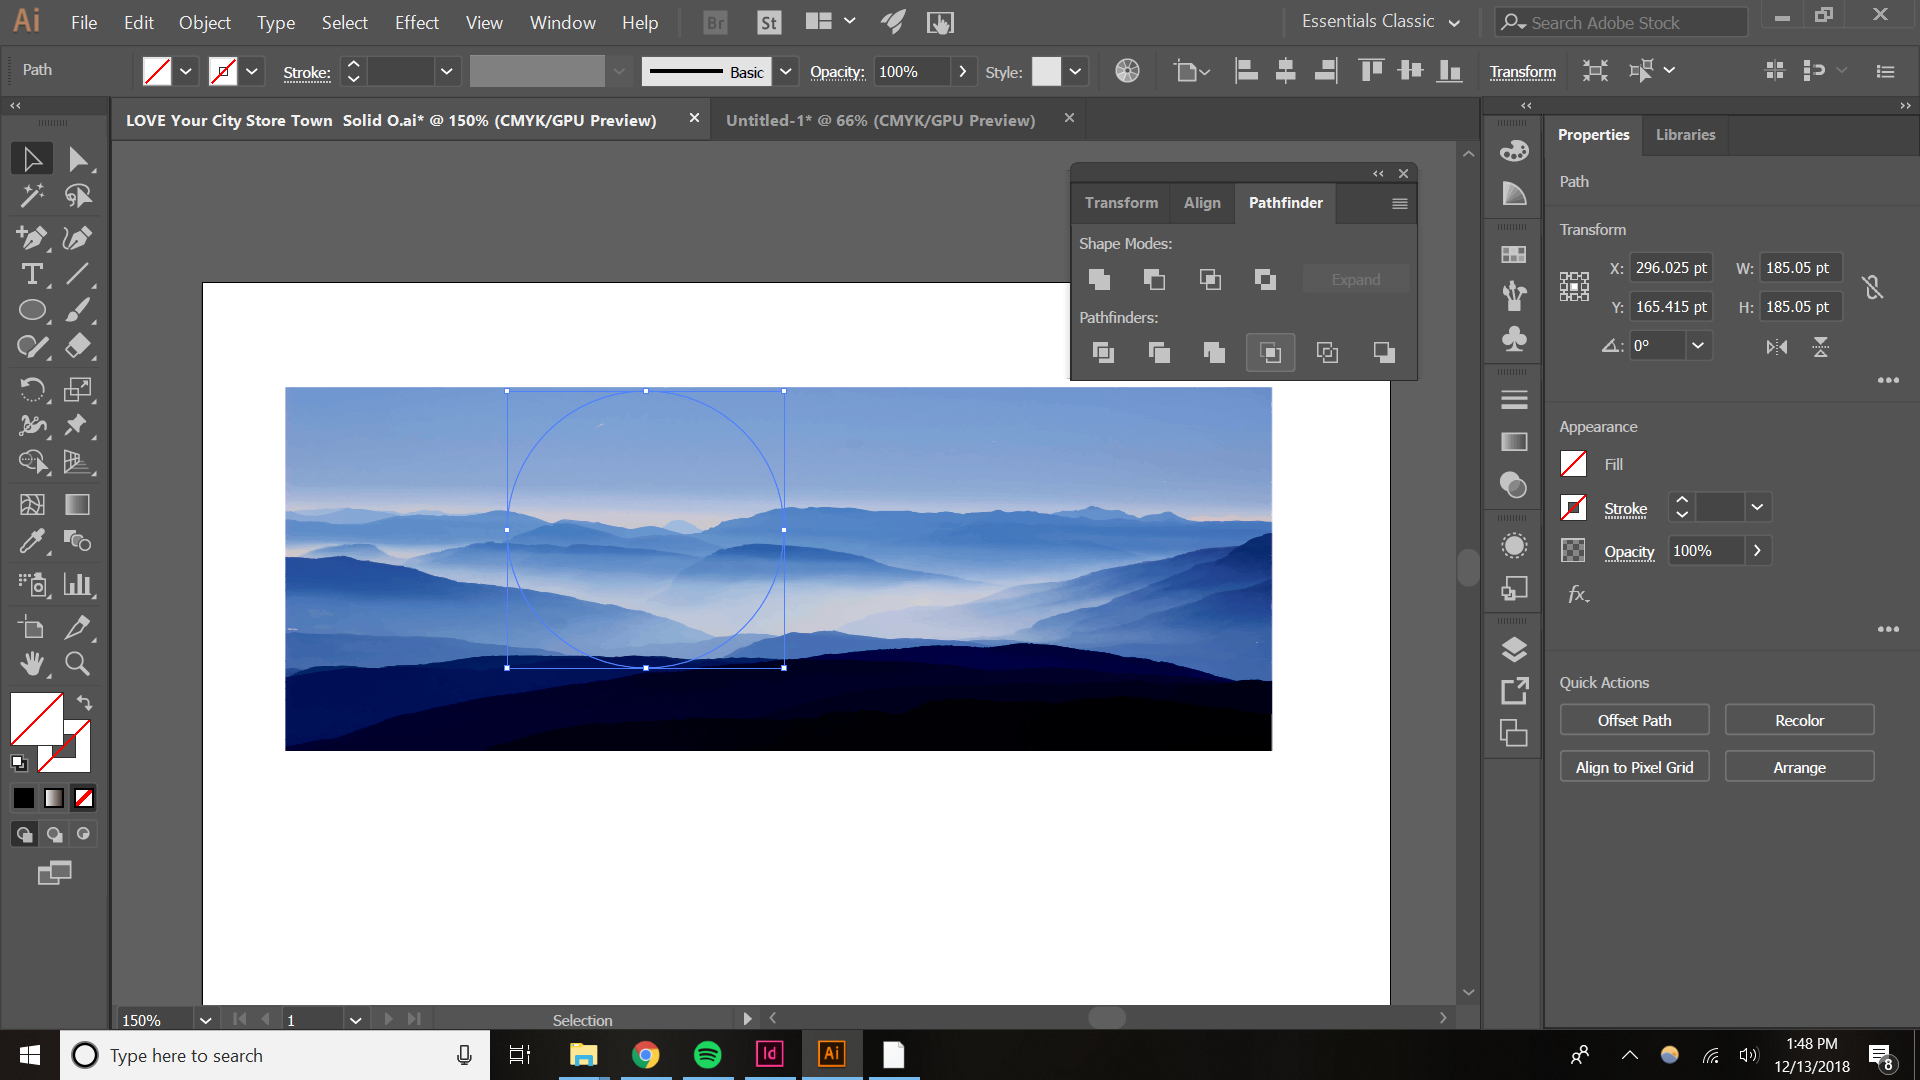
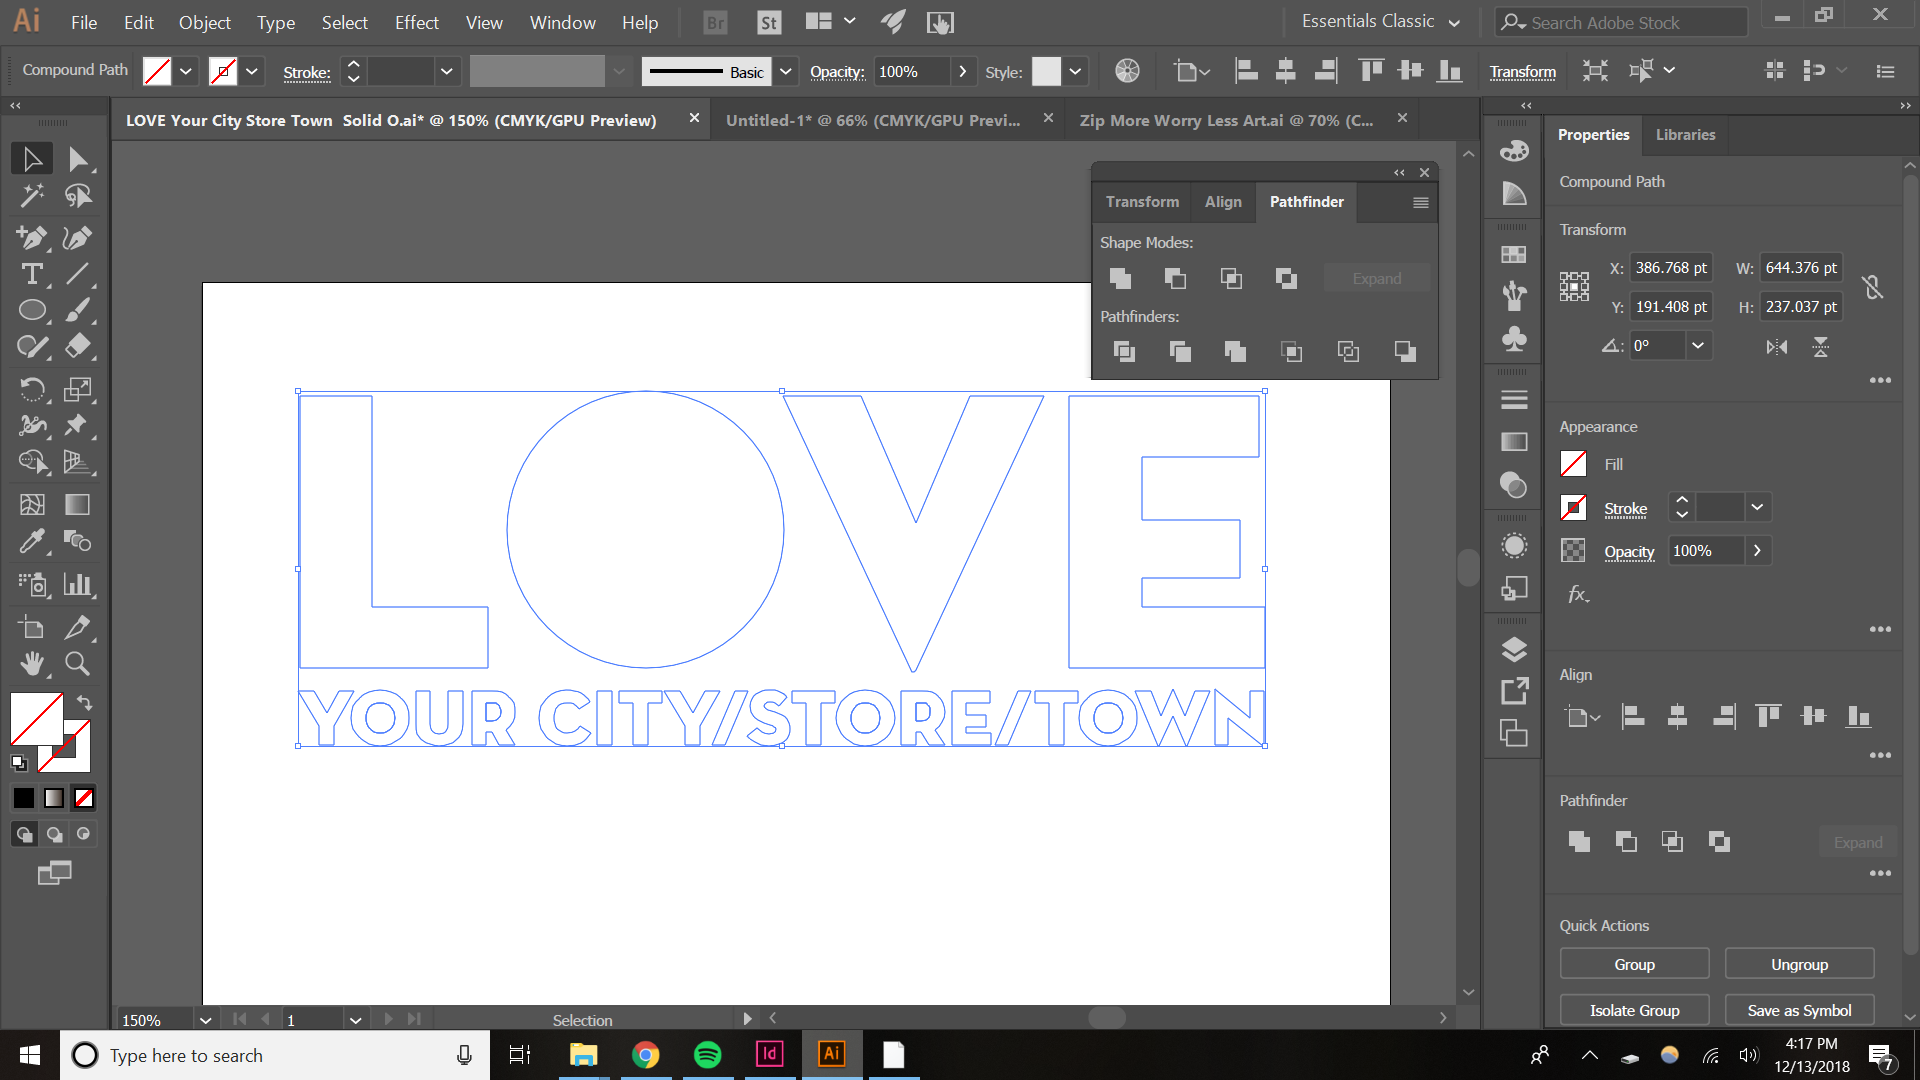
When I select the LOVE design and make it a compound path, this happens:

When I put the LOVE design behind the mountain design like so:

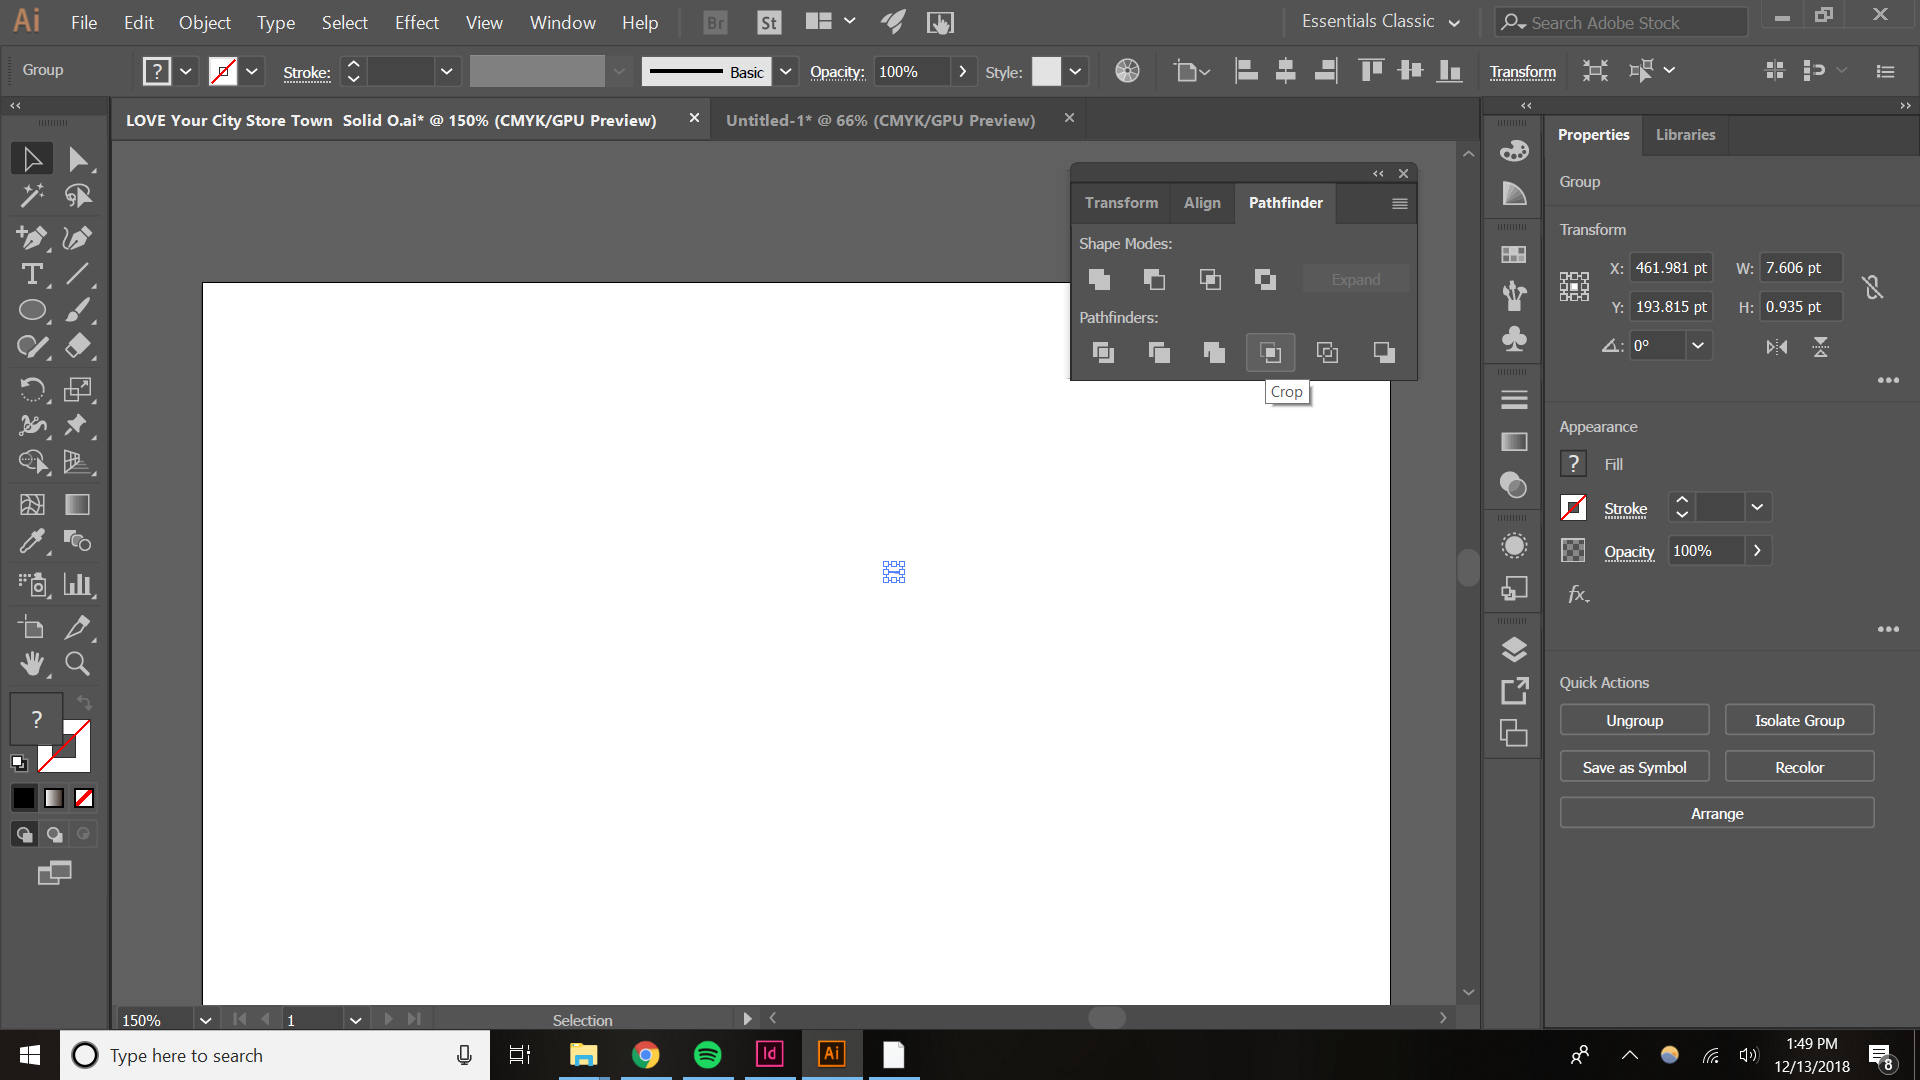
When I press crop in pathfinder this way, this happens:
When do the same as above, but ctrl+a first, this happens:
So that is the extent of my knowledge of ways to attempt to do this in illustrator. Ultimately I'd want it to look like this (past special method from Ps):

Please help!


 1 Correct answer

evans.prater schrieb
Yes:

The compound path needs to be in front.
And then you can make a clipping mask.
Might be a good idea to not rely solely on youtube when doing things, but also take a look in the manual:
Explore related tutorials & articles
 12
Replies
12
12
Replies
12
Copy link to clipboard
Copied
Instrad of grouping it, you need to make a compound path out of the shapes.
Select them and Object > Compound path > Make
Copy link to clipboard
Copied
Right, but when I make it a compound path the whole LOVE design disappears.
On Thu, Dec 13, 2018 at 2:36 PM Monika Gause <forums_noreply@adobe.com>
Copy link to clipboard
Copied
evans.prater schrieb
Right, but when I make it a compound path the whole LOVE design disappears.
On Thu, Dec 13, 2018 at 2:36 PM Monika Gause <forums_noreply@adobe.com>
You sure that it's a compound path?
Really sure?
Check the layers panel.
Copy link to clipboard
Copied
Yes:

Copy link to clipboard
Copied
evans.prater schrieb
Yes:

The compound path needs to be in front.
And then you can make a clipping mask.
Might be a good idea to not rely solely on youtube when doing things, but also take a look in the manual:
Copy link to clipboard
Copied
Awesome, got it. Now how do I preserve the "holes" in the R's and O's? Looks like they disappear when I turn it in to a compound path.
Copy link to clipboard
Copied
You can either play with the path drection, but easiest would be to set the compound path to the Even/odd rule in the attributes panel.


Copy link to clipboard
Copied
first goup ypur Love letter. Then convert to Compound Path and finally use this object as a mask for your image below
Mask should be one object (compound path) overlaying bitmap image
Copy link to clipboard
Copied
Right but when I select the design, then make it a compound path, it becomes transparent like so:

I tried using this transparent version with the pathfinder crop tool and it did this:

Why does it become transparent when I make it compound path?

Copy link to clipboard
Copied
Evans,
Regardless of the structure, you can use the black LOVE Group as it is: select that and the image and Transparency (flyout)>(Make) (Opacity) Mask with both Clip and Invert Mask ticked.
That will give you the desired appearance.
An Opacity Mask can do as a Clipping Mask, and the opposite, and anything in between, and then some. And unlike a Clipping Mask it is all about appearance, and less demanding with regard to structure/composition, hence often easier to work with when both kinds might be used.
You can use a Group for an Opacity Mask. Fundamentally, you use the grayscale value of the masking object(s), white/black being fully transparent/opaque or opposite. You use ticking/unticking Invert Mask to control the colour behaviour and ticking/unticking Clip to control the clipping/non clipping behaviour.
A Clipping Mask needs a single path as the Clipping Path; it can be a Compound Path.
Copy link to clipboard
Copied
@Jacob, when I try your method, it is not allowing me to check Clip and Invert Mask... Why?

Copy link to clipboard
Copied
Evans,
Have you tried to click Make Mask, then tick the others?

Get ready! An upgraded Adobe Community experience is coming in January.
Learn more
 AdChoices