• Global community
    • Language:
      • Deutsch
      • English
      • Español
      • Français
      • Português
  • 日本語コミュニティ
    Dedicated community for Japanese speakers
  • 한국 커뮤니티
    Dedicated community for Korean speakers
Exit
0

Shape around letter

Community Beginner ,
Jul 24, 2018 Jul 24, 2018

Copy link to clipboard

Copied

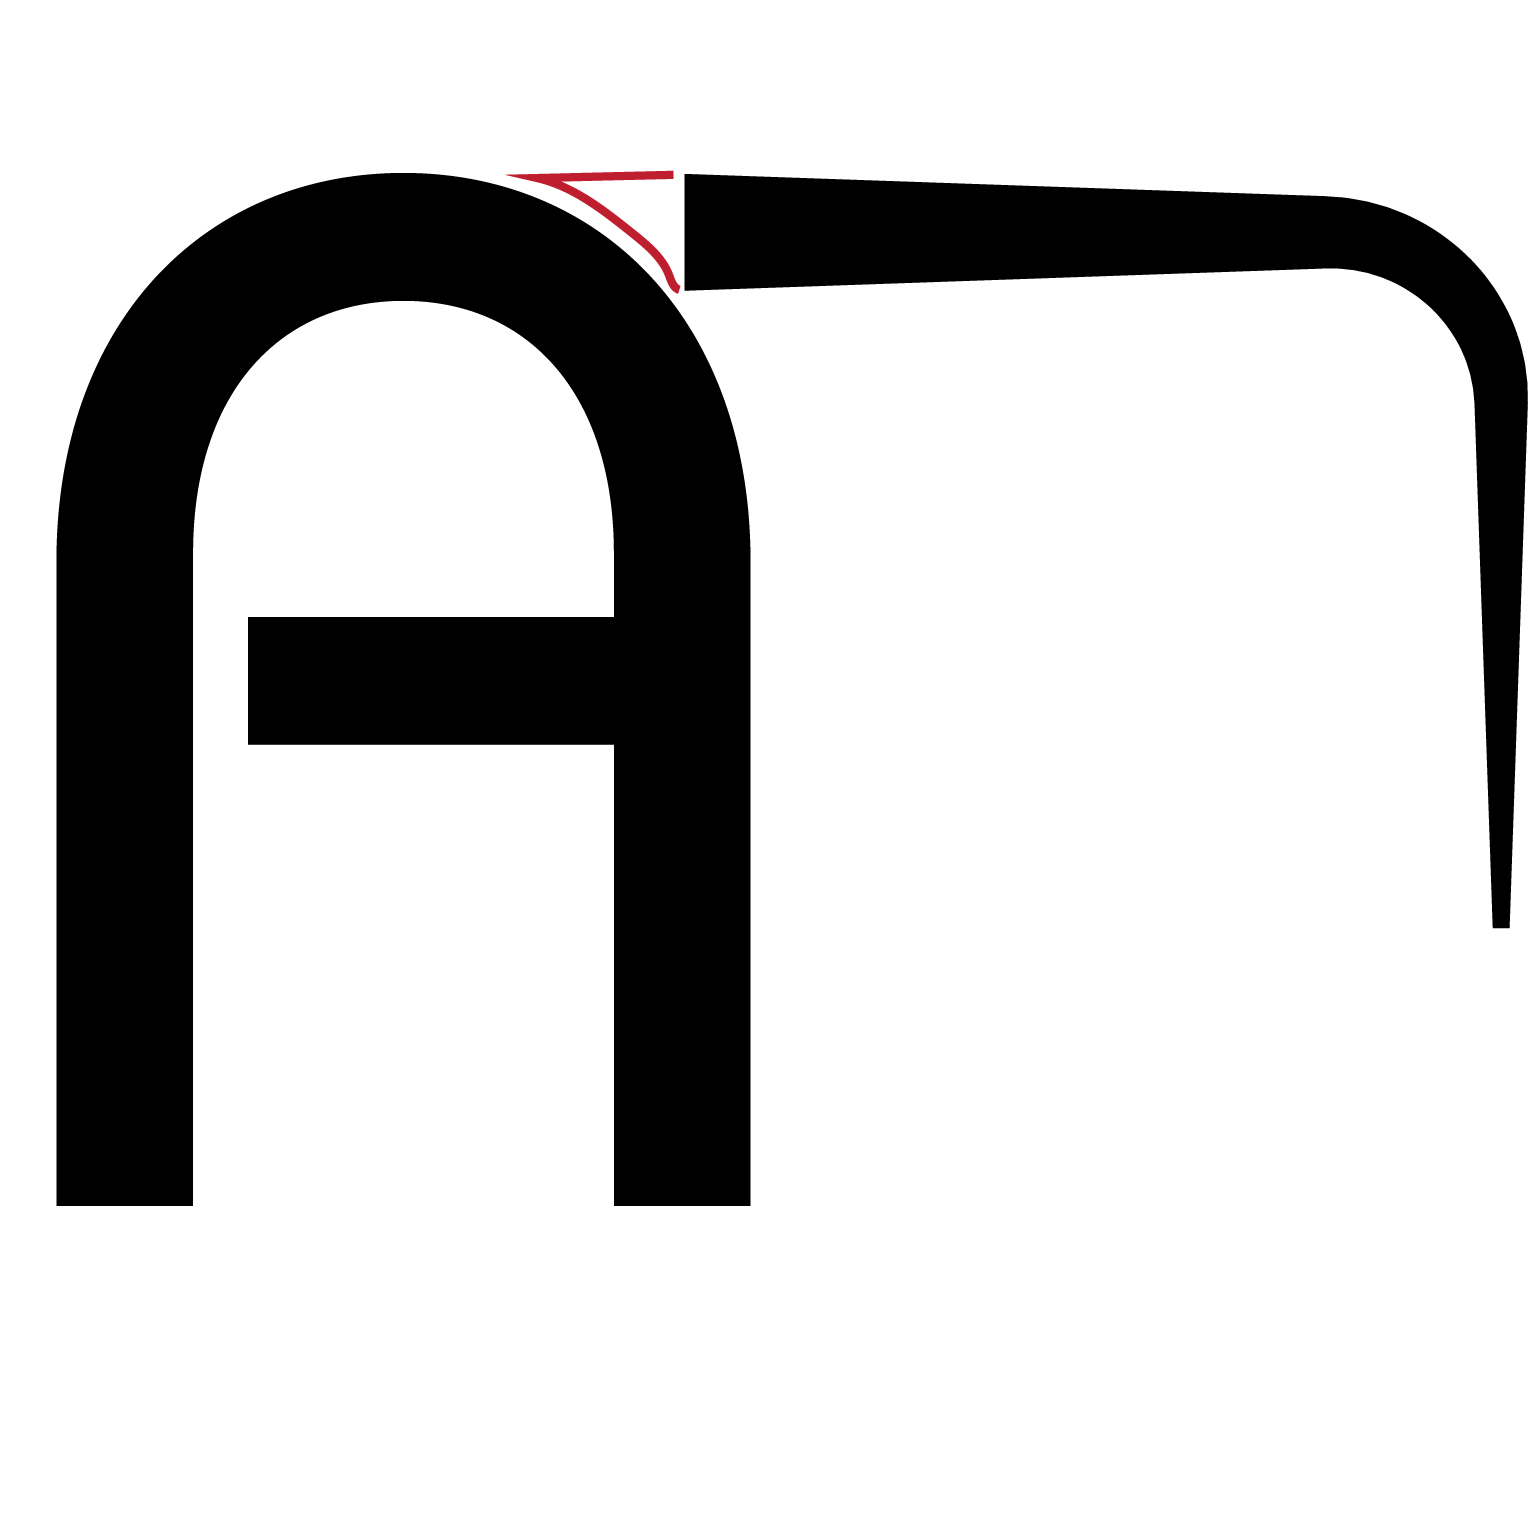
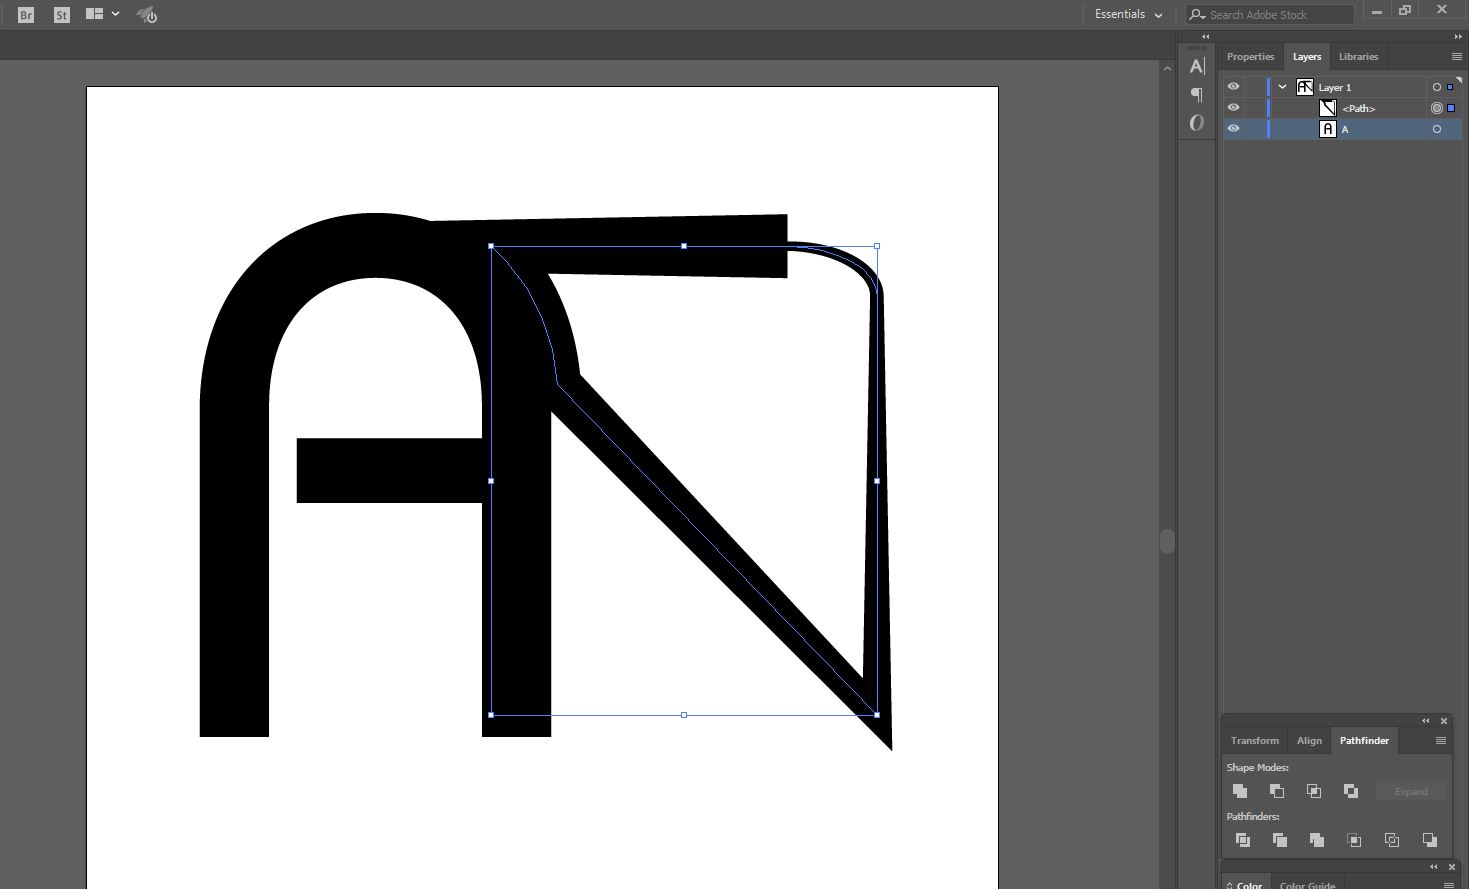
I am new to Illustrator and have used the pen tool and width tool to create a shape (shown below).  I would like to top of the shape to follow the letter A at the top but cannot find the best way to accomplish this.  I have used pathfinder in the past to exclude areas but that does not seem to be the solution when one item is text.

Any help or suggestions would be appreciated.

AI_Example1.png

Views

653

Translate

Translate

Report

Report
Community guidelines
Be kind and respectful, give credit to the original source of content, and search for duplicates before posting. Learn more
community guidelines

correct answers 1 Correct answer

Enthusiast , Jul 25, 2018 Jul 25, 2018

I think I see- The shape you are trying to cut- the hook shaped thingy- that also needs to be expanded. It needs to be a solid object for the filter to work

Votes

Translate

Translate
Adobe
Community Expert ,
Jul 24, 2018 Jul 24, 2018

Copy link to clipboard

Copied

Outline both the text and the stroke and then you can connect them.

Votes

Translate

Translate

Report

Report
Community guidelines
Be kind and respectful, give credit to the original source of content, and search for duplicates before posting. Learn more
community guidelines
Community Beginner ,
Jul 24, 2018 Jul 24, 2018

Copy link to clipboard

Copied

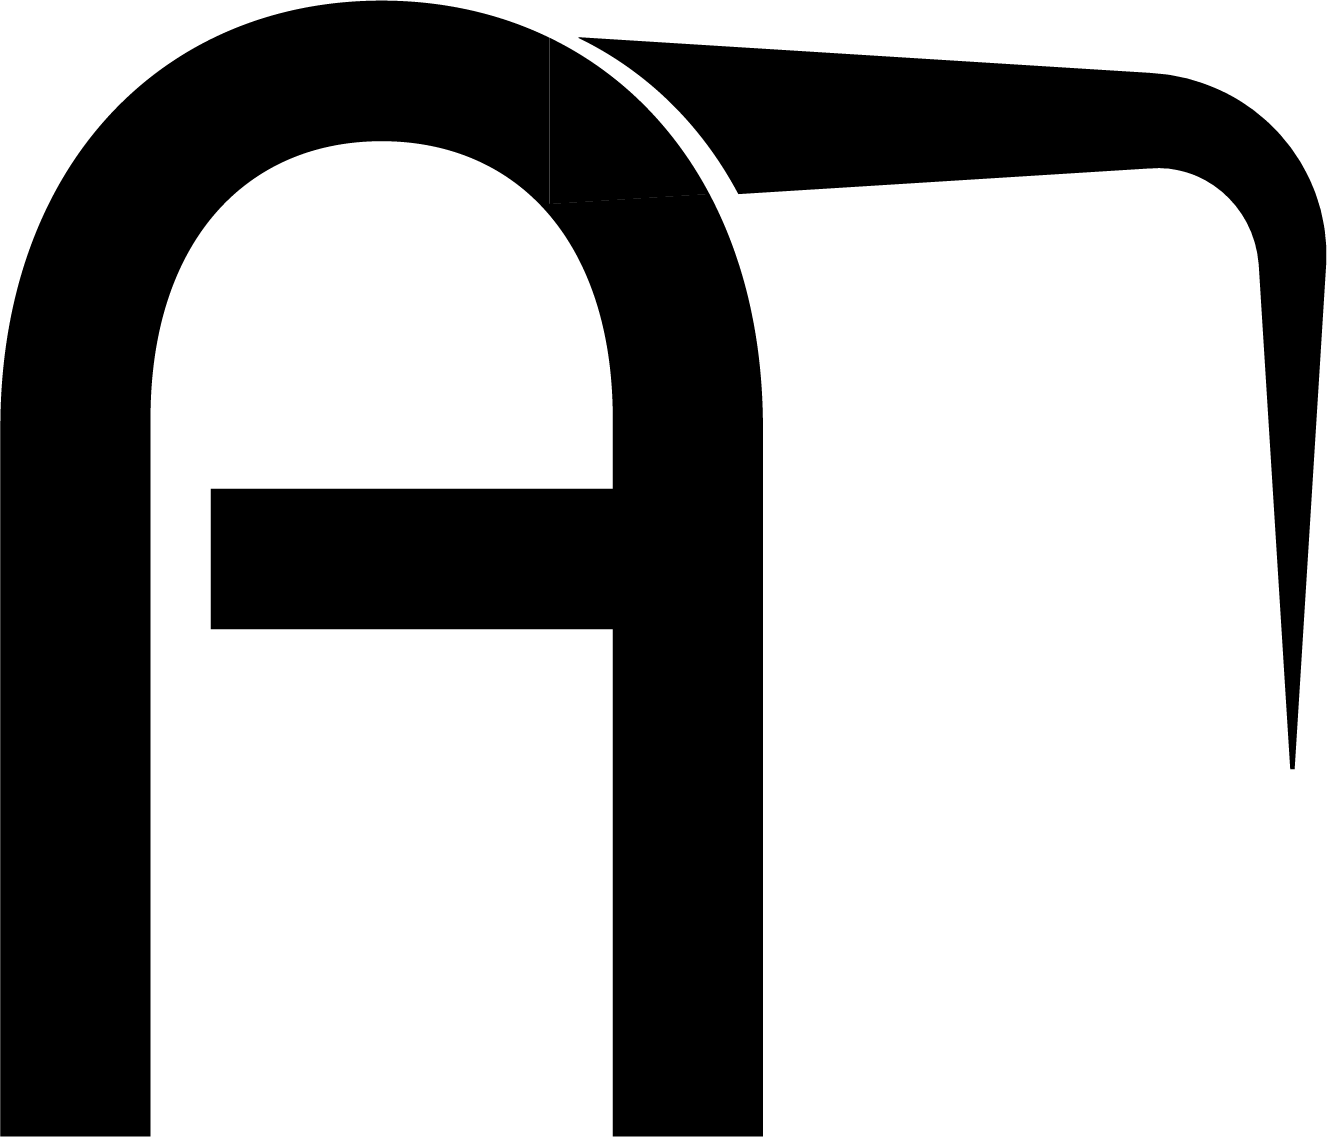
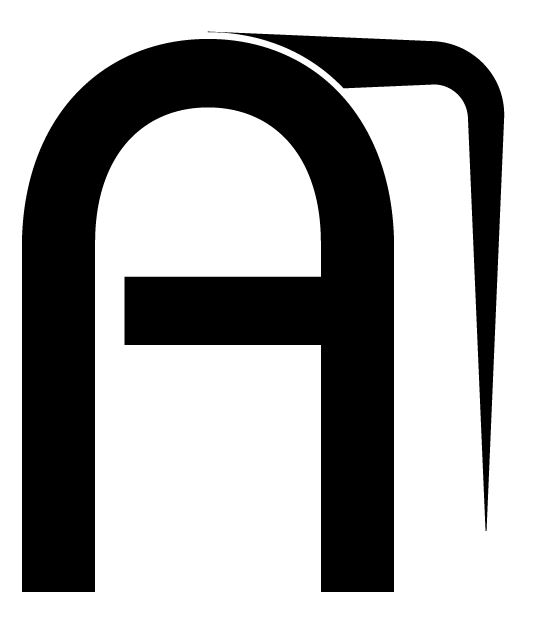
I created outlines on both, overlapped them and then used pathfinder divide.  Below is the result which is OK but not exact and now the edges of the shape look rough.

Is this what you meant for me to do?

AI_Example2.png

Votes

Translate

Translate

Report

Report
Community guidelines
Be kind and respectful, give credit to the original source of content, and search for duplicates before posting. Learn more
community guidelines
Community Expert ,
Jul 24, 2018 Jul 24, 2018

Copy link to clipboard

Copied

The edges of the shapes are only important when you convert the artwork to pixels (and in that case you cannot prevent the "roughness")

So your issue is this?

AI_Example2.png

Votes

Translate

Translate

Report

Report
Community guidelines
Be kind and respectful, give credit to the original source of content, and search for duplicates before posting. Learn more
community guidelines
Community Expert ,
Jul 24, 2018 Jul 24, 2018

Copy link to clipboard

Copied

If you want them separate, but following the shape of the A, do as Monika suggested, but then convert the top left point of the right-hand item to a curve point. Then use the Convert point tool on the resulting handles to straighten the top of the shape, and make the bottom concave.


Adobe Community Expert / Adobe Certified Instructor

Votes

Translate

Translate

Report

Report
Community guidelines
Be kind and respectful, give credit to the original source of content, and search for duplicates before posting. Learn more
community guidelines
Enthusiast ,
Jul 24, 2018 Jul 24, 2018

Copy link to clipboard

Copied

Make a copy of your letter and use Create outlines to make it a path. Stroke that shape to the width you want your gap, then Expand, then use UNITE in pathfinder to make it one solid shape. Use this shape to cut your second shape.

Screen Shot 2018-07-24 at 3.24.16 PM.png

Votes

Translate

Translate

Report

Report
Community guidelines
Be kind and respectful, give credit to the original source of content, and search for duplicates before posting. Learn more
community guidelines
Community Beginner ,
Jul 25, 2018 Jul 25, 2018

Copy link to clipboard

Copied

Thank you very much for your help.  I have followed your directions but am confused on the last part "Use this shape to cut your second shape".  Could you please tell me the steps you used in that process.

Votes

Translate

Translate

Report

Report
Community guidelines
Be kind and respectful, give credit to the original source of content, and search for duplicates before posting. Learn more
community guidelines
Enthusiast ,
Jul 25, 2018 Jul 25, 2018

Copy link to clipboard

Copied

Sorry bout that-

I used "Minus Front" in the Pathfinder panel.

Shape #1 (your fattened letter A) overlaps shape #2, Select them both then click the button

Screen Shot 2018-07-25 at 9.22.42 AM (2).png

Votes

Translate

Translate

Report

Report
Community guidelines
Be kind and respectful, give credit to the original source of content, and search for duplicates before posting. Learn more
community guidelines
Community Beginner ,
Jul 25, 2018 Jul 25, 2018

Copy link to clipboard

Copied

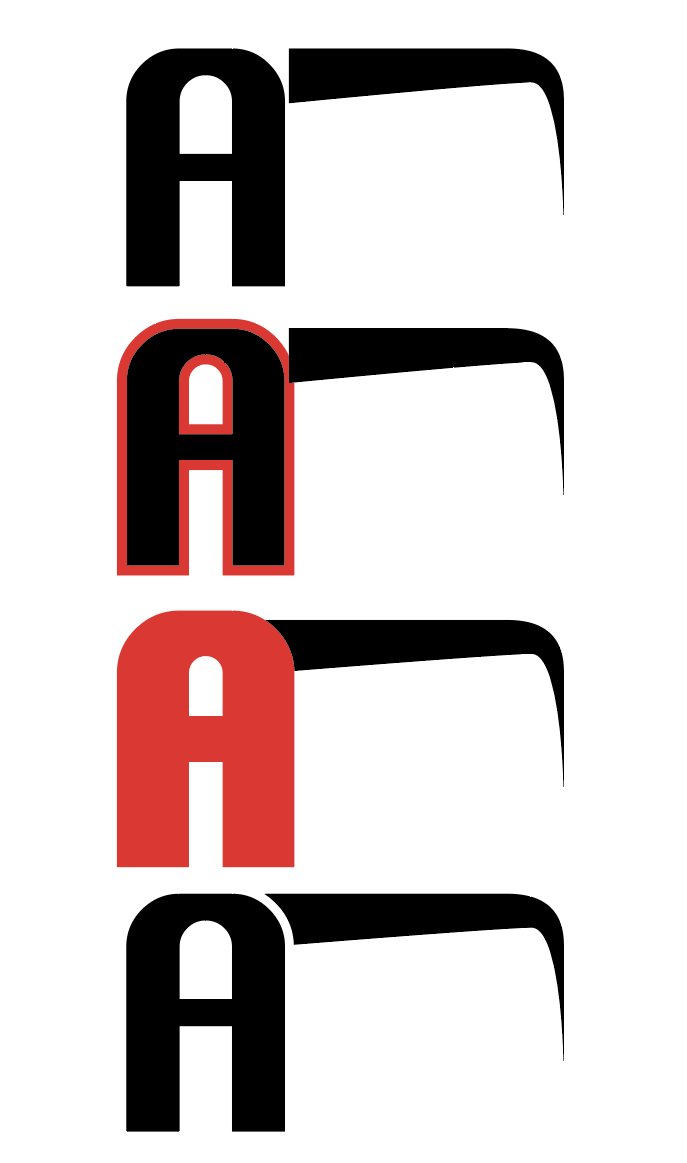
I think I followed all of your instructions.  The first picture below is what I have prior to last step.

Second picture is what I get after Minus Front.

Capture 1.JPG

Capture 2.JPG

Votes

Translate

Translate

Report

Report
Community guidelines
Be kind and respectful, give credit to the original source of content, and search for duplicates before posting. Learn more
community guidelines
Community Expert ,
Jul 25, 2018 Jul 25, 2018

Copy link to clipboard

Copied

You need to expand that stroke.

Votes

Translate

Translate

Report

Report
Community guidelines
Be kind and respectful, give credit to the original source of content, and search for duplicates before posting. Learn more
community guidelines
Community Beginner ,
Jul 25, 2018 Jul 25, 2018

Copy link to clipboard

Copied

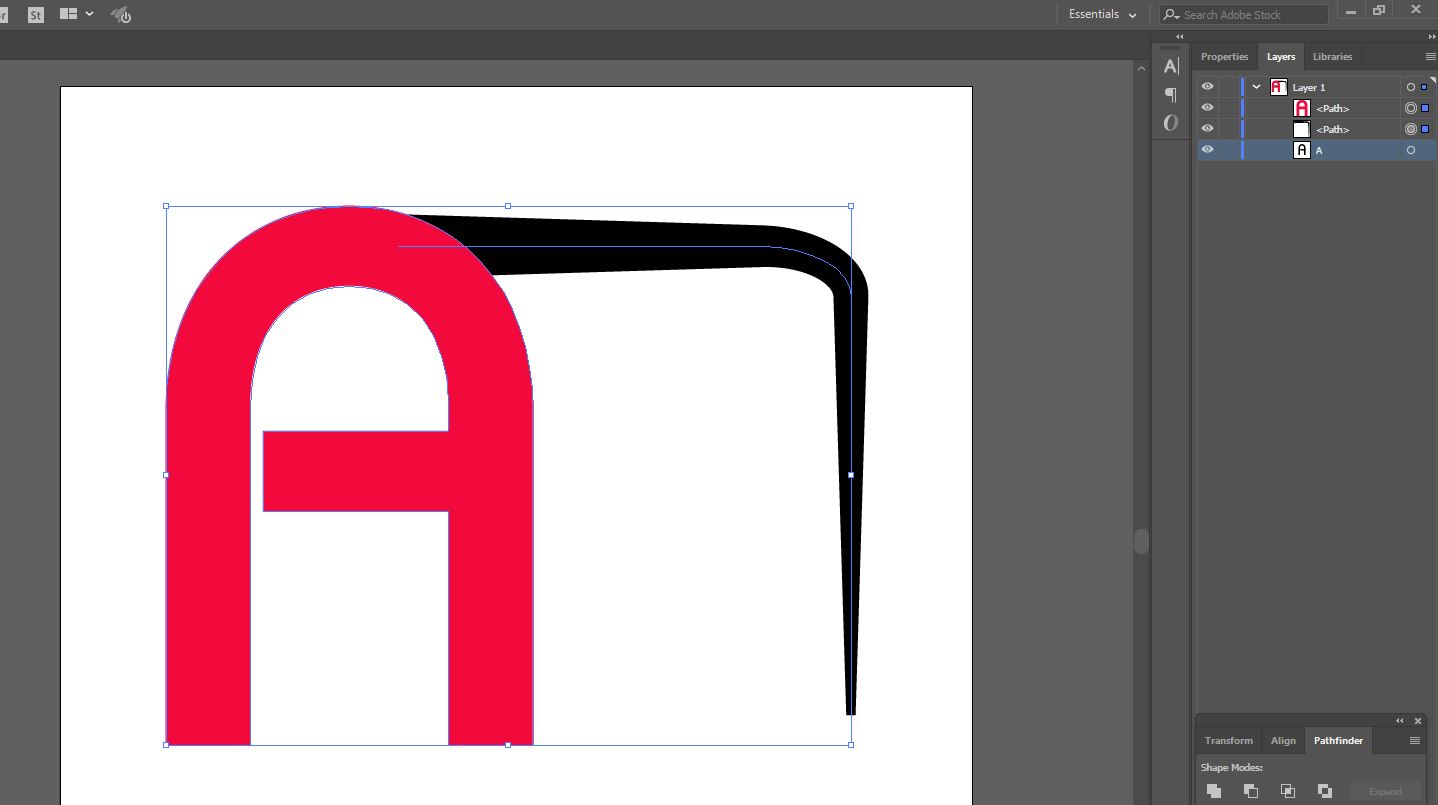
I did.  The red A shown above was created by:

1. Copy Original

2. Create Outlines

3. Increase Stroke to 20

4. Expand

5. Unite

Then I selected the Red A and the black shape and choose Minus front from pathfinder as ScooterD76 showed.

Votes

Translate

Translate

Report

Report
Community guidelines
Be kind and respectful, give credit to the original source of content, and search for duplicates before posting. Learn more
community guidelines
Enthusiast ,
Jul 25, 2018 Jul 25, 2018

Copy link to clipboard

Copied

I think I see- The shape you are trying to cut- the hook shaped thingy- that also needs to be expanded. It needs to be a solid object for the filter to work

Votes

Translate

Translate

Report

Report
Community guidelines
Be kind and respectful, give credit to the original source of content, and search for duplicates before posting. Learn more
community guidelines
Community Beginner ,
Jul 25, 2018 Jul 25, 2018

Copy link to clipboard

Copied

Thank you so much for your help.  I finally got it.

Capture 3.JPG

Votes

Translate

Translate

Report

Report
Community guidelines
Be kind and respectful, give credit to the original source of content, and search for duplicates before posting. Learn more
community guidelines
Community Beginner ,
Jul 25, 2018 Jul 25, 2018

Copy link to clipboard

Copied

LATEST

For the shape (arrow thing) "Expand" was grayed out so I used "Expand Appearance".  I am not sure, but it worked.

Votes

Translate

Translate

Report

Report
Community guidelines
Be kind and respectful, give credit to the original source of content, and search for duplicates before posting. Learn more
community guidelines
Community Expert ,
Jul 24, 2018 Jul 24, 2018

Copy link to clipboard

Copied

If you use Object > Expand Appearance on your line you will then have more control over it.
You will have a large number of Anchor points which you can select individually and place them where you need them to be in order to create the curve you're after on that edge.

If you need extra anchor points you can add them with the pen tool, if you want to remove anchor points you can also use the pen tool (delete anchor point tool)

Votes

Translate

Translate

Report

Report
Community guidelines
Be kind and respectful, give credit to the original source of content, and search for duplicates before posting. Learn more
community guidelines