

- Home
- Illustrator
- Discussions
- Turn Compound Path Back Into A Path?
- Turn Compound Path Back Into A Path?
Turn Compound Path Back Into A Path?

Copy link to clipboard
Copied
Is there a way to do this? I recall finding a method a while back, but I have long forgtten it. If anyone knows I would appreciate the info.
Thanks.


Explore related tutorials & articles
 84
Replies
84
84
Replies
84

Copy link to clipboard
Copied
While looking up a way to overcome a similar problem today I came across this post. I think (just think) I know what dcloud might have been asking or trying to do. I purchased a vector this morning on a stock image website. I needed to remove some of the text on the image (Not sure if I am allowed to do this, but it was Shutterstock 189558527 for anyone interested.)
The image is made up almost entirely of compound paths, but when I release them (hard to explain this) instead of baing able to select each individual letter or point on the path, all I get is the blue selection line when I hover over the word. Nothing remains selected, and so editing it is not impossible it seems, but the only way that I am able to do this is to go into the layers palette and delete what I hope is the right path. I actually tried this and ended up deleting things that I did not want to delete. So maybe this is that dcloud meant. It does not seem possible to edit any of the paths in the object or even select them. Selecting of the individual paths being the key. I have sat here humming Final Jeopardy for over half and hour and I am ready to give up.
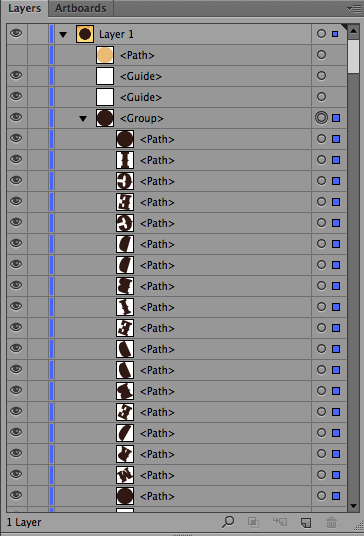
This was an older post, so if there is a solution to this and anyone knows the answer. And I would think that since all Illustrator objects are made of paths and points, that the original artist had to have used them, I would be greatly appreciative of an answer. Attached is a screen capture of the layers panel, but selecting any of these singular elements/paths is impossible.
Thank you

Copy link to clipboard
Copied
kmgraphic schrieb:

Most probably one of those paths is simply so large that it encloses all of the others. Go into outline view and do what needs to be done. Also: see the manual on how selection tools work.
Copy link to clipboard
Copied
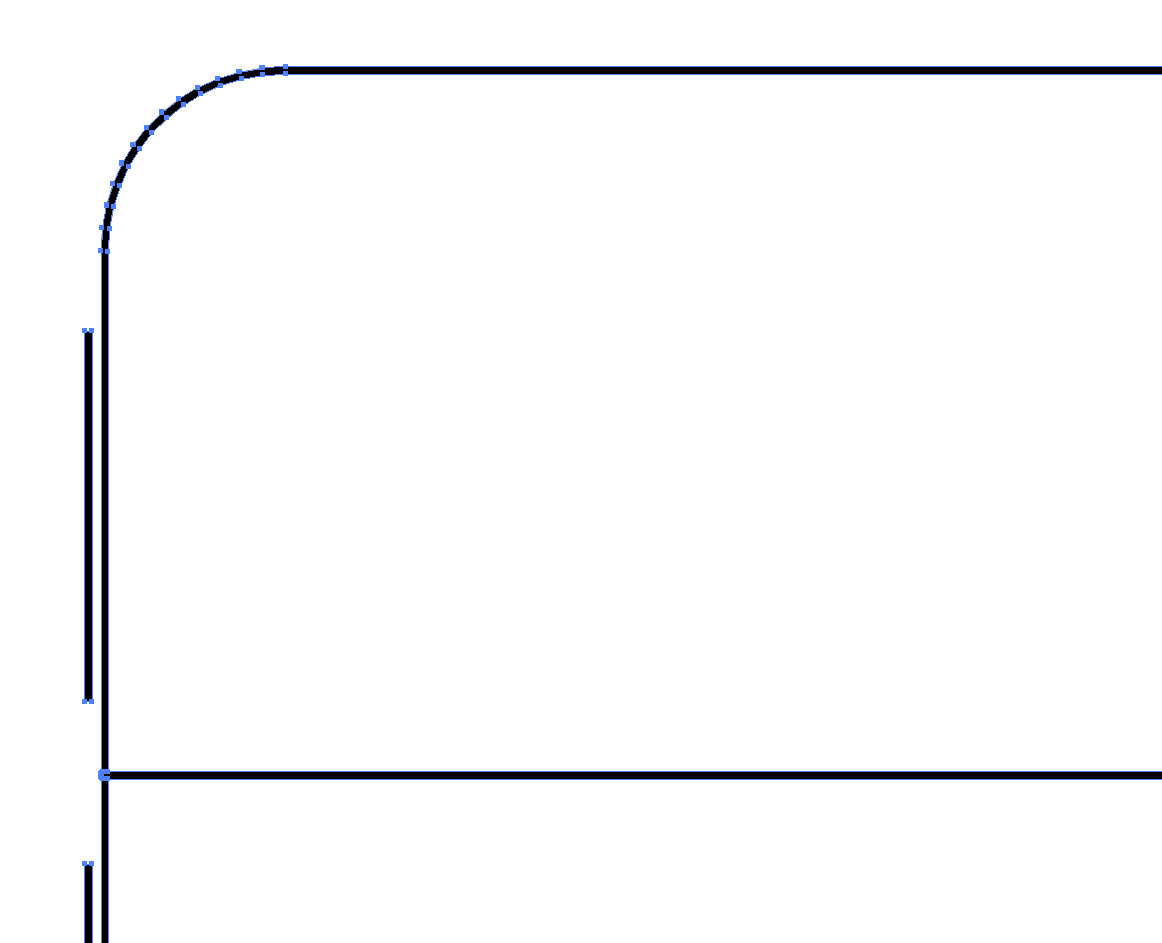
Thank you - I am not entirely new to Illustrator, so I feel I should know how to do this. Attached is an image of the artwork in outline, but I had to actually take a picture of this with my iPhone as once I move my stylus, the selection goes away. I have tried releasing the compound path, unlocking, expanding. I am at a loss as to what else to do.
You cannot begin to know how much I appreciate your help.
Since writing the above and while the site was down for maintenance, I have been able to expand it to the point where I can work on it, but it is still a nightmare and I could have created the entire thing from scratch myself in a fraction of the time that this is taking me. Again - thank you for helping

Copy link to clipboard
Copied
All of the paths still form a group. You need to ungroup them as well. And there might still be some other compound paths to release. An object can be very deep in hierarchy.
But nevertheless you could also leave it grouped and as a compound path and then select stuff using either the group selection or the direct selection tool to select single paths. You need to select precisely by clicking on the path then.
See the manual.
Copy link to clipboard
Copied
Fathoms deep in hierarchy. The problem is that if I leave it as a compound path or grouped, I cannot select a single path. I zoomed in like Sherlock Holmes with my magnifying glass but still no luck. However... I am one of those people who is just plain ornery (spelling?) and I will not give up. My edited artwork is due at the printer's today, and I might have a heart attack in the process, but I won't give up. We shall fight to the end!! Trust me - I know how frustrating it is trying to help someone when you can't actually see what they are doing or what is going on. I go through it frequently and often while trying to explain to my husband what a "right click" is!  OK - here I go. Let me try it again.

Copy link to clipboard
Copied
If you double click while zoomed in, and keep doing that until you can select the path, or use the direct selection tool, keyboard shortcut A but be wary of this selection tool, it selects points on the path and can royally distort it if you drag a point on the path.

Copy link to clipboard
Copied
I know that this topic is very old and most likely abandoned but I ran across this thread when trying to figure out how to do something very similar to what (I believe) D.Cloud originally asked.
I have a bunch of old packaging templates where the stroked template lines had been converted to compound paths. I need these to now just be single stroked lines (paths) again. I believe that this is essentially what the original question was asking for.
I found a solution that more or less works and may work for anyone else that may run across a similar need. It is not perfect but comes pretty close.
Here I have an image of a section of the template. It is a section of a larger compound path.
If you take this selected object and rasterize it
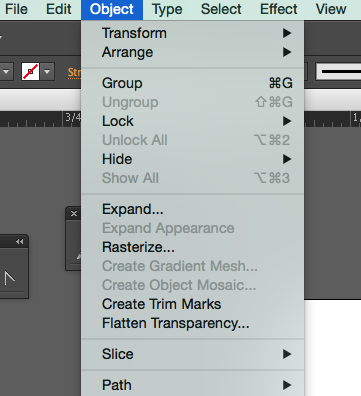
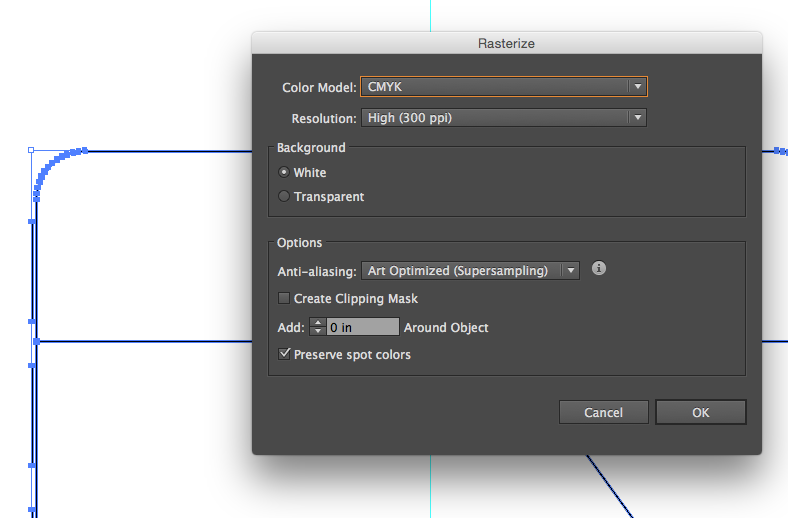
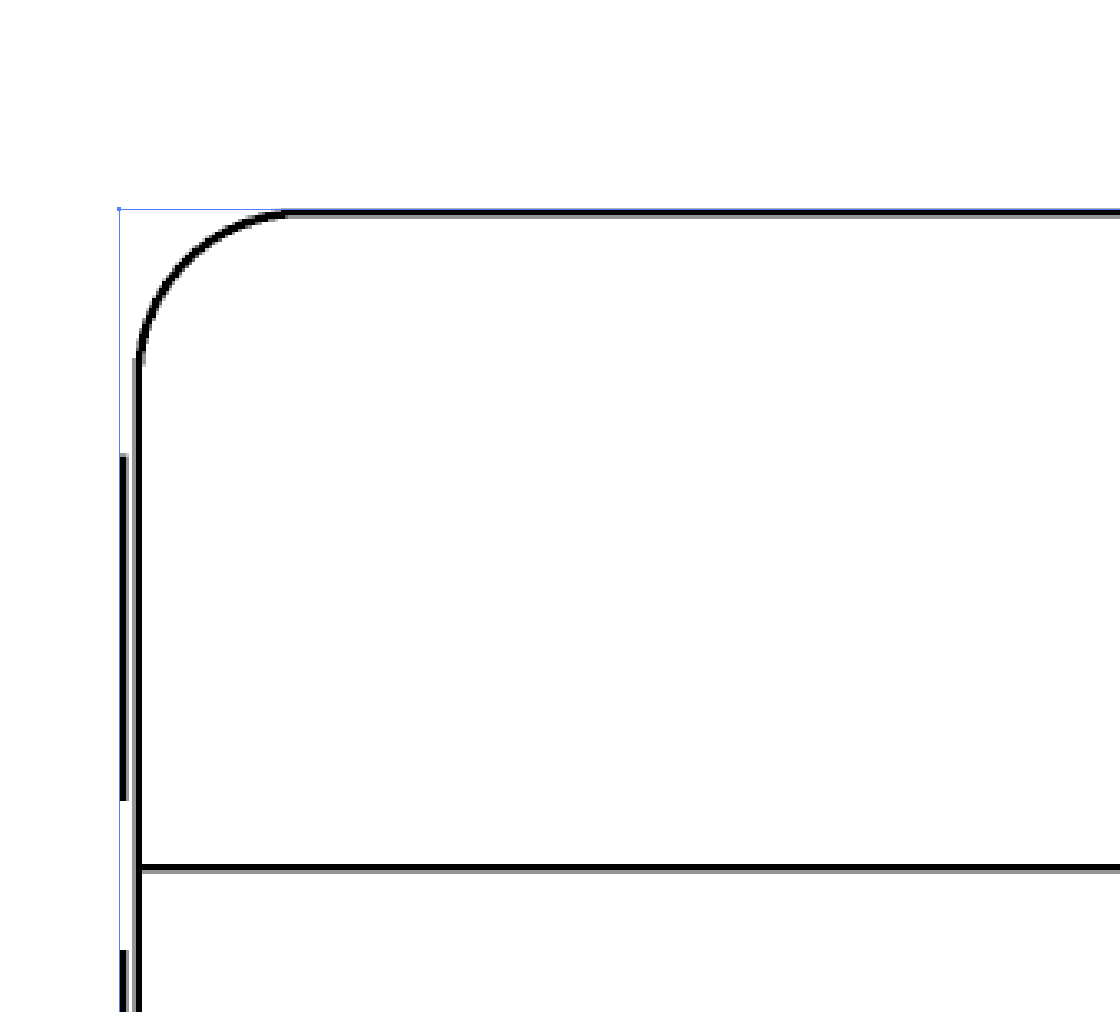
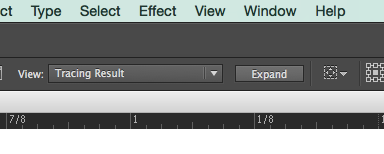
You can then do a Live Trace with the "Line Art" option

And then "expand" this
You then get a bunch of stroked paths.
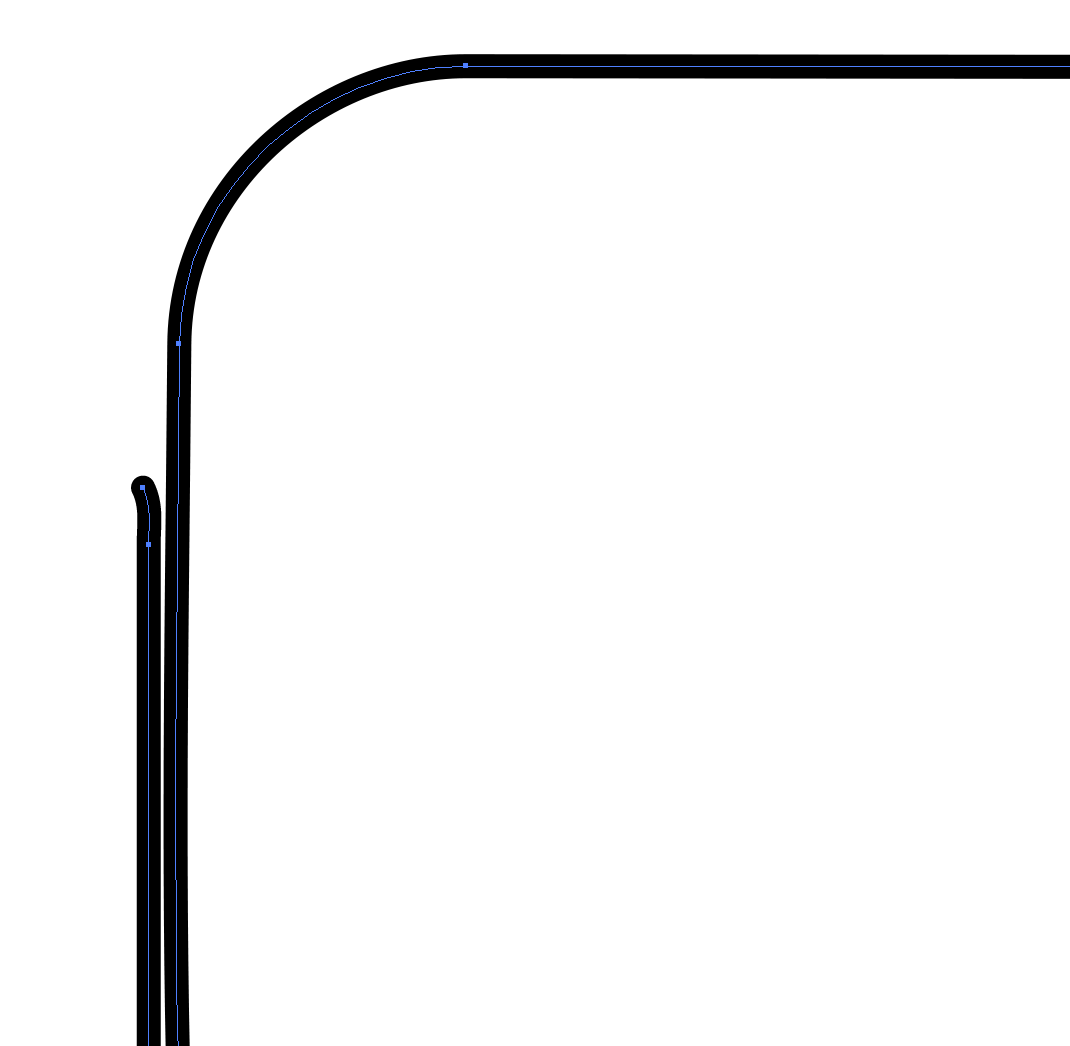
This may not be perfect from a CAD or engineering standpoint but it definitely gives you something that you can edit and get to that perfect point.
I hope that someone finds this useful.

Copy link to clipboard
Copied
Further to this if you want to ensure your strokes are the same width etc when you scale or shrink them you should use (with object/paths) selected Object> Path>Outline Stroke....
This is particularly important if you are placing a native illustrator file where no pre rastering etc has occurred..

Copy link to clipboard
Copied
Not sure if anyone advised this already, didn't go through all the comments.
But try to do next:
After applying compound path, use any of shape modes or pathfinders. I tried to do it with Unite shape mode and I think I got what you needed. As I understood right, you needed to expand Compound path and see the same as result as when it was a compound path.

Copy link to clipboard
Copied
c.cloud, everyone,
Rereading this old and intruguing thread, I believe I may have finally grasped the hidden meaning of the OP (the OP (author) was last logged in between the posts #27 & 28, only 2 months into the thread so hopefully the solution was found elsewhere back then).
It is possible that the unmentioned, maybe forgotten, way of creating the Compound Path was from a stroke/nofill path, simply with Object>Path>Outline Stroke.
The forgotten way back (after the undoing of the Undoing option) to a path (hopefully completely or at least close to) identical to the original stroke/nofill path could have been:
1) Select the Compound Path, then switch from Fill to Stroke, then Object>Compound Path>Release, then Ctrl/Cmd+Shift+G to Ungroup; if needed clean up Anchor Points to ensure best fit in positions and numbers;
2) Determine the distance between the paths which corresponds to the original Stroke Weight, probably most easily done by halving the difference between the W or H values in the Transform palette when selecting first the outer path then the inner path;
3) Object>Blend>Blend Options, setting Specified Steps to 1;
4) Object>Blend>Make, then Object>Blend>Expand, then delete the outer/inner paths;
5) Apply the Stroke Weight determined in 2).
In any case, this case shows the validity of saving a copy of the artwork before destroying it by doing something irreversible.

Find more inspiration, events, and resources on the new Adobe Community
Explore Now
 AdChoices