• Global community
    • Language:
      • Deutsch
      • English
      • Español
      • Français
      • Português
  • 日本語コミュニティ
    Dedicated community for Japanese speakers
  • 한국 커뮤니티
    Dedicated community for Korean speakers
Exit
0

Turning white objects into transparent objects

New Here ,
Oct 12, 2018 Oct 12, 2018

Copy link to clipboard

Copied

Screen Shot 2018-10-12 at 12.08.11 PM.pngScreen Shot 2018-10-12 at 12.08.33 PM.png

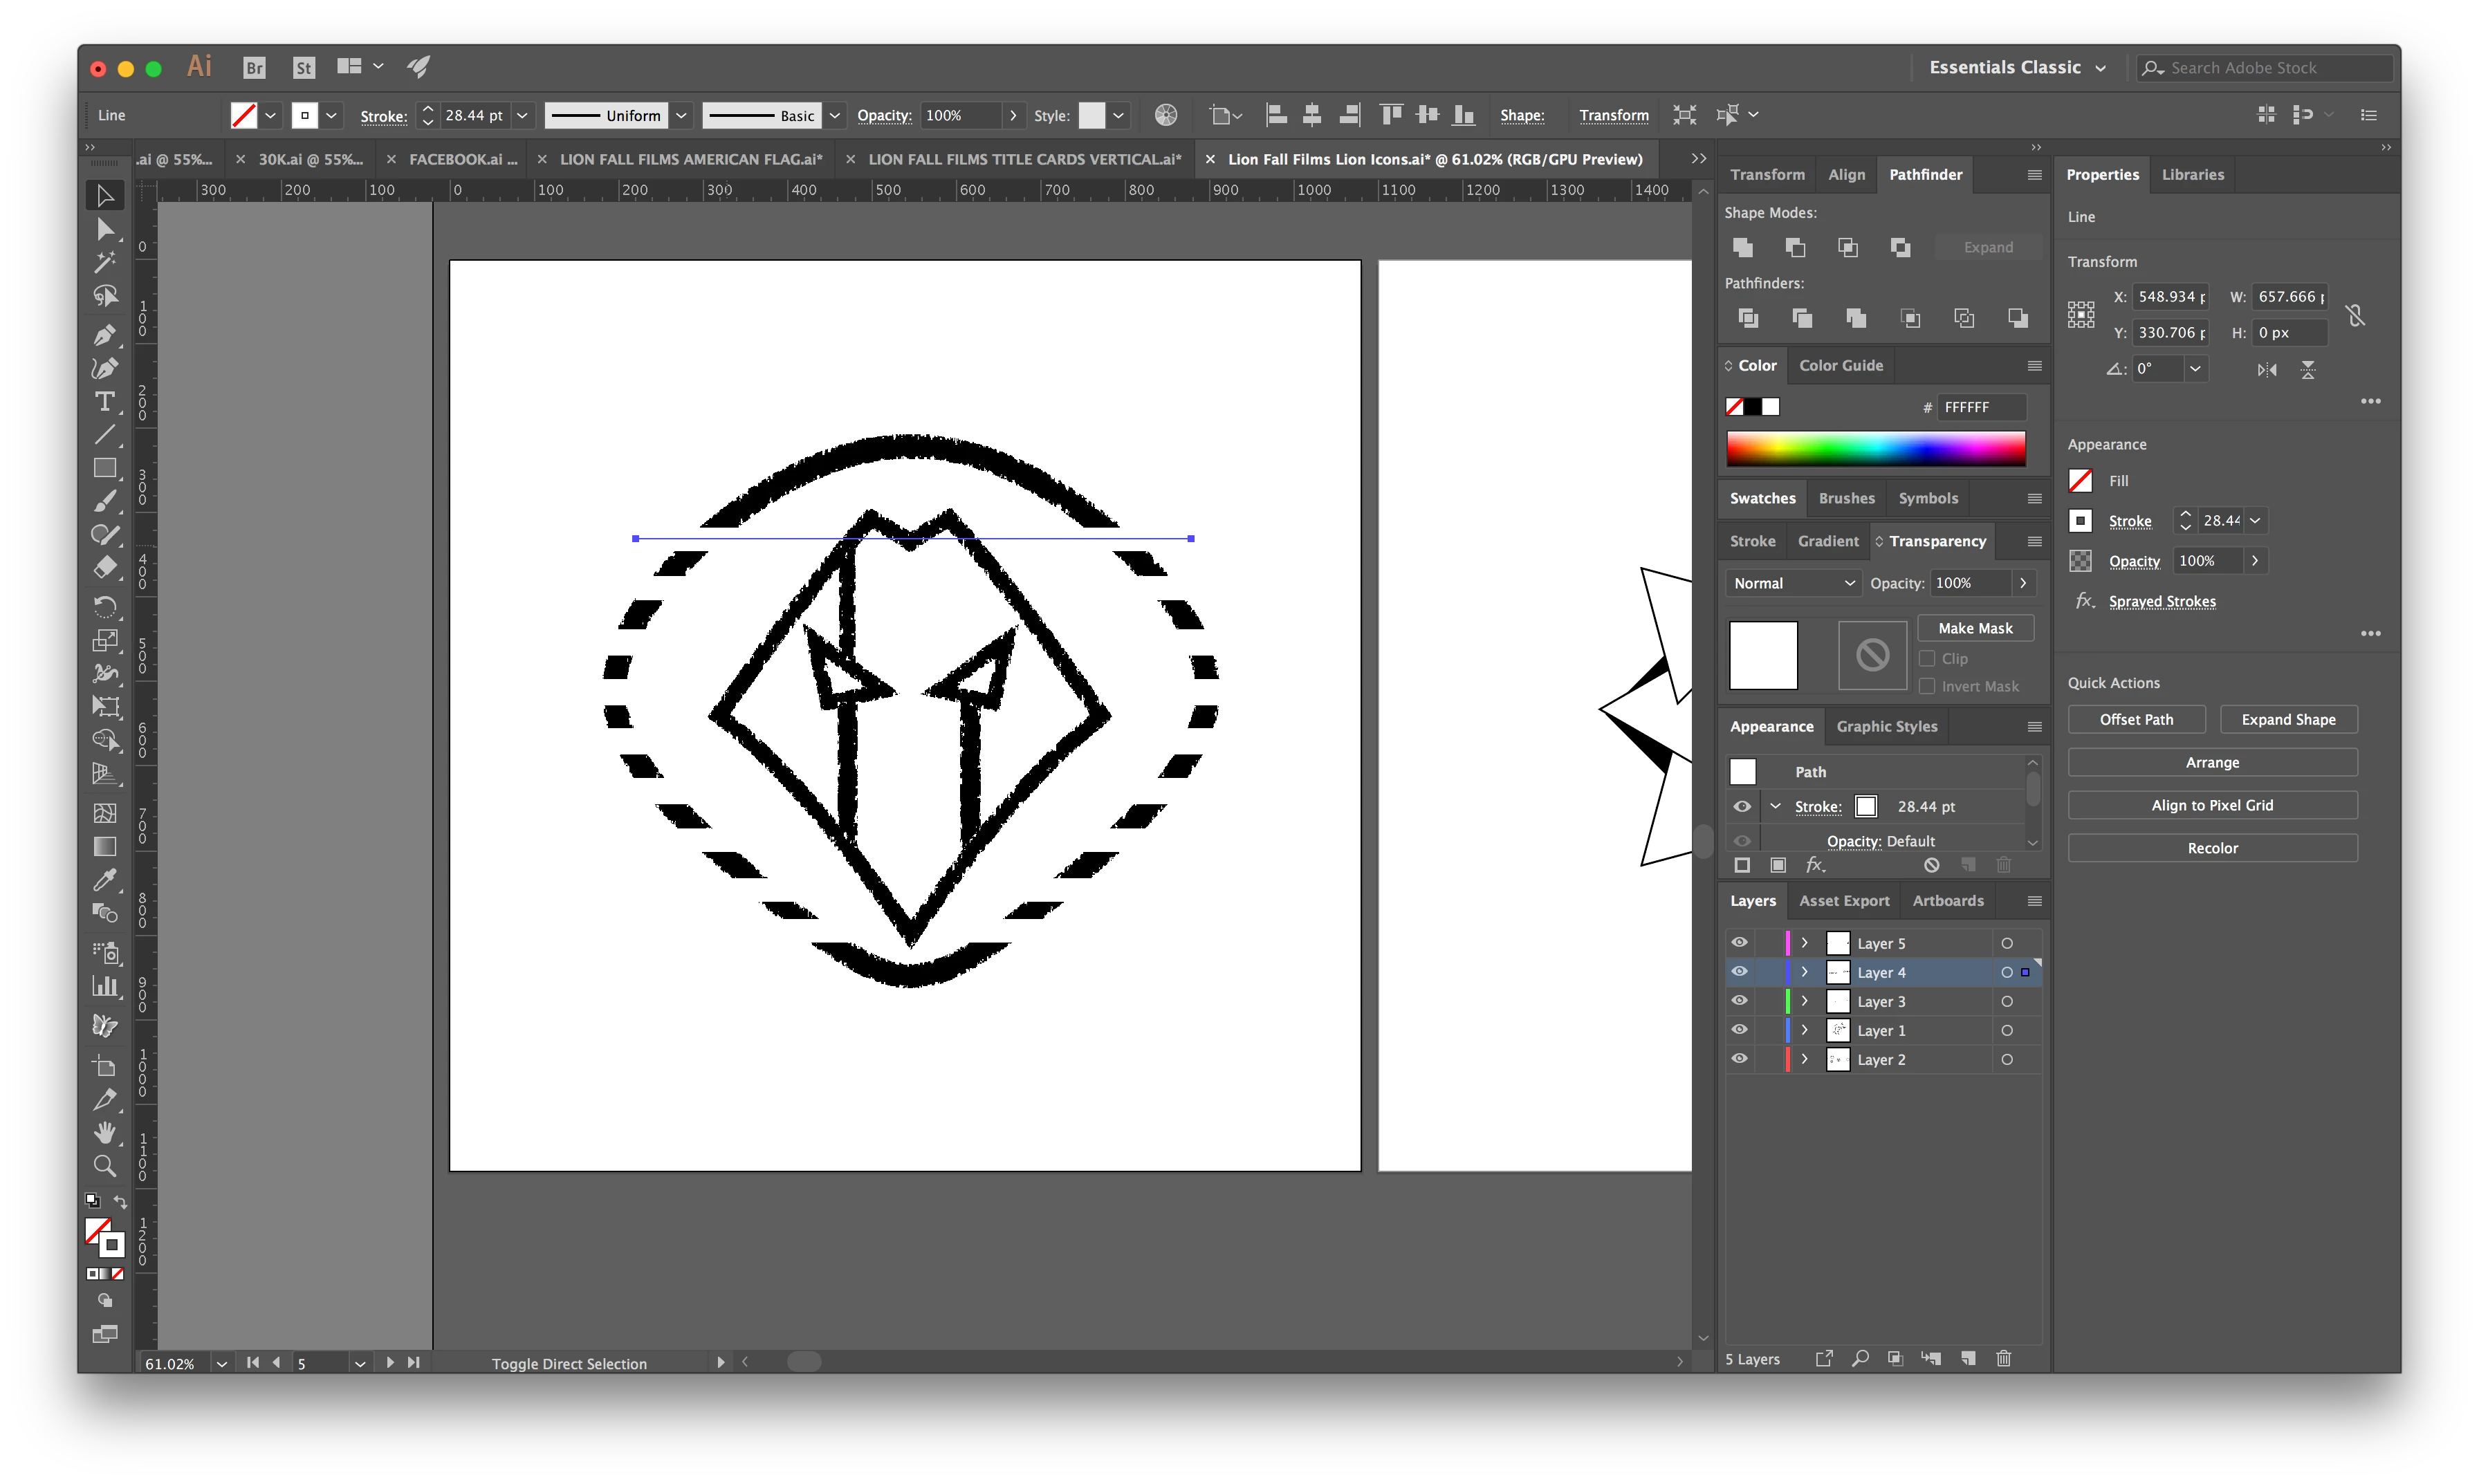
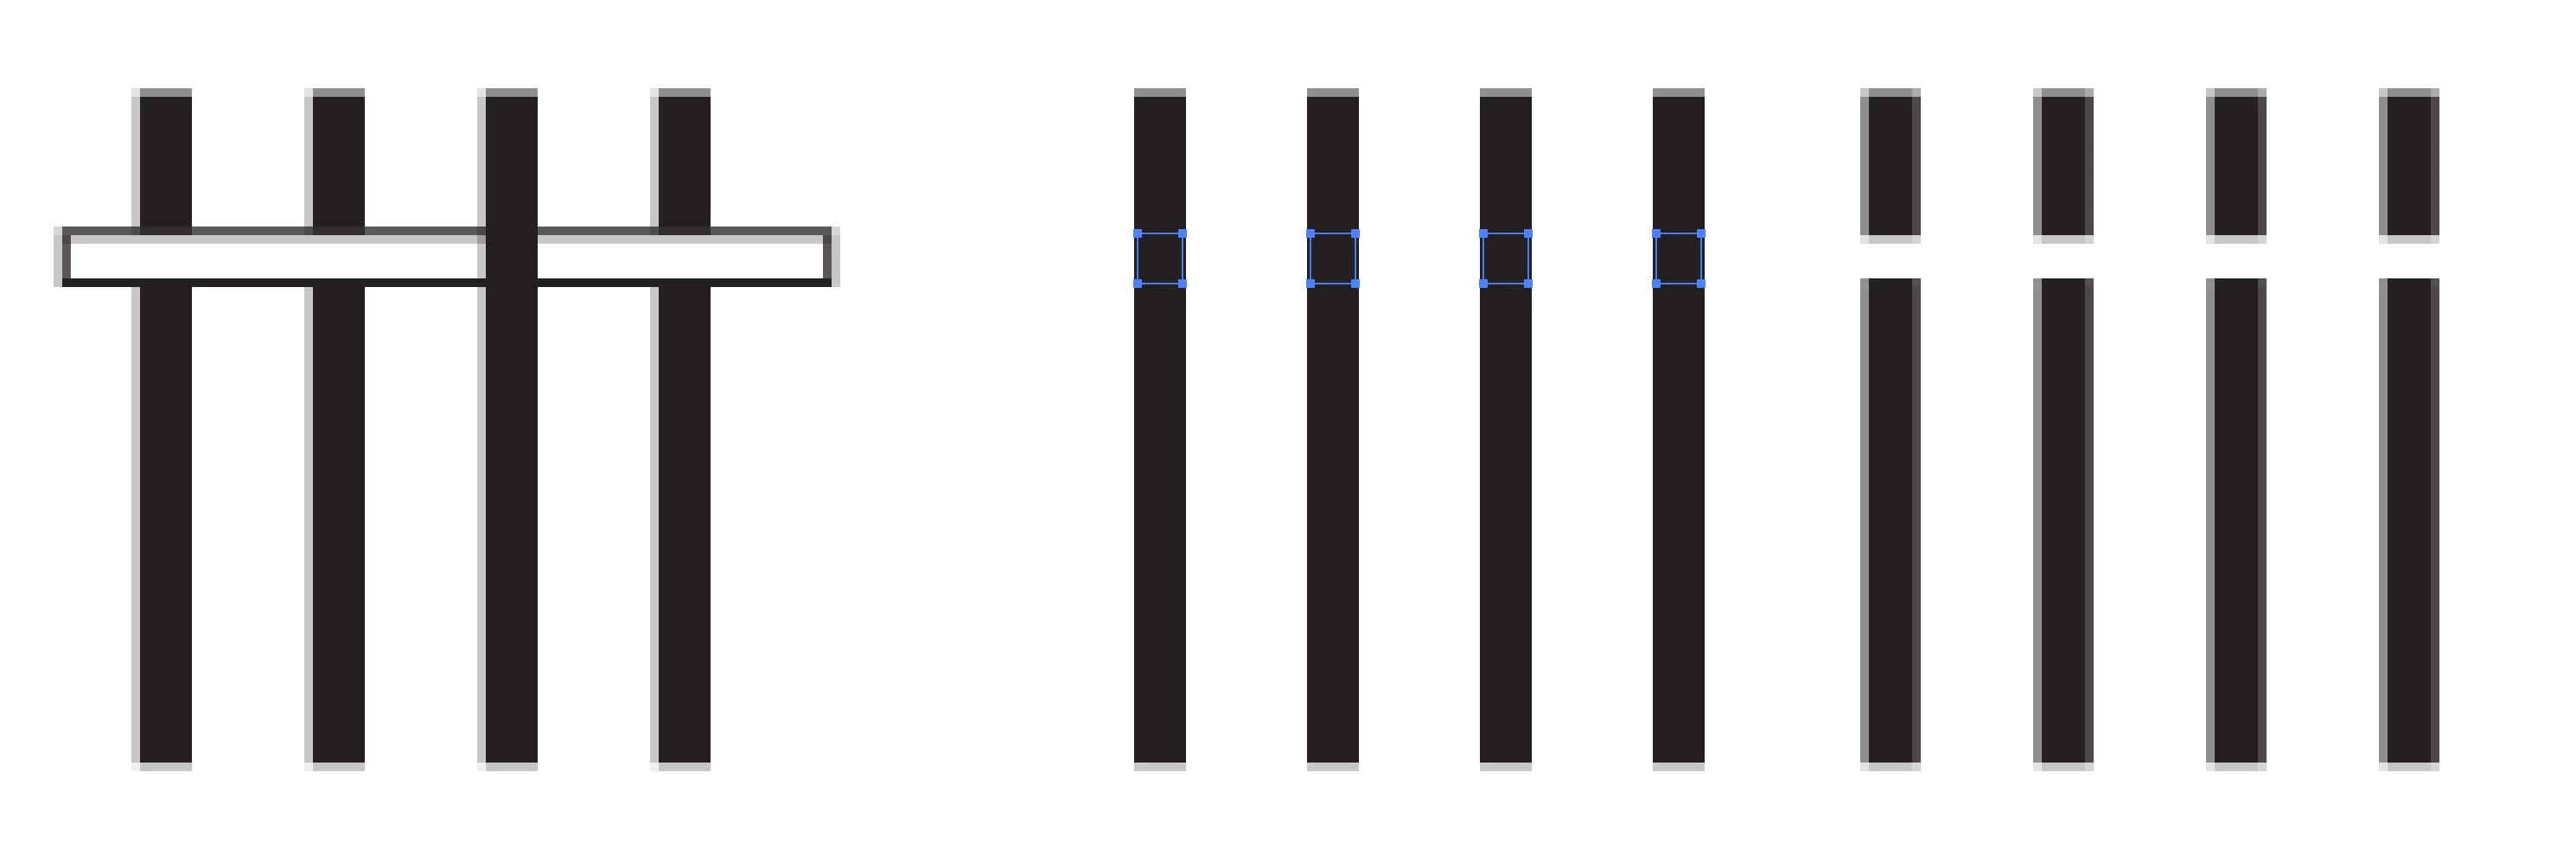
Hi, so I made this icon and purposely introduced white space on the mane by repeating rectangles white rectangles.

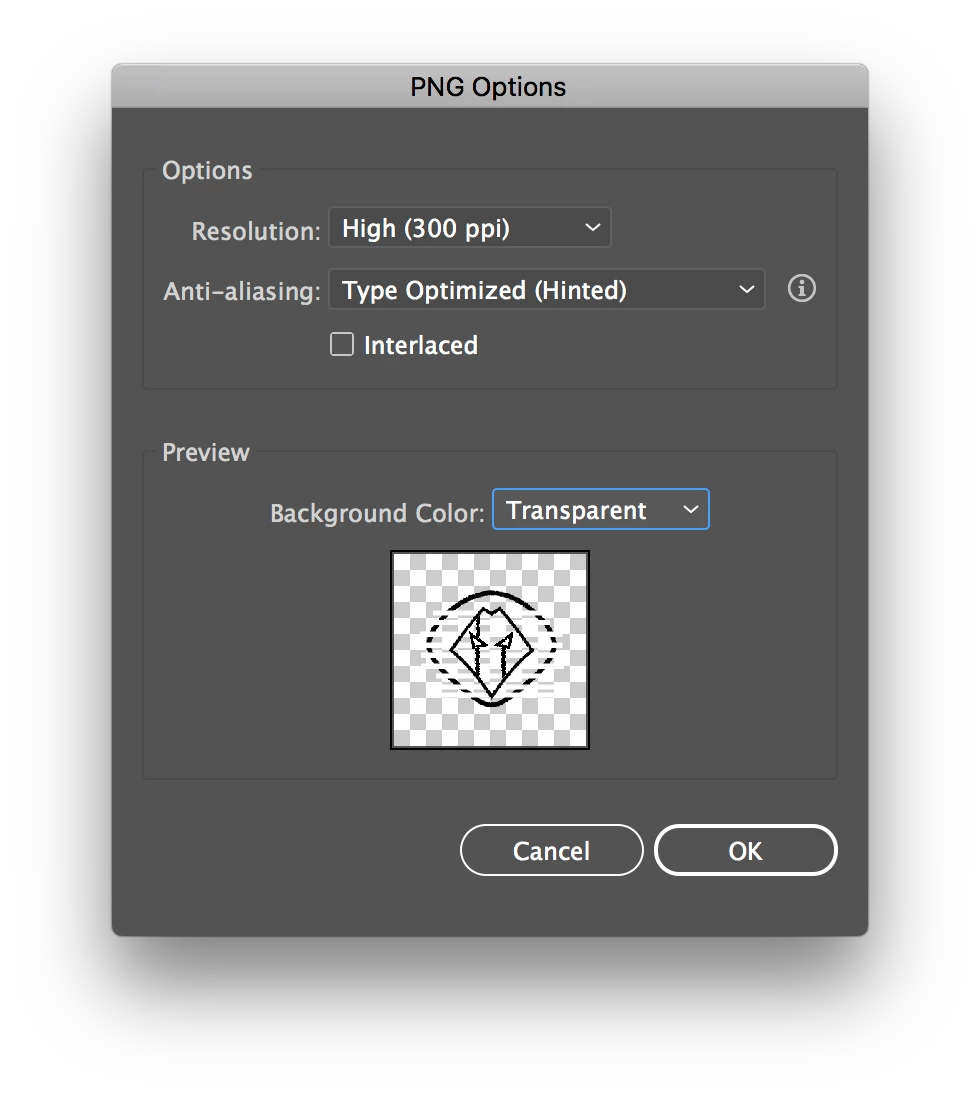
When I go to export this icon, it still shows the outline of the rectangles itself, which isn't my desired effect.

How do I turn these white rectangles into transparent lines that don't show, but still creates white space on the mane?

Thank you

Views

3.7K

Translate

Translate

Report

Report
Community guidelines
Be kind and respectful, give credit to the original source of content, and search for duplicates before posting. Learn more
community guidelines

correct answers 1 Correct answer

Community Expert , Oct 12, 2018 Oct 12, 2018

You sed a great technique if you were not exporting to have a transparent background.

To get the transparent background result, you need to 'cut' your black shapes and erase the parts to remove.

There are many tools in Illustrator to do that.

One to consider:

  1. select a white rectangle
  2. Object Menu
  3. Path
  4. Divide objects below
  5. select the parts to remove
  6. delete

In the screen shot I display the main 3 steps. As you can see, even if one of the black band was above the white, it still go cut; so separate what to cu

...

Votes

Translate

Translate
Adobe
Community Expert ,
Oct 12, 2018 Oct 12, 2018

Copy link to clipboard

Copied

You sed a great technique if you were not exporting to have a transparent background.

To get the transparent background result, you need to 'cut' your black shapes and erase the parts to remove.

There are many tools in Illustrator to do that.

One to consider:

  1. select a white rectangle
  2. Object Menu
  3. Path
  4. Divide objects below
  5. select the parts to remove
  6. delete

In the screen shot I display the main 3 steps. As you can see, even if one of the black band was above the white, it still go cut; so separate what to cut and what to protect in different layers.

Screenshot 2018-10-12 at 17.36.51.png

Votes

Translate

Translate

Report

Report
Community guidelines
Be kind and respectful, give credit to the original source of content, and search for duplicates before posting. Learn more
community guidelines
Community Expert ,
Oct 12, 2018 Oct 12, 2018

Copy link to clipboard

Copied

Select the white objects.

Set the white fill to 0% opacity

Group all the objects of the logo

Set the group to knockout group (in the transparency panel)

When you hand this off for production: flatten transparency and then delete all the invisible objects.

Votes

Translate

Translate

Report

Report
Community guidelines
Be kind and respectful, give credit to the original source of content, and search for duplicates before posting. Learn more
community guidelines
Advocate ,
Oct 12, 2018 Oct 12, 2018

Copy link to clipboard

Copied

LATEST

Select the white strokes, go to Object menu, and select "Expand".

Next, select the expanded white strokes and go to Object menu, select, "Compound Path", and select "Make".

Finally, select the white strokes and make sure they are brought to the front of the black stroke object. Then select the white strokes and black stroke object at the same time, and go to your pathfinder palette and select "minus front" icon.

Votes

Translate

Translate

Report

Report
Community guidelines
Be kind and respectful, give credit to the original source of content, and search for duplicates before posting. Learn more
community guidelines