

- Home
- Illustrator
- Discussions
- Applying decoration/texture to bent isometric obje...
- Applying decoration/texture to bent isometric obje...

Copy link to clipboard
Copied
Hello!
This is my very first time I have actually met struggle with Illustrator so here is a question - How do I actually bend or apply decorations/textures to isometric or any other 3D object so it actually looks like its part of it? Here is an example of icon I am trying to design with 0 success so far.
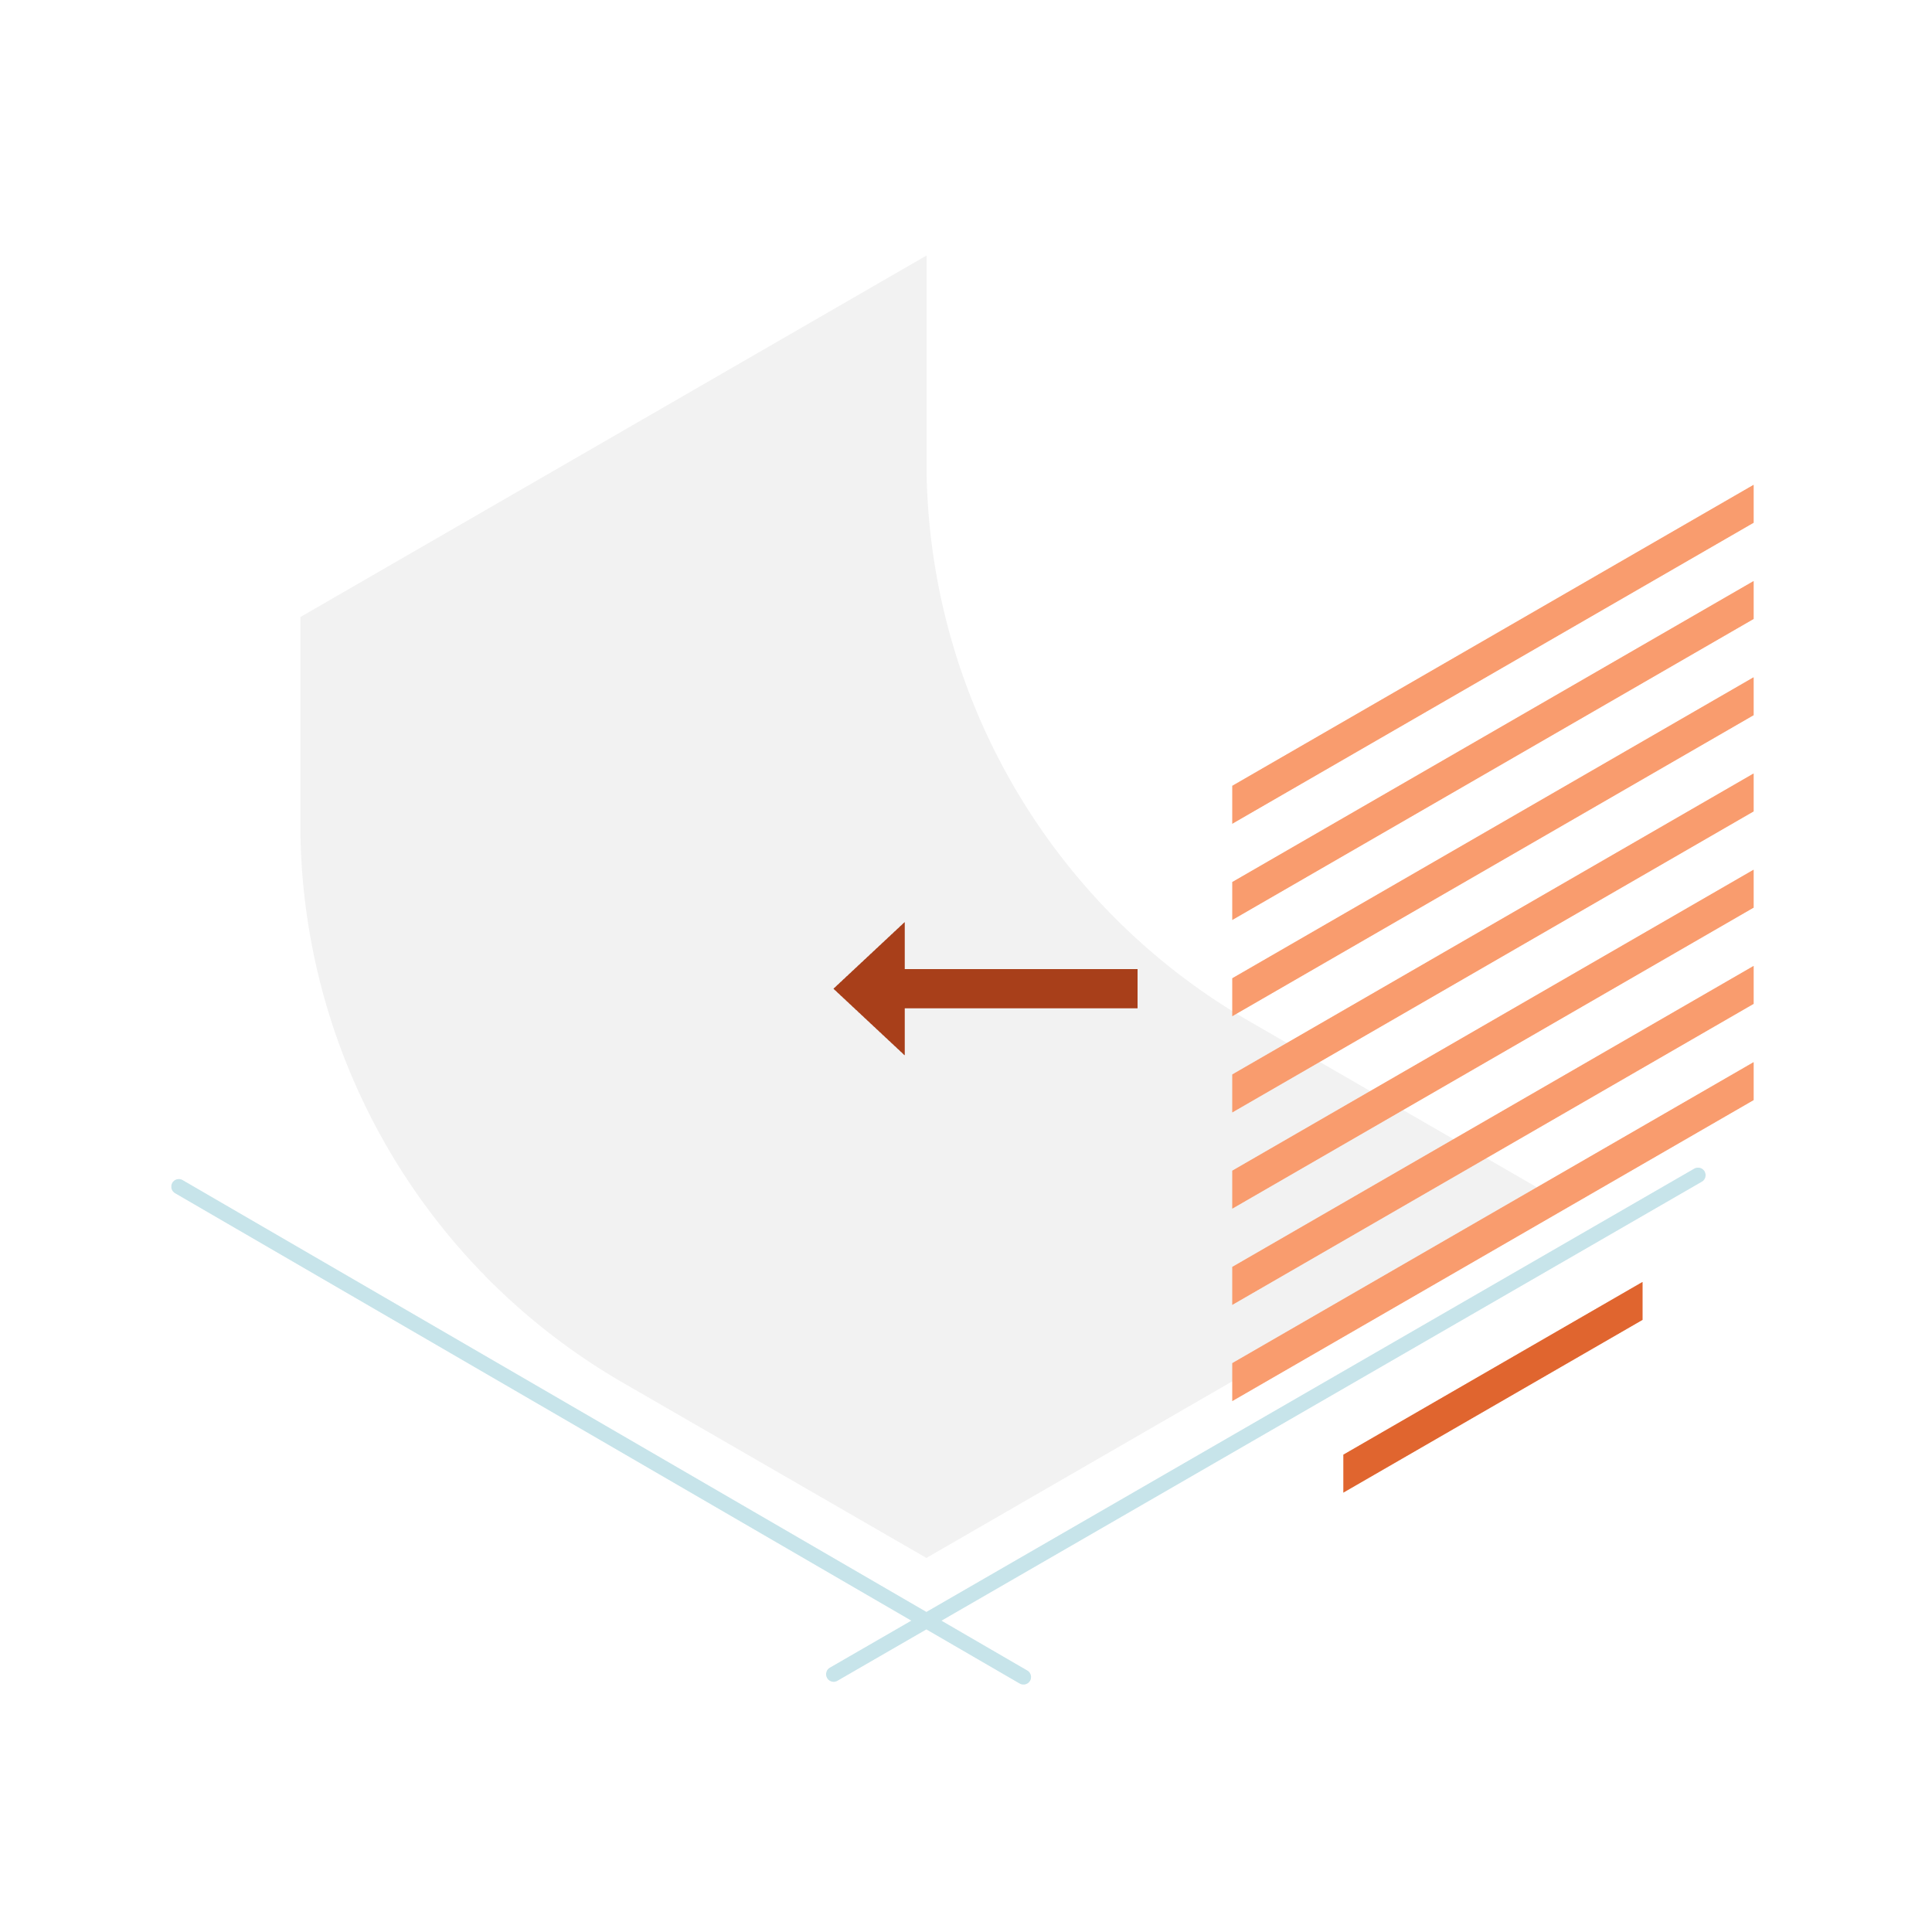
Idea is to apply symbolic text to isometric bent flat page.
It would be much appreciated if someone could give any tips or advice on how to proceed. I tried mapping art with extrude & bevel and it didnt work so I am really hopping that there is some stupidly easy trick to it 


 1 Correct answer

Looks good. To be honest, this particular pattern needs no distortion for such a simple shape, just rotating the pattern within the finished shape would be convincing enough.
- Fill the final shape with a horizontal or vertical pattern.
- Click "R" to access the "Rotate" tool
- Holding "~" key, rotate until the pattern matches the angle of the shape.
Holding the "~" key will limit any modifier tool to affect only the fill.
Here's a short video illustrating the process:
...Explore related tutorials & articles
 7
Replies
7
7
Replies
7
Copy link to clipboard
Copied
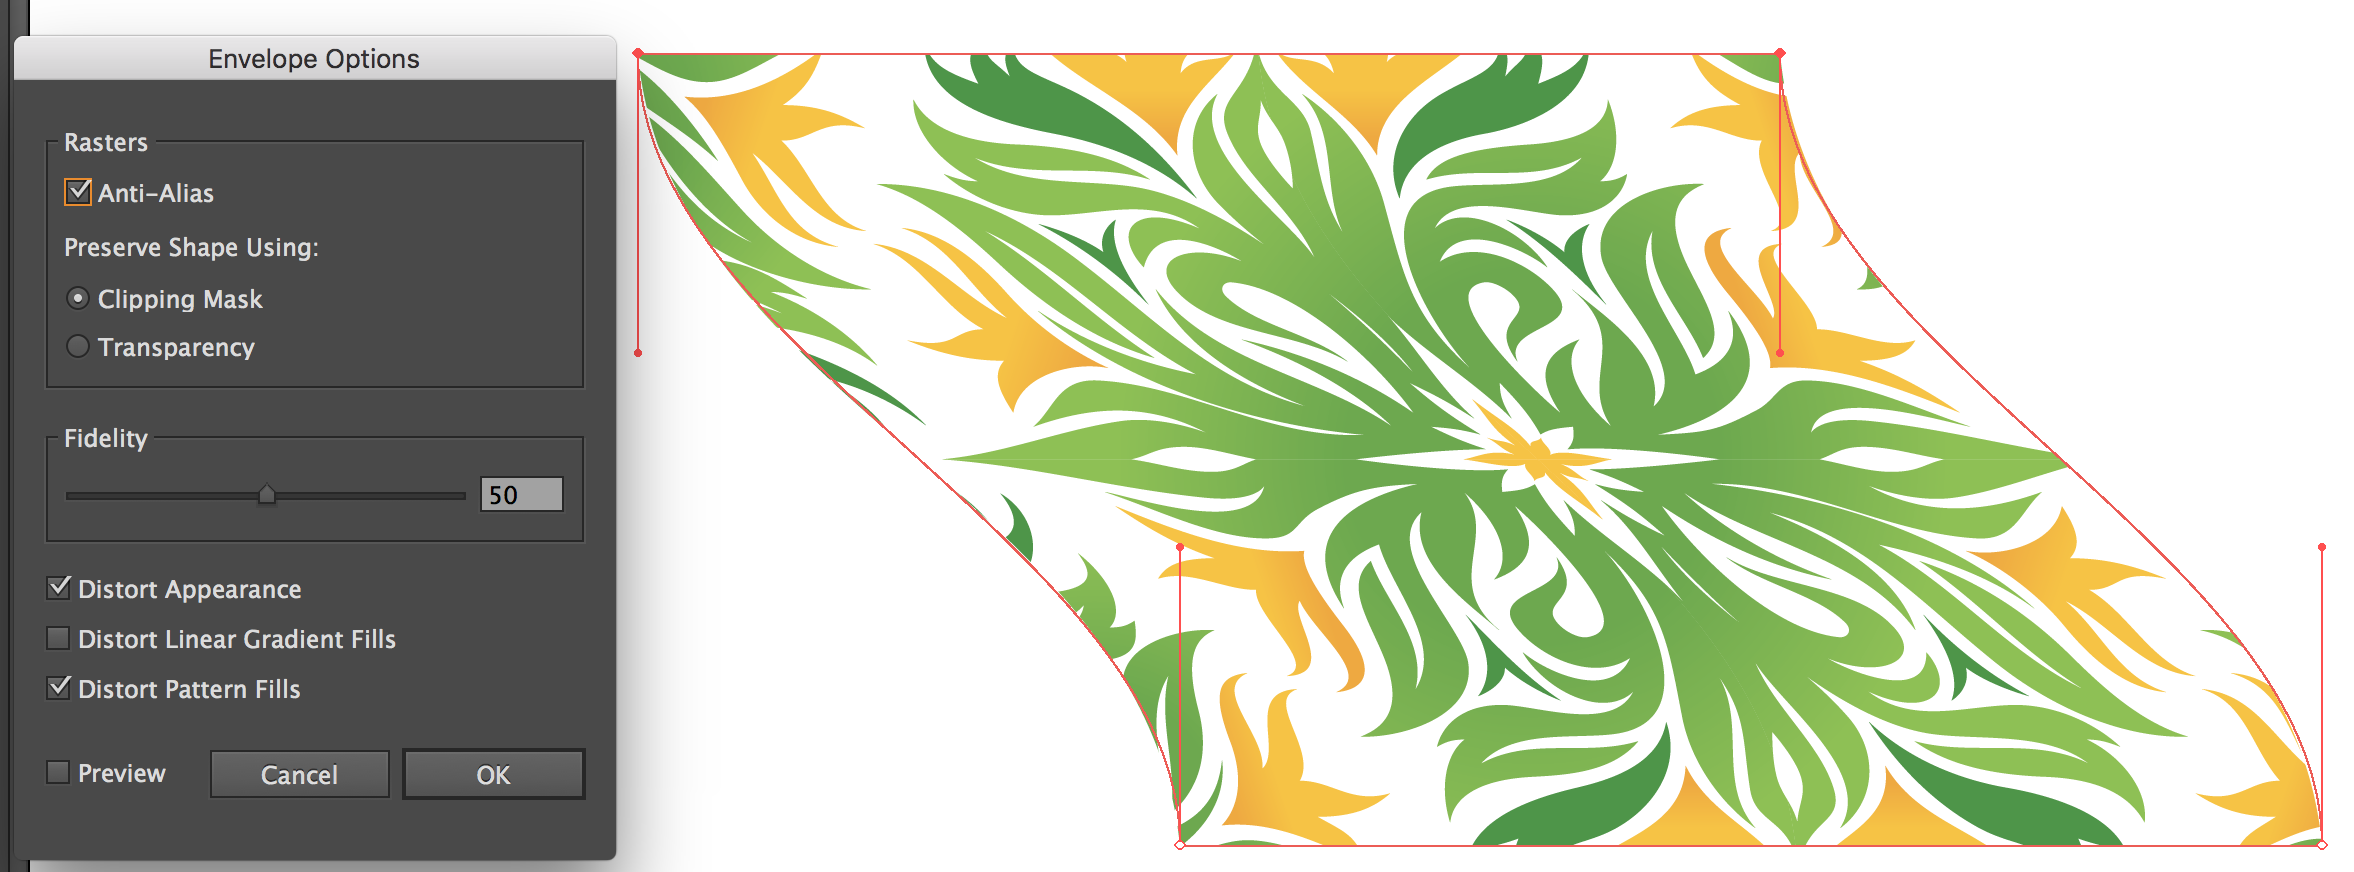
The trick is to convert artwork to "Symbol" then distort with Distortion Mesh. Also, be sure to set Distortion options to "Distort Pattern Fills".
This video may also help:
Copy link to clipboard
Copied
Thank for your answer it seems it might work but for now its super messy tool to be honest, hopefully its just matter of time to master it..
Copy link to clipboard
Copied
I think that's what many people would say about AI in general. 
You could create a 3D Effect, but that process is far more messy and indirect.
Copy link to clipboard
Copied
Alright thats how far I got hopefully will find out better techniques but I guess there are limits.. 
And again thank you!
Copy link to clipboard
Copied
Looks good. To be honest, this particular pattern needs no distortion for such a simple shape, just rotating the pattern within the finished shape would be convincing enough.
- Fill the final shape with a horizontal or vertical pattern.
- Click "R" to access the "Rotate" tool
- Holding "~" key, rotate until the pattern matches the angle of the shape.
Holding the "~" key will limit any modifier tool to affect only the fill.
Here's a short video illustrating the process:
Rotate Fill Pattern in Illustrator - YouTube
I realize the idea of using an Path Offset Effect would not work in your case because your margin is not equal around all four sides.
Copy link to clipboard
Copied
Oh wow thanks again for detailed explanation and video! I really enjoyed it and learned something very helpful especially that you can easily rotate texture with the "~" key, really didnt know that
Also here are examples side by side: on the right my struggle with envelope thingy and on the right your technique with patterns.
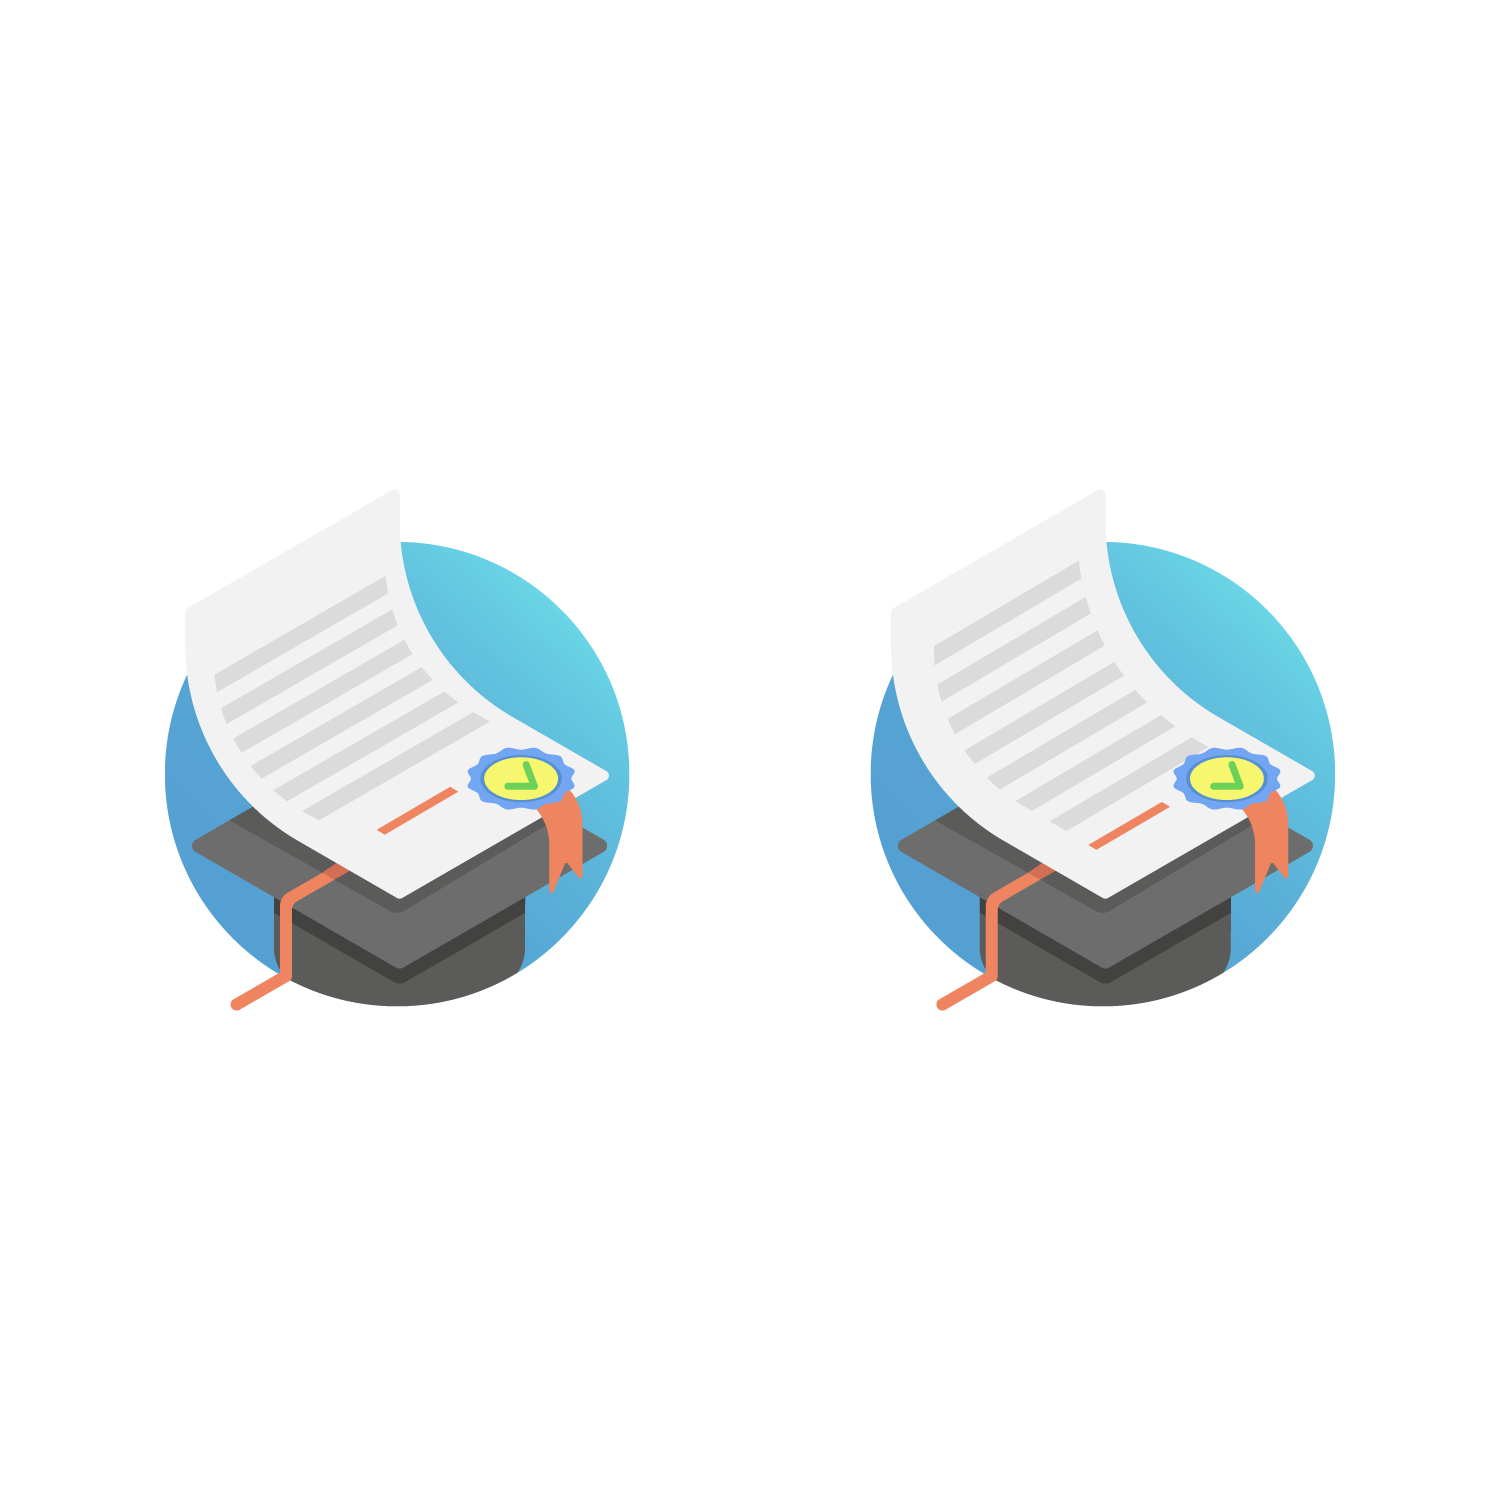
As you can tell mine version is worse as it makes lines of the shape very shaky and not aligned properly to the pages margin.
On the other hand yours is just perfect but still needs some tweaking.
Copy link to clipboard
Copied
Tweaked a little bit so here refined version:

Basically the key solution was just using patterns -> rotate -> offset path and after that you can just tweak patterns how you want

Find more inspiration, events, and resources on the new Adobe Community
Explore Now
 AdChoices