 Adobe Community

Copy link to clipboard
Copied
Hello All,
Thanks for taking time to read my post - I just simply want to add bleed to a file. I have researched thoroughly, but it still isn't doing what I want it to.
So basically I have created a 130cm by 30cm poster and I want to add 3mm of bleed all around the edges, which overlaps the crop marks when in a PDF form.
Here are my settings:
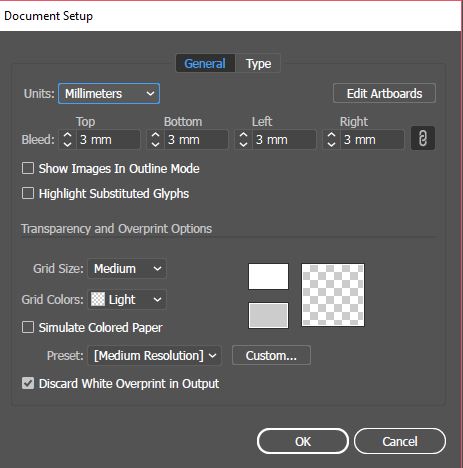
It seems to be what is suggested online.
However. This is what I'm getting when I try those suggested settings:

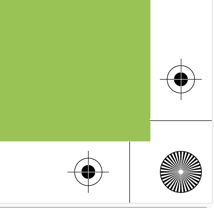
You can see the bleed isn't overlapping the crop marks - I want it to be bigger than the crop marks so when it is trimmed once printed, like below diagram i made.
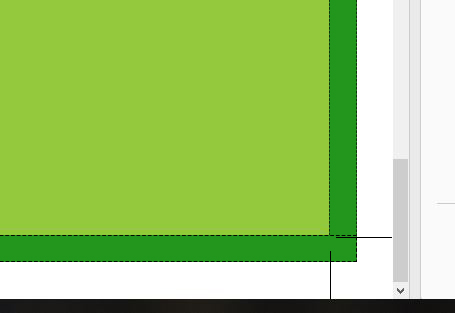
I want it to be all the same colour green but I just made it darker green to show where I want the bleed to go - Which is beyond the crop marks.
Instinct tells me i need to put minus figures in the Bleed Settings but that isn't an option.
Please could anyone help? I'm sure its doable! Thank you in advance x


 1 Correct answer
Thank you Chad! Looks like I have managed to do it - My issue was my artwork wasn't extended to the bleed line, meaning it was just blank white space that was showing in the bleed, and I adjusted the offset to the same value and that worked as well! So thank you to both of you for your help..
Charles, in regards to the overlap, It was something that was put in the request for the artwork finish...Nothing to do with me!
Explore related tutorials & articles
 12
Replies
12
12
Replies
12

Copy link to clipboard
Copied
Hi,
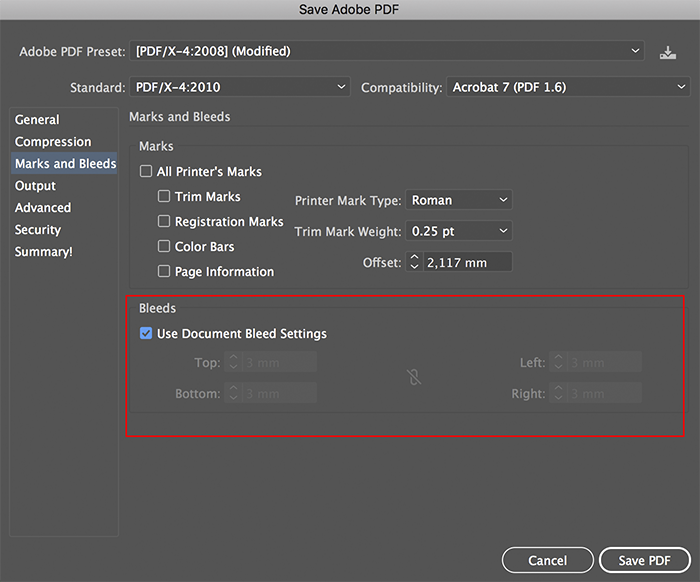
saving in PDF from Illustrator, set the MARKS AND BLEEDS option:
Copy link to clipboard
Copied
Hi thanks so much for your post -
Unfortunately
A) Copying That method exactly doesn't give me the trim marks,
B) and it still seems to not give me extra bleed.
As i said, I'm sure minus figures would make it work, but they aren't possible...
Really is confusing. I'm sure its simple! Does anyone know of a way to do it on photoshop?

Copy link to clipboard
Copied
If you require Trim marks then you can tick the first checkbox;
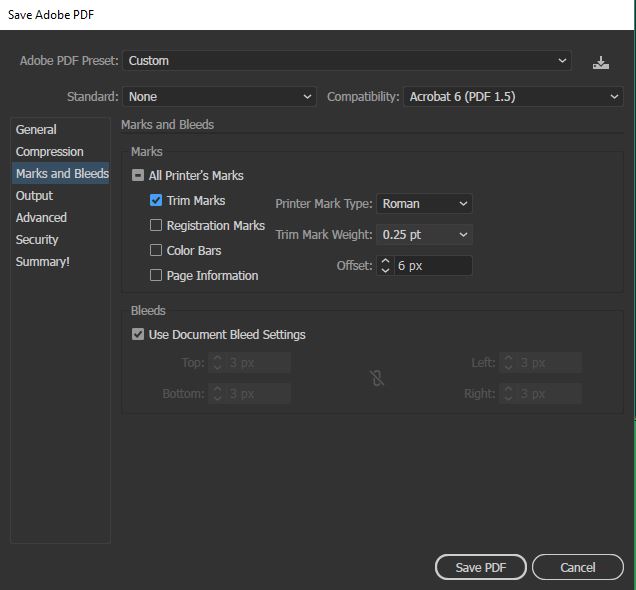
Will give you the desired effect;

Obviously, you can increase the bleed - I've just added 3px
Not sure what you mean by minus bleed, there is no such thing - You either have a bleed or you don't.

Copy link to clipboard
Copied
What version of Illustrator are you running? It looks like your running an older version since bleed was a new feature added in a fairly recent version of Creative Cloud.
Copy link to clipboard
Copied
Hi Chad, I'm using 2018 version...!
Copy link to clipboard
Copied
I’m now confused, are you still having issues? The solution to your question is above.
Copy link to clipboard
Copied
Thanks for your replies charles - the issue im having is Im still not getting the bleed overlapping the trim marks ( I want the bleed to be a 3mm enlargment of the green area, overlapping the trim marks, as I originally drafted out in my diagram in the original post)
Sorry, is it making any sense at all?
Copy link to clipboard
Copied
Sorry @charles I skimmed a little too quickly and thought the OP wasn't seeing the bleed options. KelseyW99, your answer is in this post. First you need to make sure that the artwork that you want to bleed is extending to the bleed guide that you defined. Now when you print or export to PDF, just make sure that you choose "Use Document Bleed Settings".
Copy link to clipboard
Copied
(on my example) If you follow the trim mark from the outside of the line, you’ll notice that both points leave a 3mm bleed.
It will always add the white space but if you follow the lines you’ll notice that they cut to the bleed.
May I ask why you want them to overlap?
Copy link to clipboard
Copied
Ahhh. I think I understand your problem now. So when you are printing or exporting to PDF, in the Marks and Bleeds category, increase your offset value to 3mm as well. This will force the marks to offset from the trim to that amount (equal to your bleed). See figures below.

Copy link to clipboard
Copied
Thank you Chad! Looks like I have managed to do it - My issue was my artwork wasn't extended to the bleed line, meaning it was just blank white space that was showing in the bleed, and I adjusted the offset to the same value and that worked as well! So thank you to both of you for your help..
Charles, in regards to the overlap, It was something that was put in the request for the artwork finish...Nothing to do with me!
Copy link to clipboard
Copied
Ah, I think a lot of confusion on my part as I figured you were just not seeing your bleed! Glad you’re all sorted - Good job Chad!

 AdChoices