


Copy link to clipboard
Copied
Hello, i am A VERY new user to Indesign- not sure if I clicked something that is applying some sort of weird fade or washed-out effect to all the images I am placing onto my board, but everything looks dull- see images attached.
Here is what it looks like
here is what that bottom image should look like


 1 Correct answer

I was having this problem too (hence finding this thread) I fixed my problem by right clicking on the image -> Graphics -> Image colour settings -> setting Profile to: Adobe Indesign default RGB and my Rendering intent to: Perceptual (images).
Everything now shows up in it's true colours from Bridge and PS without the faded grey/blue wash over them.
 19
Replies
19
19
Replies
19

Copy link to clipboard
Copied
My bet is that you've got scrambled color reproduction settings -- either within InDesign itself, or if the images were manipulated with Photoshop, in the photos themselves. By my experience this generally results when images are set up for, say, newsprint reproduction but the job (and/or InDesign file) is prepped for magazine reproduction.
Do the colors print as washed out? Or do they just appear that way onscreen?

Copy link to clipboard
Copied
not sure if I clicked something that is applying some sort of weird fade or washed-out effect to all the images
It looks like you have applied some transparency amount or an Effect to the images or their frames. Open the Flattener Preview panel and choose Transparent Objects from the Highlight pop-up. That will highlight any transparencies applied to objects on the page and you can use the Effects panel to remove effects or change opacity.
If you were to inadvertently set the Effects Opacity setting to less than 100% with nothing selected, then all future rectangles you create would have that opacity setting applied. You could also have an Opacity change applied to a default Object Style.

Copy link to clipboard
Copied
It will help us analyse better if you click on one of these two images, grab a screenshot of your InDesign "Control Panel".

Copy link to clipboard
Copied
I am a very experienced InDesign user and am having this exact same problem all of the sudden. I have not accidentally applied any effects or anything. It will happen sometimes just from resizing an image. Can anyone help?

Copy link to clipboard
Copied
I've used InDesign since it came out, and suddenly I am experiencing a similar problem as well. Often (but not always) when I update or place an image, it appears very faded. If the box has a fill, the fill color will come through as well. Transparancy is 100%, no effects were changed or added, the image suddenly just previews faded. If I select the image and select Display Performance --> High Quality Display, it snaps back to normal. If I turn on separations in the Separation Preview panel, the image snaps back to normal. But when I switch these settings back, the image appears faded again. The best workaround I have is to save and close the document, then when I re-open it, the images appear normal again.
This started happening when I upgraded from a 2013 iMac to a 2017 Retina 5K iMac. I thought it might have something to do with GPU settings or other display prefs but no matter what I change, this continues to happen. Seems like a bug.

Copy link to clipboard
Copied
Another experienced InDesign user here, I'm having this same problem.
Started a couple of weeks ago for me. Seems like a bug. Something to do with how the images are displayed. It usually happens after an image has been resized or cropped. But it seems completely random.
As Todd Shirley mentions, changing the display performance to 'high quality' for the affected image does fix it.
But it's not a long term solution because if all my images were displayed as 'high quality', InDesign would crash.
Adobe please fix this bug.
Copy link to clipboard
Copied
Can you share a sample page with the problem, via Dropbox or your CC account?
Copy link to clipboard
Copied
I was having this problem too (hence finding this thread) I fixed my problem by right clicking on the image -> Graphics -> Image colour settings -> setting Profile to: Adobe Indesign default RGB and my Rendering intent to: Perceptual (images).
Everything now shows up in it's true colours from Bridge and PS without the faded grey/blue wash over them.

Copy link to clipboard
Copied
If anyone ever reads this again as I just had the same problem none of the above worked for me specifically (someone mentioned source files, but didnt specify the fix) but I did find a solution. What I realized is that my source files from Photoshop were in RGB. As soon as I converted them to CMYK all problems fixed. Graphics popped with full color when exported to PDF. I never work in photoshop RGB but something must have happened. Any way, hope someone finds this helpful!
Copy link to clipboard
Copied
What I realized is that my source files from Photoshop were in RGB. As soon as I converted them to CMYK all problems fixed. Graphics popped with full color when exported to PDF.
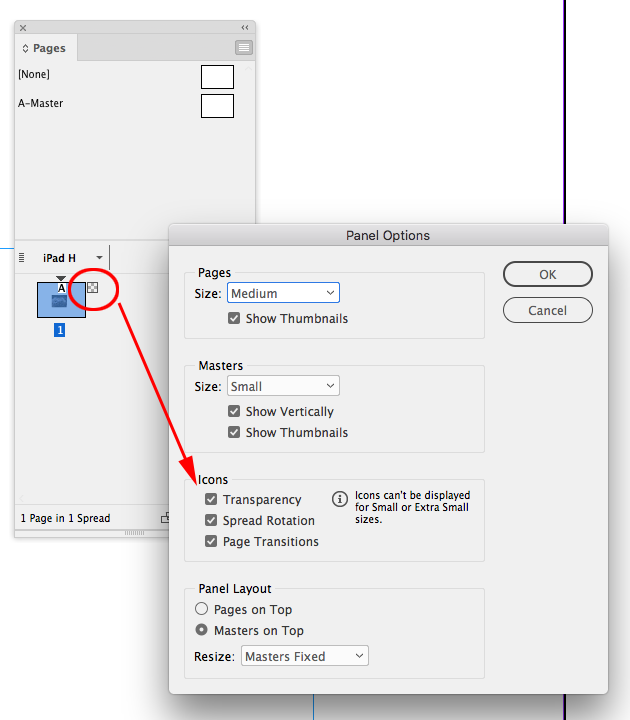
Conversions from RGB to CMYK wouldn't increase the color range, usually the opposite happens when you convert into the smaller CMYK space. So something else was going on where replacing the original file solved the problem. Make sure there's no unintended transparency on the page. The Pages panel has a transparency icon, which tells you if any transparency exists on the spread.

Copy link to clipboard
Copied
Conversions from RGB to CMYK wouldn't increase the color range, usually the opposite happens when you convert into the smaller CMYK space. So something else was going on where replacing the original file solved the problem.
I agree with Rob. My guess is that the RGB images were untagged and were therefore considered as deviceRGB in Acrobat and that the Acrobat colour settings had an inappropriate RGB default, whereas once converted to CMYK the profile was either embedded and not deviceCMYK or the converted space was the same/close enough to the CMYK working space for deviceCMYK.

Copy link to clipboard
Copied
Hey everyone,
I am having a similar problem and tried different things already. My Problem in detail: I am working on a document and have a coloured background on Page 1 on that background there is a png placed with a transparent background. Everything is fine with that. Now moving to page 2 I have a different coloured background and copied the png from page 1 to place it there as well. Now all of a sudden the background of page 2 turns dull. Even when I make the png unvisible the colour stays changed. So it can't be the file and the colourprofile, cause it works fine on page 1. I already exported the png again from photoshop, saved the file closed the program and restarted it.. nothing worked. The tip with image colour settings on right click did nothing for me either. I hope you guys can help me. 


Copy link to clipboard
Copied
Try setting your Transparency Blend Space to RGB.
It wouldn’t matter if the transparent object is visible or not—if there’s any transparent object on the spread the chosen blend space is used for the spread’s preview.
Copy link to clipboard
Copied
Genius !! Thank you so much it worked. I don't know what that setting is, and i never heard of it but I found it and now everything looks normal. I still don't understand why it did that though. At least theres a way to correct it now. Thank you again.
Copy link to clipboard
Copied
When a spread has an object with any transparency effect applied, the spead has to be flattened into a uniform color space for output. Just keep in mind that RGB color can be outside of a printer’s gamut—its color appearance is not always printable. If your document will be printed, it will still have to be brought into gamut—the RGB blend space will let you keep the RGB preview, but that doesn't mean the RGB color is printable.
Copy link to clipboard
Copied
All these are wrong, it's because the image is in a different colour mode
go to the original image file, on photoshop; Image > Mode > Change it to whatever your indesign colour mode is ..

Copy link to clipboard
Copied
A fix I found for this problem - once you select the box/frame you want to place a photo in, check to see what the Opacity for the box is. When I set up my files I set the opacity to 10%, so when photos are placed, they come in at 10%. If I change the opacity back to 100%, the photos come in at 100%

Copy link to clipboard
Copied
I was having the same problem and what I found that solved it was I deleted all bounding boxes and my image, then placed the image again and recreated the box my image was "housed" in using the rectangle tool. Worked. I tried everything else basically and that one worked for me.
Copy link to clipboard
Copied
The original parent frame must have had some transparency effect applied—setting the Transparency Blend space to RGB would also prevent the CMYK preview.

Find more inspiration, events, and resources on the new Adobe Community
Explore Now
 AdChoices