Participant
November 12, 2019
Answered

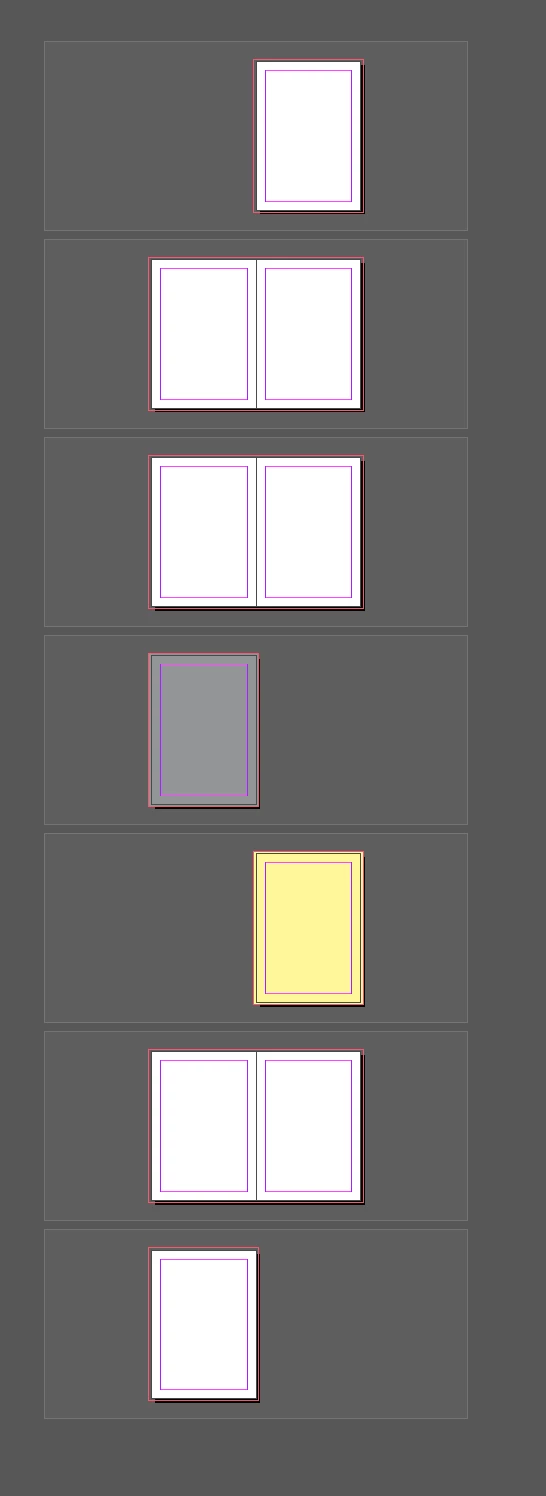
Bleed on one side of page is not shown when exporting to PDF

  • November 12, 2019
  • 2 replies
  • 1636 views

Hi guys,


I'm running into a problem in which I can not seem to find a solution. I'm working on a book with multiple documents in spread view. When exporting the book to PDF the bleeds are not always shown on the right side of the page or left side, considering where they touch in spread view ;). 


It seems there is something wrong with a few chapters inside the book but comparing a good chapter to one that has the fault shows no differences in margins, bleeds, page panel settings etc. 


I have a work around where I convert the chapters to single pages but am looking for a solution instead of a work around. 

This topic has been closed for replies.
Correct answer Willi Adelberger

Your example shows exactly what it does when you use bleed in the inside.


You should NEVER convert a facing page document to a single page document to accomplish what you want as you get a mess with styles relative to the spine.


If you mean that an image should extend into the blee or not be seen on the oopposite page you have to setup your doument differently:
1. It is ok and total correct to set up this document with facing pages.

2. On spreads where a design break is between pages (like different backgound image or color) you have to separate the 2 pages into 2 spreads:

  1. Select the spread in the page panel by clicking twice on the page numbers in the panel.
  2. In the page menu deselect allow shuffle pages.
  3. Select the right page by cllicking twice on its thumbnail
  4. Drag the page aside as a beam appears release the page.

Now wou have for each page a spread. Extend the bleed to the bleed border.


In the image you see, how it should like.

2 replies

rob day
Community Expert
Community Expert
November 12, 2019

How is the book being bound?


The only case where you need an inside bleed is with a binding method like wire-o where the inside of the page is trimmed and exposed. All other binding methods don’t need an inside bleed, and even if you include one, the printer would remove it in the page imposition process.

Participant
November 12, 2019

Hi Rob,


Wire-O indeed :D. 

Our other brochures are binded differently. This one is the, as we say in the Netherlands, the strange duck in the pond 😉 

Willi Adelberger
Community Expert
Willi AdelbergerCommunity ExpertCorrect answer
Community Expert
November 12, 2019

Your example shows exactly what it does when you use bleed in the inside.


You should NEVER convert a facing page document to a single page document to accomplish what you want as you get a mess with styles relative to the spine.


If you mean that an image should extend into the blee or not be seen on the oopposite page you have to setup your doument differently:
1. It is ok and total correct to set up this document with facing pages.

2. On spreads where a design break is between pages (like different backgound image or color) you have to separate the 2 pages into 2 spreads:

  1. Select the spread in the page panel by clicking twice on the page numbers in the panel.
  2. In the page menu deselect allow shuffle pages.
  3. Select the right page by cllicking twice on its thumbnail
  4. Drag the page aside as a beam appears release the page.

Now wou have for each page a spread. Extend the bleed to the bleed border.


In the image you see, how it should like.

Participant
November 12, 2019

Thanks Willi! This was indeed the solution, you just made me and a bunch of colleagues very happy! 😄 

Not sure how I didn't think of this, hidden in plain sight :P. Thanks again for the quick reply!