Copy link to clipboard
Copied
Hello !
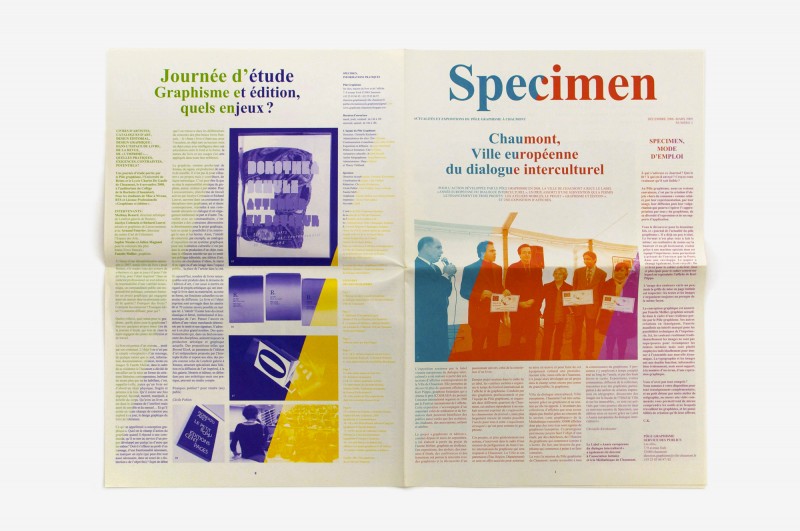
I am trying to do the same thing as in the picture below, ie isolated some part (text, image, etc, all that has an ink) and to change the ink in this area ... I tried transparency effects but nothing makes it ... someone has an idea?
Thank you in advance !
 1 Correct answer
Salut !
Here's my suggestion:
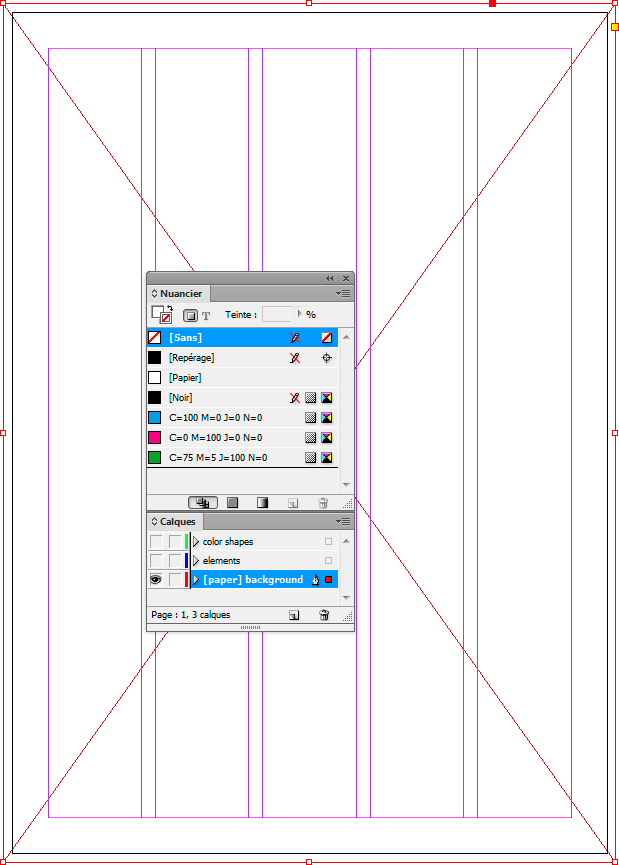
- First create an empty frame that you place as a background. Fill it with [Paper] swatch.
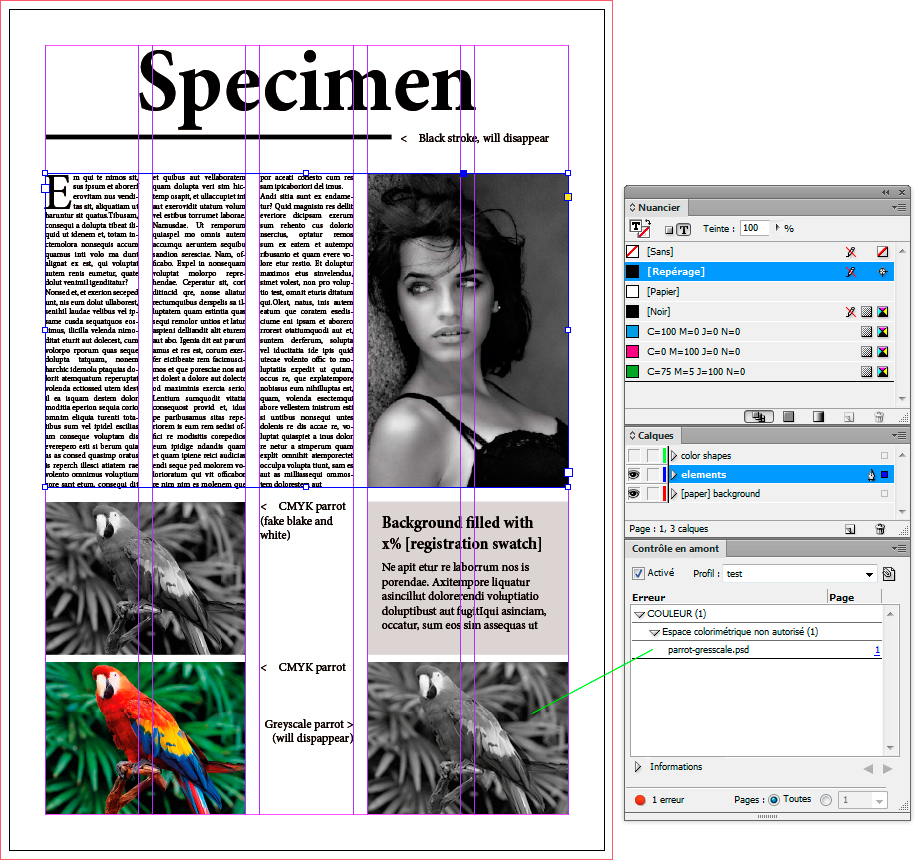
- Then set up everything with [Registration] swatch instead of [Black].
Text, stroke, fills, etc. I don't think preflight profile can spot the use of [black], probably a script would.
Make sure no picture use greyscale mode. Preflight profile will be handy there:
- Add your colored shapes on top of everything.
Apply Screen (superposition en français) transparency mode to them.
Make sure the
...Copy link to clipboard
Copied
Salut !
Here's my suggestion:
- First create an empty frame that you place as a background. Fill it with [Paper] swatch.

- Then set up everything with [Registration] swatch instead of [Black].
Text, stroke, fills, etc. I don't think preflight profile can spot the use of [black], probably a script would.
Make sure no picture use greyscale mode. Preflight profile will be handy there:

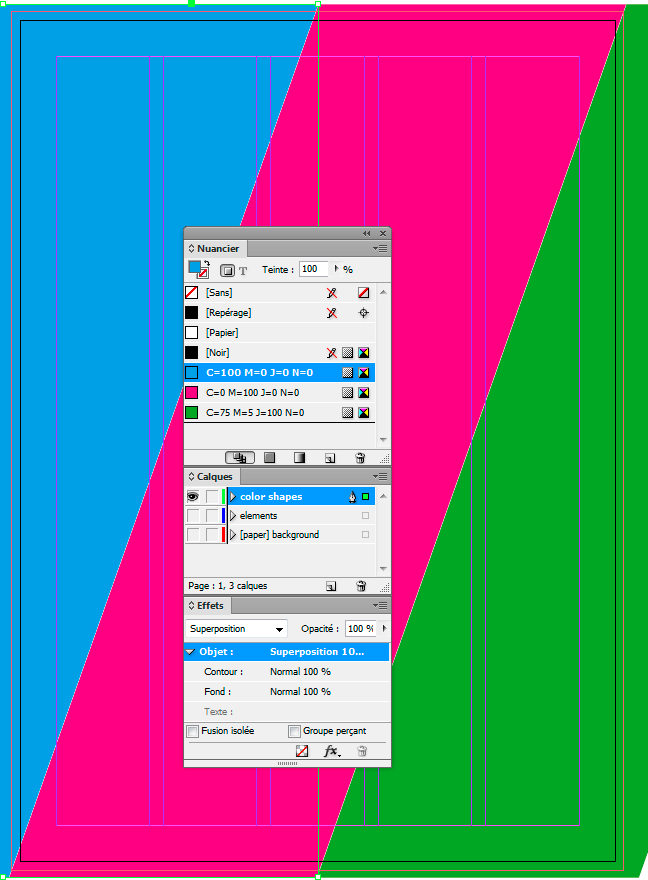
- Add your colored shapes on top of everything.
Apply Screen (superposition en français) transparency mode to them.
Make sure they don't overlap, nor there's any gap between them:
- Final result:
See the black elements that have disappeared!
See also the resulting difference between colored picture and the faked greyscale:
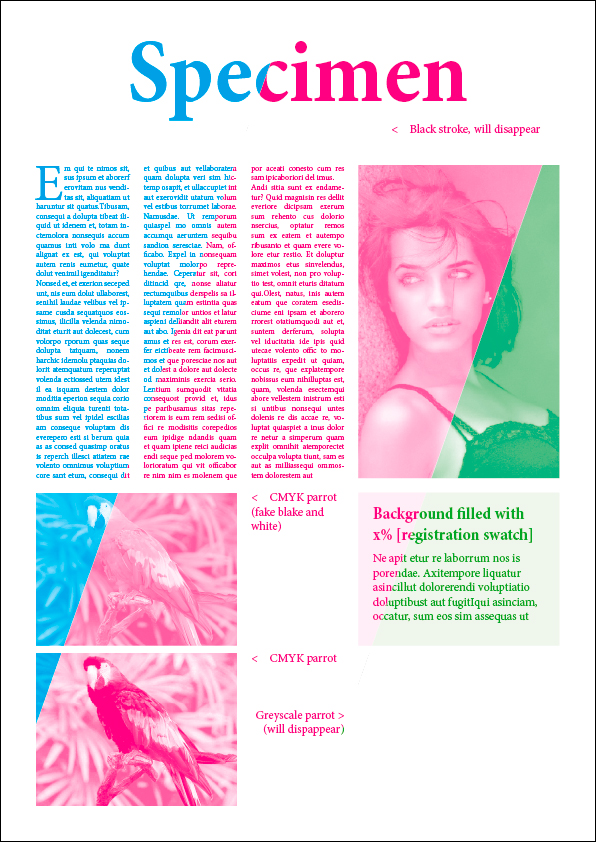
J'espère que cela correspond bien à ta demande.
a+
Vinny
Copy link to clipboard
Copied
It was all about this white background…… quite easy in fact ! Thanks a lot ![]()
Copy link to clipboard
Copied
Clever!
It works with spot colours too, which I guess would the best way to achieve the example the OP posted.
Copy link to clipboard
Copied
Thanks for the nice comments (special thanks to Uwe who made me earn my 5th green bar ^^)
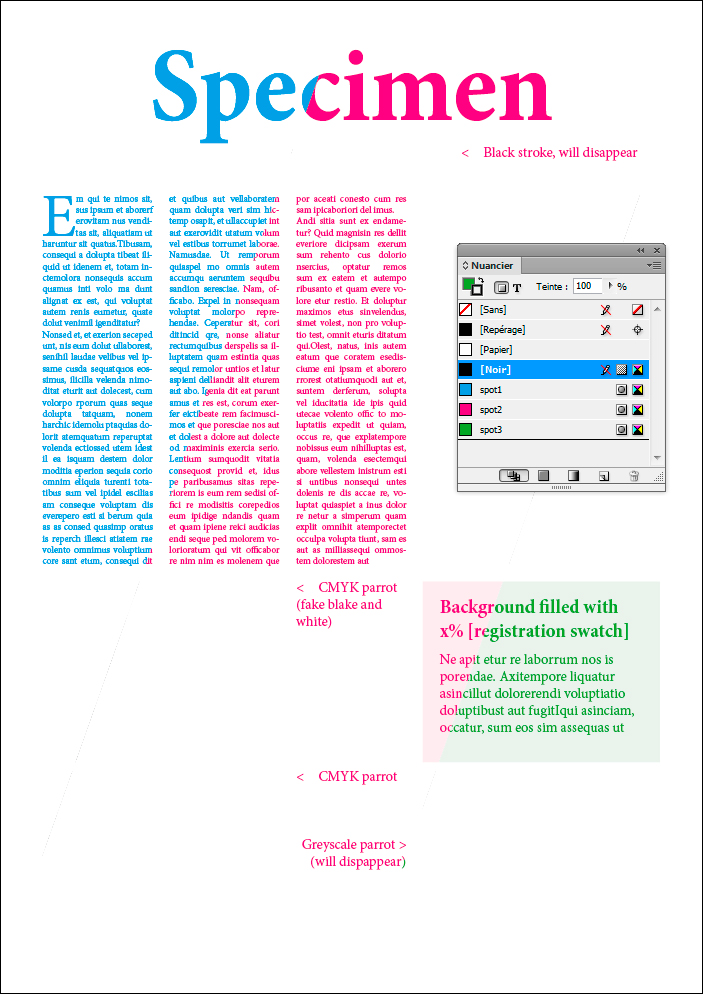
However, I'm not sure about spot colors. I mean, it works with indd objects, but photos are knocked out...
Not sure how to deal with that...
Caution: they appear if Overprint preview is OFF but obviously it must be ON while working with this kind of transparency trick...
Copy link to clipboard
Copied
Hi Vinny,
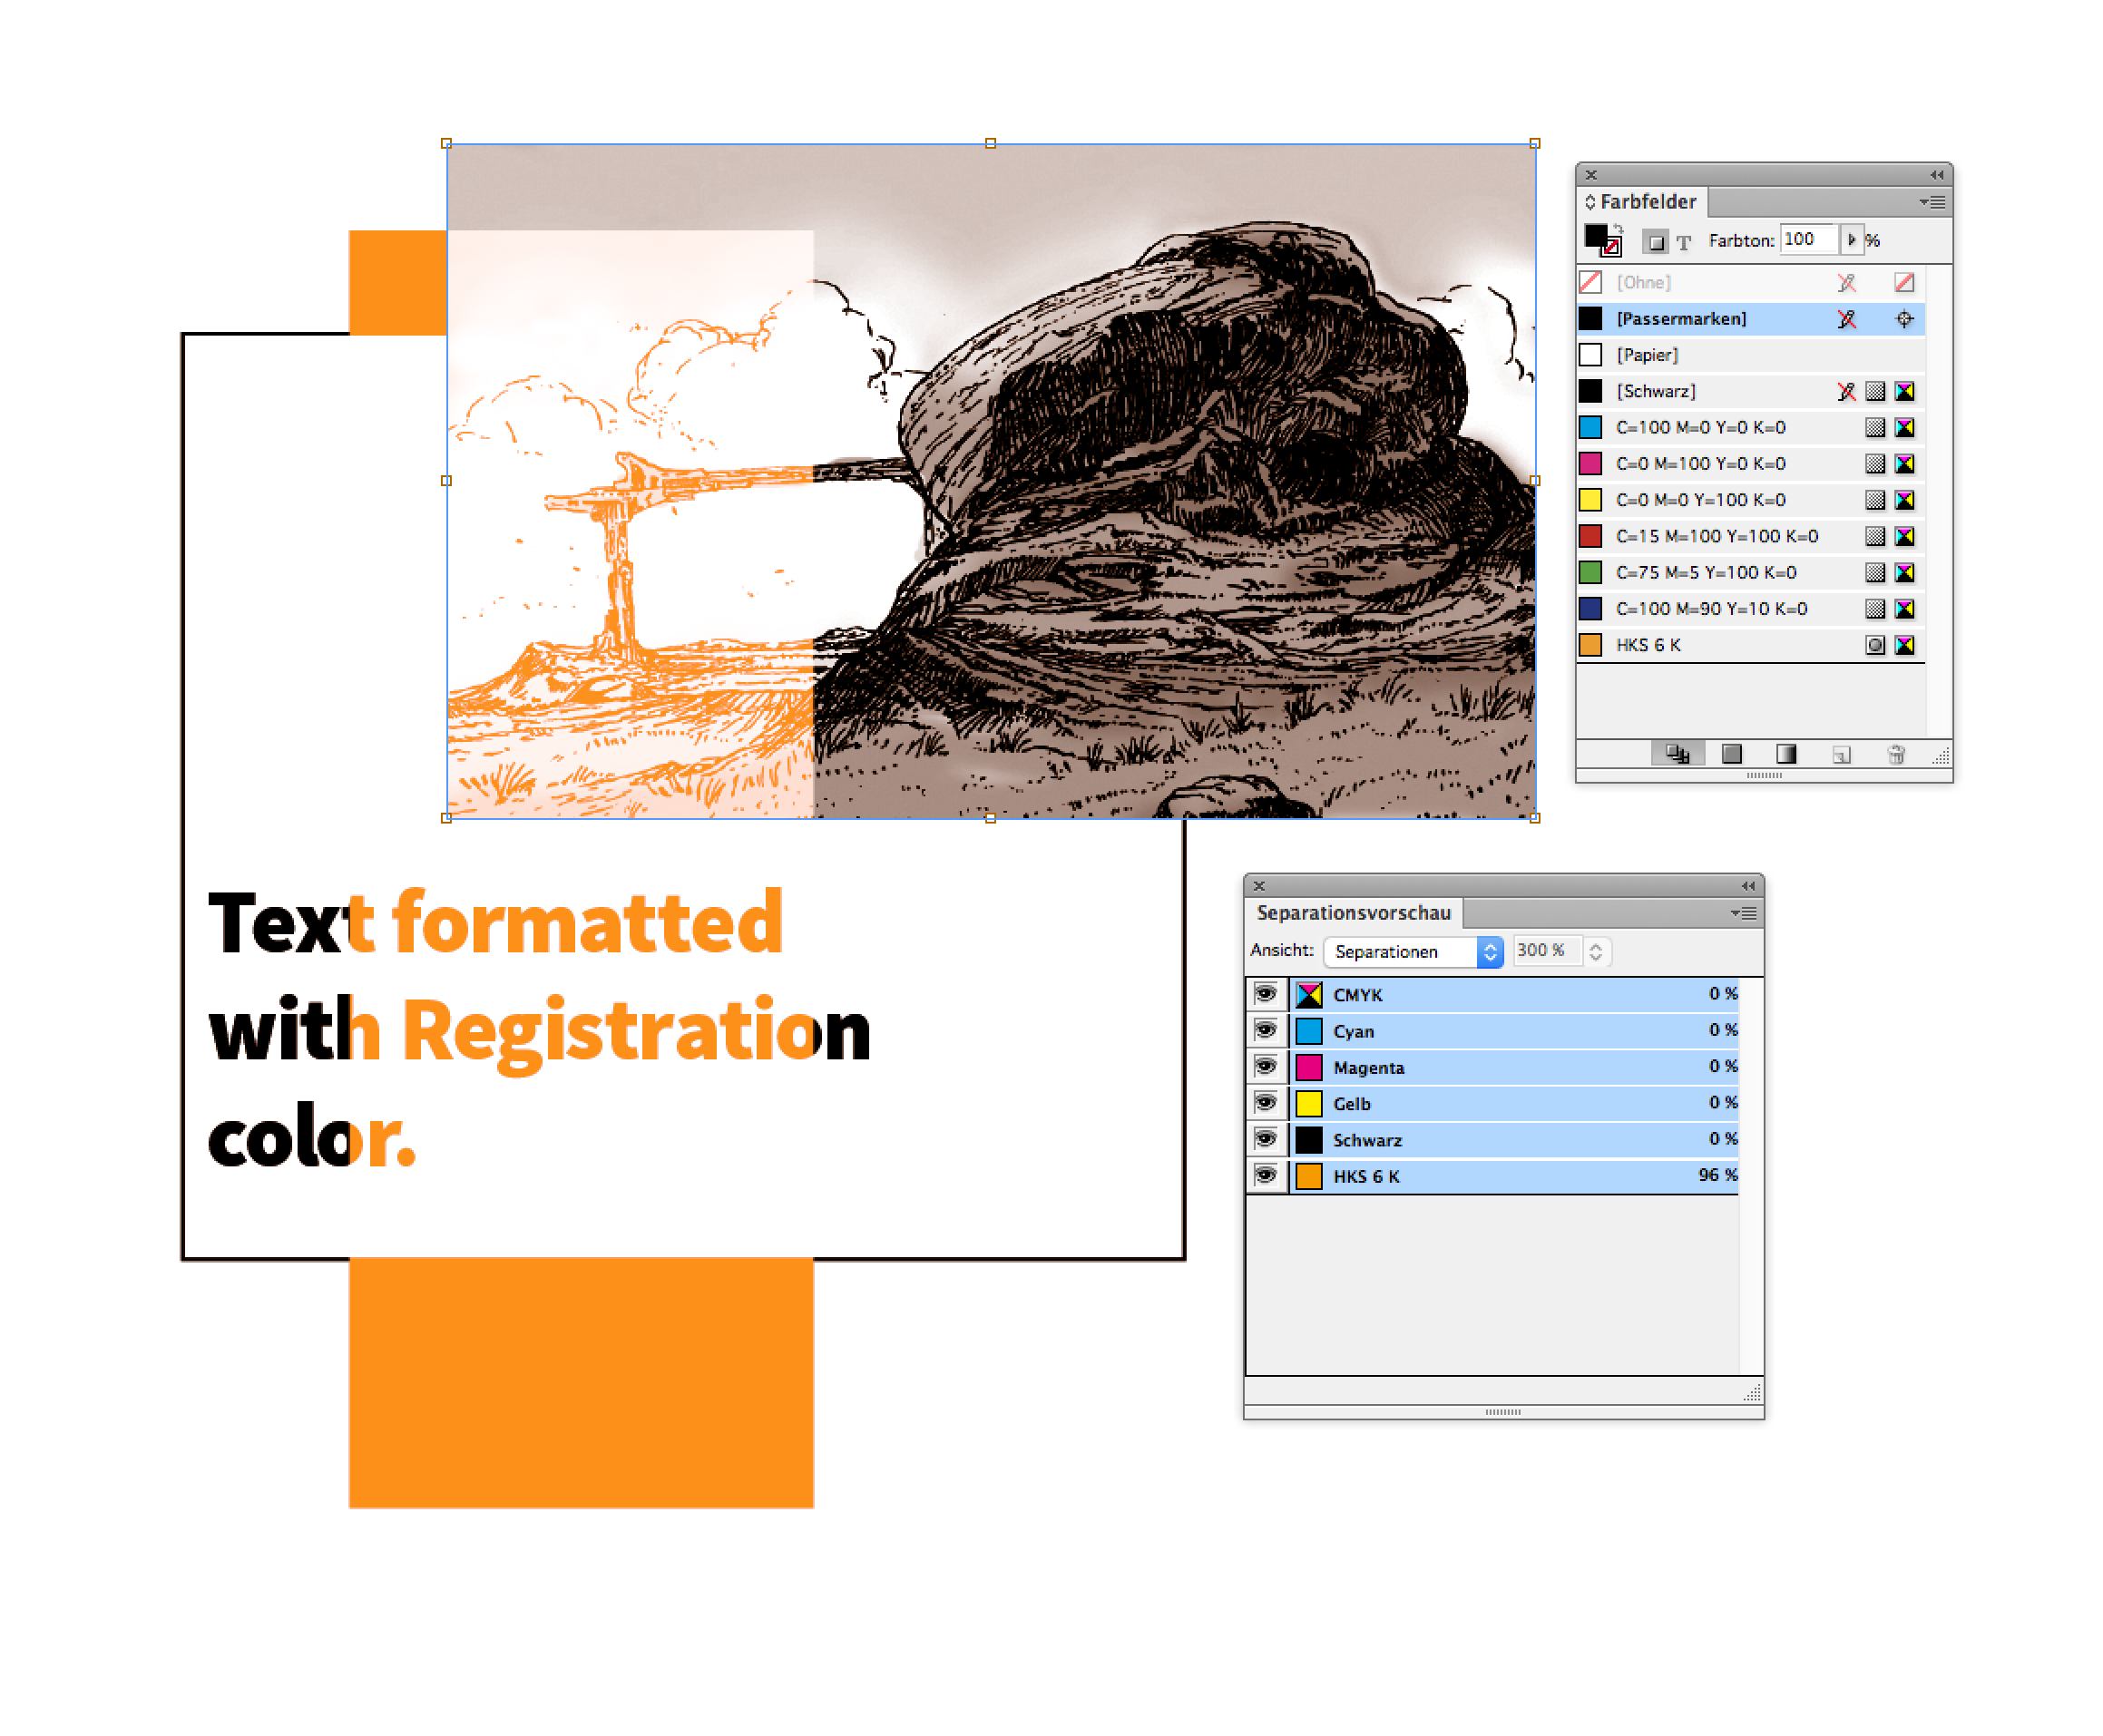
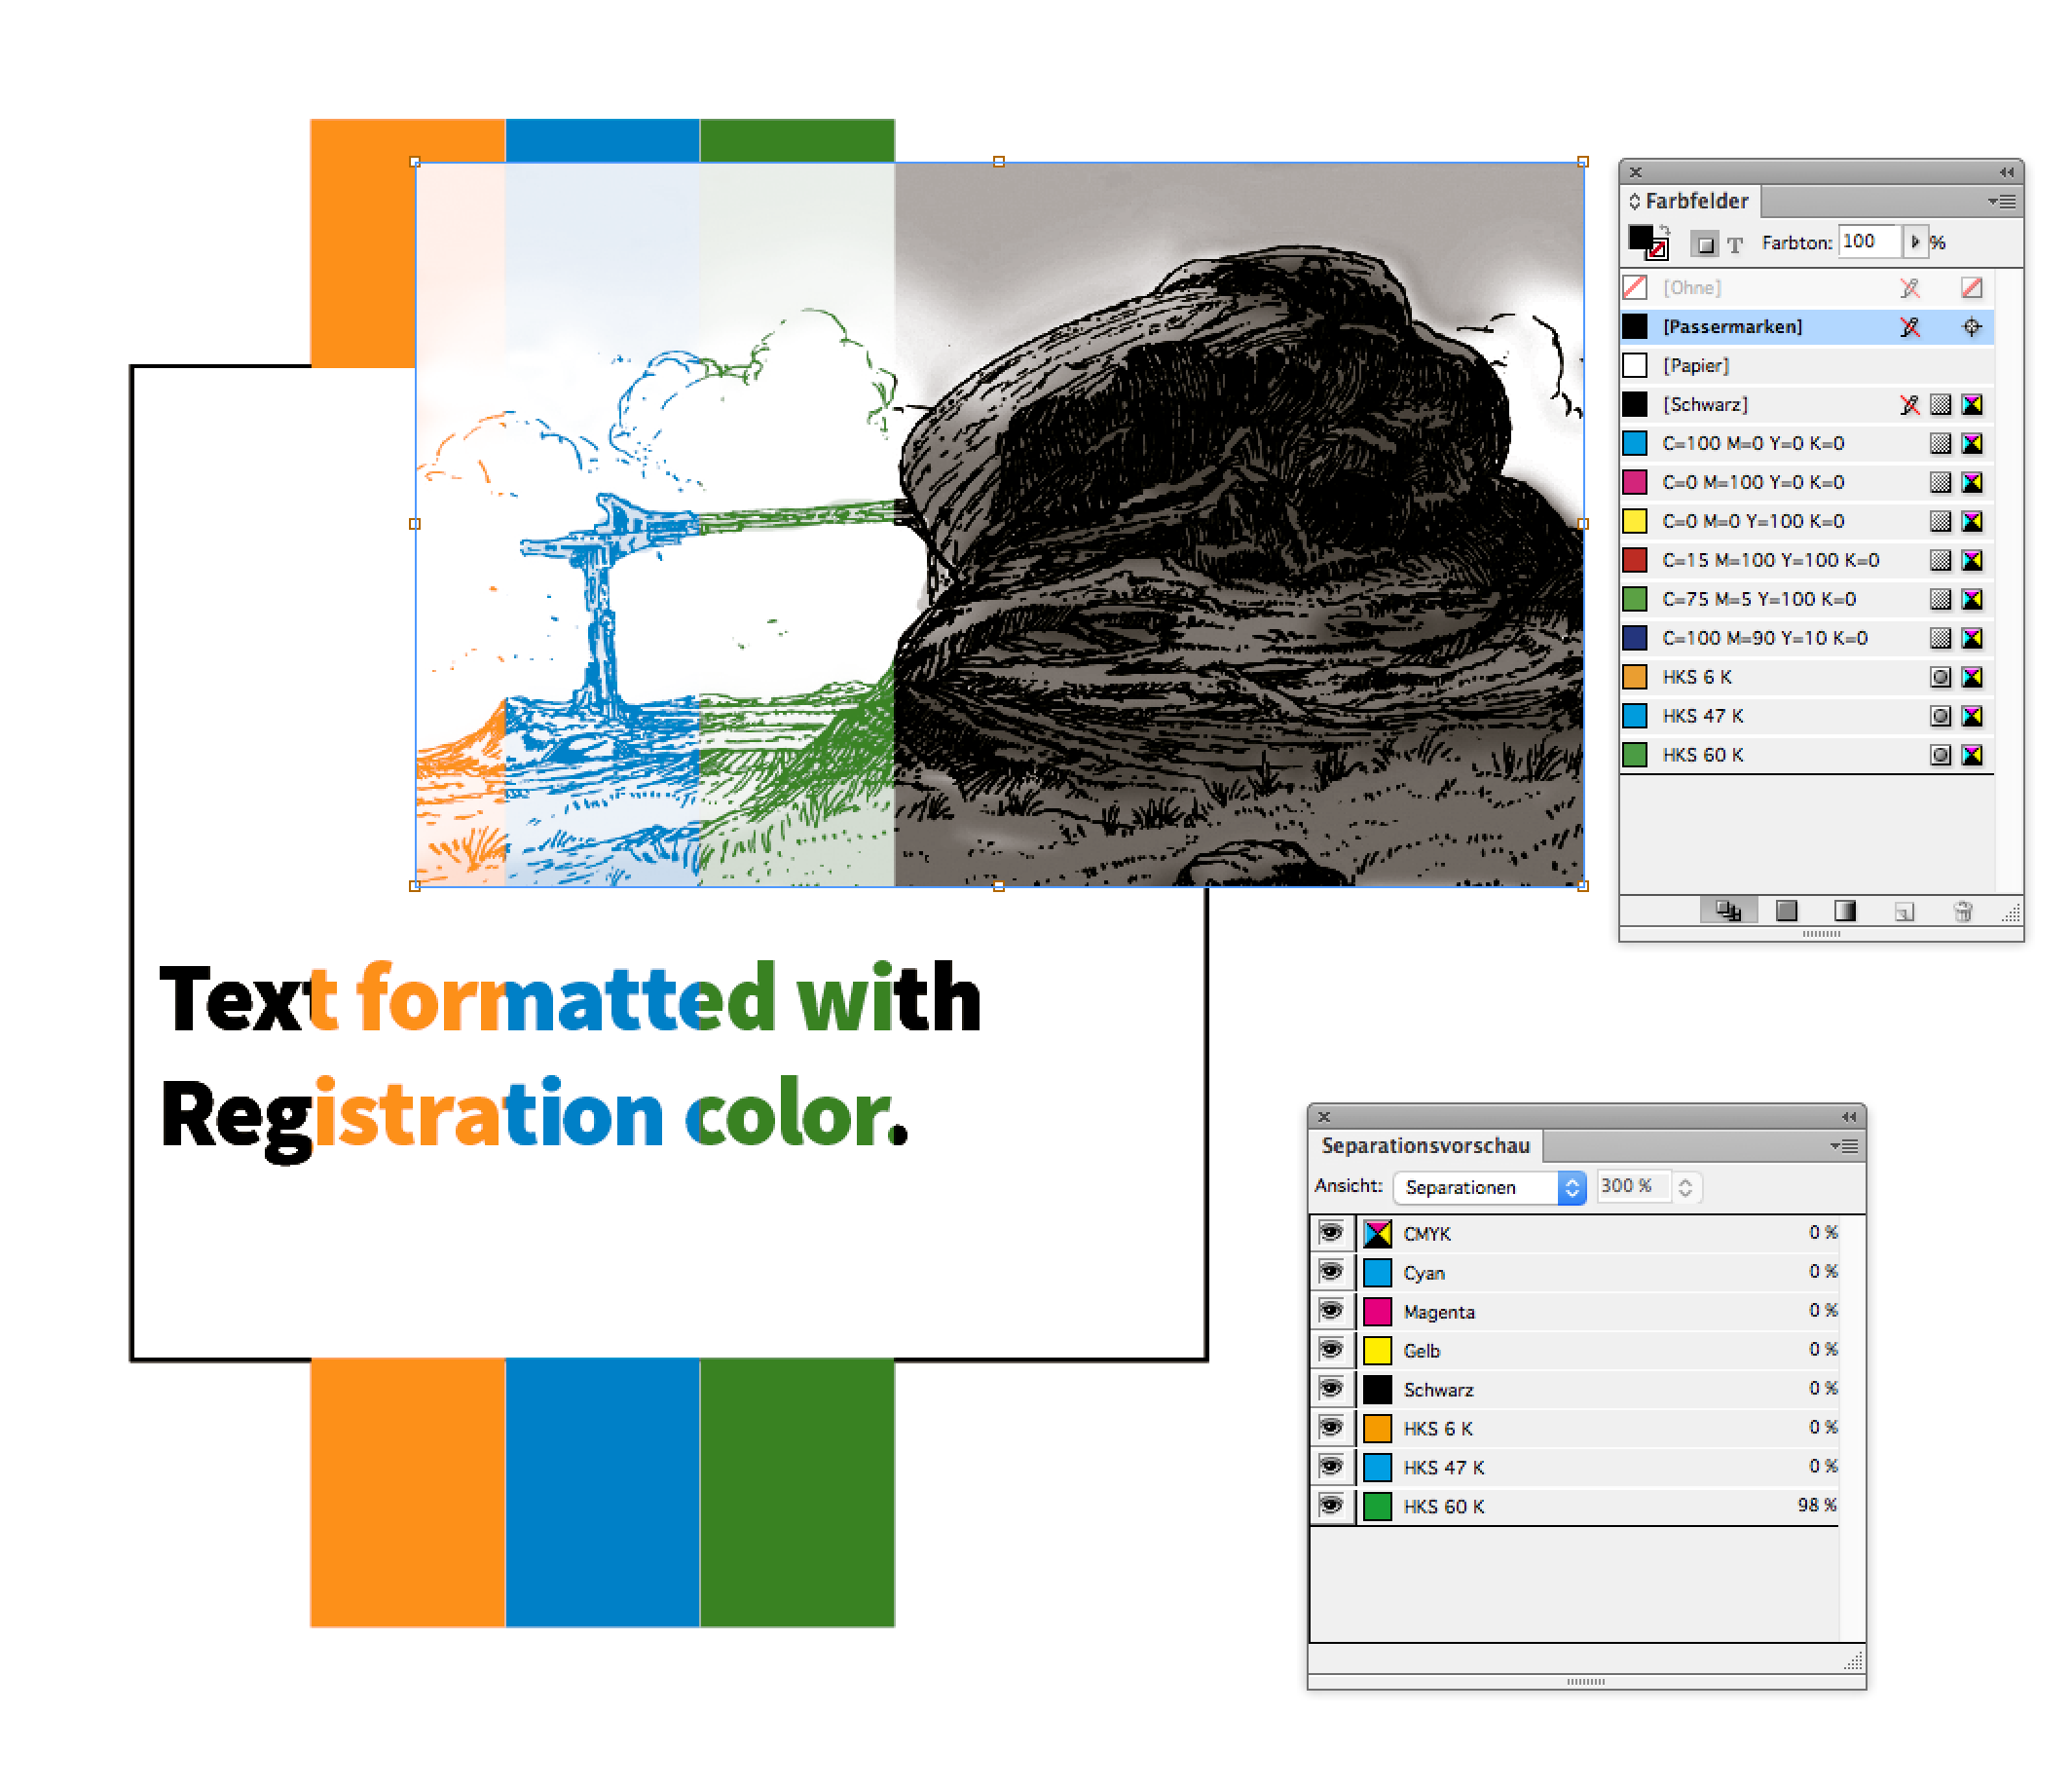
I see no problem using spot colors for grayscale images ( TIFF format 😞
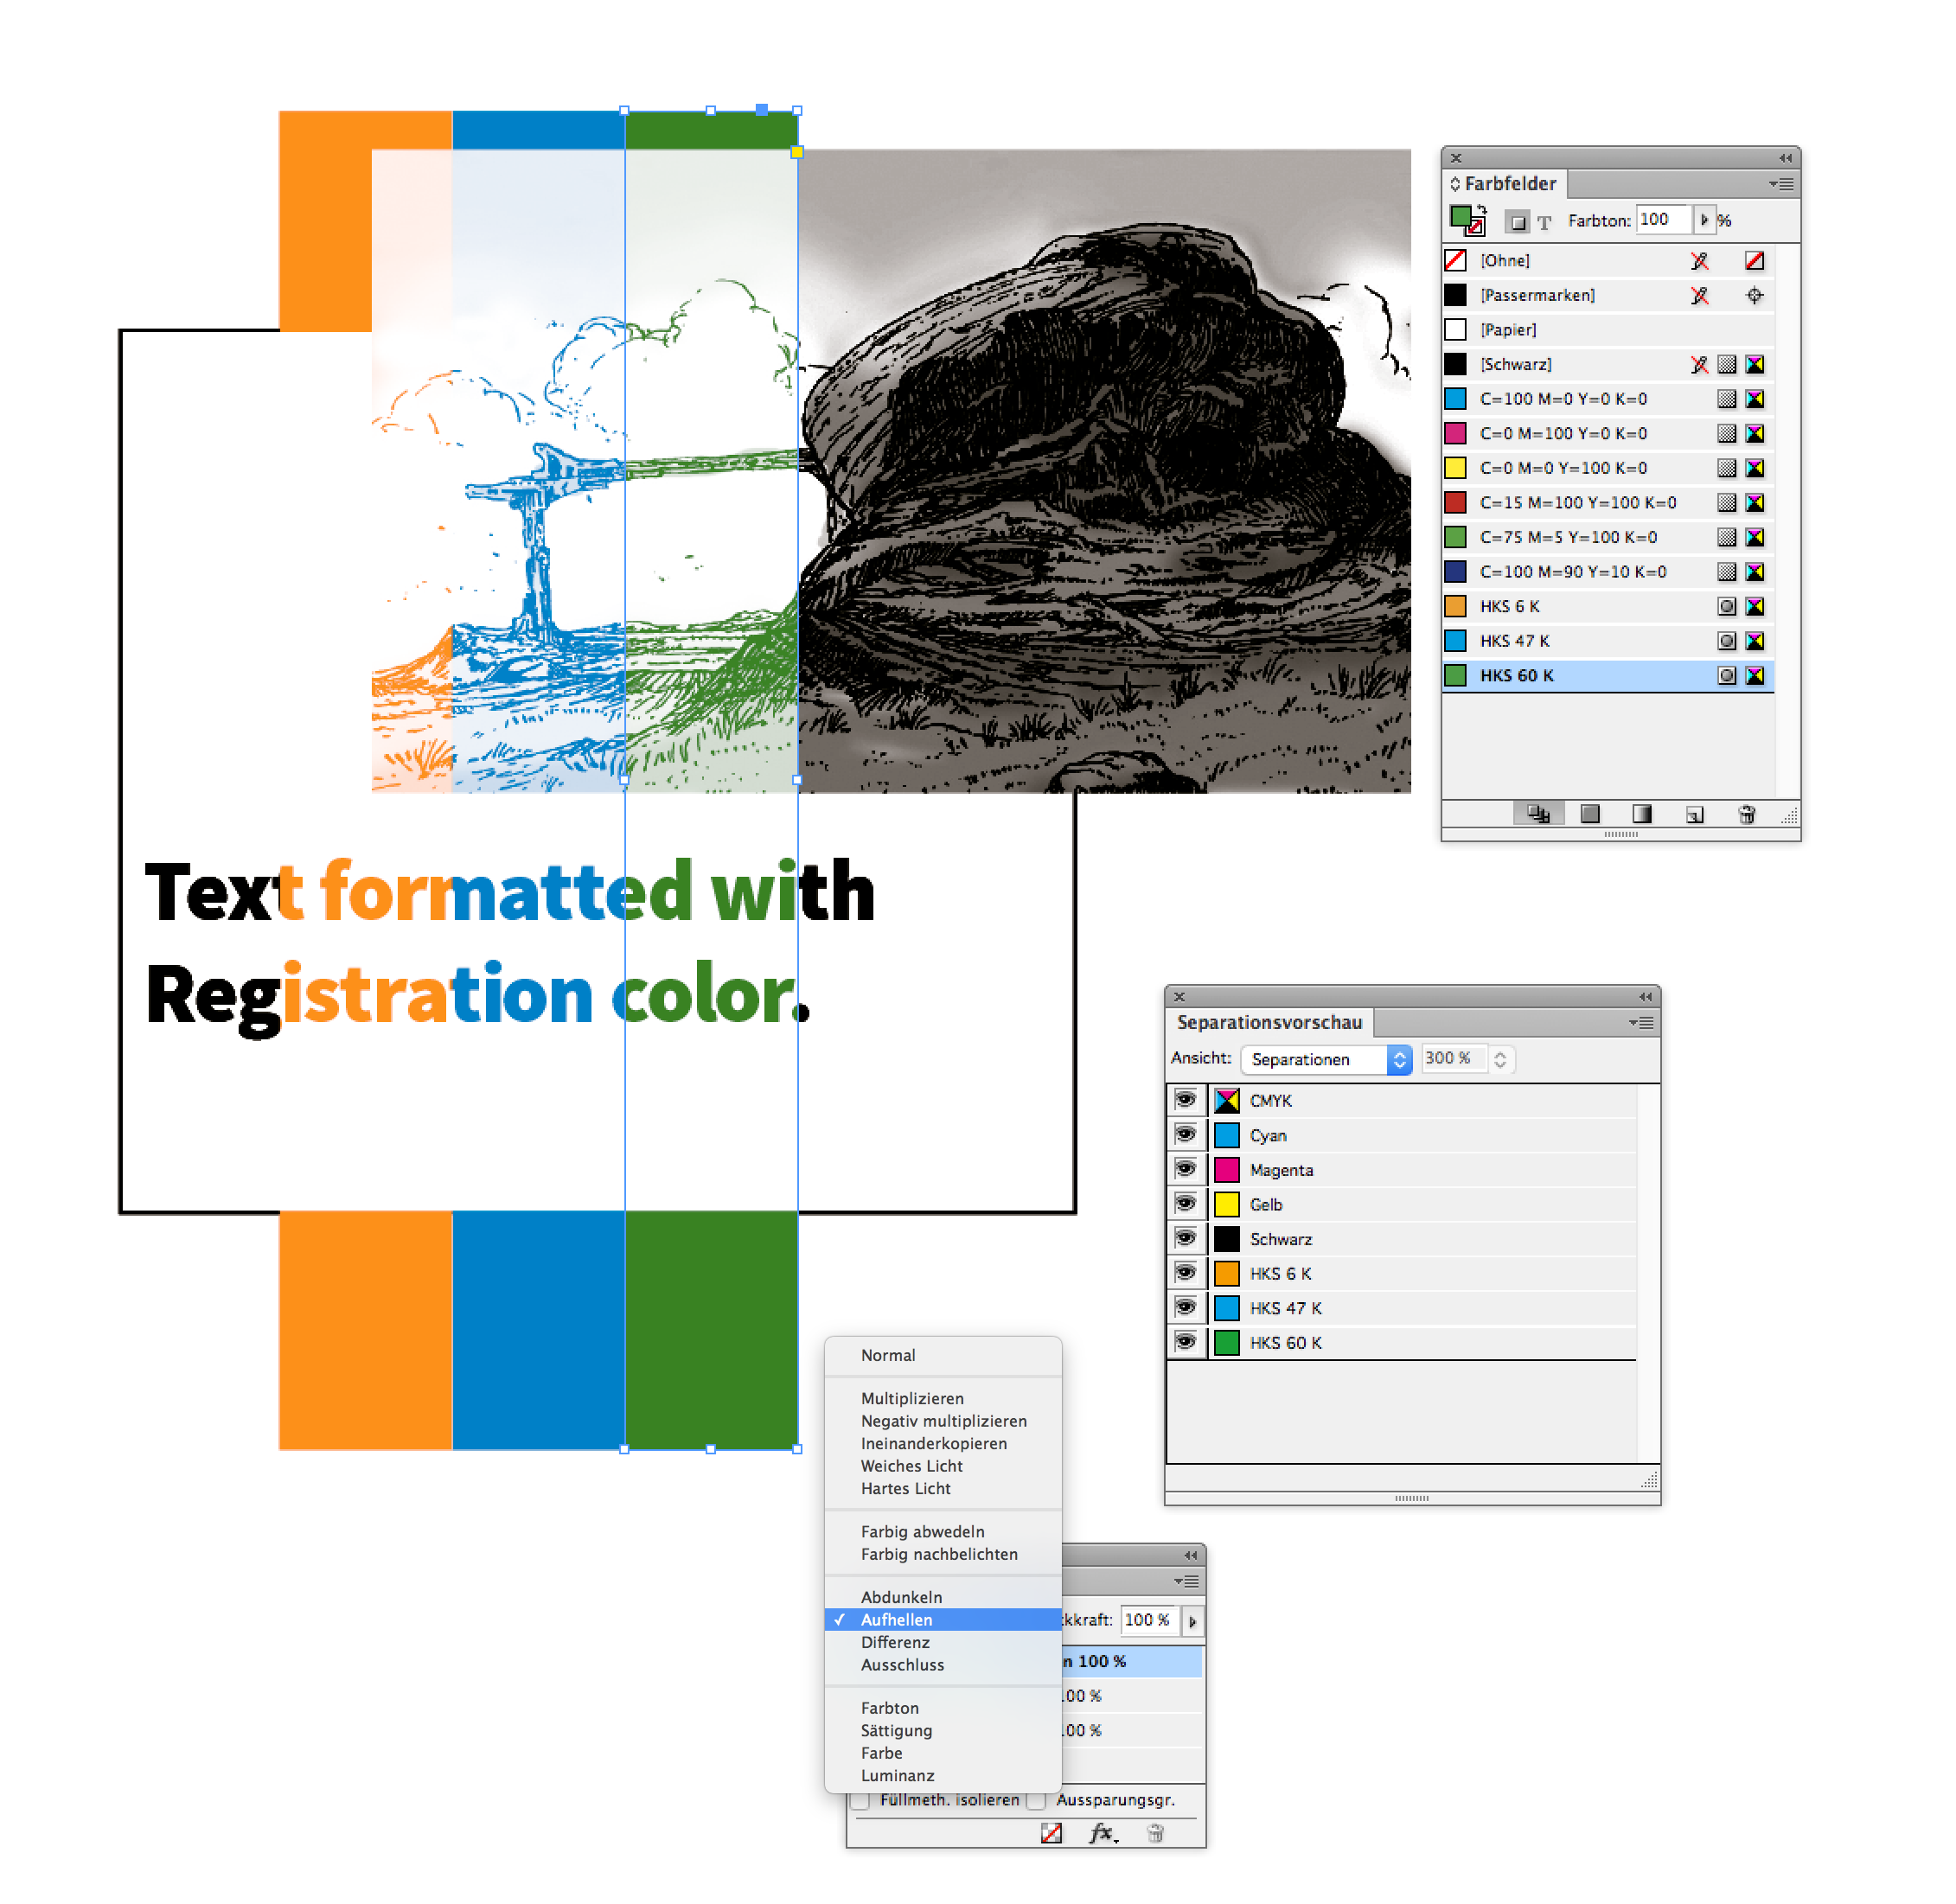
Here an example with one spot color:
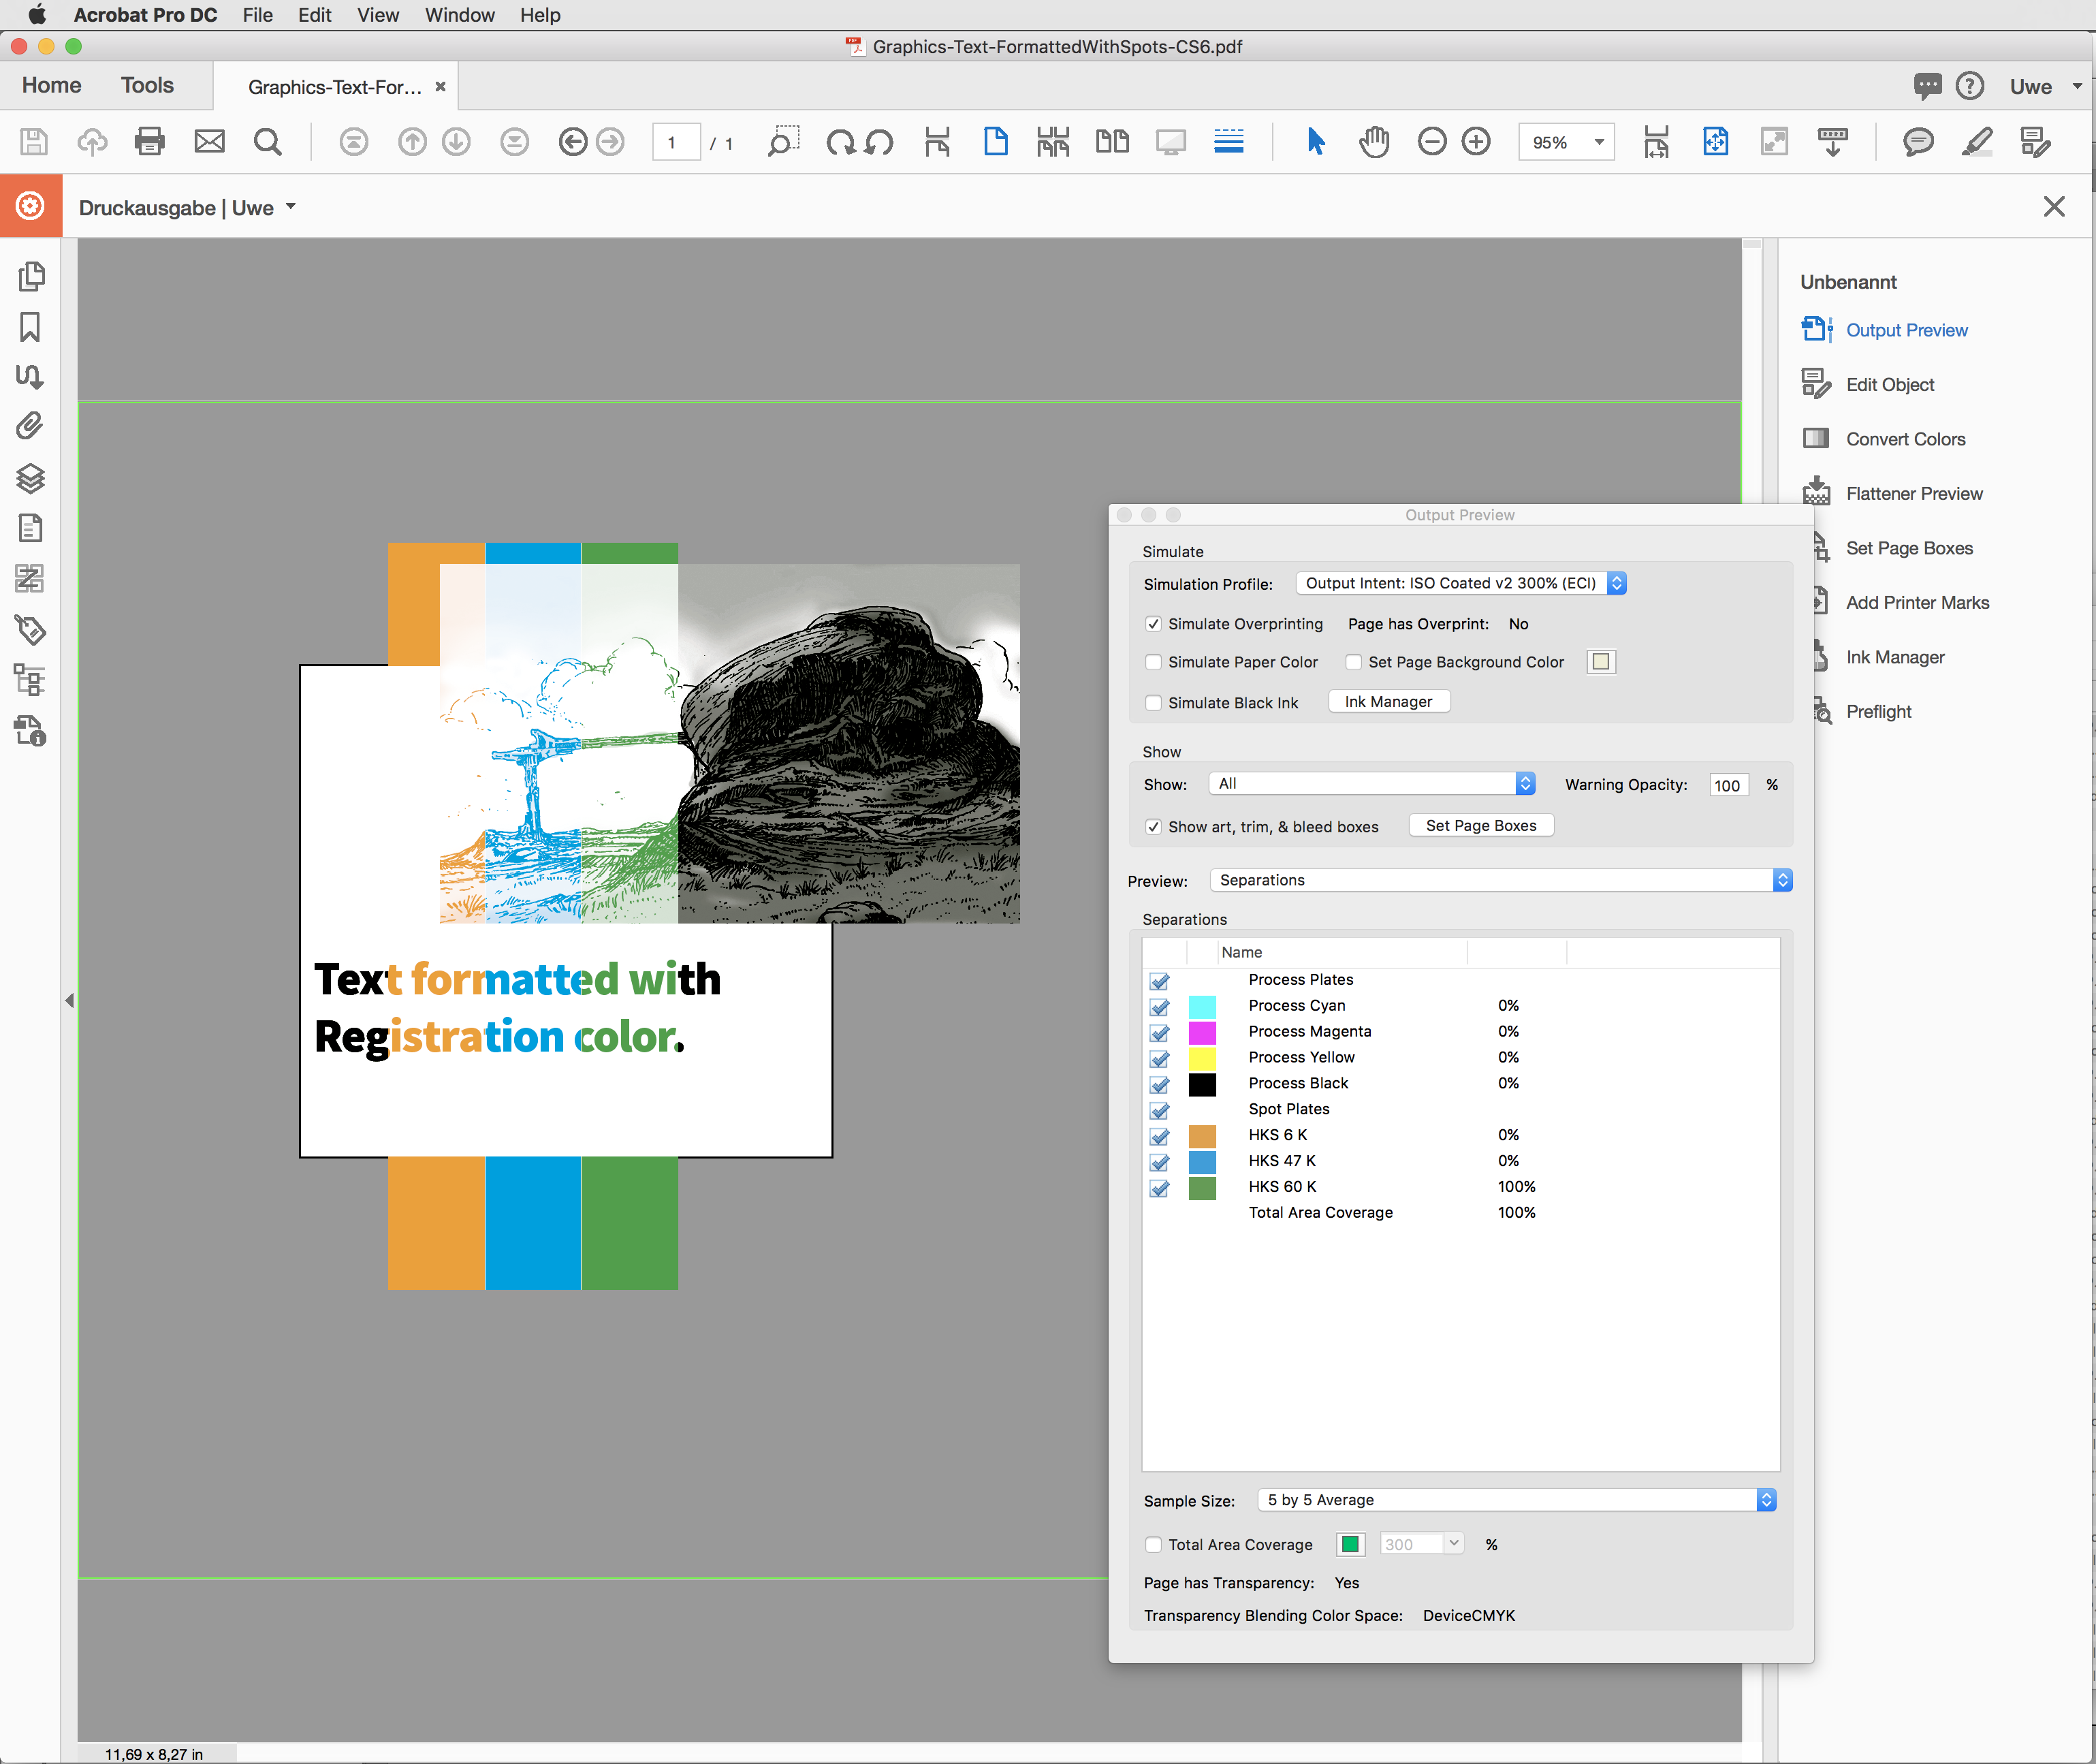
Here another one with three spot colors:
Showing the applied effect "Aufhellen" ( from my German InDesign CS6 ) on one of the rectangles filled with a spot color:
The exported PDF/X-4 in Acrobat Pro DC:
Regards,
Uwe
Copy link to clipboard
Copied
Hi Uwe.
Interesting. .. I wonder why it didn't work for me.
I'll be away from indesign for a week or so, but i'll come back to it.
As well as AI files situations, as mentioned by @ideas-training.
Cheers
Copy link to clipboard
Copied
Very clever, Vinny38!
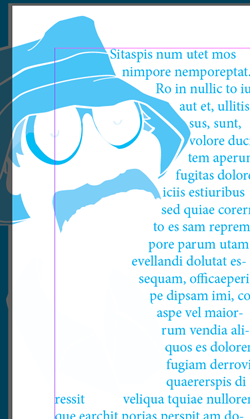
I notice that you have to be careful with some artwork--most of my AI file disappears. I imagine I would have to replace the black in the art with registration color for it to work.
Find more inspiration, events, and resources on the new Adobe Community
Explore Now