

- Home
- InDesign
- Discussions
- Re: Changing the background colour of an image.
- Re: Changing the background colour of an image.
Changing the background colour of an image.

Copy link to clipboard
Copied
Hello,
I have a question and im not that familiar with the adobe products.
You could say that im a complete rookie.

I have the above autograph saved as an image. And is it possible to change the background colour of it?
I am using indesign.
Thanks in advance!
Regards,
Herman


 12
Replies
12
12
Replies
12

Copy link to clipboard
Copied
In Photoshop, yes. In InDesign you might be able to fake it if it's a bitmap image. Place it and change the blend mode to multiply. Fill the frame with whatever color you want for the background.

Copy link to clipboard
Copied
If you convert the color mode to Grayscale and flatten the signature in Photoshop, you can assign any swatch or color to the selected image in InDesign. Make sure you direct select the image and not it’s parent frame.
If you convert the mode to Bitmap in Photoshop, the parent frame over in InDesign can be transparent [None] fill.


Copy link to clipboard
Copied
As Bob and Rob suggested, Photoshop is a better tool for this. However, I have a feeling that what you really might want to do is have a transparent background. That way you can place the signature over any color and that color will show through.
In Photoshop put the image on it's own layer, not a Background. If it opens as Background, click the padlock icon on the background to convert it to a regular layer.
Right click on the layer and choose Blending Options.

Move the Blend If This Layer highlight slider to the left.

Save the file as .PSD and place it into InDesign.
Copy link to clipboard
Copied
The screen capture in my post is from InDesign.
The transparent background is achieved by saving the signature as Bitmap Mode, and not via a Photoshop transparency effect. The white pixels in a Bitmap mode image (Black and White) can be set to no color in InDesign by setting the image’s parent frame to [None].
Or the holding frame’s fill (the background) can be set to any color
Copy link to clipboard
Copied
The transparency mask you are creating in Photoshop leaves a fringe of anti-aliased pixels, which shows up over in InDesign with the parent frame filled with a color:

Copy link to clipboard
Copied
It is best to have a high resolution image for good results. The one posted is small and low res.
That said, the white fringe can be fixed in a number of different ways, even on a low res image.
After putting the signature on its own layer and adjusting the Blend If slider as I described, add a new empty layer underneath the signature.

Right click the signature layer and choose Merge Down.

Control (Win) or Command (Mac) click the signature layer thumbnail to load a selection of the pixels on that layer.
Choose Edit > Fill and select Black.

That takes care of the white, even on a low resolution image.

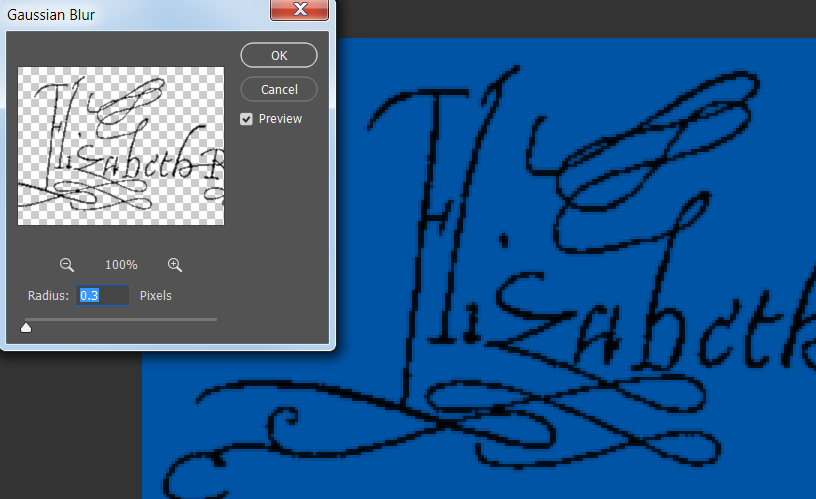
However, you may want to add a small amount of Filter > Blur > Gaussian Blur to soften the edges.
Copy link to clipboard
Copied
The original question is how to do it in InDesign—ID lets you easily apply color to either a grayscale or bitmap image.
If you want to add a colored background in Photoshop the simplest way is to set the mode to RGB, with the signature layer set to Multiply over a colored background—no need to make a selection or blur the line art.


Copy link to clipboard
Copied
harried33571444 wrote
You could say that im a complete rookie. And is it possible to change the background colour of it? I am using indesign.
Hi Herman,
Can you tell us what you want to do with it? Right now you are getting lots of answers that may or may not address your question. As a self-proclaimed rookie, you may or may not have asked it correctly, so please clarify.
IF you are using InDesign and IF you want to change the background color as you asked, the image has to be converted to grayscale or bitmap and saved in PSD, TIFF, BMP, or JPEG. (It cannot be in RGB or CMYK.)
- Use the Selection tool to change the Fill for the white background.
- Use the Direct Selection tool to change the Fill for the gray portions.
Do you have Photoshop or Illustrator? How was the image made?
EDIT: If you don't have Photoshop, then scan again and change from "color" to "gray".

~ Jane

Copy link to clipboard
Copied
Bitmap is great but it is black or white. Instead, in Photoshop, change the image to Grayscale.
1. Open the image in Photoshop
2. Under the menu choose Image>Mode>Grayscale. This will give your mage just one channel.
3. Open InDesign and place the image into a Frame
4. Click on the fill icon (which is empty) for the container to change the color. If the content is selected, you can also choose a different color other than black. (the icon will be black to start)
(Just FYI, if you do not fill it with a new color the background will be transparent once you change it to a grayscale)

Copy link to clipboard
Copied
(Just FYI, if you do not fill it with a new color the background will be transparent once you change it to a grayscale)
The difference between Grayscale and Bitmap Modes is with flattened Grayscale all of the pixels (including the white pixels) will be opaque. With a Bitmap, the white pixels can be set as transparent [None] in InDesign, even though there's no transparency in the file.
In my #2 post, the black box is sitting behind the signature Bitmap—with Grayscale the image would block any objects in back.
There’s nothing wrong with bitmap mode, it just requires some extra Effective Resolution because it is line art

Copy link to clipboard
Copied
…There’s nothing wrong with bitmap mode, it just requires some extra Effective Resolution because it is line art
I agree.
And in case the drawing pixels of the logo are colored with [Black] (that's by default) the fill should be set to overprint.
Image selected, Window > Output > Attributes > [ x ] Overprint Fill
In this case the default overprint of swatch [Black] will not work.
Regards,
Uwe
Copy link to clipboard
Copied
Everyone thank you very much for your contribution. I'll see later if I'm able to figure it out!

Find more inspiration, events, and resources on the new Adobe Community
Explore Now
 AdChoices