Harshika Verma
Community Manager
Community Manager
July 8, 2024
Question

Extend images with Generative Expand

  • July 8, 2024
  • 14 replies
  • 4153 views

Hello Everyone, Happy MAX!

Generative Expand seamlessly extends your image, filling empty frames with content that blends perfectly with the original!

Try it in the app

Work with a sample file and learn how to use Generative Expand.


Note:
  • Before you proceed, ensure you're connected to the internet, as Generative Expand requires cloud processing.
  • Generative Expand is not available in mainland China.


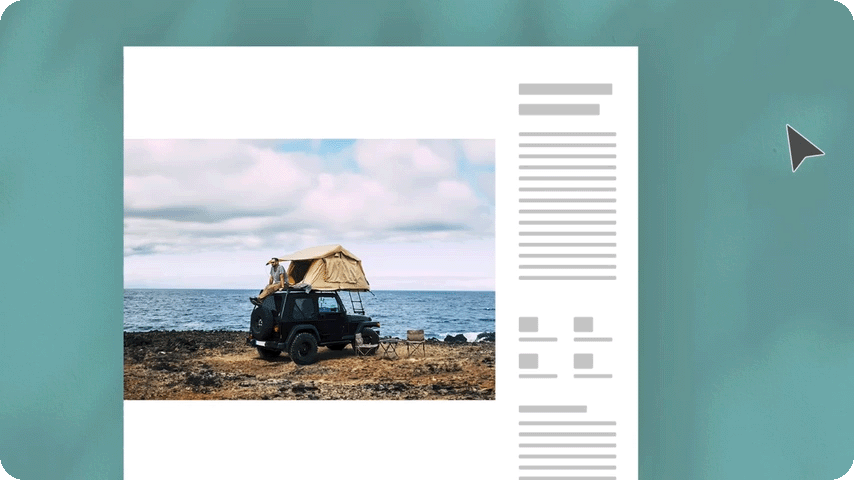
Automate complex edits by extending images beyond borders

Leverage Generative Expand to automatically fill missing areas when resizing images, analyze surrounding pixels for seamless background or object extensions, save time, and enhance compositions with cohesive expansions.


Tips and tricks

  • Once you select an expanded variation, the Contextual Task Bar and panel will change to Text to Image as the text frame has no empty space.
  • If there is some empty space in the image frame, you can use the Text to Image panel drop-down to switch to Generative Expand.
  • For an effective text prompt, stick with simple and direct language. Use three to eight words, including a description, character, color, scene, and more. Don’t worry about adding commands like add or remove. Instead, use simple phrases like sunrise behind mountains, a man with headphones, or an ice cream parlor. Learn more about writing effective prompts.

If this was helpful, please click the Upvote icon in the top left corner of this post. Your feedback helps us improve the experience. Thank you!


Have questions? Click 'Reply' below to ask.

Click 'Follow' below to bookmark this post for easy reference.

This topic has been closed for replies.

14 replies

Participant
July 12, 2024

i'm not actually seeing the contextual task bar when I try this. and it shows it's active in the windows menu. 😞


Michael Ambroise
Community Expert
Community Expert
July 10, 2024

Many thanks !

_______Senior graphic designer | United Nations Population Fund
Community Expert
July 10, 2024

Great to see this in InDesign

Mike Witherell
Community Expert
Community Expert
July 8, 2024

My first idea when I read this post would be an AI moment where InDesign sees images that are up against the edge of the page, but not properly set to bleed. It would AI adjust the frame to the bleed edge. More AI: it would extend image area to match the bleed distance.

Mike Witherell
reproo2773183
Inspiring
July 23, 2024

Large Megapixel images come back with the long edge at 4000pixels, they come back as the whole image regardless of crop. Was expecting to only get new pixels, but actually the whole image has reduced in quality.


Pre - cropping and limiting the final long edge to 2048pixels or less gives far superior results.

This is not a practical workaround in InDesign, for big images you are best off using Photoshop expanding a bit at a time.