

- Home
- InDesign
- Discussions
- Re: How do i make a specificg heading style like t...
- Re: How do i make a specificg heading style like t...

Copy link to clipboard
Copied
https://i.imgur.com/uURaIVH_d.jpg
How do i make it so every heading has this arrow kind of shape without making a specific length shape for every heading?


 1 Correct answer
Colin,
The game seems to be "over"! …
I don't care about the expertise or the limited knowledge of designers who will read this thread, they deserve all my attention ...
If they already can find various answers, this last one from my own will let them once again just savor the total simplicity of a "click" ... accessible to all. Nothing more!
.idml file + Script [beta version]
After having played the Script, you could type text in the "red" frame and see its behavior!
This light version is locked on 1
... 32
Replies
32
32
Replies
32

Copy link to clipboard
Copied
Great question.
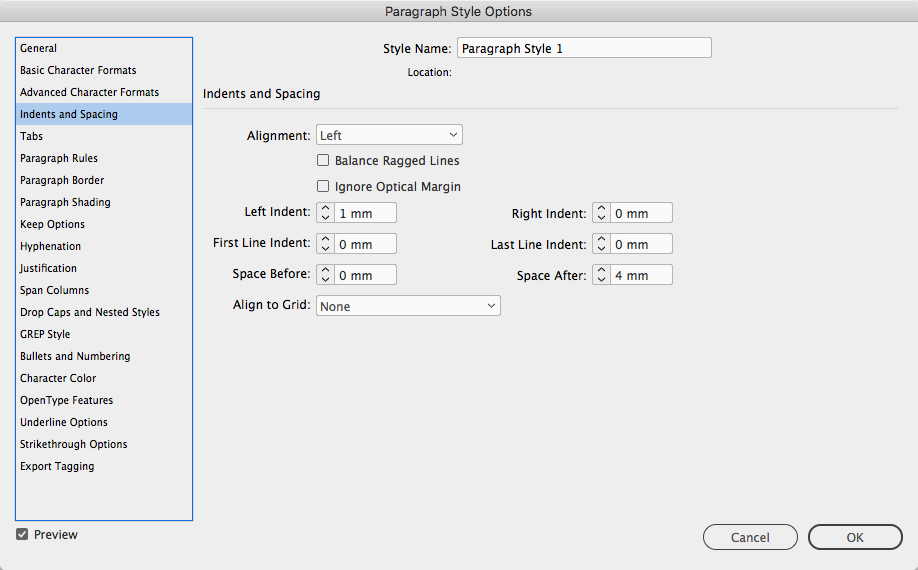
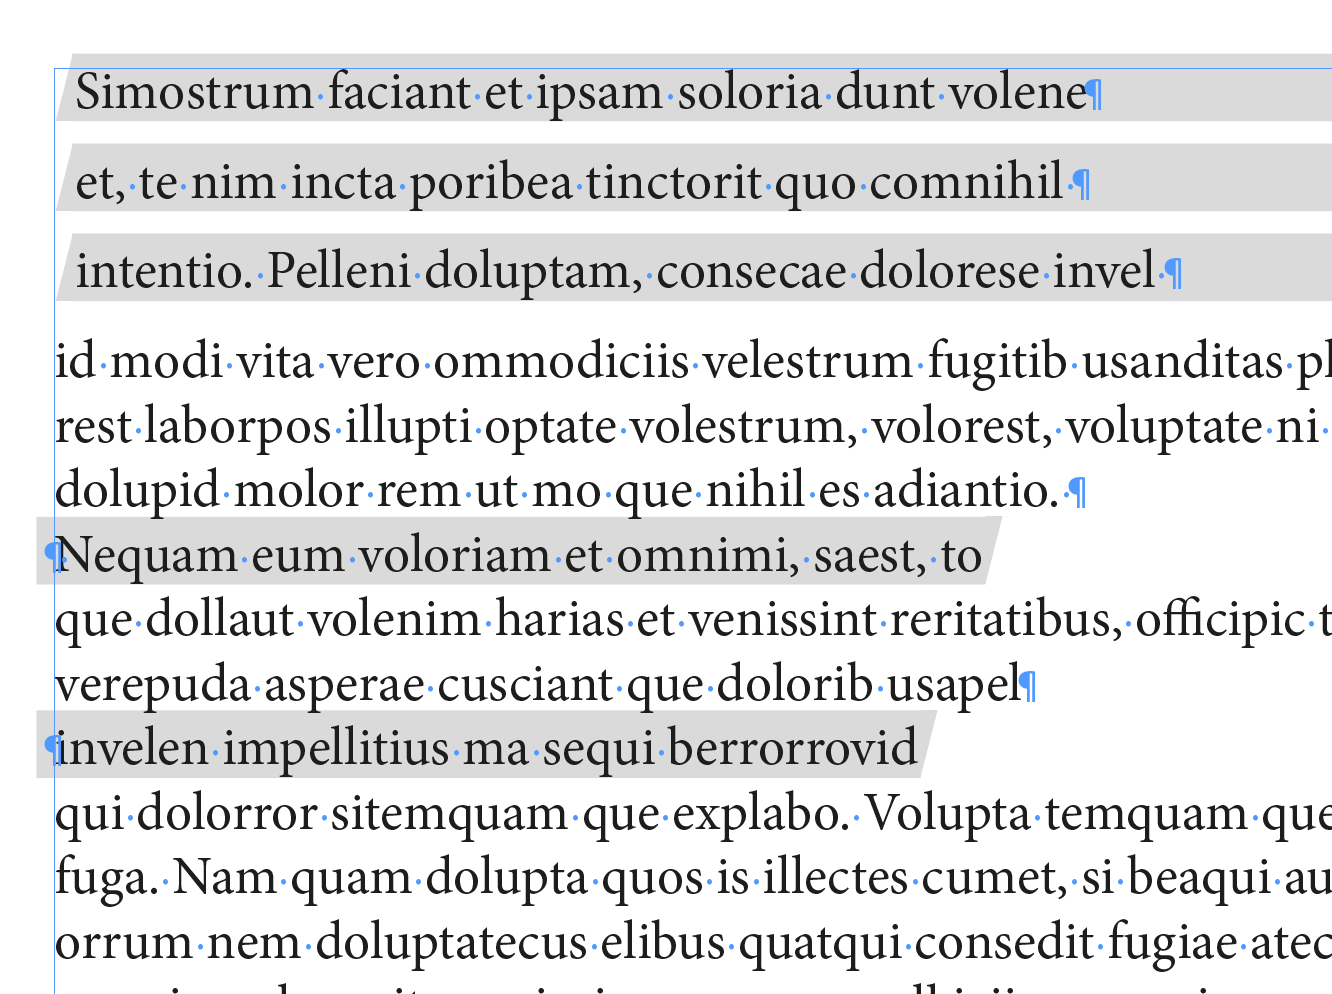
You can add a ruling line behind the text with right angle or rounded corners as a paragraph style:
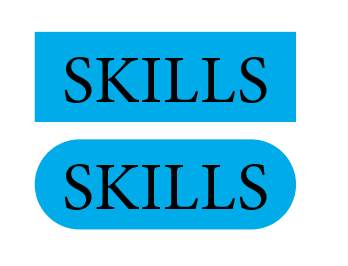
that will expand and contract with text edits:

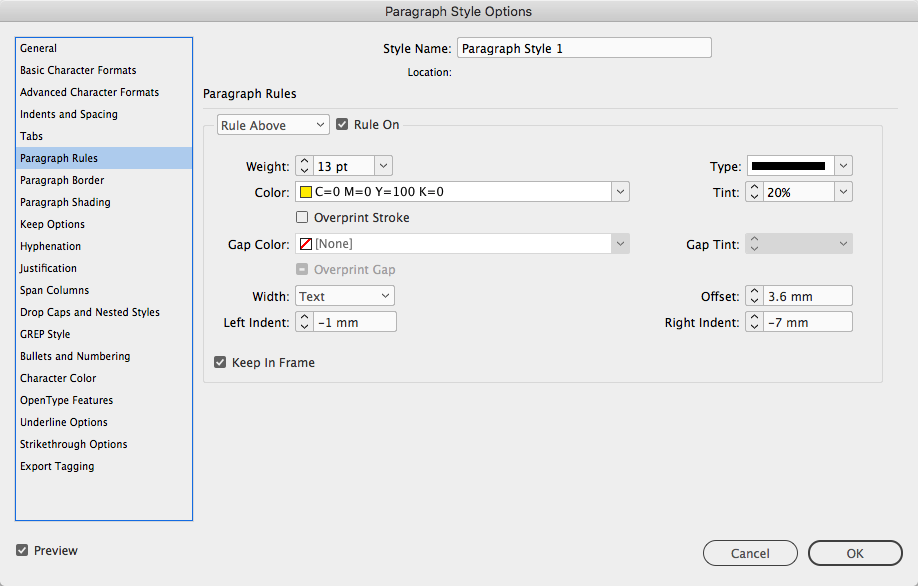
Or, you can get a variety of results with paragraph shading (InDesign CC only—not CS6 or earlier). These will also expand and contract with edits. (Just showing a few options—there are more corner choices.)
But personally, I can't think of any way to get the look that you are asking for and also have the shape expand and contract with edits.
~Barb

Copy link to clipboard
Copied
Hi,
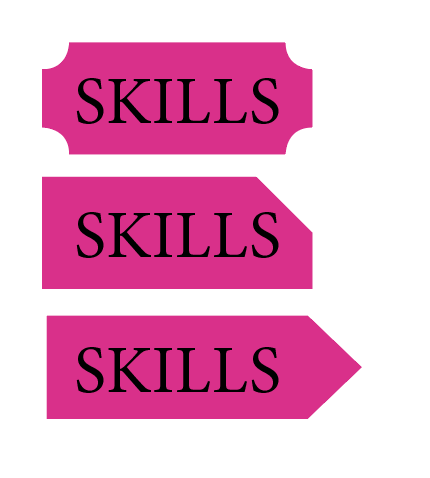
Or you can also create a small triangle first and then group it with a text frame. Set the text frame to "Auto-size" with the left edge fixed. Something like...
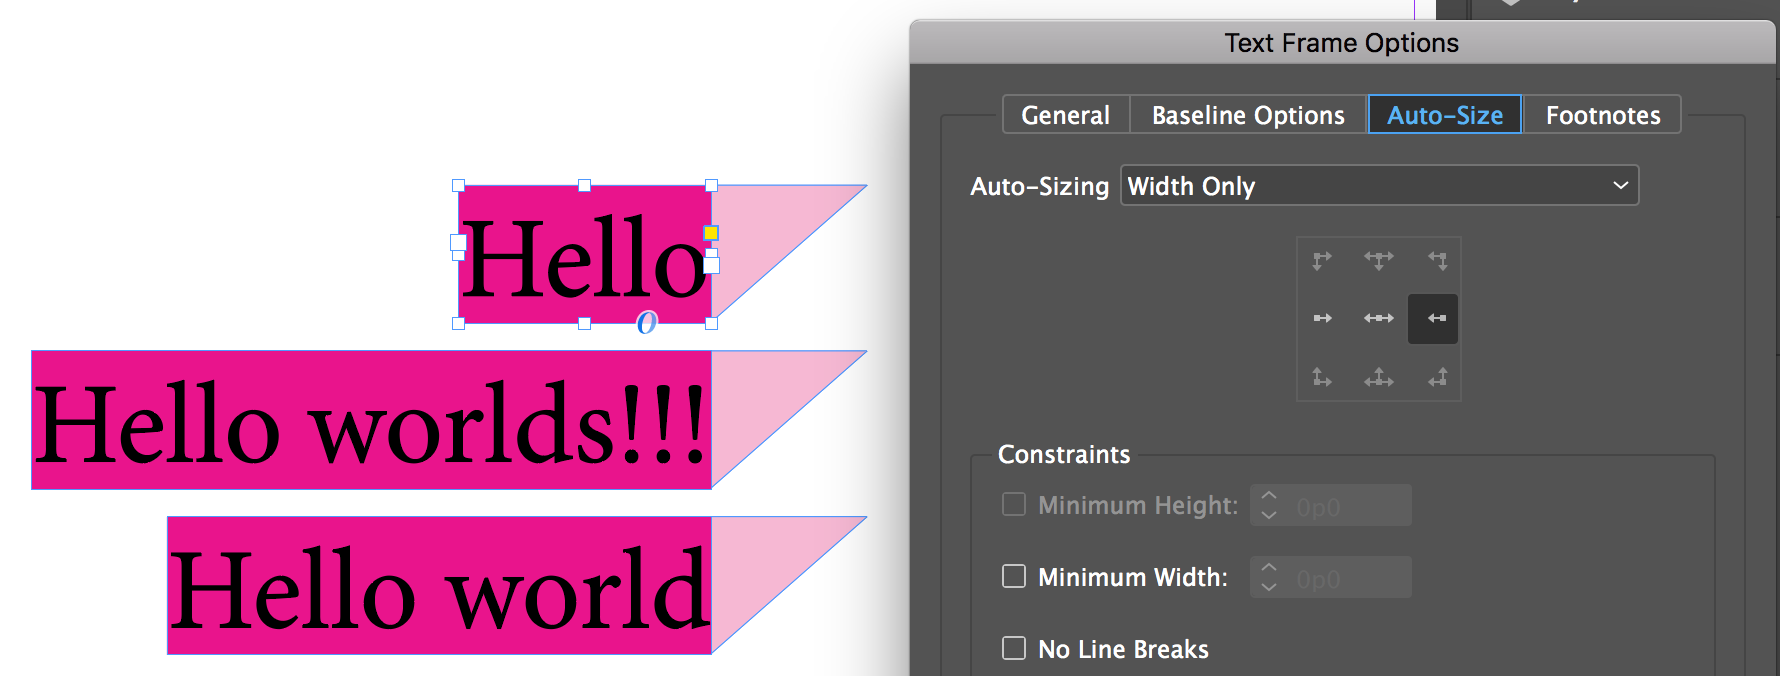
You can then group the two(triangle and the text frame. When text is added or deleted, the right edge(next to the triangle) will not move because of the reference point as set in the "Auto-size" panel.
-Aman
Copy link to clipboard
Copied
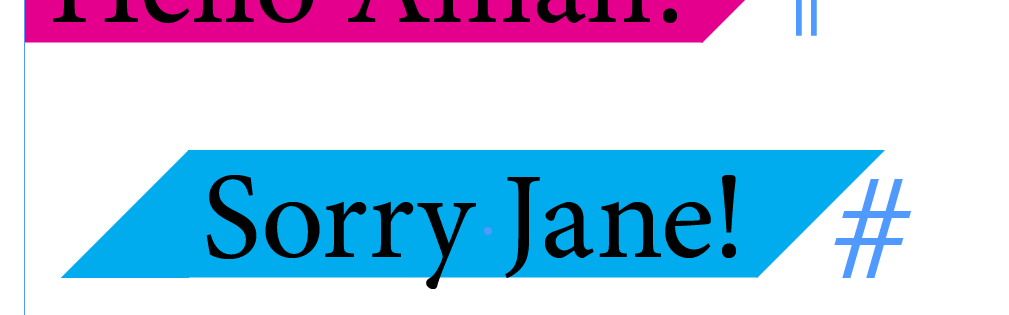
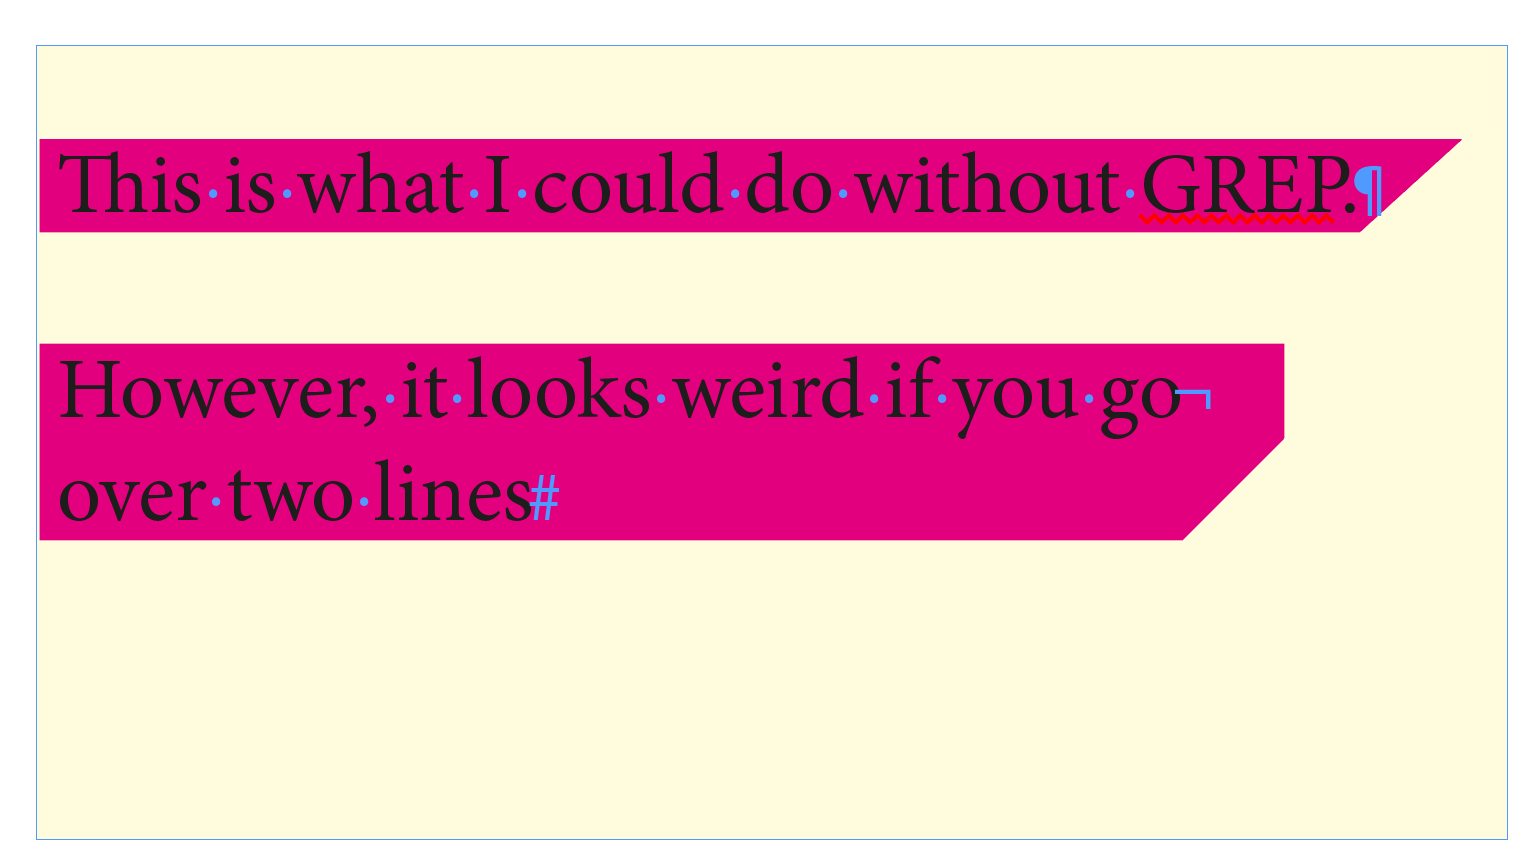
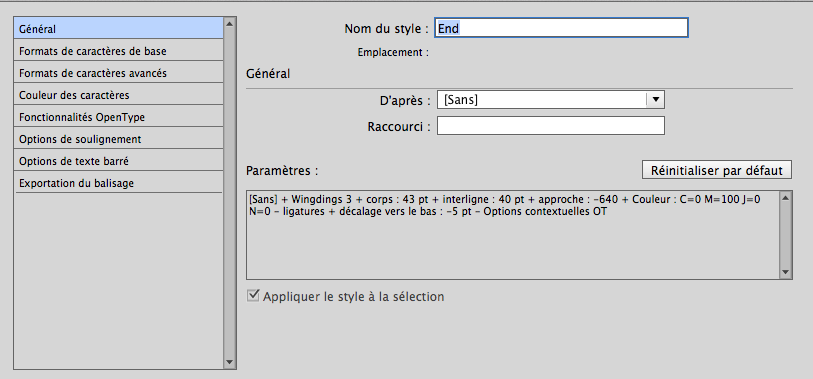
Just For Fun! In this sample, just text, para style with shading/grep style and a simple regex …
to have this underlining effect everywhere!
Best,
Michel, from FRIdNGE

Copy link to clipboard
Copied
No "Hello Jane"?
Copy link to clipboard
Copied

Copy link to clipboard
Copied
Merci, Michel! 
Is this a skewed rectangle?
And the "y" shows a descender issue?

Copy link to clipboard
Copied
Michel, please be careful not to fall again in the habit of showing off what you can do without any further explanation at all. It is usually not helpful at all, and often only plain annoying.
If you are unclear if what you did is what an OP requires, you can of course show what kind of results you get, but do add how you do it. That prevents long question-and-answer follow-up threads – which can ultimately end with OP's "but your method will not work for me because reasons" (such as "it must be a style", "the text must remain editable", "this way the text won't be tagged in an ePub" and so on).
Copy link to clipboard
Copied
Hi Theunis,
Writing "… just text, para style with shading/grep style and a simple regex …", I supposed everybody understood what I've done!
But apparently, I was wrong! …
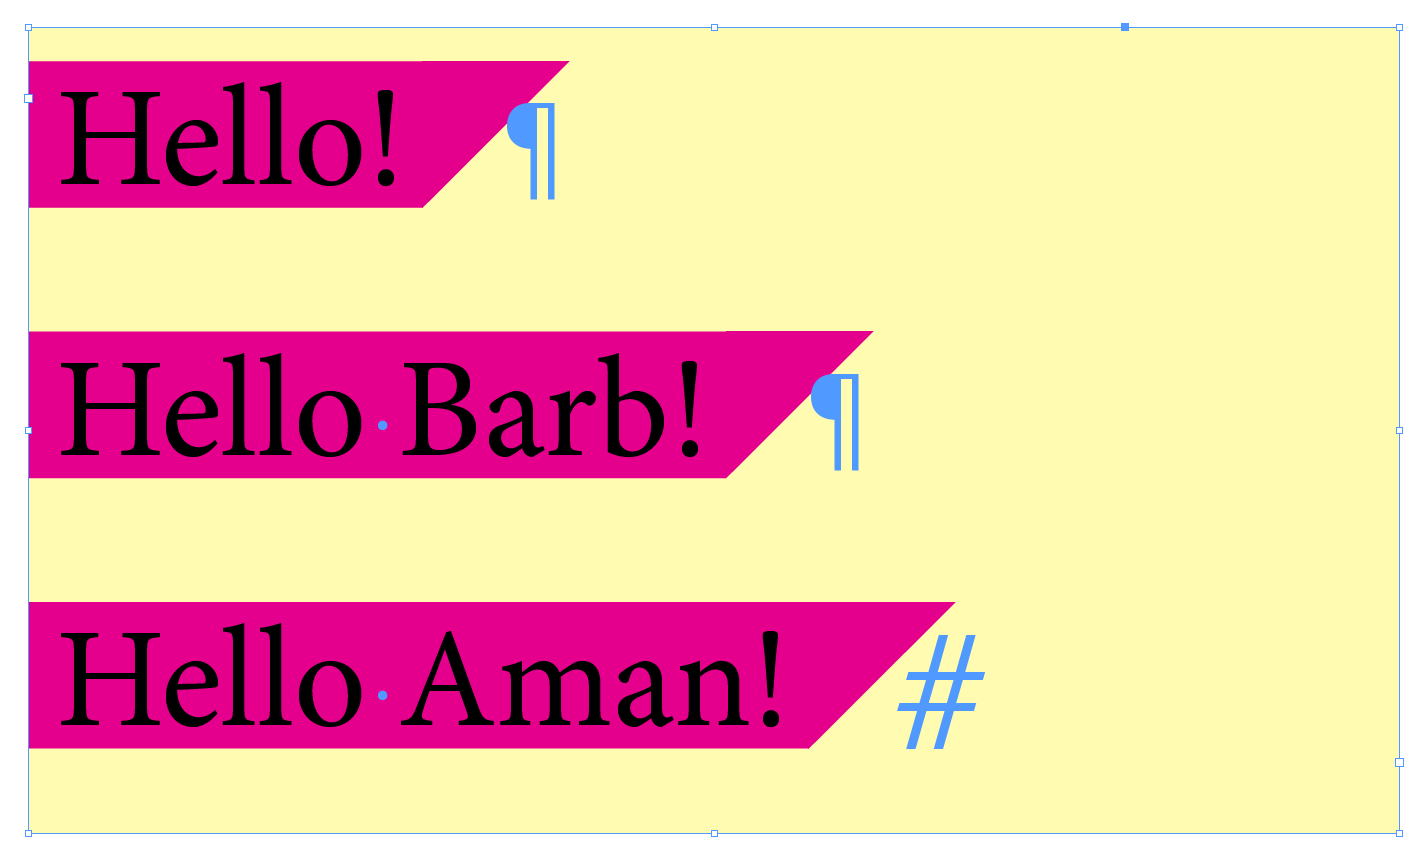
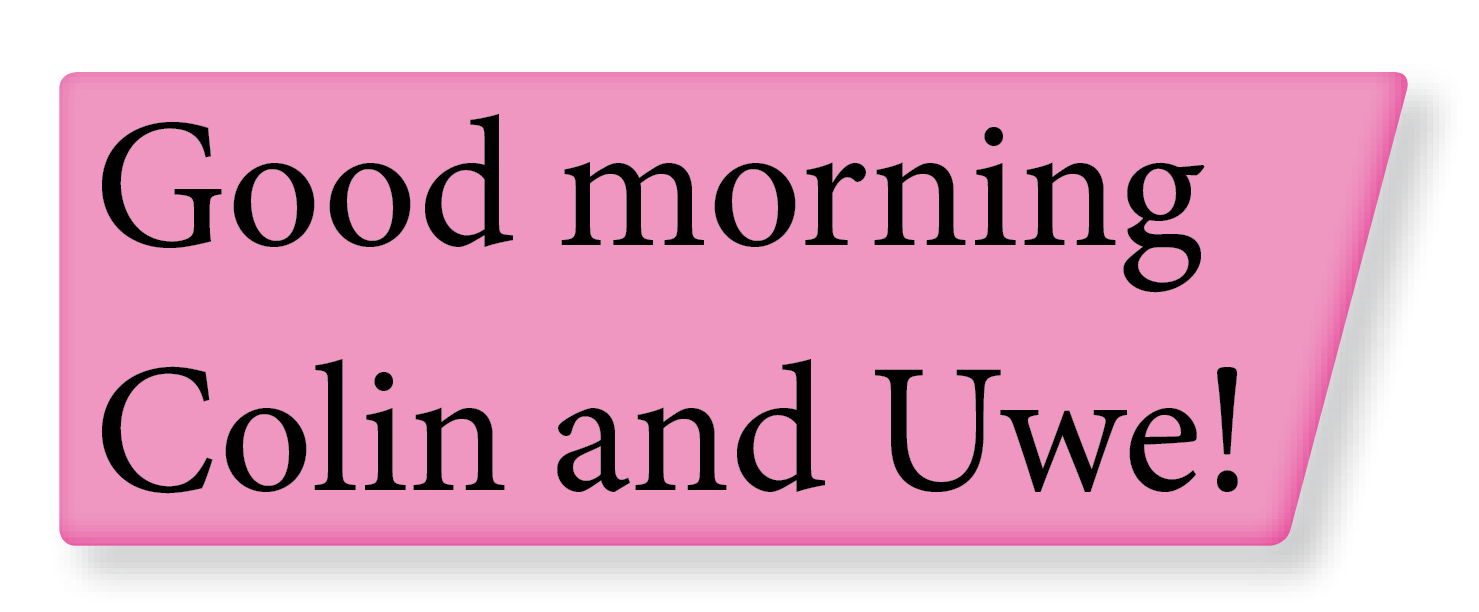
But you won't appreciate this other way! "No shading, no Grep style, no glyph added …"
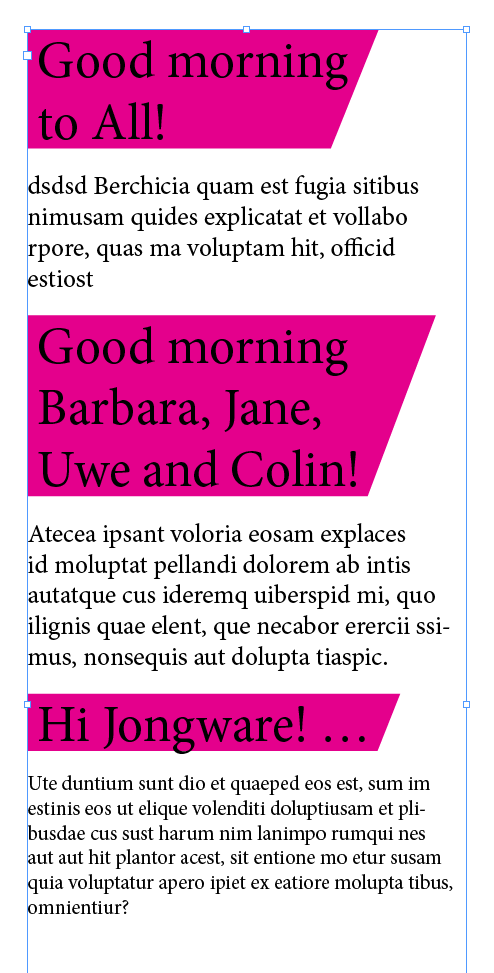
Here, the "red" effect will always follow the "text" you will type! … 1 line, 2 lines, 3 lines …
Best,
Michel, from FRIdNGE
[ Of course, I'll tell you how, but Colin seems to take pleasure to play! … So, let's play!  ]
]

Copy link to clipboard
Copied
Very nice, Michel.
Found a different method for stand alone text frames that is not so flexible.
You have to edit the frame's path points if the height of the frame is changing:

Regards,
Uwe

Copy link to clipboard
Copied
@Michel
I'm simply trying to answer a question posed by the opening poster - a user that had a newly created account, so I'm unaware of their expertise of Adobe InDesign, so I want to try and provide as much information as I can in order to answer their question.
So far I've given several answers that – I believe – fulfils the OP's brief of a one-line heading that has a solid rectangle behind it with a taper at the end of the line, and I've provided my workings so that anyone with a limited knowledge of InDesign can interpret what I've done and implement it into their own work and get on with their job of creating a layout with the desired effect.
Copy link to clipboard
Copied
Colin,
The game seems to be "over"! …
I don't care about the expertise or the limited knowledge of designers who will read this thread, they deserve all my attention ...
If they already can find various answers, this last one from my own will let them once again just savor the total simplicity of a "click" ... accessible to all. Nothing more!
.idml file + Script [beta version]
After having played the Script, you could type text in the "red" frame and see its behavior!
This light version is locked on 1 text-line [tangent calculation off].
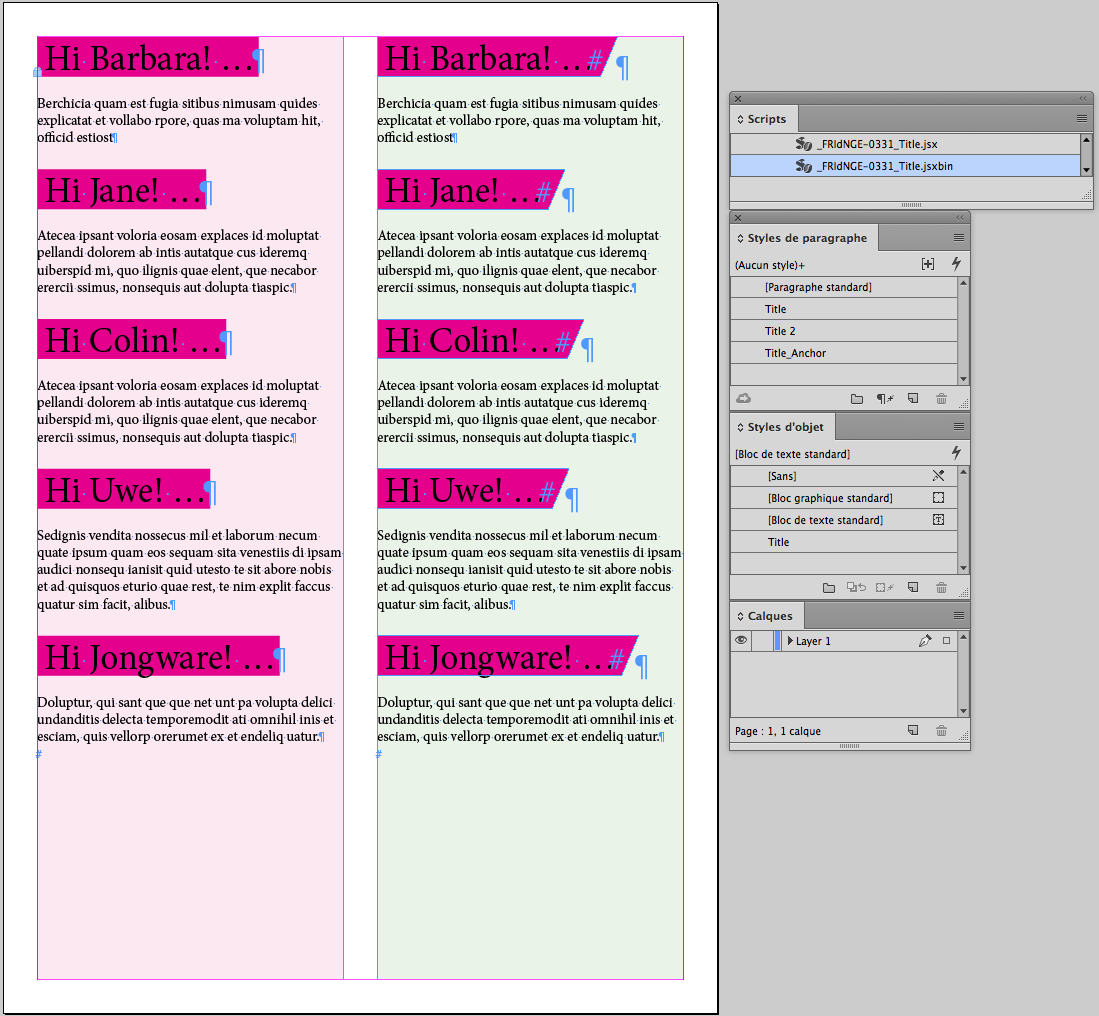
Dropbox - _FRIdNGE-0331_Title.zip
Best,
Michel, from FRIdNGE
Copy link to clipboard
Copied
https://forums.adobe.com/people/Michel+%5BFRIdNGE%5D wrote
.idml file + Script [beta version]
After having played the Script, you could type text in the "red" frame and see its behavior!
This light version is locked on 1 text-line [tangent calculation off].
Best,
Michel, from FRIdNGE
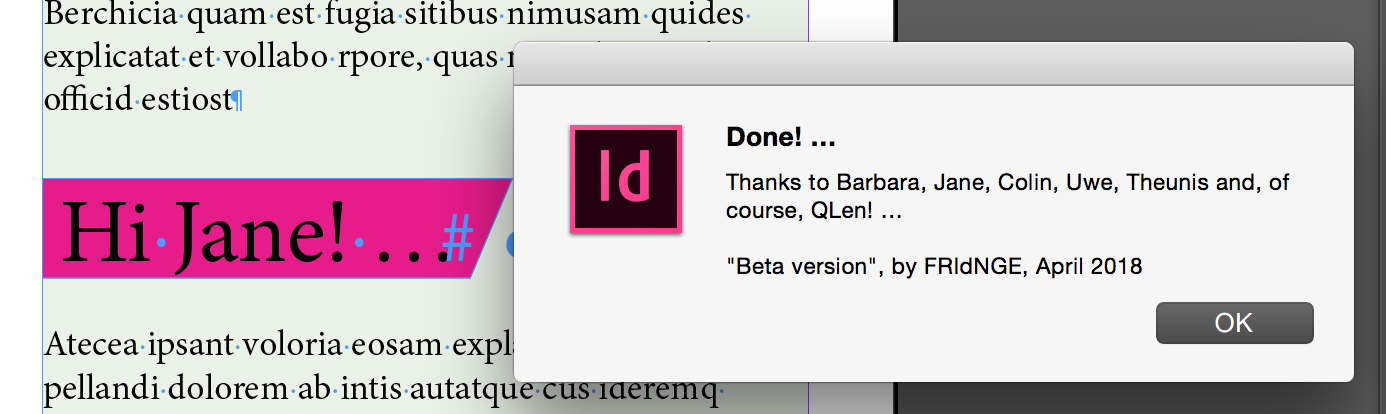
Wow, cool script, Michel [FRIdNGE], and I love the Message Box at the end. Thanks for sharing the script and idml file so we could play with it.
“and it was fun!”
~ Jane
Copy link to clipboard
Copied
I was able to achieve a SIMILAR (though not the same) effect as Michel:
So here are my workings:
However, the OP's angle in the image is shallower, this trick will only do 45 degrees or more.
Copy link to clipboard
Copied
https://forums.adobe.com/people/Colin+Flashman wrote
I was able to achieve a SIMILAR (though not the same) effect as Michel:
...
However, the OP's angle in the image is shallower, this trick will only do 45 degrees or more.
Colin, what happens if you have a descender in the one-liner?
Copy link to clipboard
Copied
@Jane-e
it's controlled by the paragraph shading, so I'd increase the offset of the bottom from 1mm to something larger (I'm in Australia so using metric measurements).
So far as Michel's technique, it's not a skewed rectangle, the preview he took the screengrab with would have shown a keyline around the magenta object if it was. He's partly revealed how he's done this in his own post, but it would have been awesome if he'd also provided his workings like I have so that beginners and intermediate readers of this post could understand how he created his technique.
Regardless, neither of our techniques fulfil the OP's brief, the angle is 45 degrees, but the OP's example was much shallower. I'll keep thinking about how to achieve the OP's desired result and post again if I think of an answer.
Copy link to clipboard
Copied
Hi Colin,
A totally workable and explained way in the day!
Best,
Michel, from FRIdNGE
Copy link to clipboard
Copied
QLen wrote
https://i.imgur.com/uURaIVH_d.jpg
How do i make it so every heading has this arrow kind of shape without making a specific length shape for every heading?
Hi,
what is your InDesign version?
Regards,
Uwe
Copy link to clipboard
Copied
Hi,
The idea: Color rectangle anchoring!
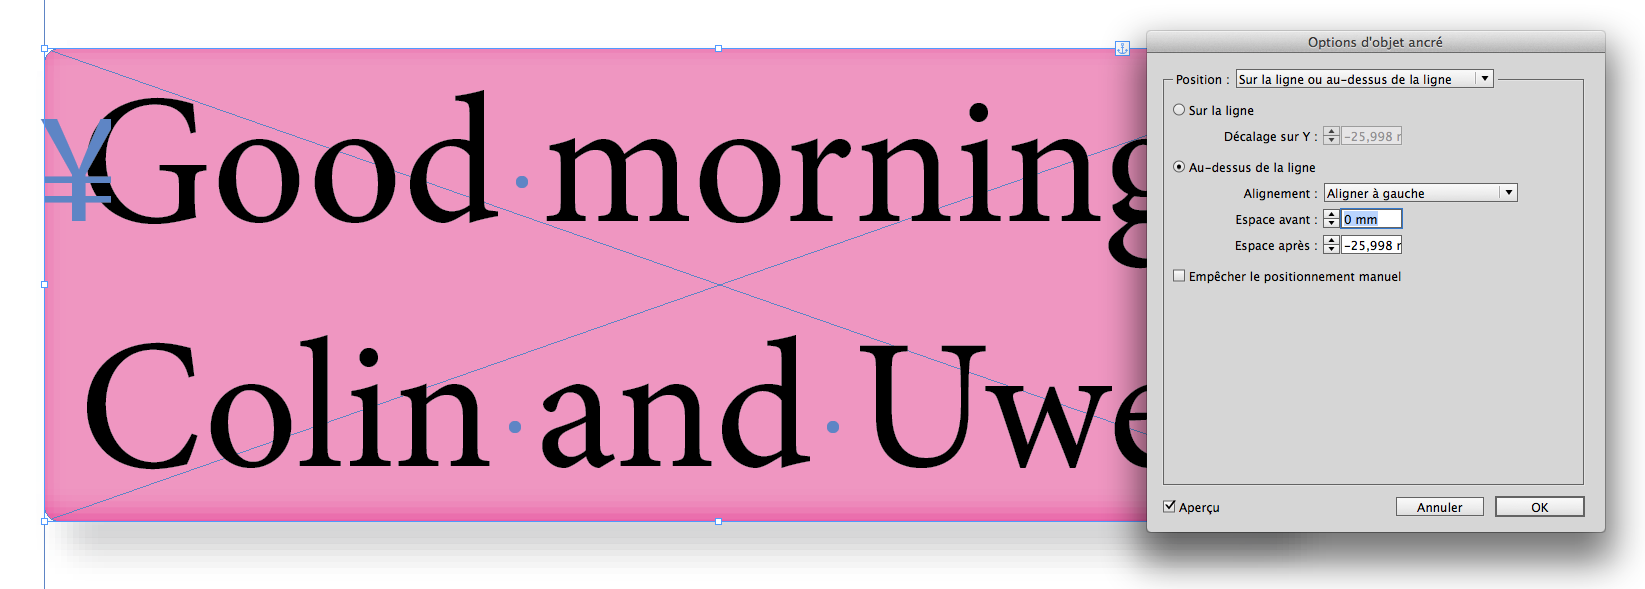
The user will just need to create the pattern based on 1 text line! …
… and then just 1 click!
A simple work for a script that would like to play Grep, count the lines and their length and make calculations of tangents!
Of course, the user could use an object style and spend hours to play with all the InDesign Effects panoply!
Best,
Michel, from FRIdNGE
Copy link to clipboard
Copied
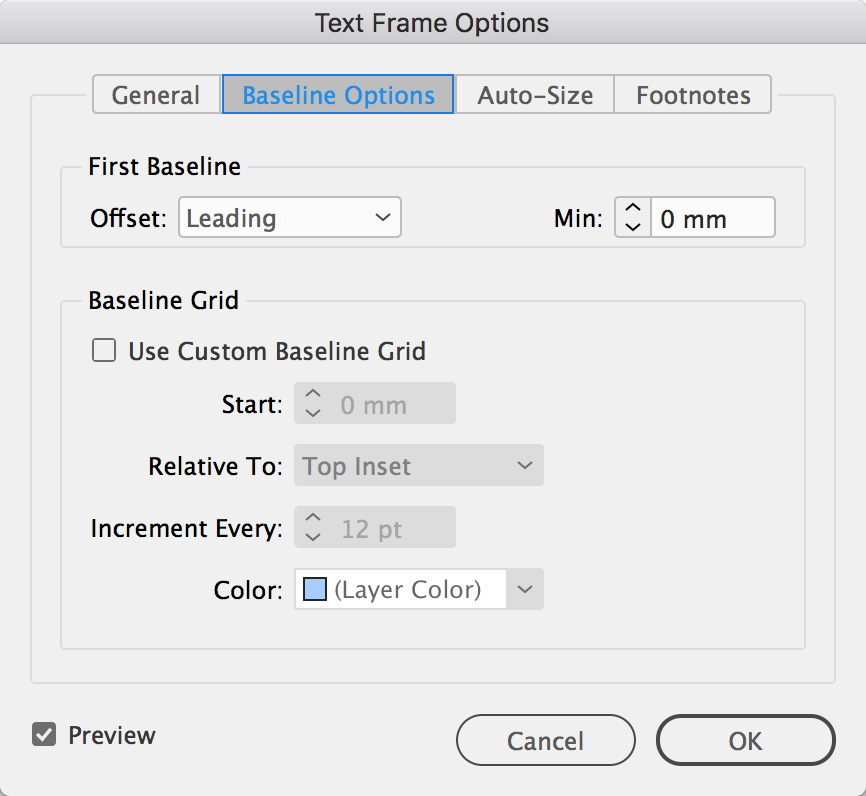
I woke up this morning and started thinking anchored text frame. I was going to play with it this morning, but it’s pretty much like this one, just without the script—just object styles and anchors, because...
Paragraph shading would be ideal, unless it’s important to look a certain way. An anchored text frame would have more control over the look.
Copy link to clipboard
Copied
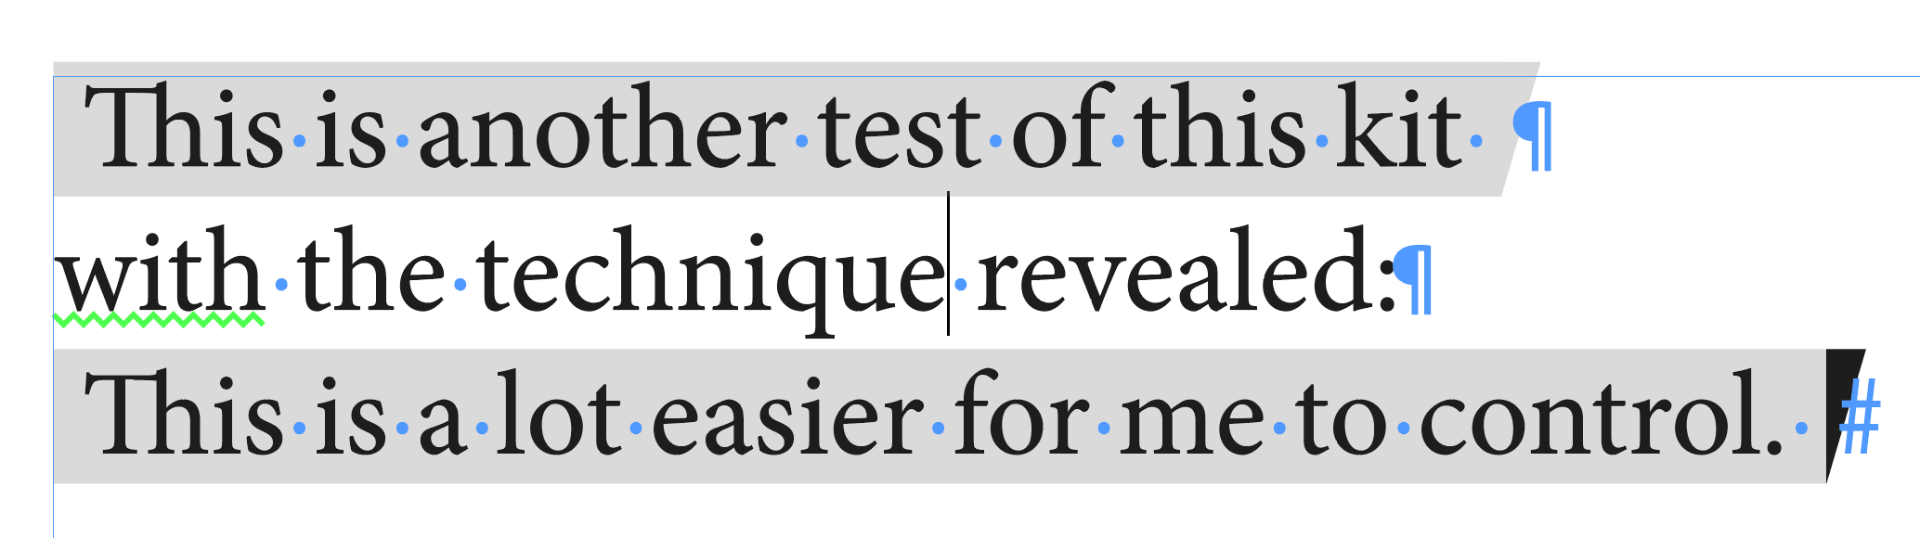
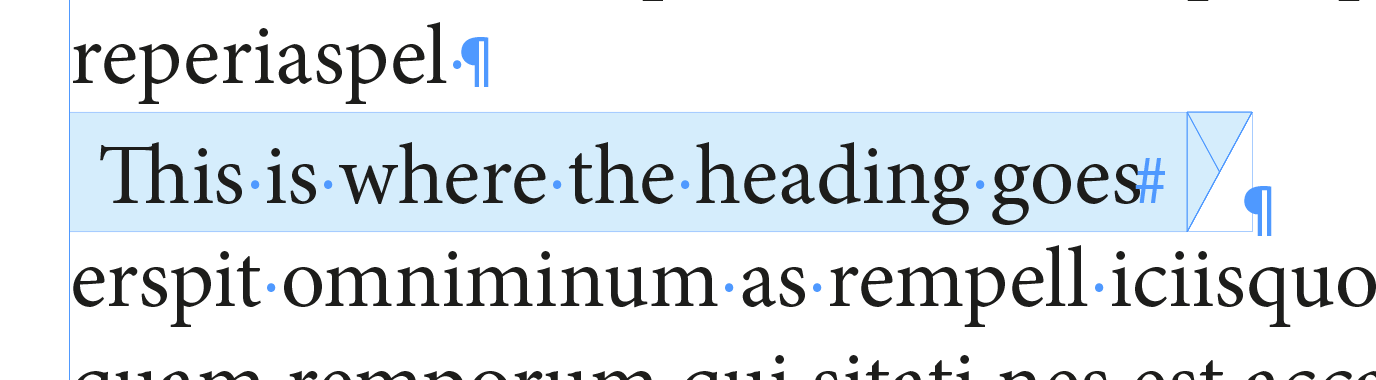
Another way to do this that not only fulfils the OP's brief BUT doesn't require scripting, object styles or anchors is to use the Indyfont script from Indiscripts and create the wedge bit at the end of the line. In my example, I've used the free version of the script that allows for one character to be made, and in this instance I've chosen the pipe symbol (|).
From here, make a solid background with paragraph rule above or below, or shading, doesn't really matter if it is one line. The trick is to have a GREP style that - in this case - finds the pipe symbol and the end of the line and applies the indyfont-script-created font as well as the shading color. Such a GREP style would be \|$
The only other nuisance is lining up the wedge.
If you didn't want to use the font, then just make a triangle as an object, copy it as an inline object to the end of the line. Drawback here is this has to be done for each line, and if the client says "make the effect bigger" this can be a pain if the object doesn't have an object style associated with it. Adjusting the character style in my method would be easier to fix in that instance.
Copy link to clipboard
Copied
Colin,
It's the way I've used in the first trick with the font Wingdings [for Jane, I've used 2 different glyphes of the font] …
… Not really great … and really limited to 1 line!
I said: Just For Fun!
Best,
Michel, from FRIdNGE
Copy link to clipboard
Copied
No worries Michel, and thank you for showing your workings for your initial technique, it will definitely be appreciated by other readers of this post.
That said, both techniques match the OP's brief, and hopefully answers the OP's question.
If a similar angle is required for the start of the line, that can be done with bullets and numbering by applying the appropriate glyph and removing the tab space between the glyph and the type.
However, I can then swap the position of the bullet from the left hand side to the right hand side using this technique: https://indesignsecrets.com/numbering-paragraphs-side.php
And I can left align the text and the bullet stays where I want it to stay.
Unfortunately, I don't know how to put bullets on either side of the type... that would be cool.
Rather than show my workings, I'll provide them so it's easy to copy and paste into a new document. An IDML is available from this link: Dropbox - trythisout.idml
The last way that I can think of (and hardest to change if a client wants it changed throughout a document) would be to make a table one row by two columns, type in the left as desired, and in the right, make the cell a graphic frame. Then, with the pen tool, remove the bottom right point to make the graphic frame a triangle, and color it accordingly.
It also isn't responsive (i.e. won't resize as type is entered). Closest solution that employs this technique would be Aman's solution that was provided earlier.
Copy link to clipboard
Copied
https://forums.adobe.com/people/Colin+Flashman wrote
…The last way that I can think of (and hardest to change if a client wants it changed throughout a document) would be to make a table one row by two columns, type in the left as desired, and in the right, make the cell a graphic frame. Then, with the pen tool, remove the bottom right point to make the graphic frame a triangle, and color it accordingly.
It also isn't responsive (i.e. won't resize as type is entered). Closest solution that employs this technique would be Aman's solution that was provided earlier.

Hi Colin,
also interesting is that one can remove a selected path point from an anchored object, but you are not able to move a selected single path point of an anchored object by mouse or trackpad. That goes for inline and above line anchored ones. One has to type values to the position entry fields.
Thank you for providing the sample IDML.
Regards,
Uwe
Copy link to clipboard
Copied
Thats fun to do;)
-
- 1
- 2

 AdChoices