• Global community
    • Language:
      • Deutsch
      • English
      • Español
      • Français
      • Português
  • 日本語コミュニティ
    Dedicated community for Japanese speakers
  • 한국 커뮤니티
    Dedicated community for Korean speakers
Exit
1

Indesign: Highlighting variable text lines without using hard returns

New Here ,
Aug 01, 2022 Aug 01, 2022

Copy link to clipboard

Copied

I want to highlight text lines not a complete paragraph, but without using hard returns and with some margin at the beginning without typing a space. When I use Paragraph highlighting, the whole text block gets highlighted and forms a square like a separate fond behind the text. When I use underline, I am almost there. The only thing is you can't change the starting margin before the first word. It is zero mm. (Using Paragraph highlighting you can change these margins but if you don't want a color square behind the text block you need to use hard returns and that is not convenient when text needs to be corrected afterwards by an editor.)

For example when you use centered text, the line starts directly with no margin, but at the end of the line there is a little bit margin because of the used text space. Is it possible to create some beginning margin or is the an alternative way to create this? Thanks in advance, any help appreaciated! (Sorry, if my problem is not completely clear, I am not a native English speaker)

Views

583

Translate

Translate

Report

Report
Community guidelines
Be kind and respectful, give credit to the original source of content, and search for duplicates before posting. Learn more
community guidelines

correct answers 1 Correct answer

Community Expert , Aug 02, 2022 Aug 02, 2022

The only way i can think of is to place a rectangle or a text frame behind the line. Place it on a separate layer so that you stack the highlights and the text, and also to hide or remove the highlights easily.


Here's a script that does it. First, create a swatch, name it 'highlights' (without the quotes) and create a layer, also named 'highlights' (also without quotes). In the Layers panel, move the new layer after/below the text layer.

Then instal the following script in InDesign's Script pa

...

Votes

Translate

Translate
Community Expert ,
Aug 01, 2022 Aug 01, 2022

Copy link to clipboard

Copied

Are you saying you want the highlight to extend beyond the words slightly?

If so, apply your character style

image.png

Do a GREP find/change as shown (the size of the space before & after is up to you; I used a 1/6 space).

image.png

Result:

image.png

David Creamer: Community Expert (ACI and ACE 1995-2023)

Votes

Translate

Translate

Report

Report
Community guidelines
Be kind and respectful, give credit to the original source of content, and search for duplicates before posting. Learn more
community guidelines
New Here ,
Aug 02, 2022 Aug 02, 2022

Copy link to clipboard

Copied

Thank you, David. I just tried it, but if you select one complete line (see the attached image), the margin appears only at the first word (see point A.) of that sentence, the second and third line get no margin (point C.). Unless you put a hard or soft return (point D.) at the end, then the new line starts with the margin (point E.). I want every line to start and end with a little margin without using returns, so if editor changes the text, it adapts naturally.  

Votes

Translate

Translate

Report

Report
Community guidelines
Be kind and respectful, give credit to the original source of content, and search for duplicates before posting. Learn more
community guidelines
Community Expert ,
Aug 02, 2022 Aug 02, 2022

Copy link to clipboard

Copied

LATEST

The only way i can think of is to place a rectangle or a text frame behind the line. Place it on a separate layer so that you stack the highlights and the text, and also to hide or remove the highlights easily.


Here's a script that does it. First, create a swatch, name it 'highlights' (without the quotes) and create a layer, also named 'highlights' (also without quotes). In the Layers panel, move the new layer after/below the text layer.

Then instal the following script in InDesign's Script panel:

app.scriptPreferences.measurementUnit = MeasurementUnits.POINTS;

function broken_line (s) {
  if ("- \u2013\u05BE\r\n/".indexOf(s.slice (-1)) < 0) {
    return 6;
  }
  return 0;
}

d = app.documents[0];
line = app.selection[0].lines[0];
f = line.parentTextFrames[0].parentPage.textFrames.add (d.layers.item ('highlights'), {
  geometricBounds: [
    line.baseline-line.pointSize+2,
    line.horizontalOffset-6,
    line.baseline+5,
    line.endHorizontalOffset + 4 + broken_line (line.contents)
  ],
  fillColor: 'highlights',  
});


To use the script, click in a line and run the script.

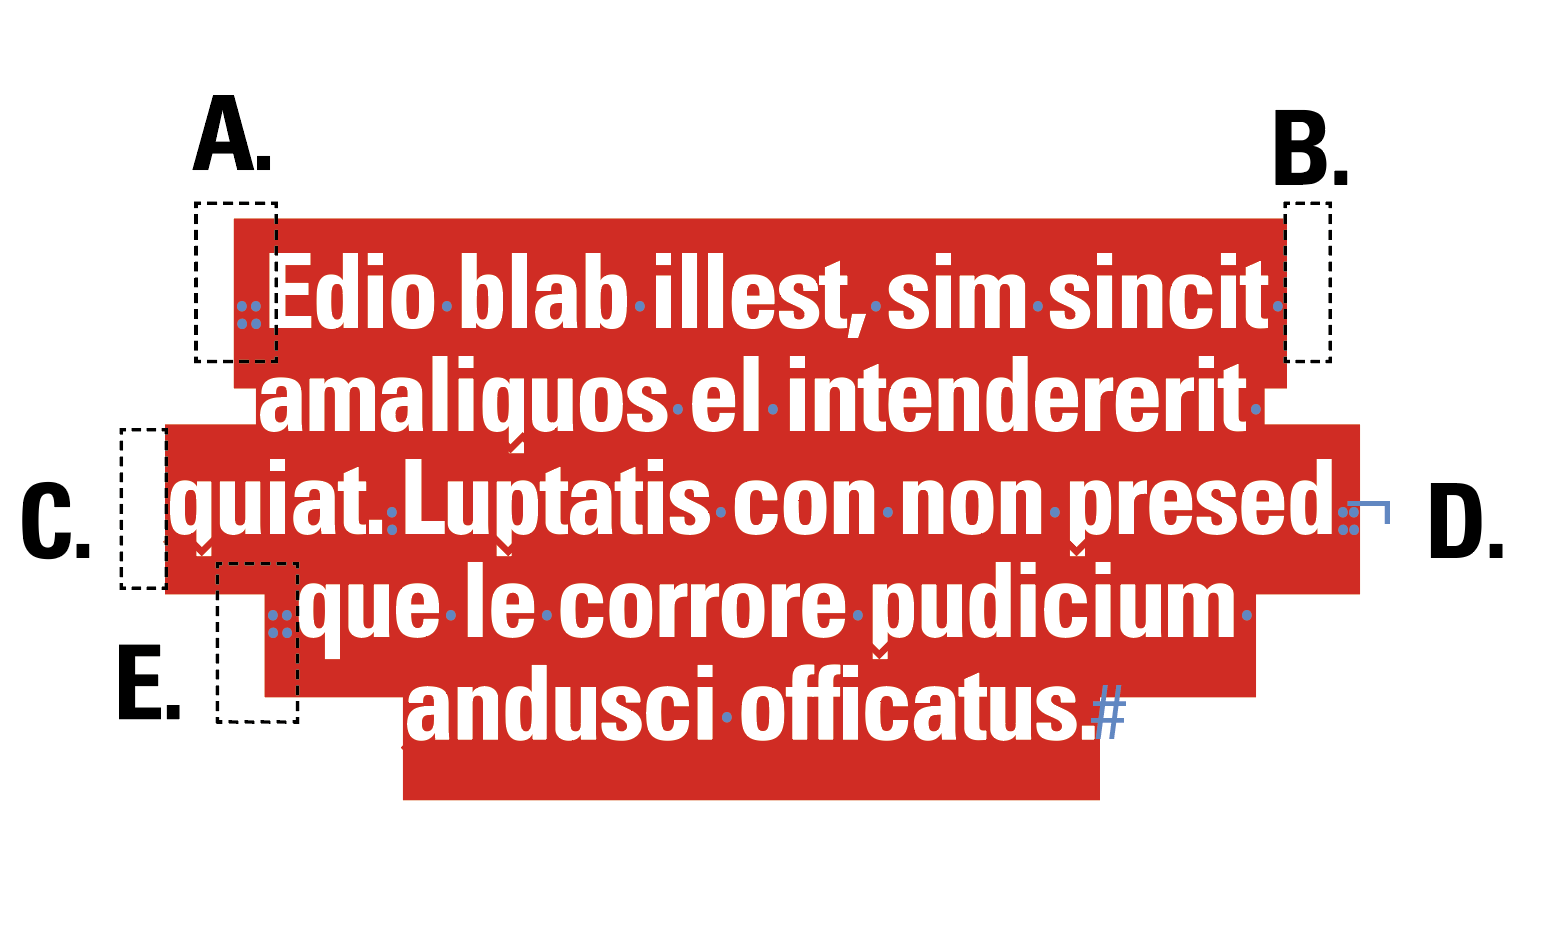
You probably have to tweak the offsets a bit:

Change the +2 value to change the top of the highlight

Change the -6 value to change the left side

Change the +5 value to change the bottom

Change the +4 value to change the right side


Peter

Votes

Translate

Translate

Report

Report
Community guidelines
Be kind and respectful, give credit to the original source of content, and search for duplicates before posting. Learn more
community guidelines