PDF Export, Bleed Marks guffed up
Ok, what I usually do when exporting a pdf to send to the press I use the export setting "Use Document Bleed Settings" then I ensure all else is unchecked except the slug area. Then when I get the file into acrobat I add the bleed marks etc. I would prefer to be able to do all in one shot in inDesign, but every time I try to add bleed marks in inDesign it adds about .125 inch of white space then puts the bleed marks in .125 inches away from where they need to be or it crops the document bleed area off and adds white space and places bleed marks. Here's the settings I use:
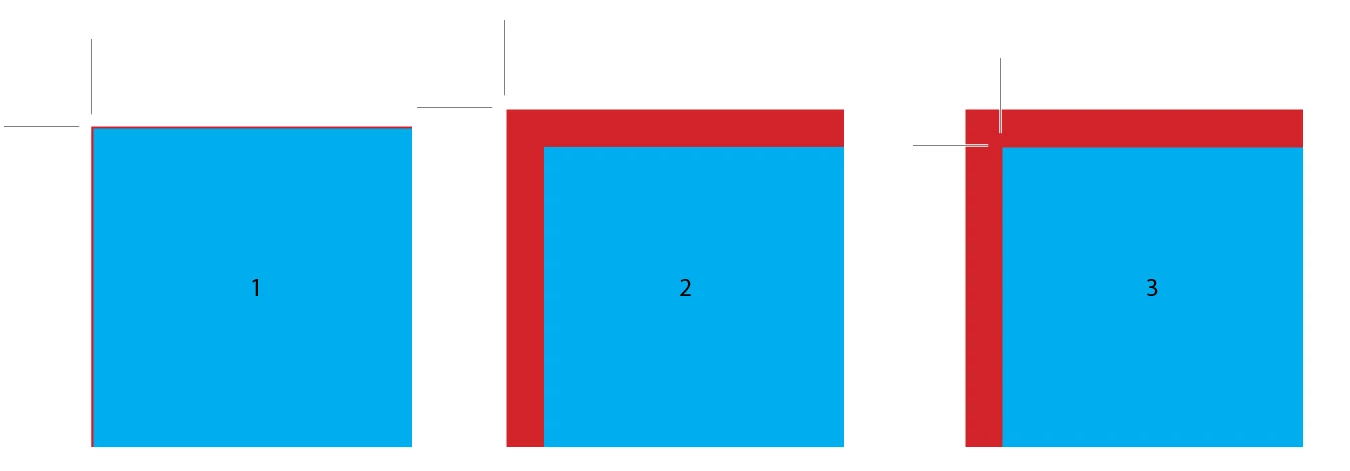
My Bleeds are set up as .125 inch in document setup.
PDF Export Settings are as follows:
"Use Document Bleed Settings" is checked
Above that is the Marks area where "Bleed Marks" are checked
weight is .125, offset is 0 (also tried .125 with same results)
All else is unchecked
When I export every time it just adds the white space and puts the bleed marks in .125 inches away from where they should be and out in the white space.
I've tried unchecking the "Use Document Bleed Settings" then checking the Bleed Marks box in which case on export it adds the bleed marks in the correct location, but crops off my bleed area of my document and adds white space.
Could someone tell me how to export from inDesign with bleed marks placed correctly on my document without adding unwanted whitespace and most importantly without cropping off my pictures bleed area?