Participating Frequently
February 15, 2024
Question

Print doesn't match pdf

  • February 15, 2024
  • 4 replies
  • 547 views

I'm making a text mosaic of 8-in blocks on a wall. I created an indesign file containing letter shapes filled with a rainbow graphic, and saved it as PDF.


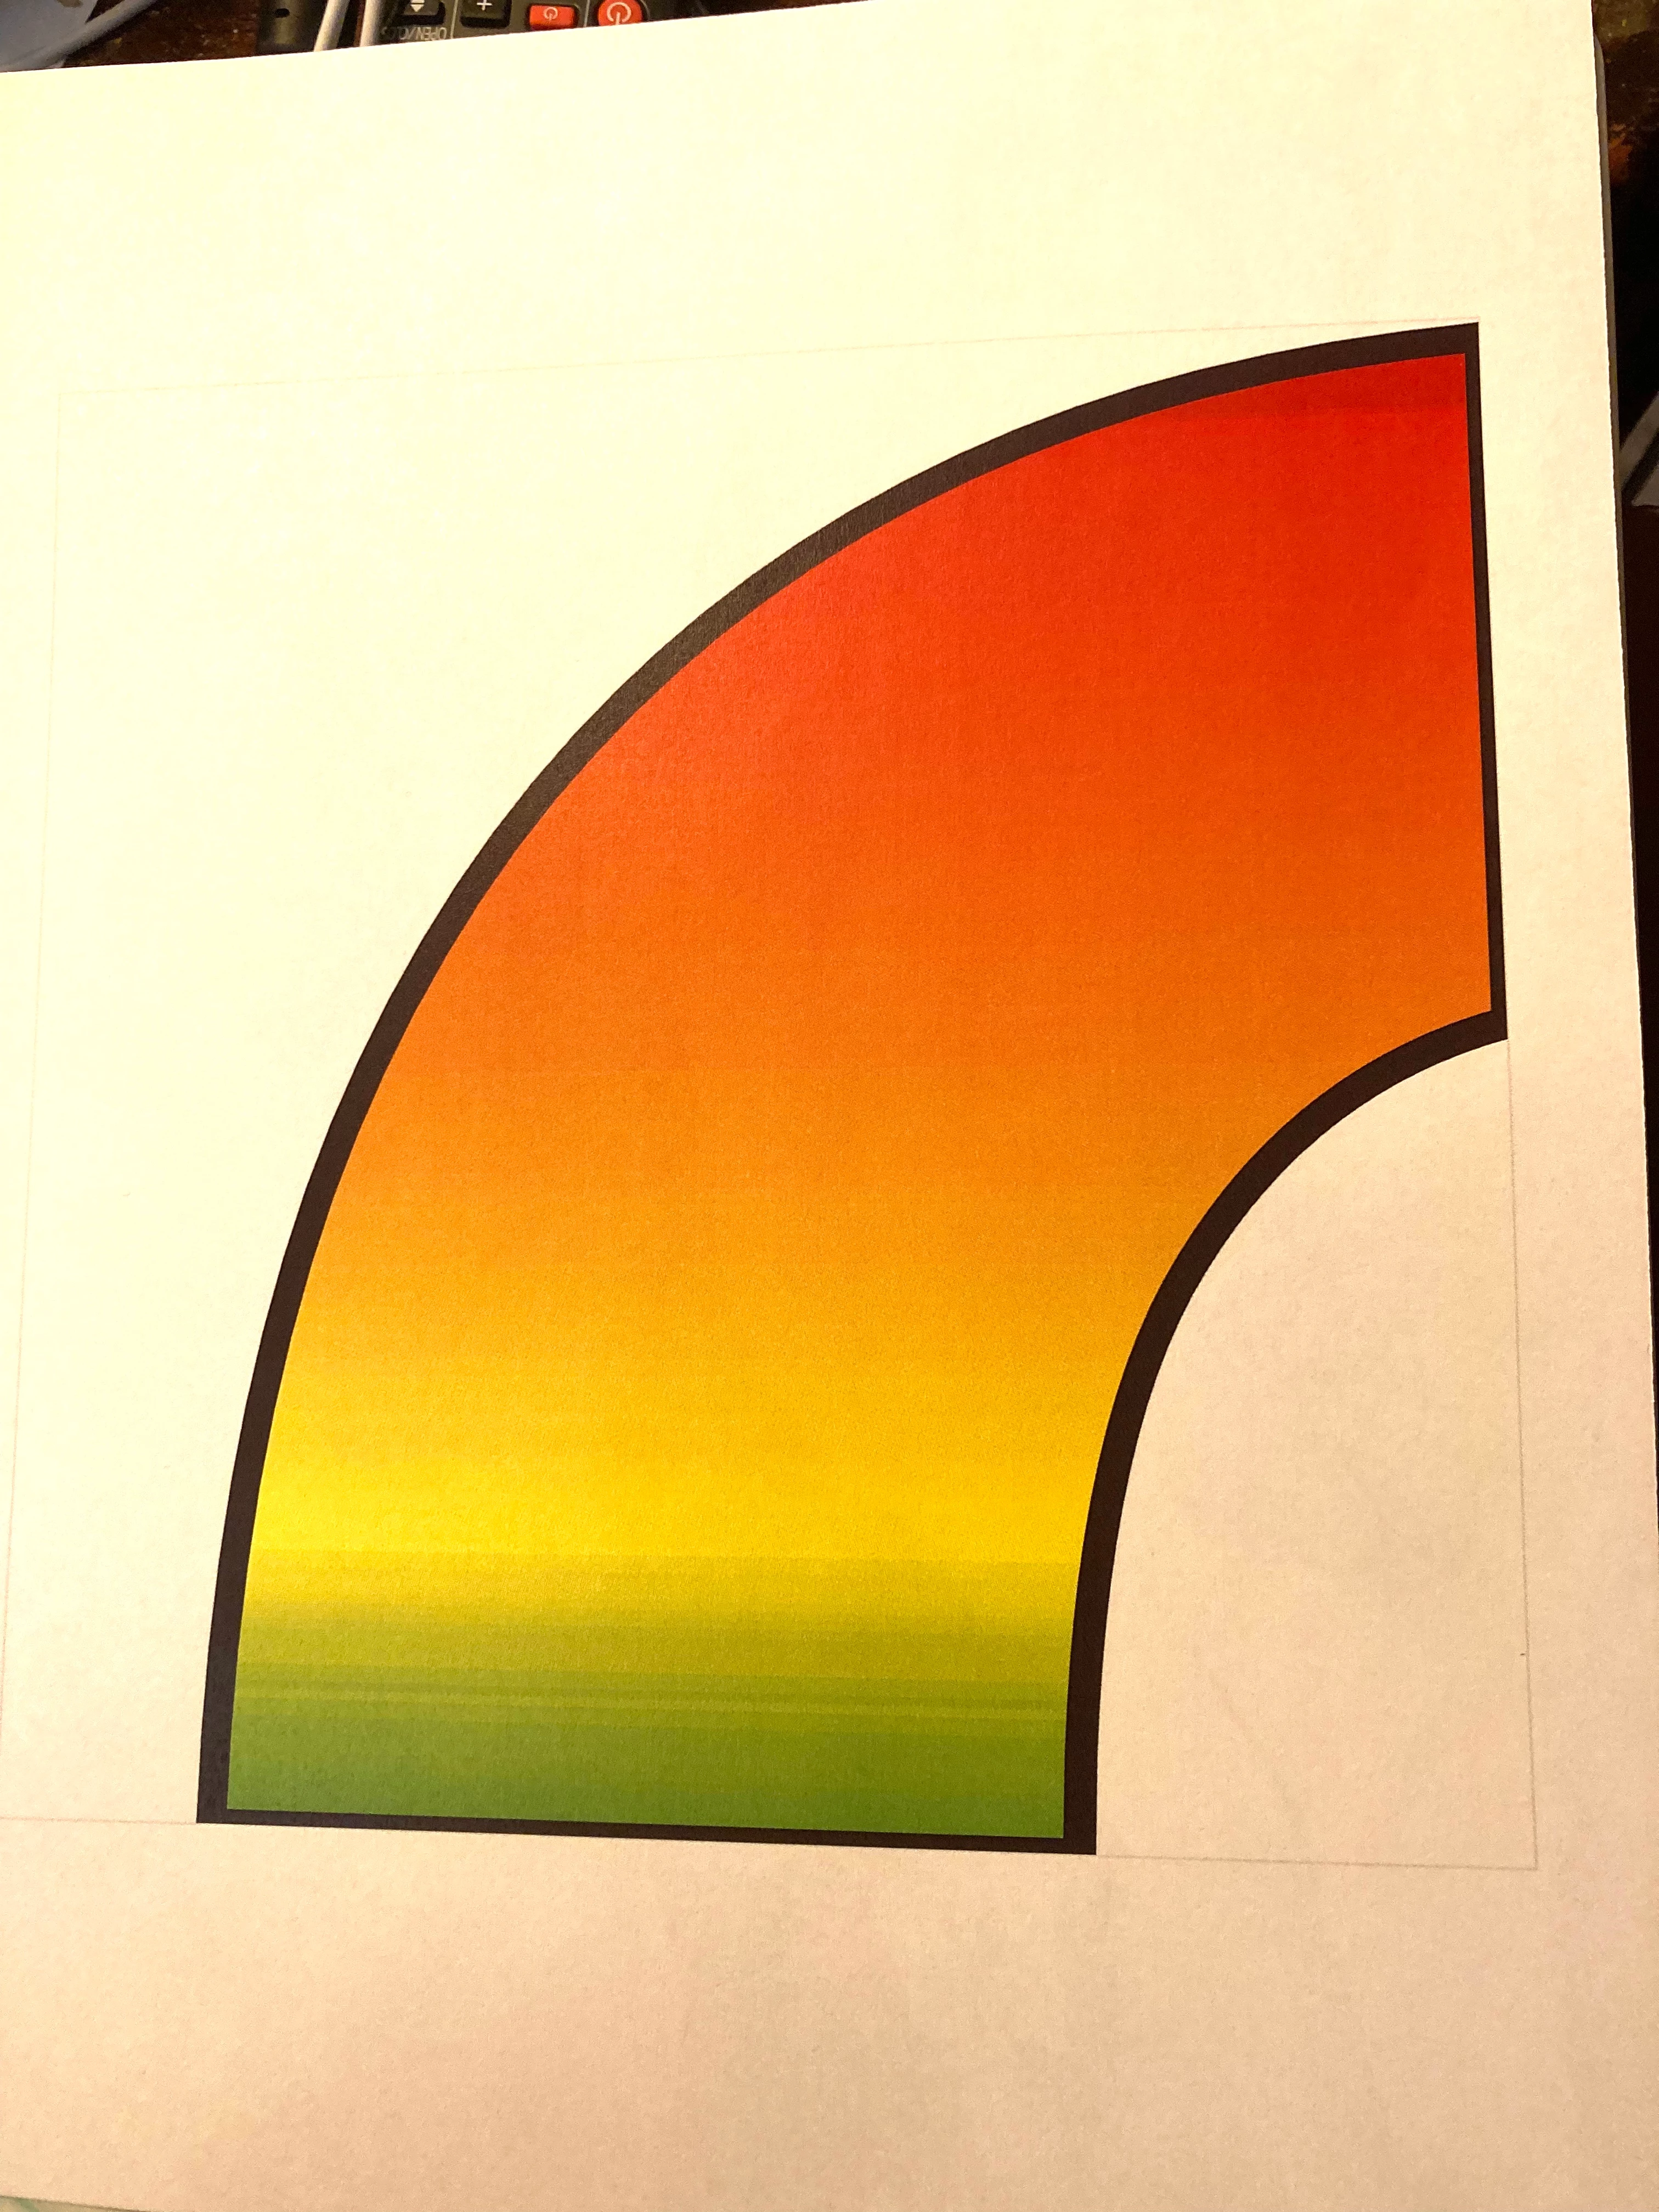
I created another indesign doc that expands the first pdf to about 1200%, with each letter divided into  four 8-in blocks on each of 4 pages. The original letters had a black stroke, which is clearly visible, but the cut edges where the letters are divided have no stroke [see image 1]. Saved that as PDF.


When I print the second file, everything looks fine, except the cut (masked) edges of the graphic have now gained a stroke similar to the one on the edges of the letters, but about half as wide. [see image 2.] They do no appear on screen in the pdf.

It seems the printer is misinterpreting someing in the PDF file. Is that a bug in the printer, or is there something wrong with how indesign is saving the PDF? Can anyone offer an explanation of how this could happen?


This topic has been closed for replies.

4 replies

Community Expert
February 23, 2024

Have you tried cropping the image in a frame that does not have a light stroke? And if you do, use crop marks for your cutting reference.

JayReeveAuthor
Participating Frequently
February 23, 2024

Thanks to all who tried to help. I finally ended up printing again on a different printer and everything came out as expected. There must have been a problem with how the first printer interepreted the pdf code, which suggests the pdf probably wasn't faulty.
 
I also discovered that the first printing was at a smaller size than what I had specified in ID, and on the second printing the measurement was exact. I don't think I'll use that first printer again.

Robert at ID-Tasker
Legend
February 23, 2024

Can you be more specific about printers? For future reference. 


Robert at ID-Tasker
Legend
February 15, 2024

You should print from Acrobat with "banner" option.


Either each letter separately - or whole word.


Community Expert
February 15, 2024

How was the stroke removed? Did you delete the path? Or did you mask it? 

How was the graphic created exactly? 


You could try several methods on a sheet and print them and see which works best

A complete stroke around the image - then remove the edges not needed by deleteing the path between the nodes.

Masking the image within a frame

Overlay a white box on top of the graphic to cut it (not my favourite method at all but as a test would be interesting)


Try simpler graphics without a gradient - does it happen with that?
Remove the stroke completely from the gradient and print that - does the black stroke always appear? 


If you create it in Illustrator does it behave the same way? 


JayReeveAuthor
Participating Frequently
February 15, 2024

How was the stroke removed? Did you delete the path? Or did you mask it?


There was no stroke, except around the entire letter. The unwanted stroke appeared where the graphic was cropped by the frame.


How was the graphic created exactly? 

1. Created the text with black stroke. 
2. Converted text into paths. 
3. Filled paths with rainbow jpeg (not an ID gradient). 
4. Saved result as pdf. Size = 11x1.67in. This is a jpg image of the pdf placed in step 6 (can't show pdf here):


I bet I wouldn't have had the problem if I had saved and imported this as a jpg, but that would mean either a HUGE file or pixelated borders.

5. Created 32 (new document) pages with 7.625-inch square frames. 
6. Placed saved pdf into each frame at 1207% and adjusted offsets to proper alignment. 
7. Put a 0.5-pt 10% black border (barely visible, as cutting guide) on each frame.
8. Saved as pdf for printing.
9. Checked pdf in Mac Preview: Perfect.
10.Printed all 32 pages, then found extraneous borders.
 

You could try several methods on a sheet and print them and see which works best

A complete stroke around the image - then remove the edges not needed by deleteing the path between the nodes.

There are no nodes. It's an imported pdf graphic (as shown).


Masking the image within a frame

I believe that's exactly what I did. Remember, the extraneous lines do not appear on screen, only in the printout.


Overlay a white box on top of the graphic to cut it (not my favourite method at all but as a test would be interesting)

 
 Might work, but the question is why Adobe's pdf is not being properly interpreted by the printer. Is the problem with the pdf or with the printer?
 

Try simpler graphics without a gradient - does it happen with that?

There is no gradient—just  a jpg image.


Remove the stroke completely from the gradient and print that - does the black stroke always appear? 

I don't have access to the printer to try all these interesting suggestions. FWIW, I subsequently opened the pdf in Acrobat to make sure it appeared the same as in Preview. It did.

It would be interesting to print directly from InDesign instead of via a saved pdf on a Windows machine, but that isn't an option.

 In retrospect, it would be interesting to see what happens if I saved the pdf without "Crop image data to frames." That might well solve the problem, but the problem shouldn't exist either way.
 
FWIW, I'm using the printed pages as they are, but would like to find how to avoid that anomaly in case I do something similar in future. And if there's a PDF bug, get it fixed.
Willi Adelberger
Community Expert
Community Expert
February 15, 2024

When you import PDFs into InDesign, use always PDF/X-4.