Generate and apply camera profile to a TIFF with a Color Checker Passport in the image?
Someone sent me a jpg with a color checker passport in the image. I want to use that to improve the color fidelity of the image. I think I understand most of this process, but I can't quite get it to work.
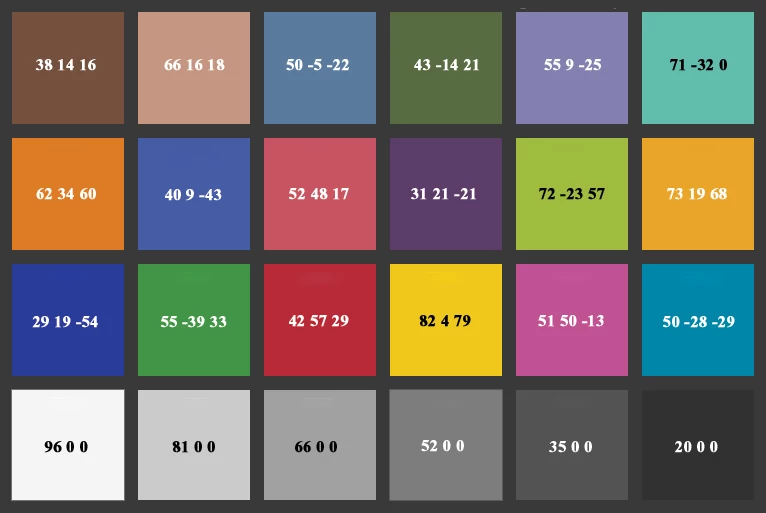
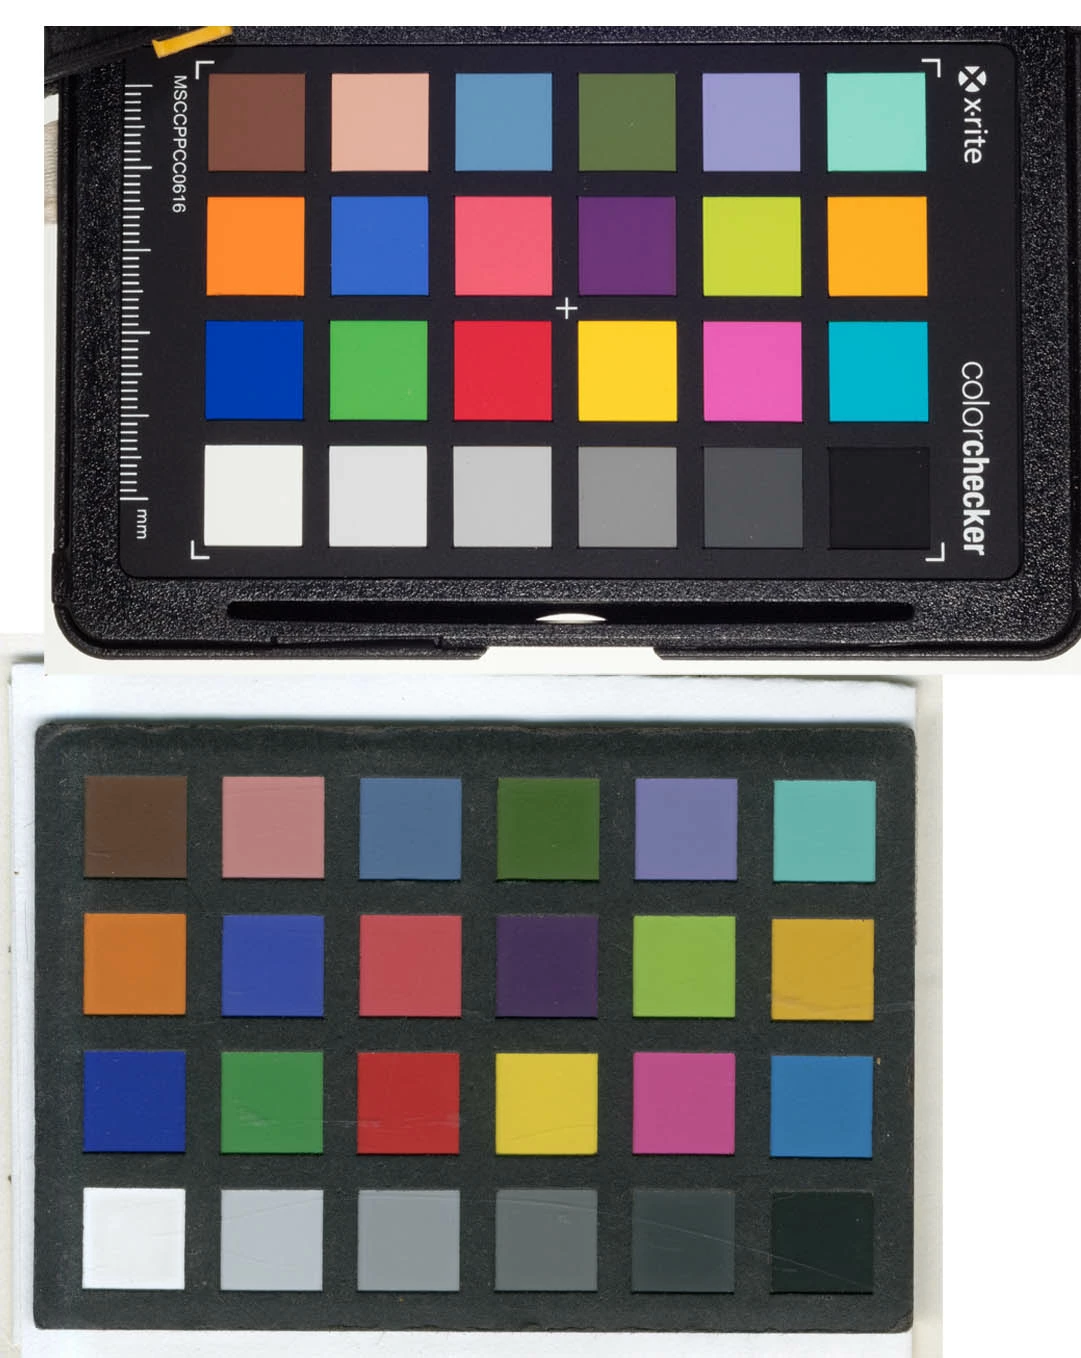
To remind you about using a Color Checker Passport for digital photography (correct me if I am wrong here), you do the following:
- take an image under standard lighting that includes a color checker passport, being careful to save the file as a raw or dng file (let's not discuss biluminant profiles!)
- use the color checker plugin to save a profile for your camera. The profile is saved in ~/Library/Application Support/Adobe/CameraRaw/CameraProfiles/
- Then, after you restart Lightroom, you can apply this profile to any photo that was made with this exact camera (go to Profile: Browse in the develop module to find the profile)
- But, Lightroom is careful to only allow you to apply profiles from the SAME camera, and doesn't show you profiles from DIFFERENT cameras (which makes sense).
Now I have a TIFF (in sRGB space) that has a Color Checker Passport in the image. I tried the following
- export the TIFF (from Lightroom Classic) as a dng
- use the color checker software (I used the desktop version) to make a ".dcp" profile for that image
- but now that profile does not show up when you go to Profile: Browse in the Develop module, probably because the camera ID doesn't match between the dng in step one and the camera profile in step two
I think (hope) that if I can just get Lightroom Classic to recognize that this Camera Profile "belongs to" this image, I could apply it and, hopefully, get better color fidelity for the image. Any thoughts about how to do this? I suspect it is just some metadata in the dng file and/or the dcp file that I need to massage and make consistent, but I'm not sure how to figure this out.