Known Participant
September 21, 2019
Question

Lightroom auto-masking issue

  • September 21, 2019
  • 2 replies
  • 658 views

Having watched an excleent tutorial on Lightroom's automasking feature ( https://www.youtube.com/watch?v=DSo_DuGC_a0 )

I have tried to apply the process in my Lightroom Classic v8.4. But I have some issues that I can't explain.

But my LR does not seem to be responding as it should.
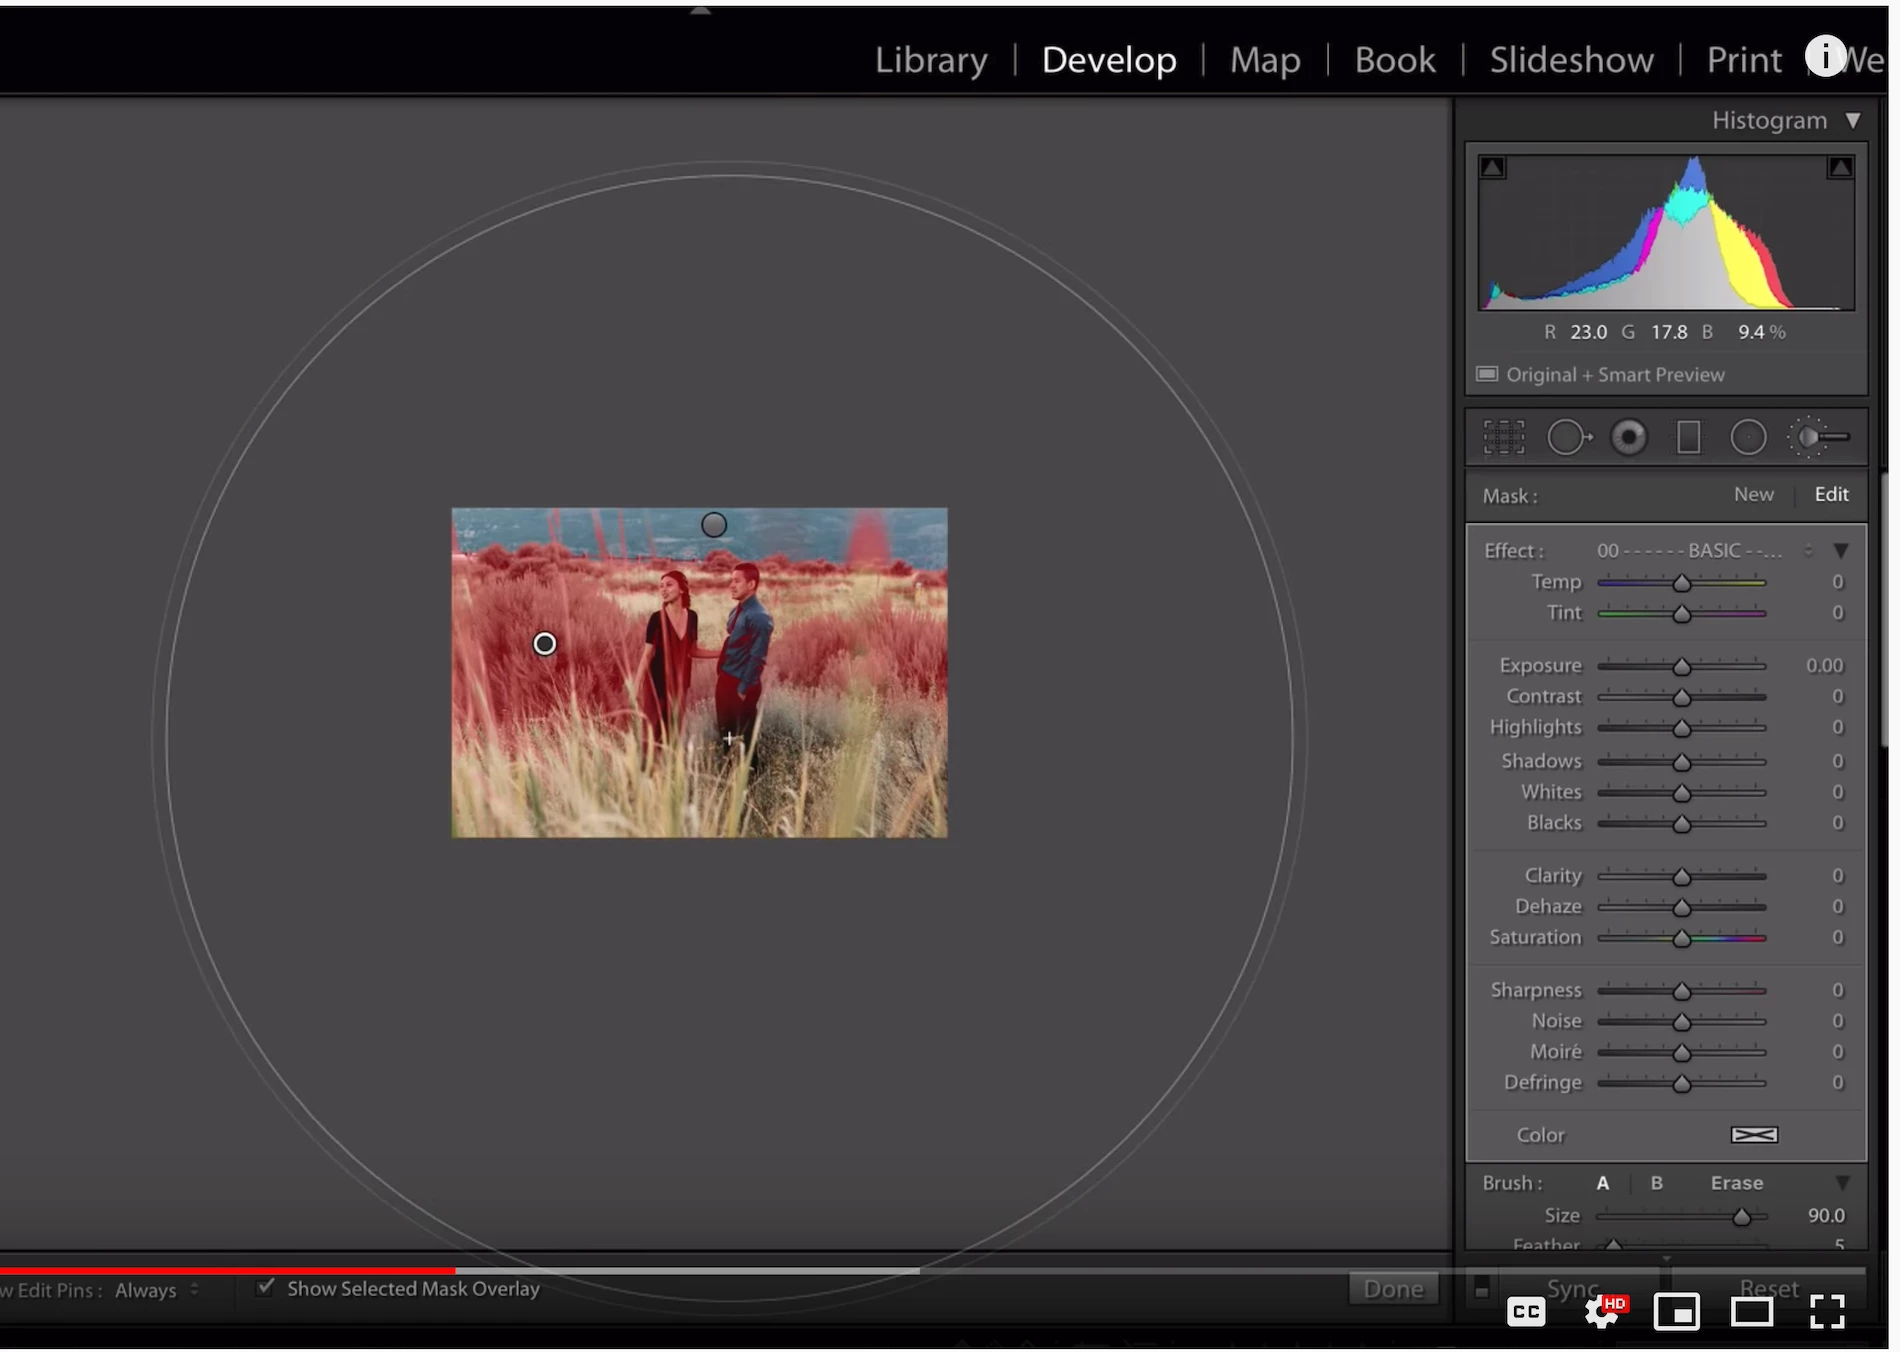
See the two screen shots below. The first is the screen as per the tutorial. You will note that when the brush is activated the while Basic panel is active and available.
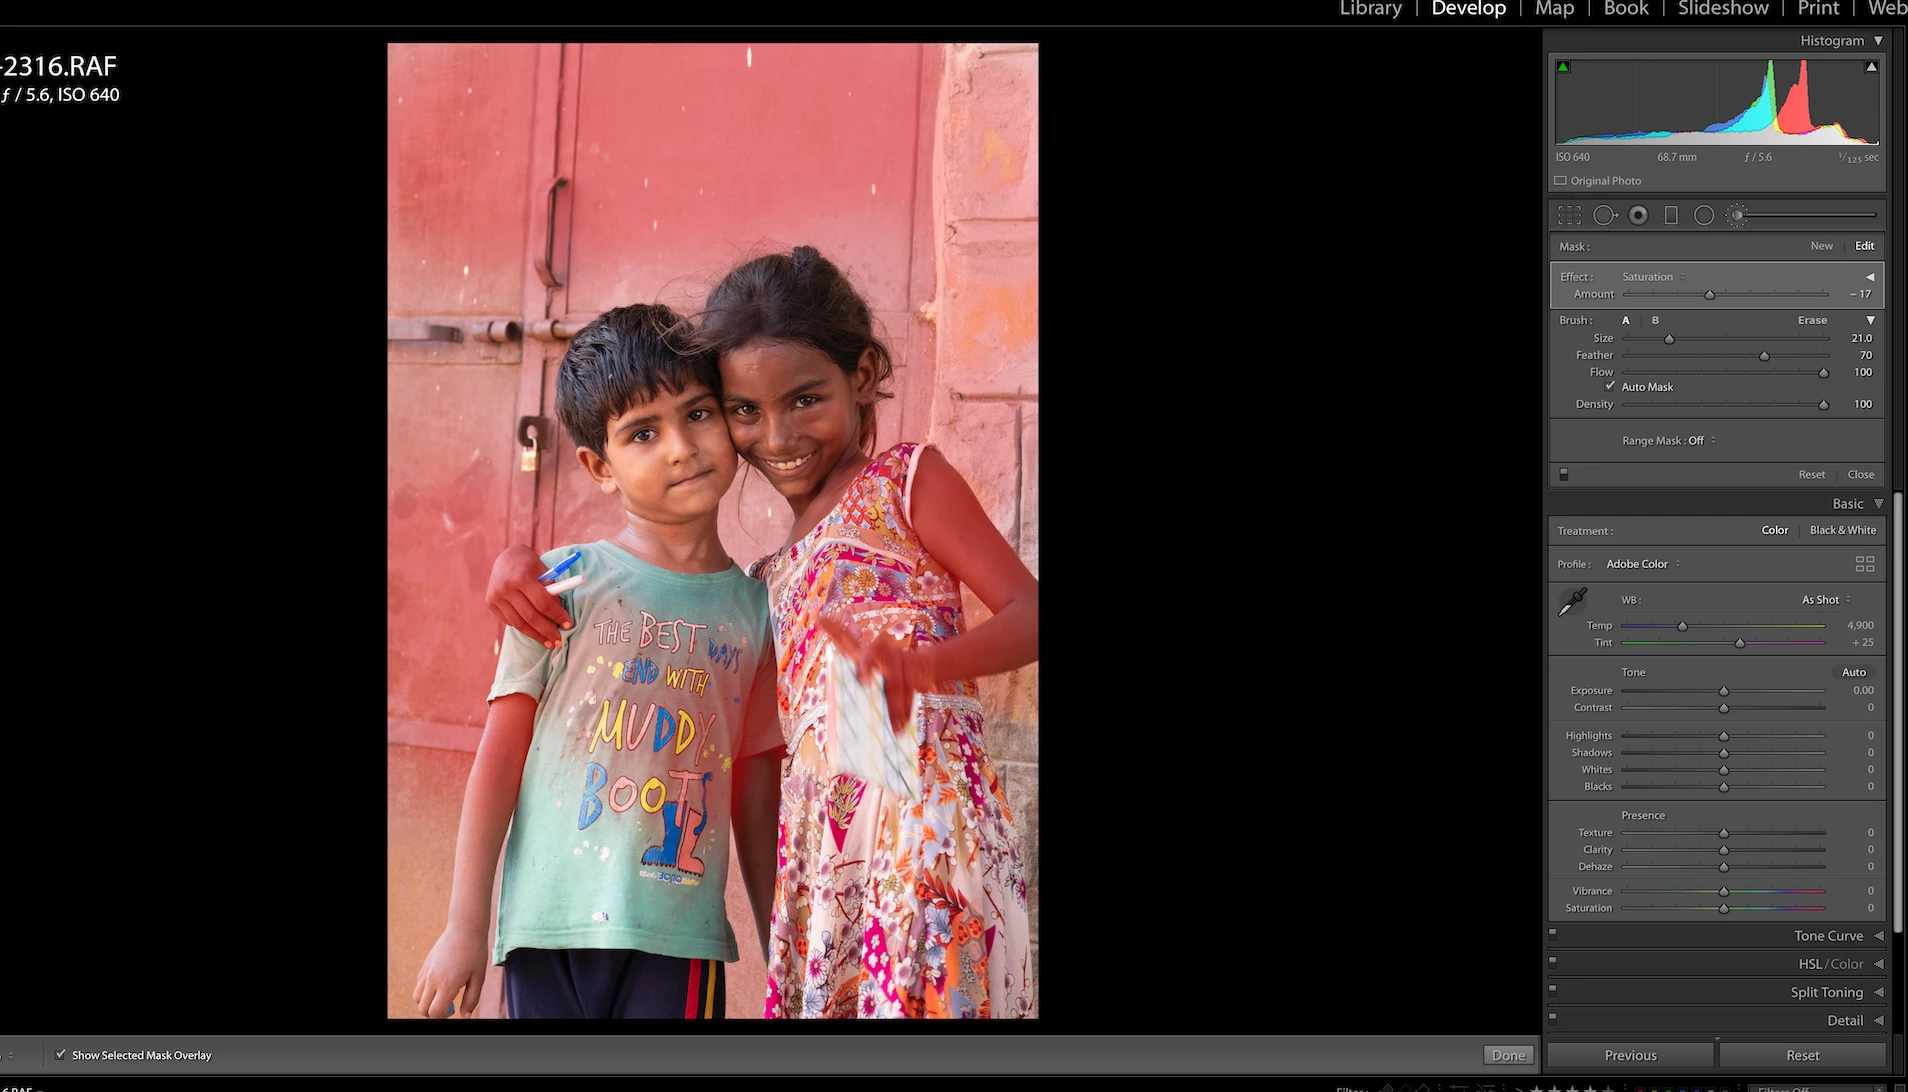
The second screen shot is my LR - when I select he brush the mask panel one,s and I can select the effect I want - in this image I selected saturation. The auto mask is selected. But when I select a spot with the brush, (the door)  the whole selected color does not should in the red mask, just where I painted. And when I brush over the wall or children, the mask show these areas are affected.
Can the Comunity please advise how to address these issue.
Thanks
    This topic has been closed for replies.

    2 replies

    GoldingD
    Legend
    September 21, 2019

    See the remarks by WobertC


    But, I will advise you of a different workflow.


    First up, select the adjustment brush, return all sliders to default.


    Now the differing workflow


    Turn that auto mask off. Create your mask, you do not need to be neat about it. Then turn on Range Mask (at bottom of panel). Typically select color. Select the color picker (eye dropper) and click on, perhaps shift click on for multiple selections, or click drag on the  red door (or whatever area you are working on). Display the mask. At this point you may want to reclick where that eye dropper came from as to deselect it (it gears in the way if you do not, annoying). In the Range Mask tools is Amount (Smoothness if you are using Luminosity ) slider, tweak it as desired. You may want to hold down on the ALT key when doing this as to see the mask in a different way.  If you still have parts of your image contained in the mask (that you do not want in the mask) then change the edit mode, select the erase option, turn the auto mask on fir this, and erase, carefully, the offending areas.


    Then alter the various sliders as you see fit.


    https://m.youtube.com/watch?v=C77T5vspa9Y


    https://m.youtube.com/watch?v=PSzO6JH7w7Q


    https://m.youtube.com/watch?v=SFuHYJvBXIQ


    https://www.digitalphotographyformoms.com/lightroom-range-mask-selections-now-more-accurate/


    mickfishAuthor
    Known Participant
    September 22, 2019
    Thanks davidg- found this most enlightening.
    Rob_Cullen
    Community Expert
    Community Expert
    September 21, 2019

    Do you see that little triangle just above an to the right of the slider that says [Amount]

    Click on the triangle (spinner) to open and reveal all the Brush sliders.

    The "Amount" mode is very useful in situations when you might adjust several sliders for the Brush (eg. Saturation + White Balance + Texture, etc). The Amount slider will then adjust ALL the sliders of the Brush together.


    Also, be aware, with the Brush it is the very center + of the Brush that selects the Tone/color that you want to be affected by the Auto Mask. So if your Brush centre + passes over bright and dark tones then both these tones are painted by the brush.

    Note in the video that the author does one click only on the 'global' tone he wants to adjust with automask.

    Regards. My System: Windows-11, Lightroom-Classic 15.0, Photoshop 27.0, ACR 18.0, Lightroom 9.0, Lr-iOS 10.4.0, Bridge 16.0 .
    mickfishAuthor
    Known Participant
    September 22, 2019
    Thanks- this has helped my understanding