Copy link to clipboard
Copied
I've got a series of photos that I'm printing out to fit in various antique frames. The source images are JPGs, at various aspect ratios. The frames have openings that are of various sizes & aspect ratios, ranging from 1.0 (square) to 1.67. I've pre-visualized the most pleasing resize & crop for each photo/frame in Photoshop, using photos of the actual frames. However, this pre-viz was approximate and done on the un-color-corrected photos.
What I'd like to do now is export the original photos with color corrections from Lightroom for printing, with the correct cropping for its specific frame, at the right physical size... Knowing that the printer only has a limited number of choices for print size (4x6, 5x7, 8x10, etc.), and their web interface does not allow you to specify DPI. That is, if I send a 900 x 1200 pixel file to the printer, I can't tell them to interpret it as 300 DPI = 3" x 4", and have them just center it in a 4x6 print - they'll always scale the uploaded file to the maximum size that fits.
It seems like I can get close with the "Mogrify" export plugin:
Alternatively:
Both of these are sort of labor-intensive. What I'd love to be able to do is:
Is such a thing possible, with stock Lightroom CC, or some plugin? Or can someone think of a workflow that's less painful and involves fewer export/imports?
I've attached a layout that describes the problem.
Copy link to clipboard
Copied
When set to print to JPG, a stated output resolution is going to be imposed no matter what and the Dimensions only display the cell size. But when the Print destination is set to "Printer", the natural PPI of the currently cropped image when scaled to the size of that cell, is calculated and displayed alongside the height and width of the cell.
Copy link to clipboard
Copied
Thanks to everyone who replied in this thread. I thought I'd reply to wrap things up...
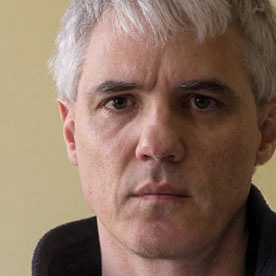
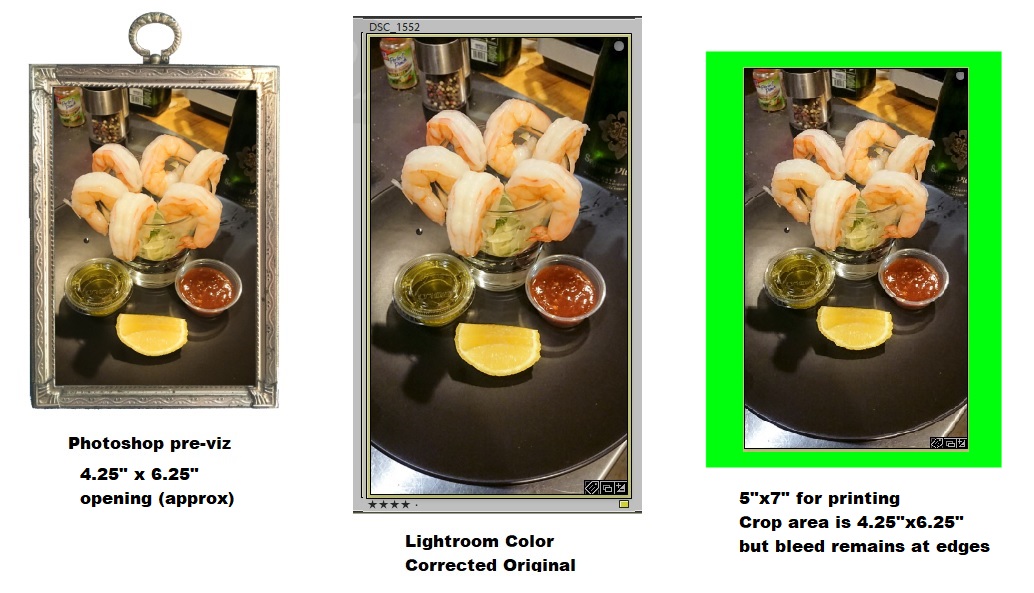
In the end, given the time pressures and size of the output set (only 40 images), we just took the exported "masters" from LR, dropped them into Photoshop, and manually transformed them to match our mocked-up uncolored temp versions, which had been previously cropped to fit into (photos of) the various vintage picture frames we'd sourced. We then created three template files with a neutral background in the print sizes available to us (8x10, 5x7, 4x6). Finally, we dragged the frames & temp images (as a sanity check) and matching colored masters into the appropriate template files, and centered them. Exporting just the colored masters for print resulted in prints that were more-or-less "drop in ready" for the frames. It also let us easily scale everything by 98%, to counteract the scaling we discovered our print lab was applying.
Given that the most labor intensive part was matching the crops to the masters, which we'd have had to do in a LR-only solution anyway, the whole process was pretty quick, and easier to sanity check visually. (Tip: we set the uncolored crops to "difference" mode in PS, which made matching the masters to them really easy.)
For anyone interested, the final project is here: thefacefoods.com
Get ready! An upgraded Adobe Community experience is coming in January.
Learn more