
Question
How to use the Denoise filter in Lightroom Classic: 🔎 Quick Tip

Using the new AI Denoise filter
Did you know you can easily remove noise from high-ISO or underexposed images using Lightroom's new AI Denoise filter? Follow the steps below or watch the video at the end of the article to see how this amazing filter can rescue images you thought were destined for the trash bin.
Also, check out the related links at the bottom for more great information.
Enjoy!
❶ Open a raw image
- *Note - Only Bayer and X-Trans raw files are supported at this time (which includes most popular raw file types.)
- We are looking into ways to support other image formats in the future.
- For more information see this article.

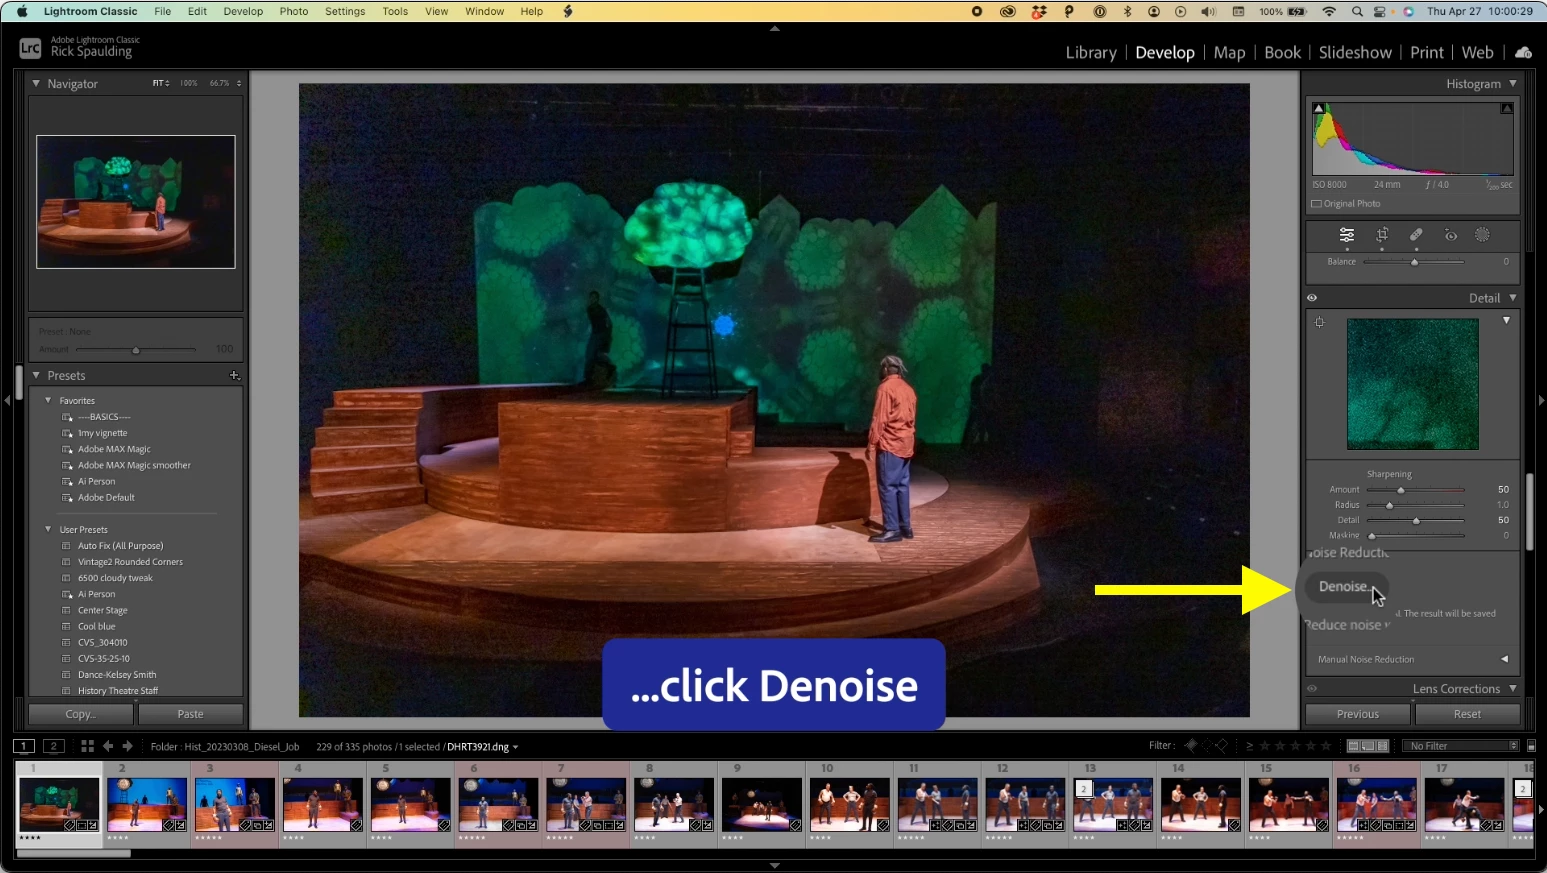
❷ Select Denoise
- From the menu bar, select Photo > Enhance or select Denoise in the Detail panel.
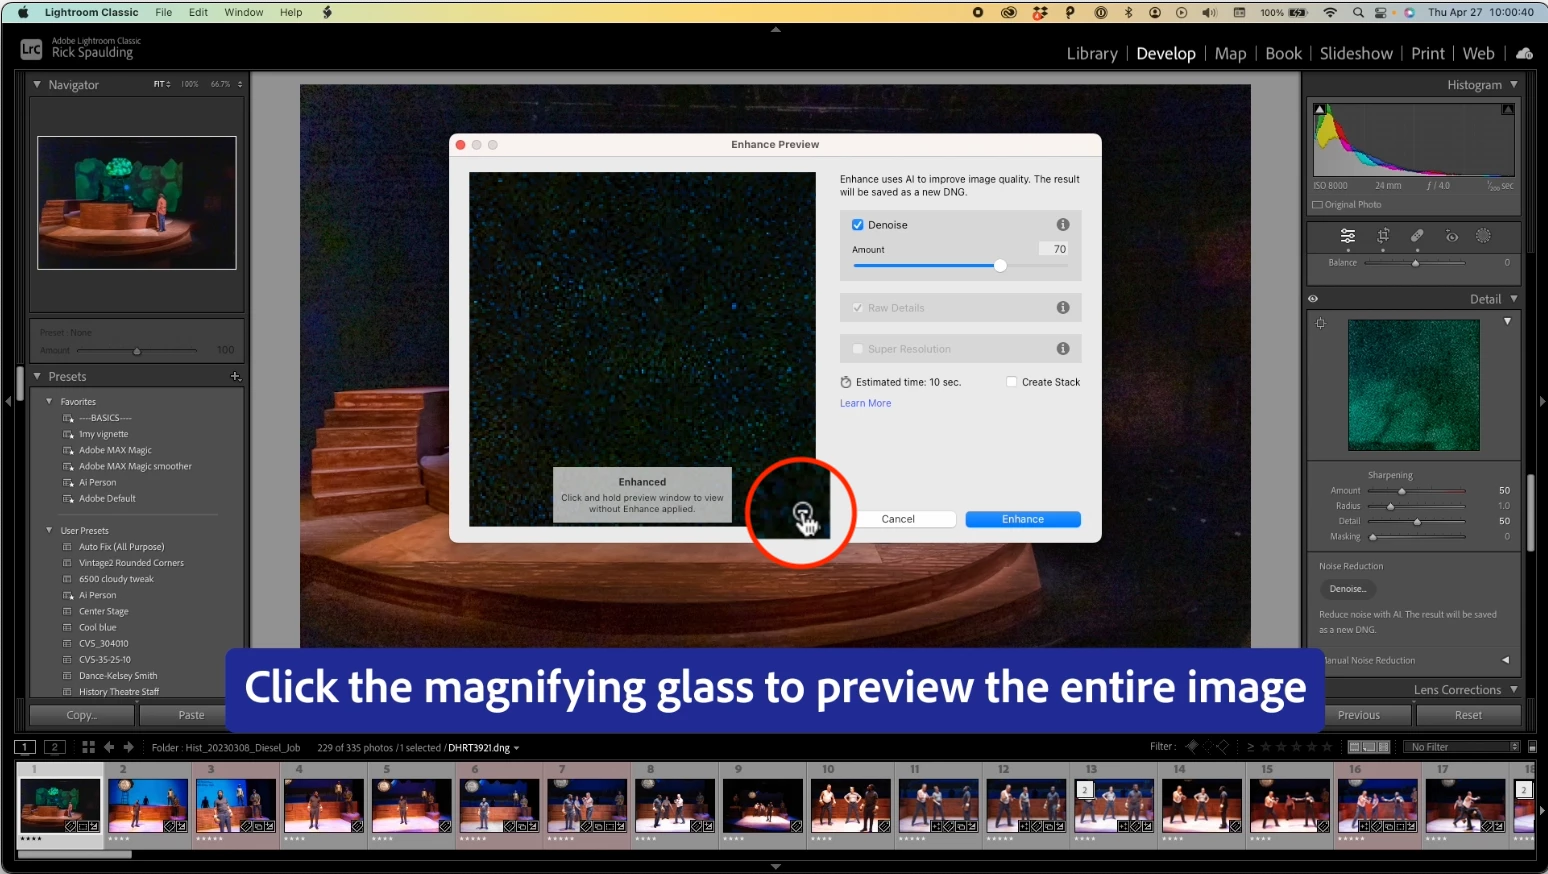
❸ See the whole picture
- Click the magnifying glass to see the entire image.
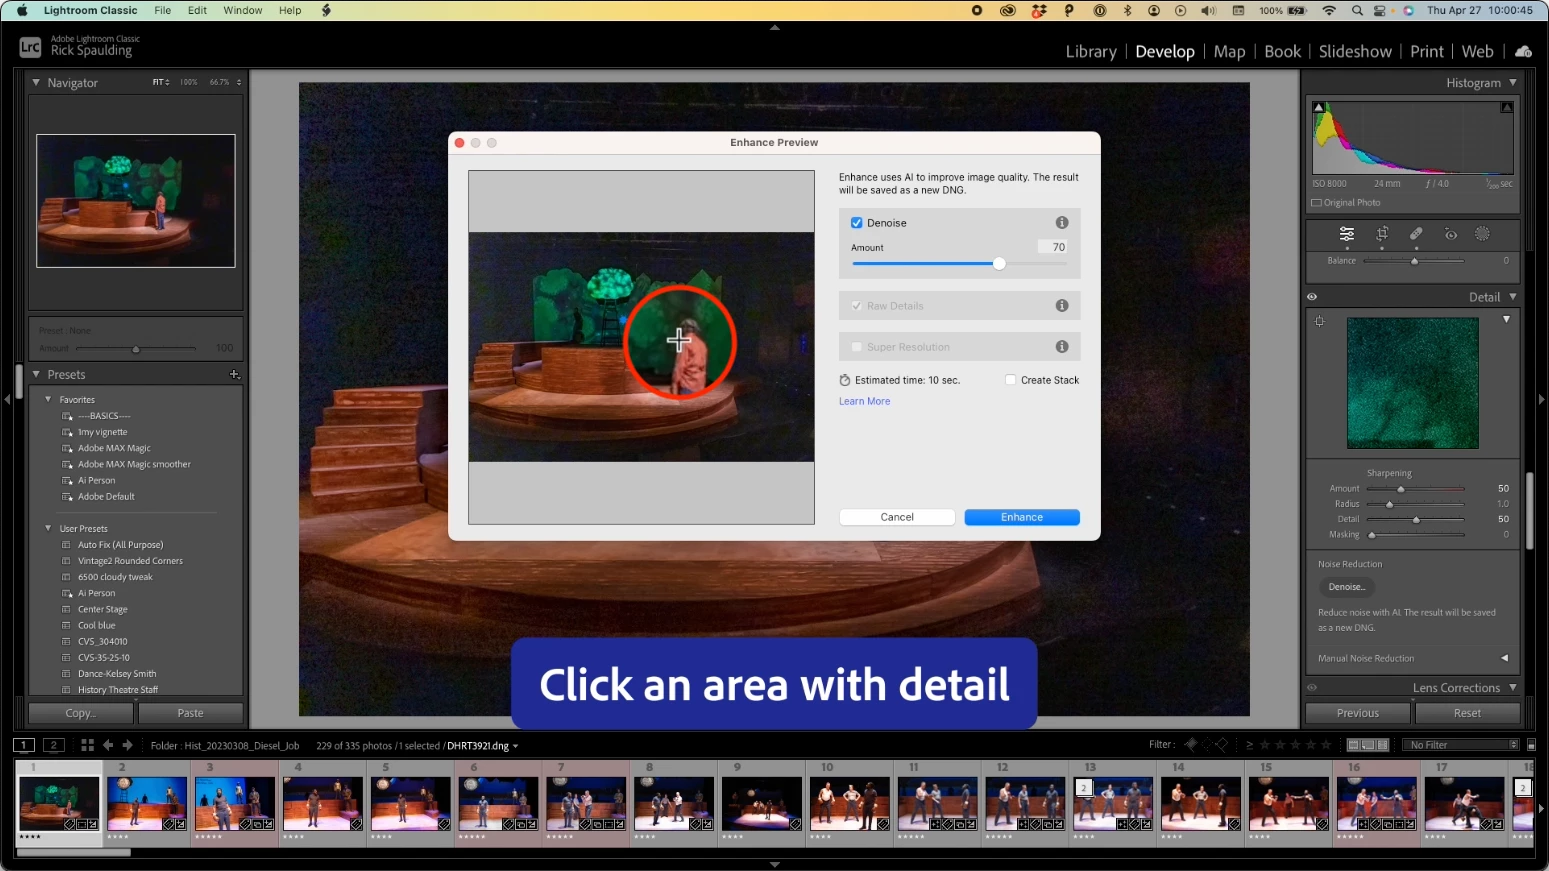
❹ Find the details
- Click on an area with detail to better see the effect.
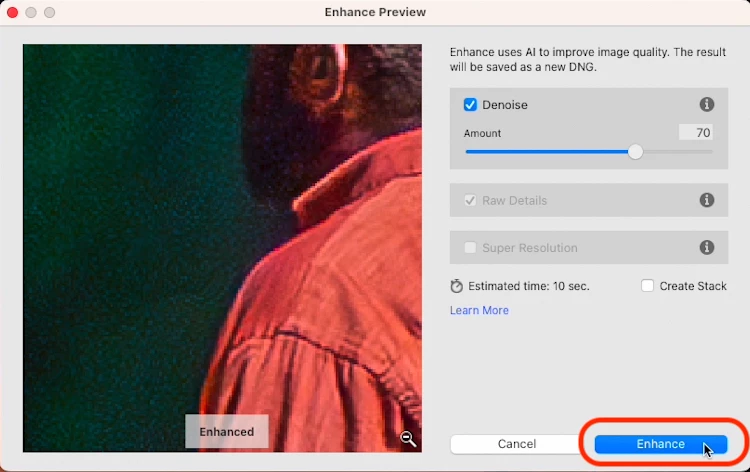
❺ Set the filter strength
- Use the amount slider to change the intensity of the filter.
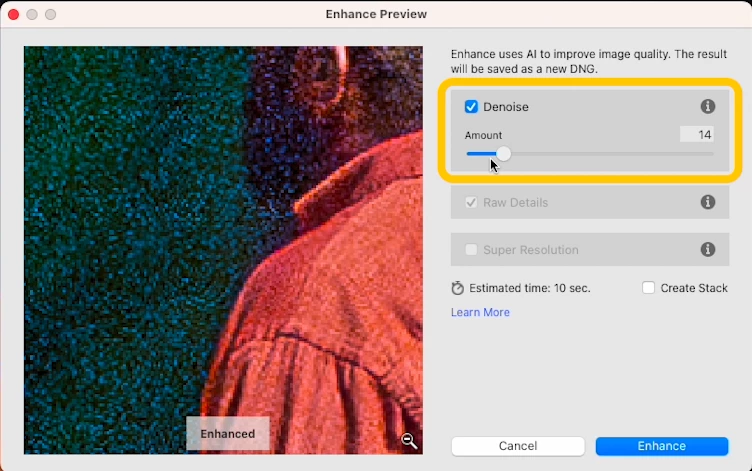
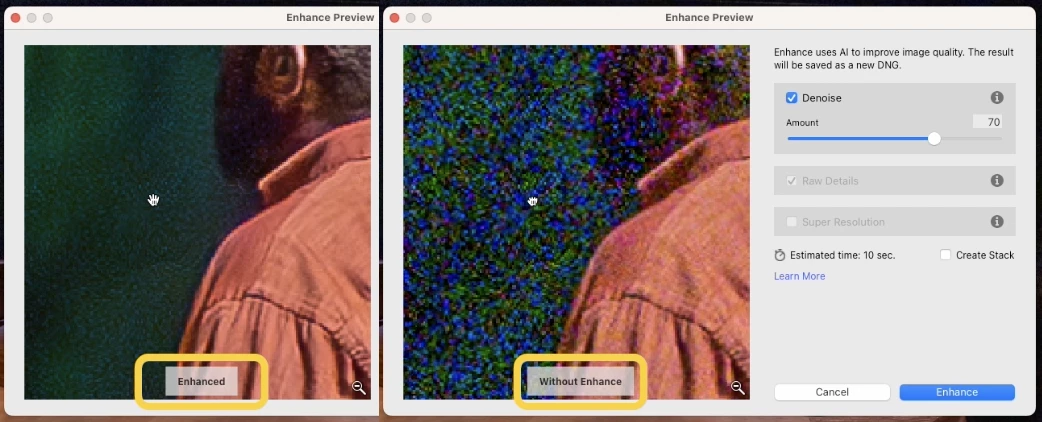
❻ Preview before and after
- You can press and hold the preview image to see the effect.
❼ Click 'Enhance'
- Click Enhance to generate a new DNG file.
- Enhance-NR will be appended to the filename and it will appear next to the original or stacked depending on you choice.
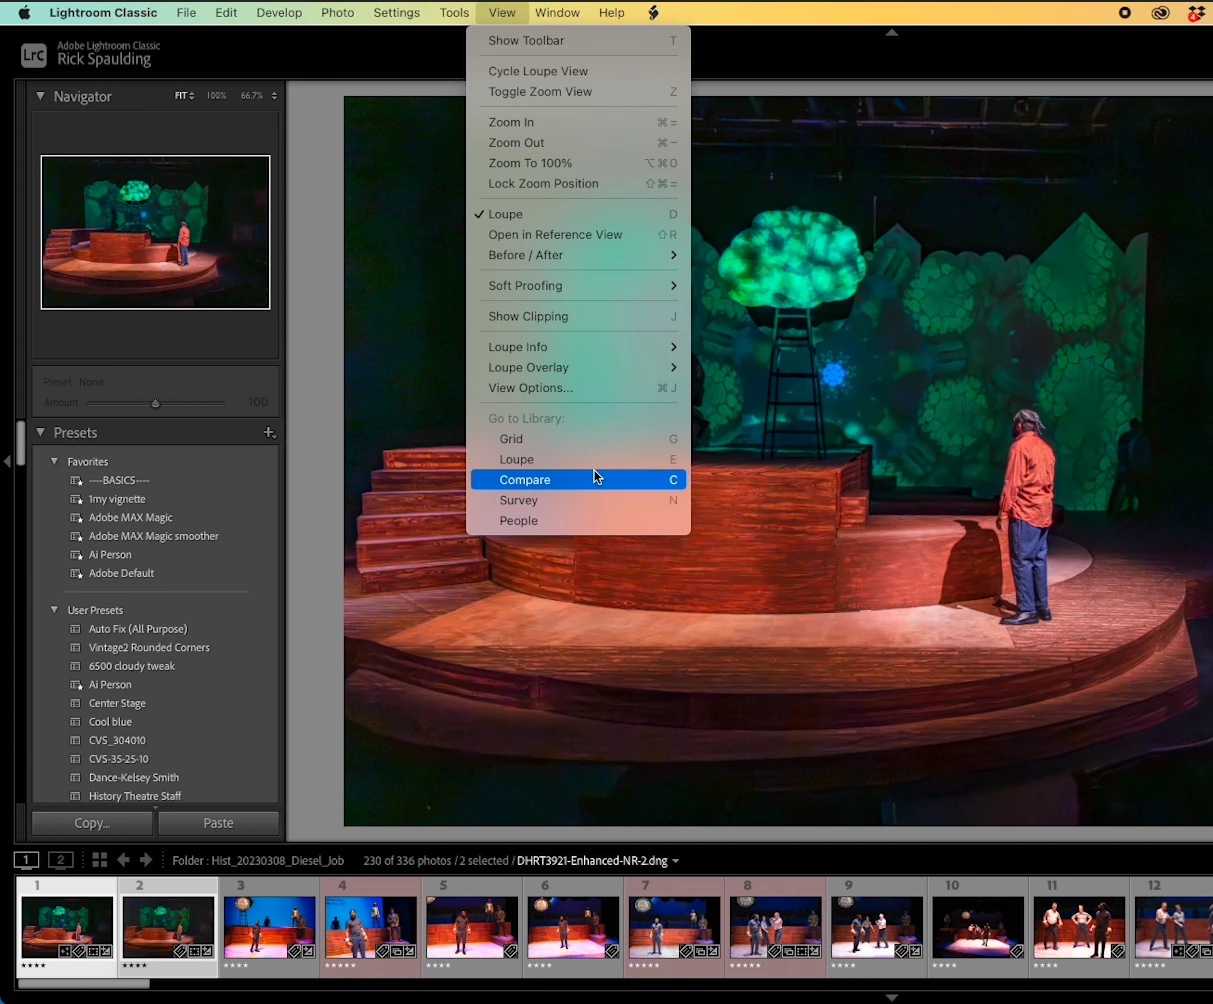
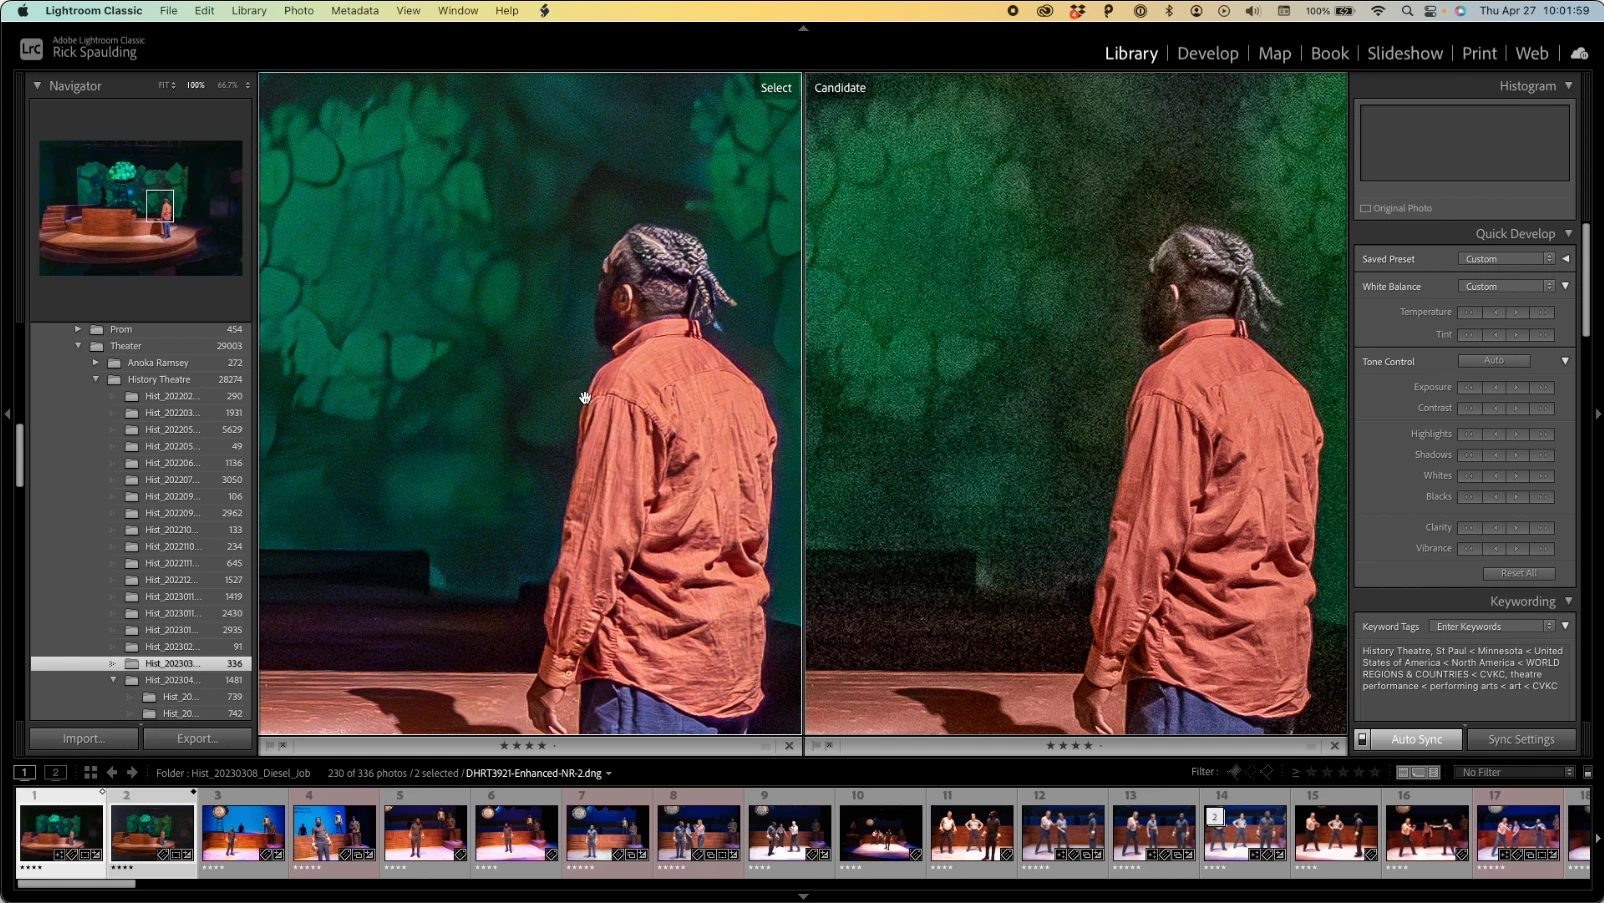
❽ Compare your results
- Select both images and click View > Compare to see the results side by side.
❾ Watch the video
Related links:
Improve image quality using Camera Raw
