- Home
- Photoshop ecosystem
- Discussions
- Re: Adding black to images with none
- Re: Adding black to images with none
Copy link to clipboard
Copied
I have several CMYK images taken with a digital camera under bad light, and they all suffer the same problem: there is information on the cyan, magenta and yellow channels, but almost none on the black channel. The black channel is the most important here, because they're shots of black-and-white text documents. A friend suggested that I should switch the images to RGB, alter the curves, then convert back to CMYK, and the black channel would then contain more information. Is this right? (If so, I'm not doing it correctly.)
I'd be grateful for any advice on this. Perhaps there's a way of swapping a channel that does contain some information (in this case the cyan and/or the magenta) and making those the black channel?
 1 Correct answer
Since you have the raw file, I recommend editing it in Camera Raw, so that it will convert to CMYK with a proper black channel.
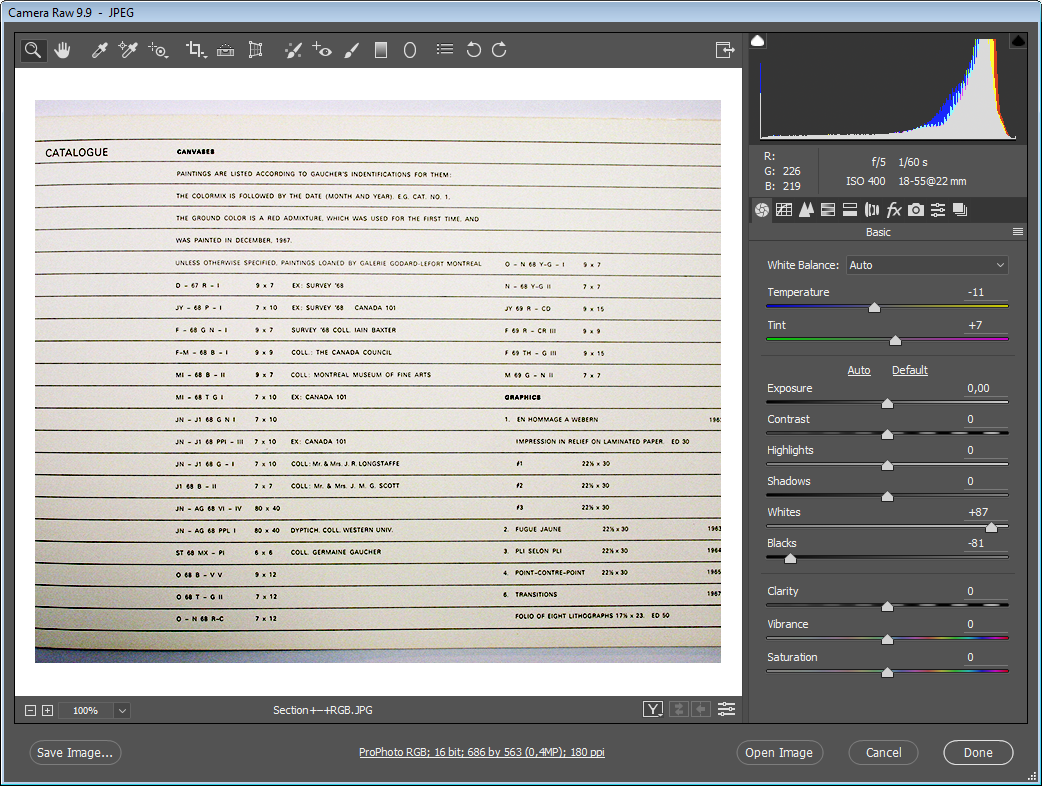
I opened your screenshot in Camera raw, and was able to get a reasonably good result that should produce a good conversion to CMYK. The image has a very limited tonal range, which needs to be expanded, which I did with the Whites and Black sliders. See the settings I used in the screenshot below. (be aware that raw files respond differently to the sliders than jpgs, so y
...Explore related tutorials & articles
Copy link to clipboard
Copied
There has to be some RGB originals somewhere? No camera shoots CMYK.
If there is no information in the K channel it sounds like these files are in a pretty bad shape, and some pretty drastic recovery might be in order.
In this particular case an RGB roundtrip could be the best way. In general that should be avoided because you'll likely lose information.
Copy link to clipboard
Copied
Thanks for the reply. Yes, I still have the RGB originals. But when going back to the RGB files, what is the next step? What is done to the files to ensure that when they're switched to CMYK, there will be more in the black channel? Any thoughts appreciated.
Copy link to clipboard
Copied
Use Levels or Curves to increase the blacks. This may make the image darker overall, so you may need to adjust the midtones as well. If you the original is a a raw file, use the Blacks slider (and Exposure) in Camera Raw.
If you post a reduced size jpg here, we might be able to help you further.
Copy link to clipboard
Copied
Whether the file is RGB or CMYK, you can directly convert to another CMYK profile without using an intermediate trip to RGB. This sounds like a GCR issue. If so, I would recommend the use of the following profile:
Even if the final output was in GRACoL or SWOP, it should not matter too much* about the different output condition if the goal is to have a richer black plate. (GRACoL would not be too much of an issue, while for SWOP a minor adjustment to gray balance would be required).
A non ICC profile based method would be to target the black channel, then use the Apply Image command to “stamp” each C, M, Y channel data in darken blend mode… This may be preferable and is easy to record into an action.
Copy link to clipboard
Copied
Stephen, thanks for replies. I don't know what GCR, GRACoL or SWOP are. I downloaded the ISO profile, but this has a file suffix of ".icc" – a Finder search shows no other files with this suffix on my Mac, so I don't know where that ".icc" file is to be stored in order to become active.
Copy link to clipboard
Copied
Since you have the raw file, I recommend editing it in Camera Raw, so that it will convert to CMYK with a proper black channel.
I opened your screenshot in Camera raw, and was able to get a reasonably good result that should produce a good conversion to CMYK. The image has a very limited tonal range, which needs to be expanded, which I did with the Whites and Black sliders. See the settings I used in the screenshot below. (be aware that raw files respond differently to the sliders than jpgs, so you probably have to use different settings)
As for the CMYK conversion, I'll leave it to Steven to advise you further.

Copy link to clipboard
Copied
Per, many thanks for this.
Copy link to clipboard
Copied
Hi De09, explanations of the Acronyms…
GCR = Gray Component Replacement, basically swapping out larger amounts of neutral CMY values for a smaller amount of K.
GRACoL = General Requirements for Applications in Commercial offset Lithography. An industry specification, in this case I was referring to GRACoL C1. This is similar to the Fogra39/ISO Coated v2 specification. Both of these conditions are common in the USA and in global markets and are quite similar, basically describing an aimpoint for CMYK sheet-fed offset lithography on good quality paper.
SWOP = Specifications for Web Offset Publications. An industry specification for web-fed publication printing.
CMYK is known as being “device dependent” – there is no “general” or “generic” CMYK, each CMYK output condition is ideally targeted with the correct ICC profile colour conversion for that printing condition. If one uses the wrong conversion, there may be too much ink, or the gray balance may be incorrect, or the tonality may be too light or too dark etc.
ICC colour profiles can be installed in many locations on the Mac OS, perhaps the best choice is at the “user” level, such as:
/Users/yourusername/Library/ColorSync/Profiles/coated_FOGRA39_GCR_bas.icc
Copy link to clipboard
Copied
Stephen, many thanks for your detailed explanation of the acronyms, and thanks to everyone who helped with this query. All of these replies have been very useful.
Copy link to clipboard
Copied
Without seeing the file, only your description "… black-and-white text documents…" I have to admit that the following suggestion is offered without a guraranee that it will be successful. It is certainly worth a try.
1. Open your CMYK file.
2. Choose Edit > Color Settings
3. Click on the double arrow in the CMYK field and from the drop-down menu click on Custom CMYK...
4. In the section that reads Black Generation jot down the current setting. Then, change the designation to Maximum.
5. Ok the change.
6. Check your Black Channel. If the result of the change is too drastic, change the Black Generation to Heavy.
(Follow up with Unsharp masking, as appropriate)
If it does the job for you, use it on the rest of those b&w text image files.
Important! When the project is complete, Return to your color settings, and change the Black Generation back to its original setting.
Copy link to clipboard
Copied
Dear all
Thanks for the suggestions. Per suggested posting small files here.
Here's the RGB – not the raw CR2 file, but at least without any manipulation:
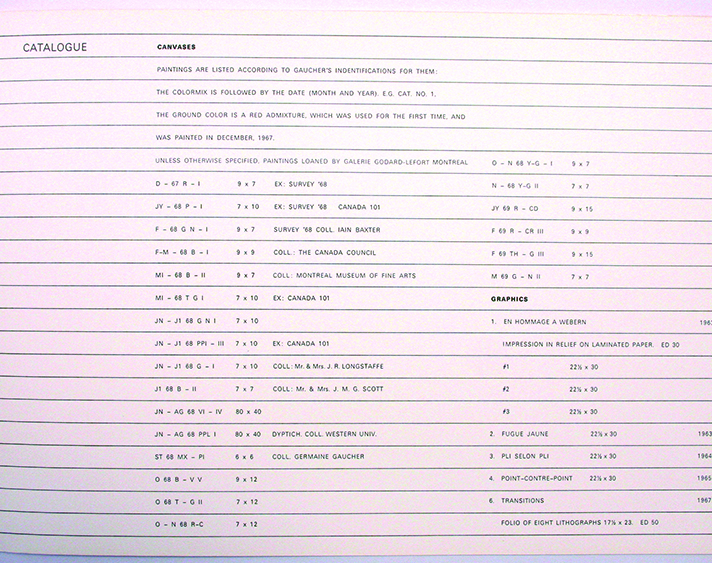
Here's a failed early attempt at a CMYK version. As you can see, there's almost nothing in the K channel.

The ideal thing would have been to have the text (and lines) mainly using the K channel, and with the unprinted parts of the page in a neutral combination of small percentages of C, M, and Y.
Copy link to clipboard
Copied
No need to edit your colour settings! The convert to profile window also has an option for Custom CMYK, where one can make an “on the fly” change to the old colour settings using max. GCR if required (just keep in mind that you may need to assign a proper CMYK profile after conversion to see what this would really look like in real CMYK conditions).
