

- Home
- Photoshop ecosystem
- Discussions
- Re: after cropping, transparent gap left on edges
- Re: after cropping, transparent gap left on edges
after cropping, transparent gap left on edges

Copy link to clipboard
Copied
So I'm cropping images to create a pattern (not a photoshop pattern, the image will actually be used by another imaging software that will take my image and use it as a pattern). Anyway, so I take a picture of the 'pattern', in this case it's a length of rusty metal. This example is just one of maybe ~50 images that I have that are doing the exact same thing... 72 ppi (required by 3rd party software, to be viewed on monitors). How can I get this line to disappear?
Thanks!
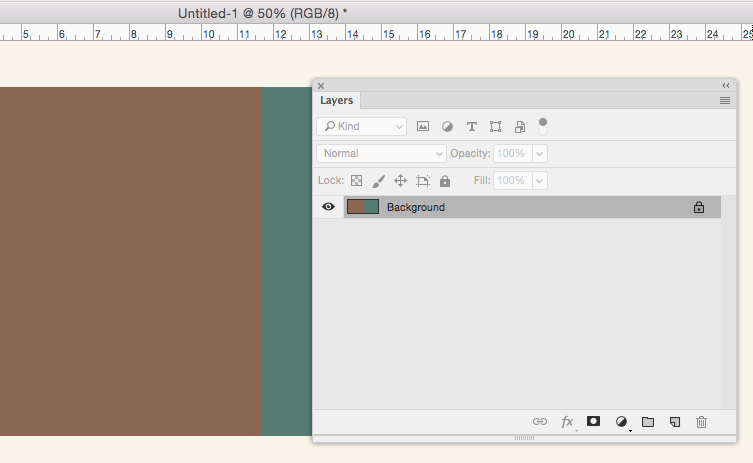
After cropping the image, I want to make sure it's going to repeat ok. Unfortunately I get this transparent looking edge.

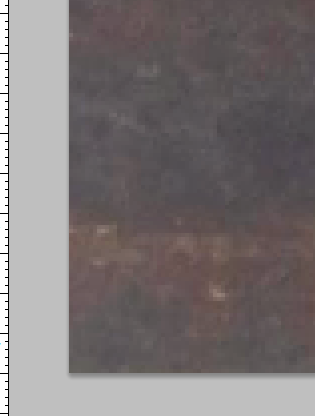
When I zoom in a little bit, the transparent pixel is gone.

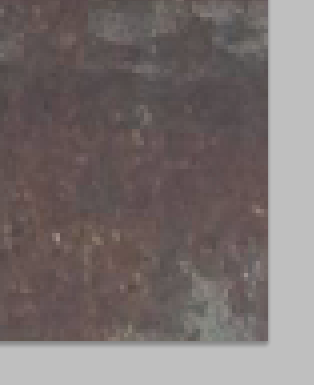
And if I zoom in a lot, everything looks like it lines up just fine.

The problem is though, when I look at it as the pattern, it shows a white/transparent line between each and every repetition.


Explore related tutorials & articles
 10
Replies
10
10
Replies
10

Copy link to clipboard
Copied
The only time you are viewing your documents actual pixels is when zoom is 100% actual pixels. At any other zoom percent you are not viewing you image. You are viewing a quickly rendered scaled image and at some zoom percents the scaling done is quite poor. You can not judge you image quality well viewing Photoshop scaling of your image.
It is most likely that your pattern is not seamless so you see seams like you show above when you fill a larger area with you patterns. Look for some tutorials on creating seamless patterns in Photoshop
Copy link to clipboard
Copied
Thank you. I think I probably didn't explain enough, I was trying not to be too long winded. The software I'm working with uses the jpg images I create outside of photoshop (so these are not photoshop patterns) and while I appreciate the guidance with the Photoshop patterns, it's doesn't seem to help with my specific problem (at least not the first two tutorials I followed).
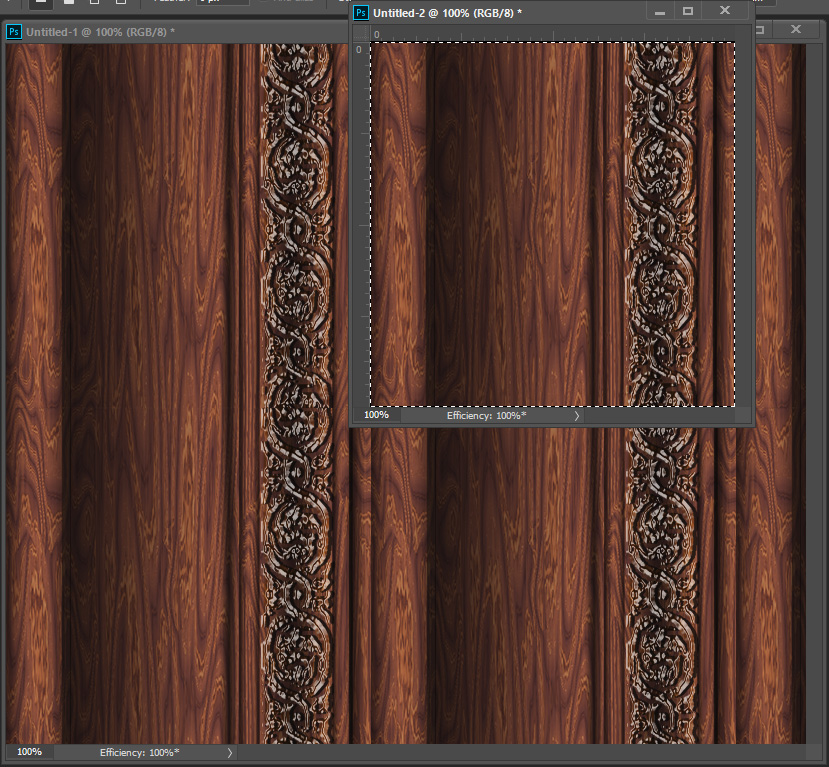
Specifically, the software I am working with uses my jpg images to render an example of a picture frame (it repeats according to the size). Most of the images look fine but some have this white/transparent line. Here are two examples, the black with rings shows the line but the stained wood one repeats without the line (correctly). I'm trying to figure out what I did differently between these two images so I can correct it going forward.
Thanks again!


Copy link to clipboard
Copied
Specifically, the software I am working with uses my jpg images to render an example of a picture frame (it repeats according to the size).
Are you scaling down the tile? Maybe there's a bit of anti-aliasing or compression artifacts happening along the edges. Close your JPEG tile, reopen it, and zoom in on the edges 400%+
Copy link to clipboard
Copied
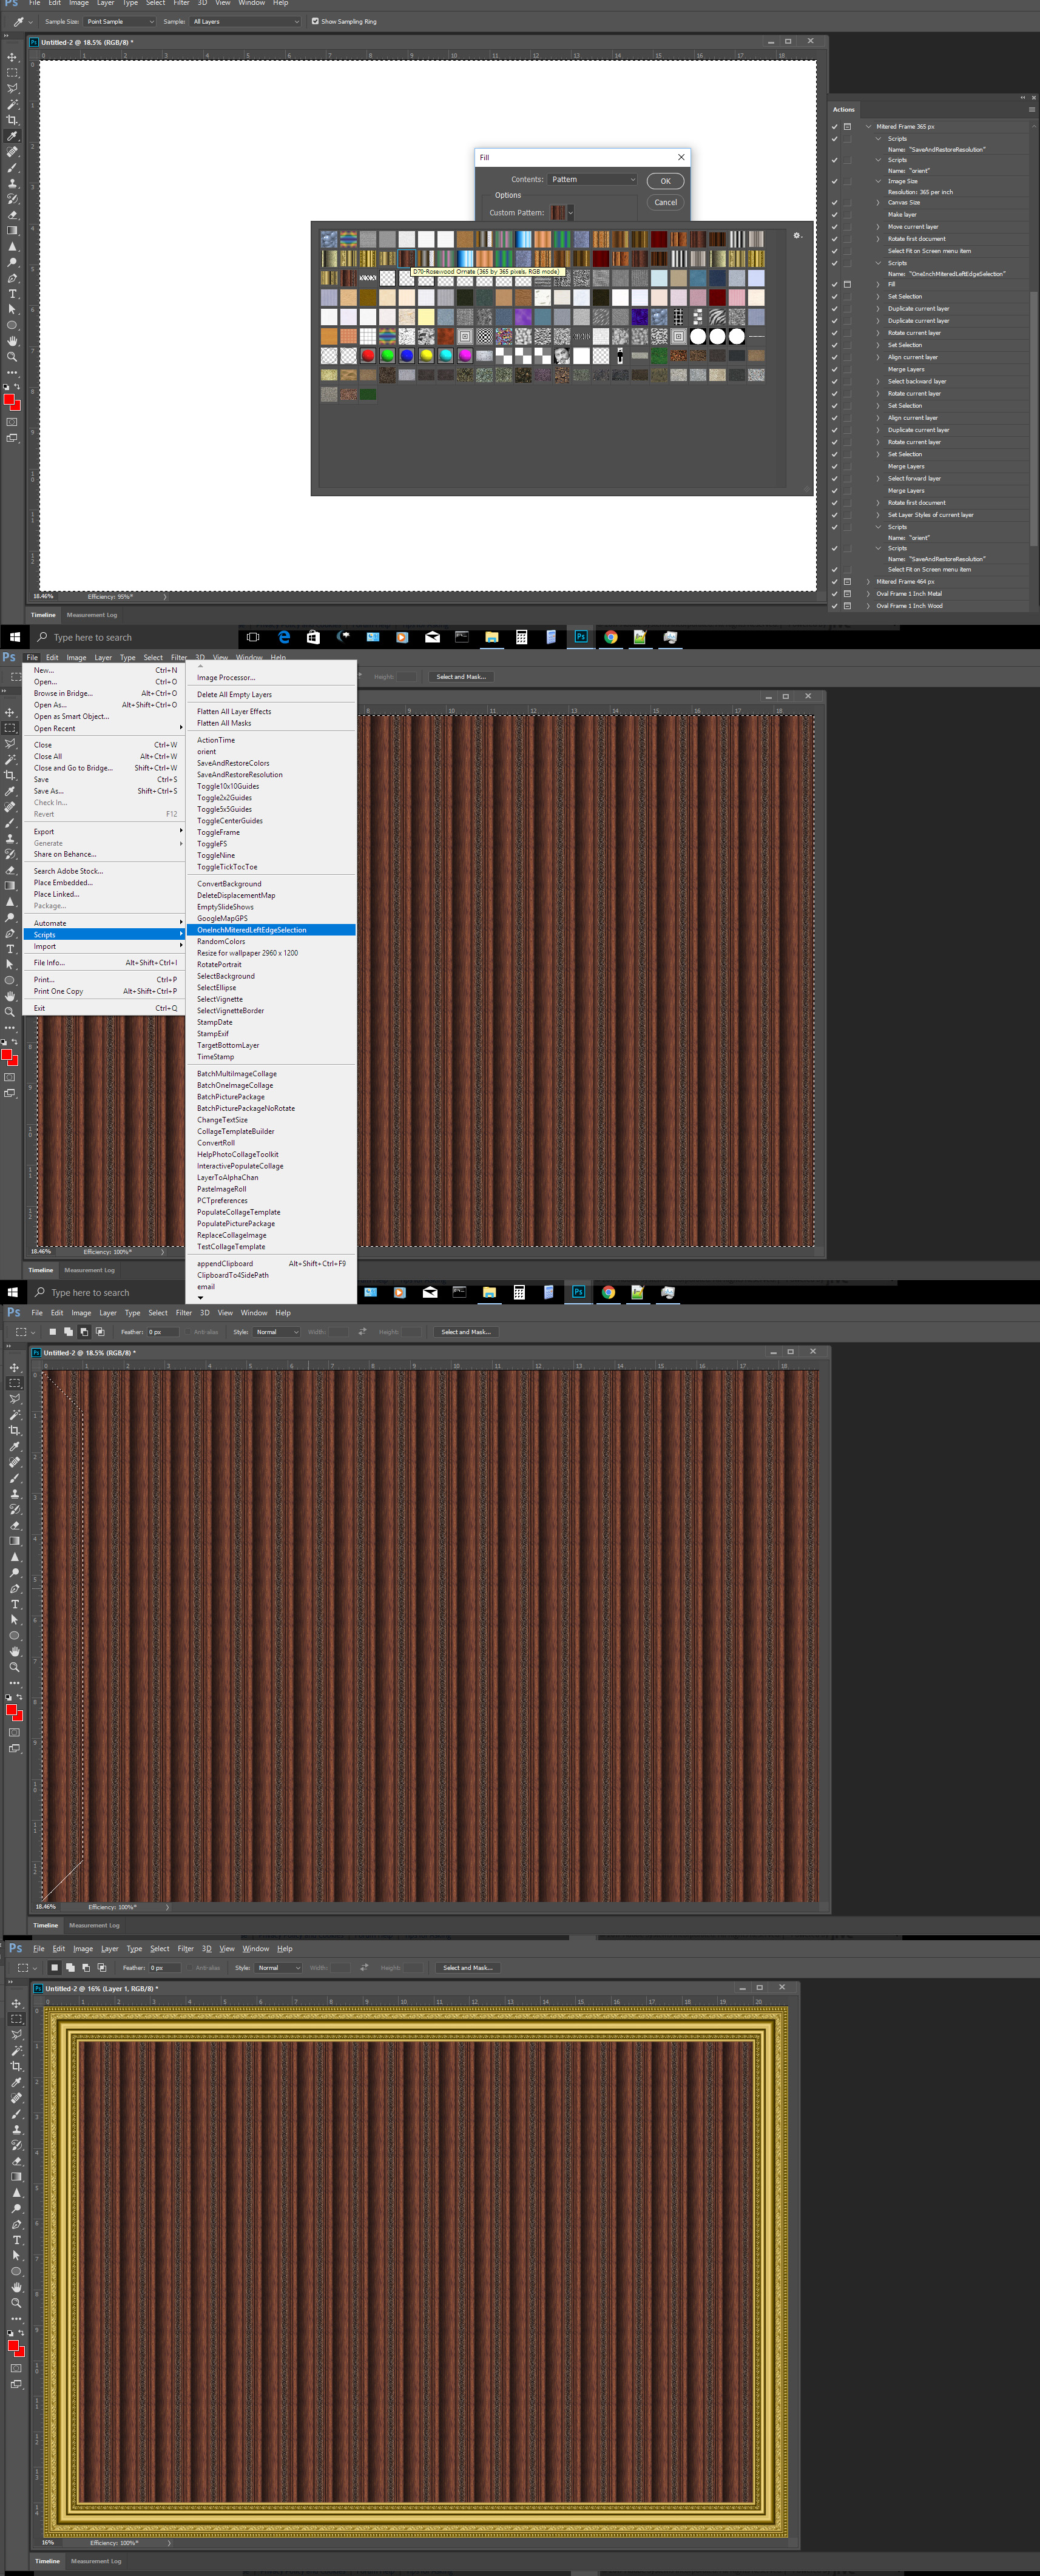
As I wrote you need to create seamless patterns so the will fill an area without visible seams. Like I used here


Copy link to clipboard
Copied
Are the two sections on different layers? What you are seeing is common when two layers abut and the zoom level is less than 100%. Try flattening the layers:

Copy link to clipboard
Copied
Rob: Flattening the layers definitely helps with the seam in the center... but the problem still exists on each edge. I believe you are on the right track though about the anti-aliasing around the edges. But when I close/reopen, at 400% everything looks fine (as far as I can tell).
JJMack: I'm not sure if it's just that I do not understand what you are trying to tell me to do or if perhaps I didn't explain what I'm looking to do well enough. Let me ask, after creating the textures what software did you use to create the images of the frames that you attached?
Just looking at them, it looks as if the pattern was created in PS using images of frames. Once you had created the patterns, you selected areas and filled them with said patterns. Am I correct? If so, this is not what I am looking to accomplish but I do appreciate your help. If that is not what you did, then I clearly do not understand and would very much appreciate a more specific link to what you are instructing me to do rather than a google search.
To clarify, the end product that I am looking for (from PS anyway) is a simple jpg. I am assuming that some of the jpgs I create have something on the edges, either semi transparent pixels, or anti-aliasing artifacts that Rob mentioned, or something else that is over my head.
Thanks!
Copy link to clipboard
Copied
The frame is created with Photoshop Actions that create the frame by adding layers and create frame selections that are the correct width. The Action also uses some script I wrote rotate portrait to landscape so and back and save and restore the documented resolution so I can scale the image to know 1" is 365 px and can know the long side are top and bottom. I seem to remember I also wrote a script to make a selection 1" wide and has 45 degree miters one each end. The canvas is also rotated so the fill will have the fill done correctly. The rotation script is use again at the end to rotate the rotated portraits back to portrait orientation. If I were to select the whole canvas the fill would look more like a planked wall.
Copy link to clipboard
Copied
Right, ok so you're still in PS. I'm basically only using PS to crop the image, set the resolution required, color correct, then save the jpg.
After that, though, I close down PS completely, that jpg I saved is accessed by another program, one in which I don't have any ability to do any kind of image manipulation (so the jpg has to be correct). As it is... some of my jpgs are fine, and some are not. I am not trying to make a pattern in PS (as I mentioned). I am sure that I am doing something incorrectly and that, as Rob mentioned, there are edge artifacts from some sort of anti aliasing that is messing me up, but I don't really know what that is.
Copy link to clipboard
Copied
72 ppi (required by 3rd party software, to be viewed on monitors).
Is there a suggested pixel dimension? Any image could be resized to 72ppi so it's not much of a guide. Could be anything— 1"x1" at 72x72px, or 10"x10" at 720x720px, etc.
Copy link to clipboard
Copied
All I can say is you should view you image at 100% zoom actual pixels see where you images are bad and fix the bad pixels. It is easy to create bad images with Photoshop. You may see the imperfection zoomed in more you have to correct the problem before you save. So you save the images you want. Many things can add imperfections. Poor selections, poor masking. Composited layers need to blend well with each other. If they don't will see seams, hard edges, gaps, miss matched color, lighting etc. If the other program is gounf to make frame with you images you image need to be aligned perfectly an when butted together join seamlessly you images need to be a seamless pattern so when joined you can not see where they join. You saw where I fill a large area with mu square pattern the joined lat planks. With the Zoom level you can see the square tile. Zoomed actual it s not something you see.


Find more inspiration, events, and resources on the new Adobe Community
Explore Now
 AdChoices