- Home
- Photoshop ecosystem
- Discussions
- Re: Any ideas on how I can recreate this lettering...
- Re: Any ideas on how I can recreate this lettering...
Any ideas on how I can recreate this lettering?
Copy link to clipboard
Copied
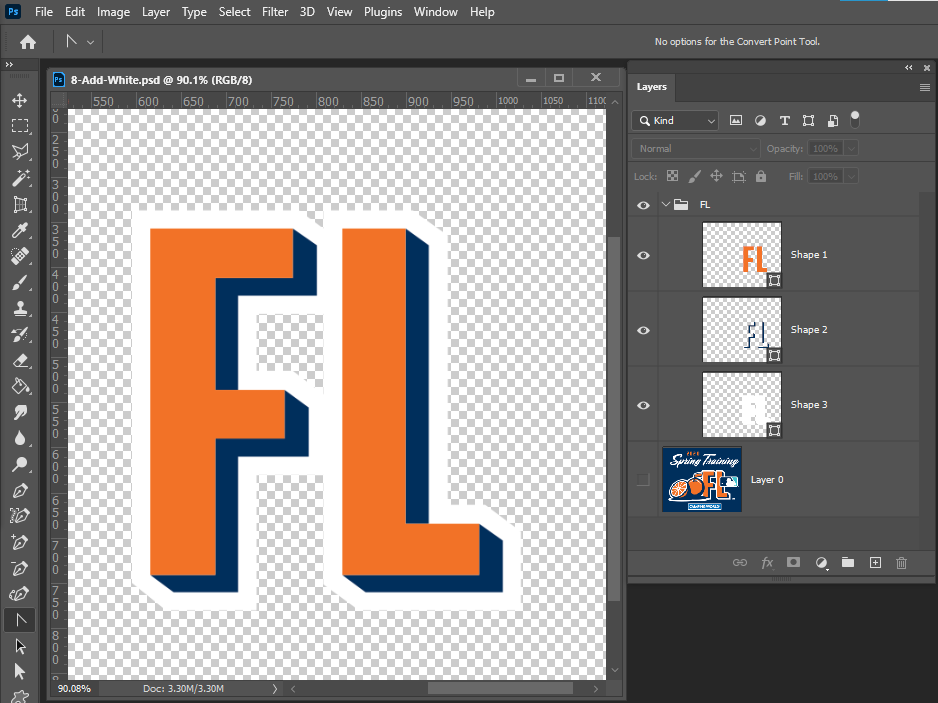
I want to make a logo with a similar effect that the "FL" in this graphic has. The orange block lettering, blue 3D/drop shadow effect, and white outline. Please let me know if you can help.
Thanks!
Carter Kay
Explore related tutorials & articles
Copy link to clipboard
Copied
Copy link to clipboard
Copied
Hi @CarterK23
Make multiple copies of the FL, each one pixel down and one pixel right from the original. Make the top copy Orange.
Since this appears to be vector artwork, I would do the entire project in Adobe Illustrator.
~ Jane
Copy link to clipboard
Copied
In Photoshop:
- Type letters and format for the shadow color
- Make multiple copies, 1 px down and 1 px right
Press and hold Cmd+Option, then tap and release the left and up arrow keys at the same time 50-60 or so times
Hint: don't let go of Cmd+Option and make sure you use the arrow keys simultaneously) - Make the top layer orange
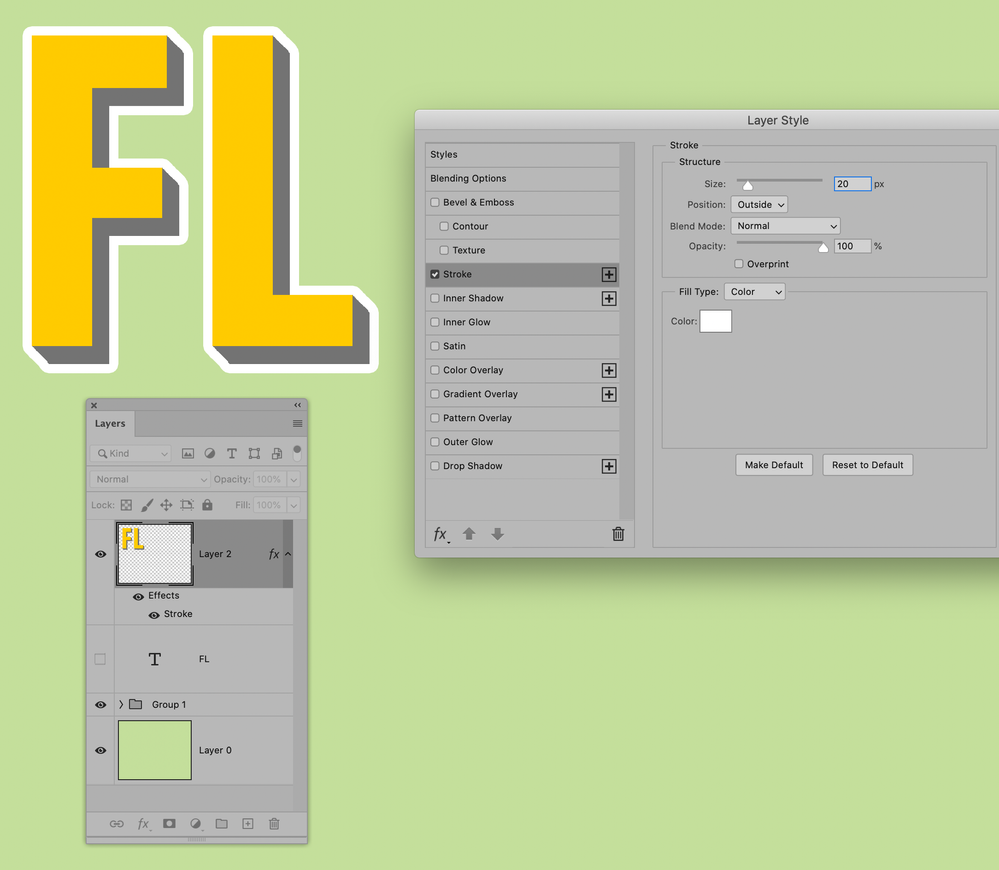
- Hide all layers except type layers and stamp the layer (Option + Merge Visible from panel menu)
- Add a white stroke on the stamped layer
- Change the Tracking value to squish the letters closer together
I put the 60 text layers in a group, leaving one out for demonstration purposes.
~ Jane
Copy link to clipboard
Copied
The problem is its no longer text or vector layers so you can no longer scale the FL well. With 3D and Shape layers you can.
Copy link to clipboard
Copied
The picture shows 2 different fonts,
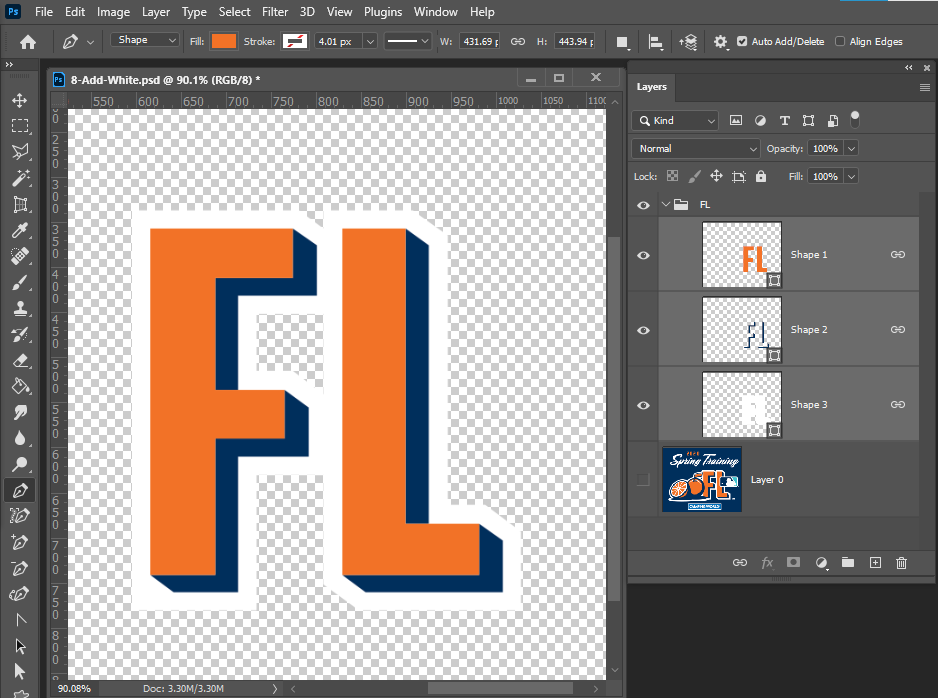
it is much easier to use the pen tool to draw the white outline.
Copy link to clipboard
Copied
Guide Lines, Pen Tool Snap To, Shapes, and Vector Editing Tools can be used to create that "FL".
Step by Step Download FL.zip
Copy link to clipboard
Copied
Hi
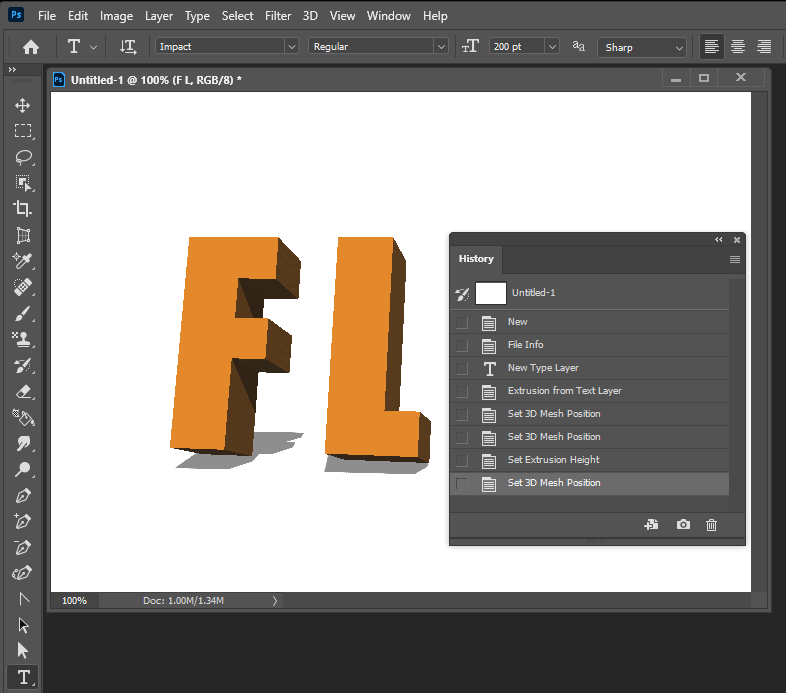
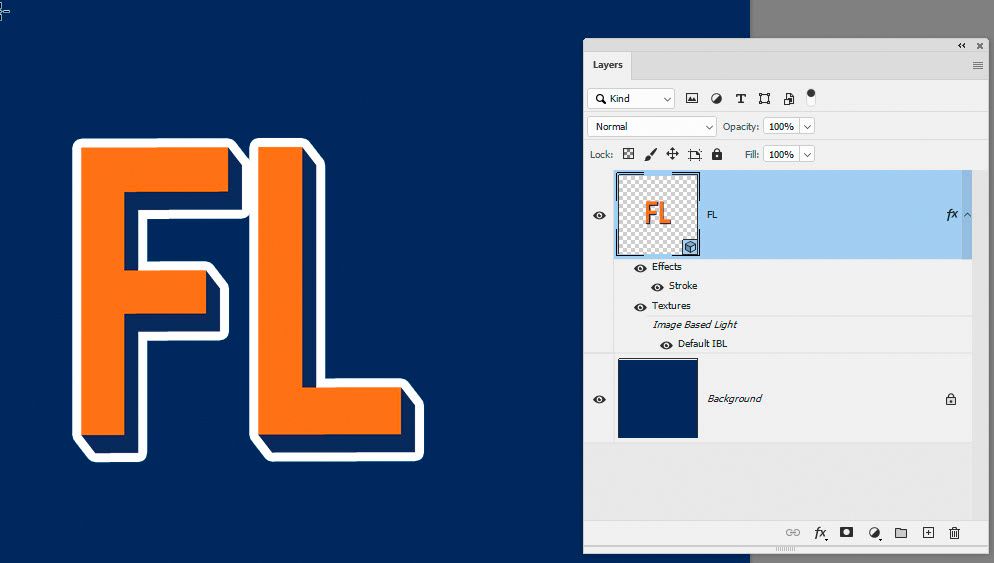
You can make it in 3D by making a 3D extrusion from the type layer
Set the 3D camera to orthographic and adjust the view so you see the sides
Set the Scene surface style to "Unlit texture"
Set the extrusion material to match the background
Render - which with unlit texture is instant
Add a layer stlye with a white stroke to the rendered 3D layer
The 3D layer remains editable so you can go in and edit the text
The only issue is that Photoshop's layer styles round the outer corners of the white surround
Dave
Copy link to clipboard
Copied
Just between you and me, I think that entire graphic was created in Illustrator, not Photoshop 😉
Copy link to clipboard
Copied
I agree Nancy and that is also where I would do it. But if Illustrator is not an option, then sometimes there is a close way in Photoshop
Dave
Copy link to clipboard
Copied
In Photoshop its simply three links shape layer and shape are editable with Photoshop vector tools. I do not install Illustrator however I'm sure in Illustrator you would need to use at least three vector layer also. I'm sure Illustrator has better vector tools than Photoshop. Photoshop can edit images better then Illustrator.
You can Edit mistakes you made creating a shape.
Copy link to clipboard
Copied
Hey everyone,
Thank you all for your super helpful responses!!
I decided to take the illustrator route and it is working much better, although I am still having trouble finding a way to apply a similar white outline - stroke does not seem to do the trick.
Copy link to clipboard
Copied
Hi @CarterK23
Here are the directions for Illustrator:
- Start with the initial letter with a fill of the shadow.
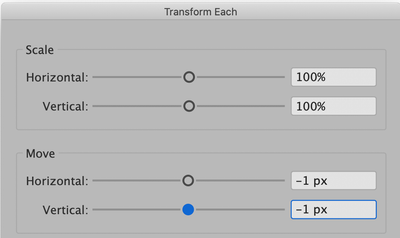
- Selection tool: Go to Object > Transform Each > Set the Move to -1 for H and V. Click "Copy" not Okay to close the dialog.
- Cmd+D (Ctrl+D) a bunch of times to Duplicate the Transformation (make multiple copies).
- Select the top object and make it orange.
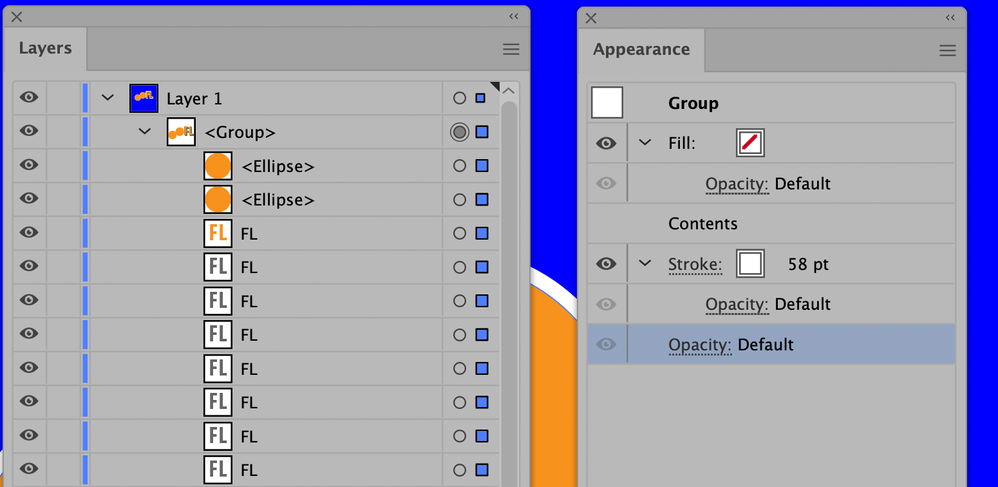
- When you look at the artwork, it is clear that the white stroke is applied to all objects.
- Group everything and use the Appearance panel to add a stroke to the Group, not to individual objects. Move the Stroke from the top of the stack to below the line that says Contents.
Because it's Illustrator, it's vector.
~ Jane


