Exit
  • Global community
    • Language:
      • Deutsch
      • English
      • Español
      • Français
      • Português
  • 日本語コミュニティ
    Dedicated community for Japanese speakers
  • 한국 커뮤니티
    Dedicated community for Korean speakers
0

Changing Thickness of an Outlined Ellipse

New Here ,
Jul 07, 2017 Jul 07, 2017

Copy link to clipboard

Copied

Hi there!

I'm trying to recreate something like the photo below with empty ovals that are thicker in the front and thinner in the back to give perspective. I've played around with Transform > Perspective and tried all different kinds of ways to transform the ellipse, but no matter what I do it always stays the same thickness all the way around.


I feel so dense because this seems like it should be such a simple thing to do, but I can't figure it out. Any help is appreciated!

img_rippleeffect.jpg

Views

7.2K
Translate

Report

Report
Community guidelines
Be kind and respectful, give credit to the original source of content, and search for duplicates before posting. Learn more
community guidelines

correct answers 1 Correct answer

LEGEND , Jul 07, 2017 Jul 07, 2017

This can easily be accomplished in illustrator as it can do variable thickness strokes.

However in photoshop, it can be aacomplished by using multiple ellipses. Outside edge is one circle and the inside edge is another circle and repeated. The outside circle would have the blue fill and the inside circle would have a white fill.

This is also how compound shapes are created, except the process would make the inner circle have no fill and act as a cutter to show what is below the two circles. It wou

...

Votes

Translate
Adobe
LEGEND ,
Jul 07, 2017 Jul 07, 2017

Copy link to clipboard

Copied

This can easily be accomplished in illustrator as it can do variable thickness strokes.

However in photoshop, it can be aacomplished by using multiple ellipses. Outside edge is one circle and the inside edge is another circle and repeated. The outside circle would have the blue fill and the inside circle would have a white fill.

This is also how compound shapes are created, except the process would make the inner circle have no fill and act as a cutter to show what is below the two circles. It would then treat the two circles as a single object.

Votes

Translate

Report

Report
Community guidelines
Be kind and respectful, give credit to the original source of content, and search for duplicates before posting. Learn more
community guidelines
New Here ,
Jul 10, 2017 Jul 10, 2017

Copy link to clipboard

Copied

LATEST

Thank you! I'd love to learn Illustrator but can't afford it at the moment so this is great.

Votes

Translate

Report

Report
Community guidelines
Be kind and respectful, give credit to the original source of content, and search for duplicates before posting. Learn more
community guidelines
Community Expert ,
Jul 08, 2017 Jul 08, 2017

Copy link to clipboard

Copied

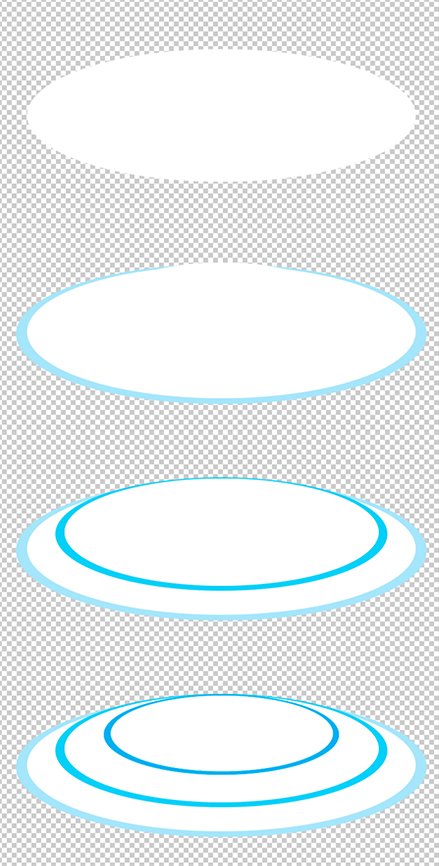
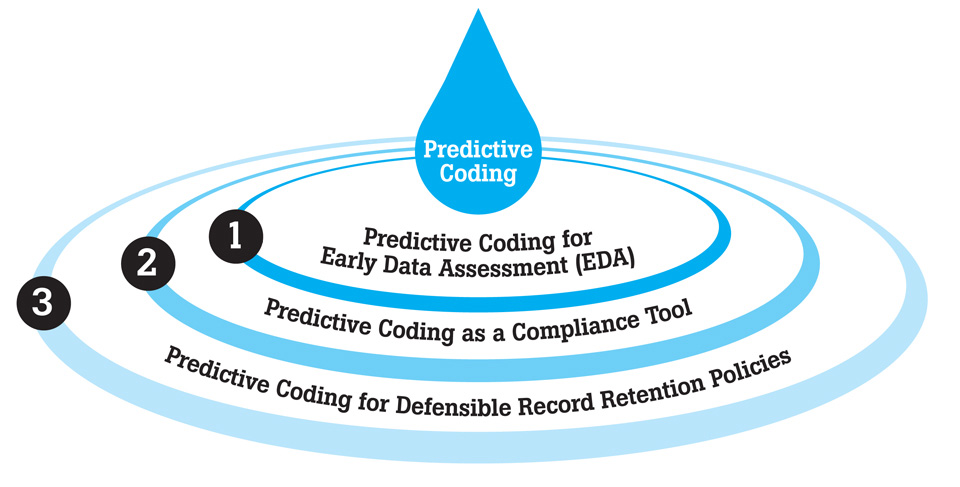
With the method shown below you create the outermost white ring and then create it's blue segment. Then the difficult part is done. The other rings are smaller versions of the outer one. These are the steps.

1. Open a transparent layer and draw a selection of what will be the white oval. Edit > Fill it with white

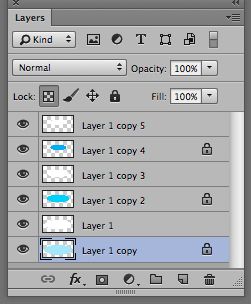
2. Dupe the layer and choose Edit > Transform > Scale to scale it larger while holding down the Shift key to maintain proportion, Lock the transparent part of the layer  (transparent lock at top of layers panel) and Edit > Fill with blue

3. Change the layer order to put the white layer on top. Return to the blue layer and use the Move tool to shift if downward.

4. Link the blue and white layers, then Cmd+J to dupe them. Edit > Transform > Scale (remember the Shift key) to reduce the size. Position it roughly. You will align it later.

5. Lock this blue transparency and fill with darker blue. Link the pair and move them into rough position.

6. Repeat steps 4 and 5 to create the third pair.

7. Link all the layers except the bottom transparen't layer. Choose the move tool and in its Options bar choose Align Horizontal Centers

(Once complete you can always return to the blue layers to change how much they should be. The ones shown here are a bit skimpy.)

layers.jpg

comp.jpg

Votes

Translate

Report

Report
Community guidelines
Be kind and respectful, give credit to the original source of content, and search for duplicates before posting. Learn more
community guidelines
New Here ,
Jul 10, 2017 Jul 10, 2017

Copy link to clipboard

Copied

Thanks, this is immensely helpful!

Votes

Translate

Report

Report
Community guidelines
Be kind and respectful, give credit to the original source of content, and search for duplicates before posting. Learn more
community guidelines
Community Expert ,
Jul 08, 2017 Jul 08, 2017

Copy link to clipboard

Copied

I would use a vector graphics editor i.e. Illustrator for that.

Nancy O'Shea— Product User, Community Expert & Moderator

Votes

Translate

Report

Report
Community guidelines
Be kind and respectful, give credit to the original source of content, and search for duplicates before posting. Learn more
community guidelines