combine two images
Copy link to clipboard
Copied
hello everyone can u please help me to combine this images
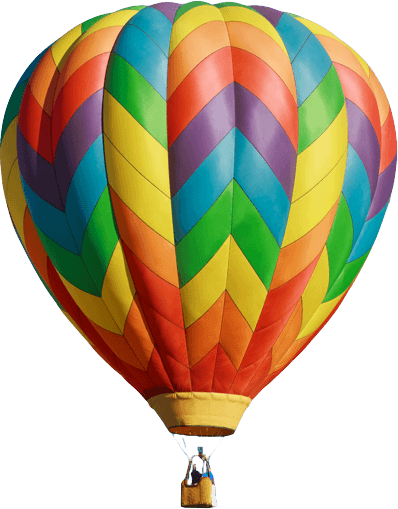 i tried do it myself, but it doesn't look like realistic enough

Explore related tutorials & articles
Copy link to clipboard
Copied
Hi, Do you have something like that ?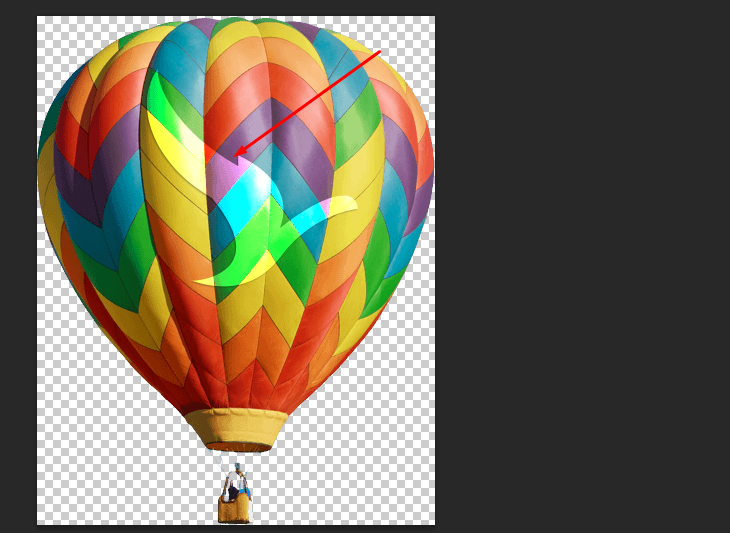
Copy link to clipboard
Copied
u mean source file?
Copy link to clipboard
Copied
No I mean do you want the 2nd image like that combine in the rainbow ?
Copy link to clipboard
Copied
actually no it should save its color (white)
Copy link to clipboard
Copied
Try the warp called inflate. Set opacity of white logo layer to something less Than 100%.

You can then use liquify the squeeze on the riffle edges, and inflate and the riffle centers. I would need more resolution to do a better job.
If you are familiar with using filter >> distort >> displace, that would do a better job than liquify, but you would need to Illustrate your own bump map.
Copy link to clipboard
Copied
Hi, I have tried to use the distort method then displace an image and a text on it by using different channels but it produce kinda junky result. like that.
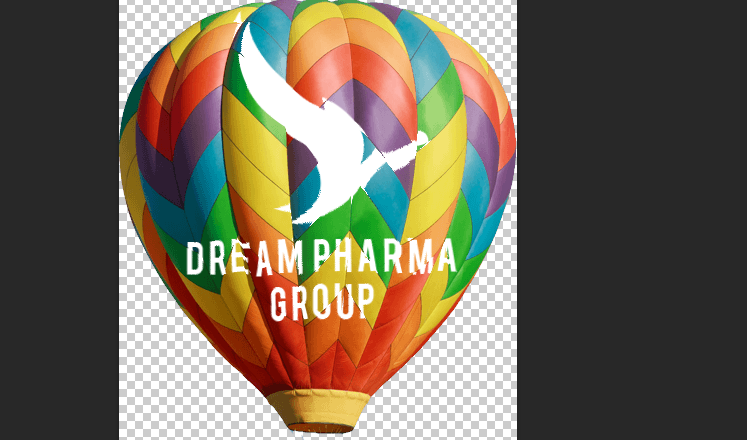
Copy link to clipboard
Copied
Making the image grayscale will not work as a bump map for this one. The ballon has patches of color rather than the ballon being all one color.
You need to first fill a layer with 50% gray, which means will not move. Then lighten the areas to offset for shrink, and darken the area for inflate. I made one shape by using pent tool, then floating a copy of gray and assign a inner glow. At the ned you cam use a curve to darken the insides.
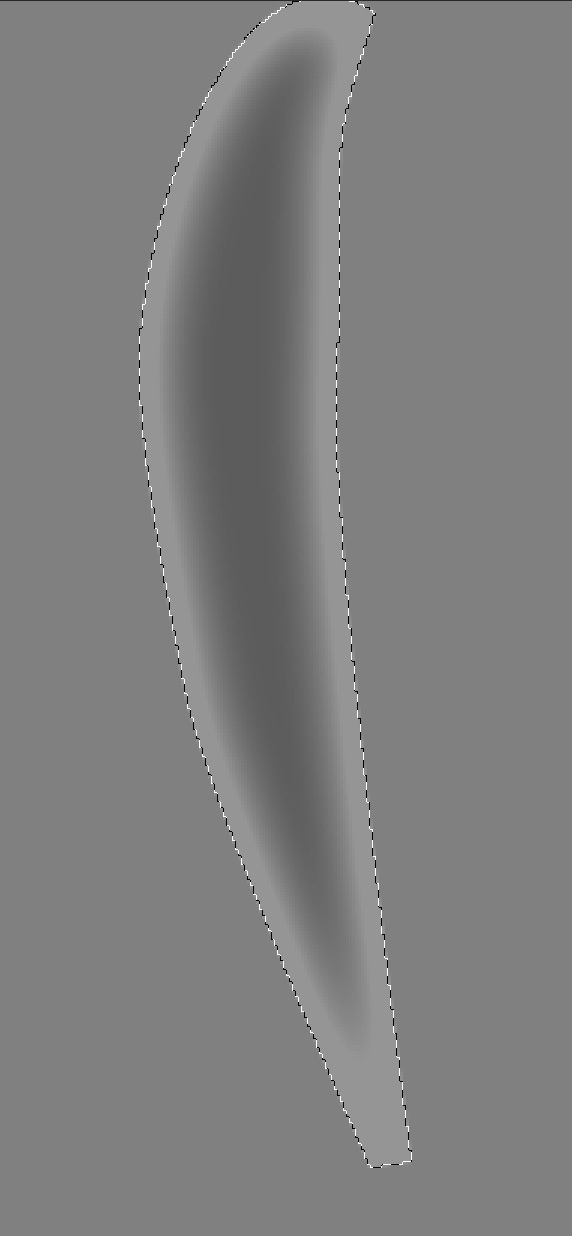
If I got backwards whether to lighter than 50% and darker than . 50%, you can invert the entire bump map when done.
Copy link to clipboard
Copied
Got it.
Thanks.
Copy link to clipboard
Copied
thank u for ur trying)
Copy link to clipboard
Copied
thank u very much u make my work much easier
Copy link to clipboard
Copied
That is why we are here. Is there anything else we can help with?
Copy link to clipboard
Copied
no tnx for ur kindness )
Copy link to clipboard
Copied
That's great!
Copy link to clipboard
Copied
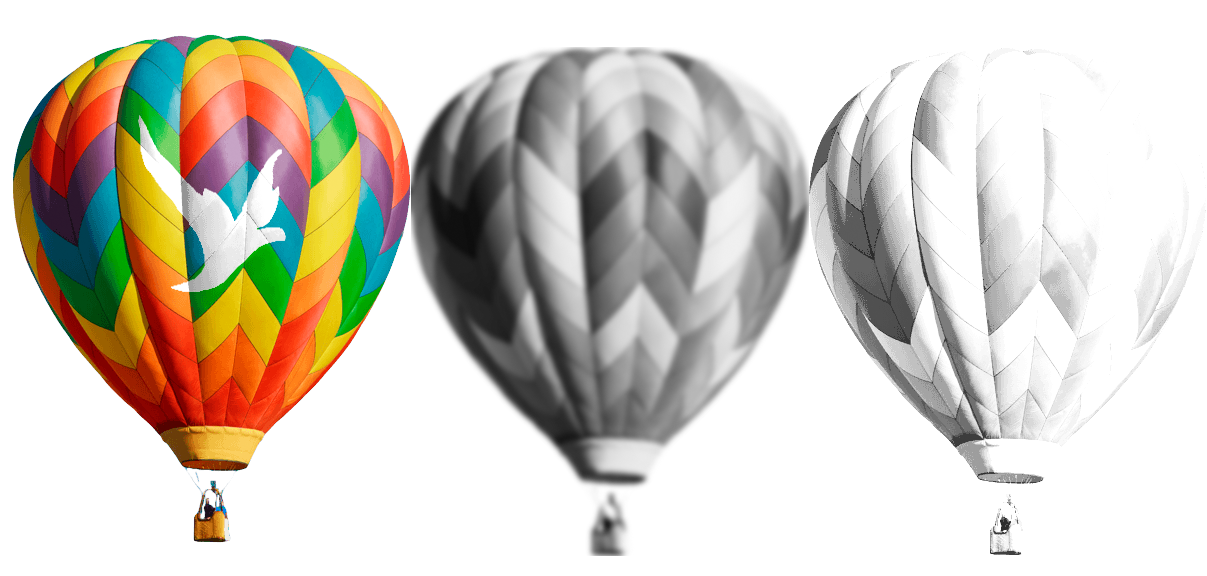
After making a b&w duiplicate image, increasing contrast & adding gaussian Blur and saving as a psd Displacement map (middle image),
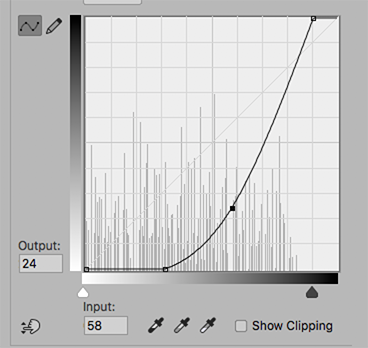
add the white bird object layer and apply a placement map with a gentle (5H/5V) setting. Then make a duplicate of the color layer, convert to Black & White, and apply the radical curve shown (top right with curve shown below). Last, apply the bird layer as a mask to the top layer.
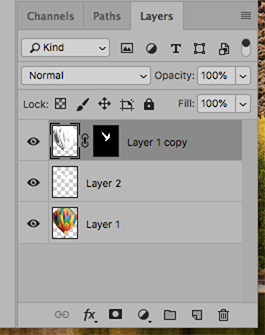
Note: Regarding the type: Rasterize it and combine it with the bird as a single layer..
Copy link to clipboard
Copied
got u thx a lot
Copy link to clipboard
Copied
Nice job Norman ![]()
Dave
