 Adobe Community
- Home
- Photoshop ecosystem
- Discussions
- Re: converting CMYK image to multichannel (black +...
- Re: converting CMYK image to multichannel (black +...

Copy link to clipboard
Copied
I guess my first question is this: Can I attach a .PSD file to this question? Or just an image?
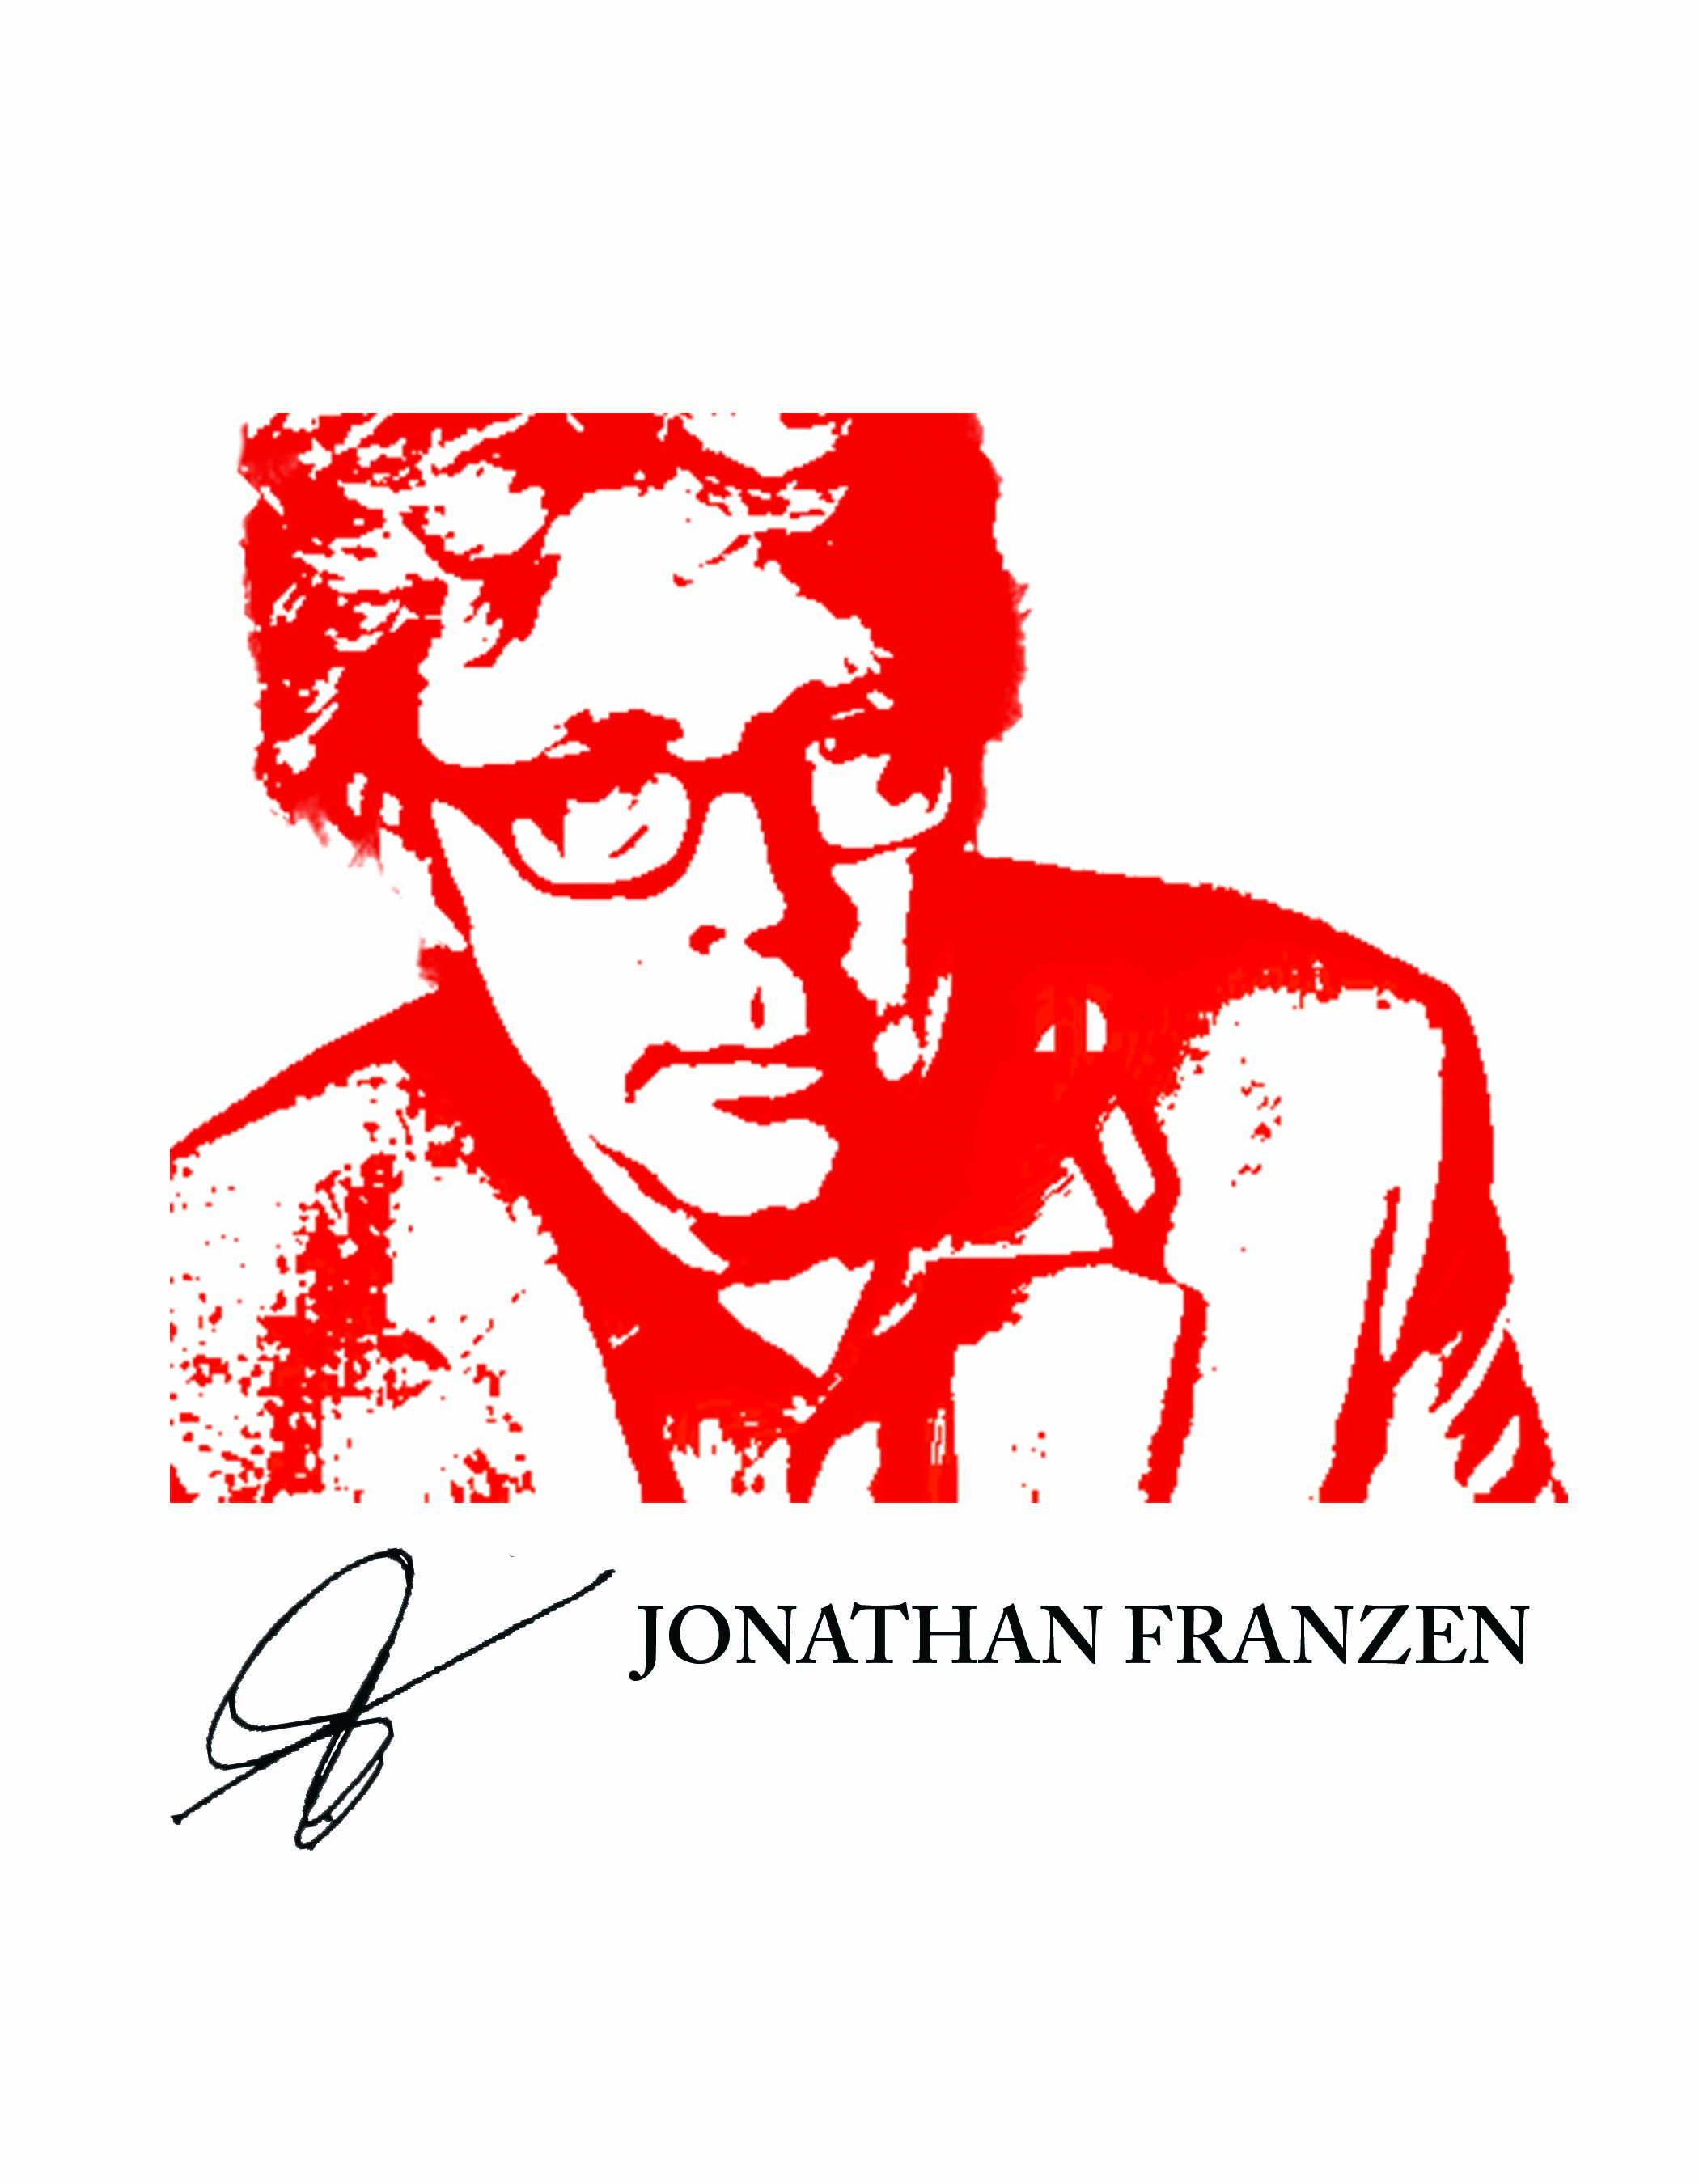
Here's my issue: I'm doing the design for a literary magazine's anniversary issue and have never been formally trained. Here's my panic: We started out thinking this book would be four color and therefore used CMYK color profile. But now it's black with one spot color, so I have to convert all the images to Multichannel mode and, according to the printer, I should have two channels only: black and the pantone spot color (in this case, Pantone Warm Red C).
So here's the favor I'm asking for: Can someone give me the basic 1-2-3 steps they would to follow to change the PSD file for this image from CMYK to Multichannel black + Pantone Warm Red C? I'm having so much trouble with this. I've been researching and experimenting, but I'm quite confused about layers, transparency, overlays, all that. The CMYK color mode file has two layers: a vector silhouette (the woman) with an image overlay (the pattern fill). I know how to change to multichannel mode, and I'm able to add a new spot channel, but it just isn't working right. When the layers all merge together, I'm stuck with either a solid red background and don't know how to make it be an overlay over the vector silhouette or it won't show the red at all. Either way, and I lose the transparency, even when I save the file as DCS 2.0. I asked the printer for guidance several days ago, but they haven't responded.
I know it's the day before Thanksgiving, but if someone could just give me the steps they would follow to change this CMYK file to a multichannel file with black + one spot color and still maintain the transparency, overlay, etc., I'd be most grateful. Basically, how do I make it look like this original image using only two channels?
I'm really stuck here, much thanks. I'll attach the .PSD file, too, if someone can tell me how -- didn't see an option for that in the toolbar.


 1 Correct answer

Just in case I remove the actions in the future and somebody else requires a similar solution, I’ll very briefly document two different methods of turning a CMYK image to 2 spot colours.
In this case, the images were “mostly” red and black/brown in content. This naturally lends itself to using the M and the K channels (M = Spot Red and K = Black), discarding the cyan and yellow. There will not always be a perfect solution to mapping or converting the full range of CMYK colours/tones into 2 colour
...Explore related tutorials & articles
 10
Replies
10
10
Replies
10

Copy link to clipboard
Copied
Hi
Check the links in the right column of your forum post, you may find some infos.
Pierre
Copy link to clipboard
Copied
The forum software changed the file to a JPEG (but still CMYK). You would need to upload the original PSD to say DropBox or another file sharing service.
Are all of the images similar to the one attached? Often conversions are image dependent, what works for one image may not work for another.
Make sure to keep the CMYK originals and work on duplicated files so that you can recover if things go wrong.
I’ll post a link where you can download an action (no guarantee or warranty provided/implied, use at your own risk)… The Photoshop preview is not very accurate, so the print result may or may not be anything like the “softproof”.
Attached is a “preview” of a 2 channel conversion, the original was multichannel however this is in CMYK mode, still 2 channel with a “faux preview ICC profile”…

Copy link to clipboard
Copied
Here is the link to the action (you don’t have to be a DropBox member to access):
Dropbox - CMYK to K & Red.atn.zip
Good luck!
Copy link to clipboard
Copied
Holy cow, IT WORKS! You are my hero of the hour. I cannot fully express how grateful I am for your kindness and generosity in helping a stranger on the eve of a big holiday. I am truly giving thanks. Thank you, thank you, thank you. I was really sweating this one!
And please forgive me for my greed, but now that I have your expertise, may I ask one more question? When I run the action, the colors are very muted in some. For example, I'm attaching an image with the CMYK and then the image with the two channel. Is it possible to make the red more saturated and vibrant?

Copy link to clipboard
Copied

Copy link to clipboard
Copied
My pleasure, it is not the eve of holiday here is Oz…
These may only provide ballpark conversions, they may be good for some images, or none! With black and red inks you will likely end up with muddy results, so you will need to visualise the combined % result of both the black and red channels/plates.
As I said, it may be OK for some, not others. Print output may be very different than onscreen. You may need to “open things up” by lightening the black channel more in the midtones for images similar to the pole dancing image.
A new version for simpler “saturated” conversions:
Dropbox - CMYK to K & Red Saturated.atn.zip
I would really like to have more time and offer you a better solution, however I can only put in so much effort at the moment.
Copy link to clipboard
Copied
The time and effort you've already put into this is an astounding kindness, and I am so thankful. And guess what? The saturated version did the trick!! I have about 45 images I have to alter and it's been a disaster of a day but you've turned it around. (And thank goodness you're in Australia and helping people on these forums, not busy stuffing a turkey for Thanksgiving in the US!)
You're a good person. Thank you a million times over for your help!
Copy link to clipboard
Copied
Glad to be of help.
Please ensure that all images converted with these various actions still have a 0% white untinted background in both channels.
Here are two other variations on the original action, which may or may not be better suited to various image content:
https://www.dropbox.com/s/cn0v37val0xk6cb/CMYK%20to%20K%20%26%20Red%20v3.atn.zip?dl=0
https://www.dropbox.com/s/q3bvv9qxayz58vx/CMYK%20to%20K%20%26%20Red%20v4.atn.zip?dl=0
Copy link to clipboard
Copied
A belated thought…
The action that I created made a multichannel file with a spot black channel and spot red channel.
Your other content most probably is in regular process black. You or your service provider may have issues mapping the spot black to process black and you may end up with a three colour job, two blacks and a red.
If this is the case, I have created an action to turn the multichannel files into a grayscale file with the spot black data in the gray channel and the red spot channel retained.
Copy link to clipboard
Copied
Just in case I remove the actions in the future and somebody else requires a similar solution, I’ll very briefly document two different methods of turning a CMYK image to 2 spot colours.
In this case, the images were “mostly” red and black/brown in content. This naturally lends itself to using the M and the K channels (M = Spot Red and K = Black), discarding the cyan and yellow. There will not always be a perfect solution to mapping or converting the full range of CMYK colours/tones into 2 colours, so expectations may need to be adjusted.
Another method was a little more convoluted, however variations on this approach have been useful in the past and have resulted in similar separations to those created by the old “Powertone” extended dutotone separation plug-in that was discontinued a long while ago…
- Create a history snapshot to revert back to
- Convert to Lab colour mode
- Copy the “a” channel (which holds the opposing magentary-red/green hues)
- Select the history snapshot to return back to the original CMYK version
- Create a new channel and paste the clipboard “a” channel data into this alpha channel
- Apply image the alpha channel to itself, invert on, difference blend mode, preserve transparency, OK
- Invert the result
- Apply curves/levels as needed to adjust the tones darker at the shadows or elsewhere
- Convert to multichannel mode
- Delete the cyan, magenta and yellow channels
- Target the black channel and convert to grayscale mode
- Double click on the alpha channel and change to a spot colour channel and assign a Pantone colour
- Select the black channel
- Apply image the black channel to itself in linear burn blend mode 100% opacity, preserve transparency
- Select the spot red chnnel
- Apply image the red channel to itself in multiply blend mode 100% opacity, preserve transparency
- Adjust the tones of each channel with curves/levels where necessary

 AdChoices