Copy link to clipboard
Copied
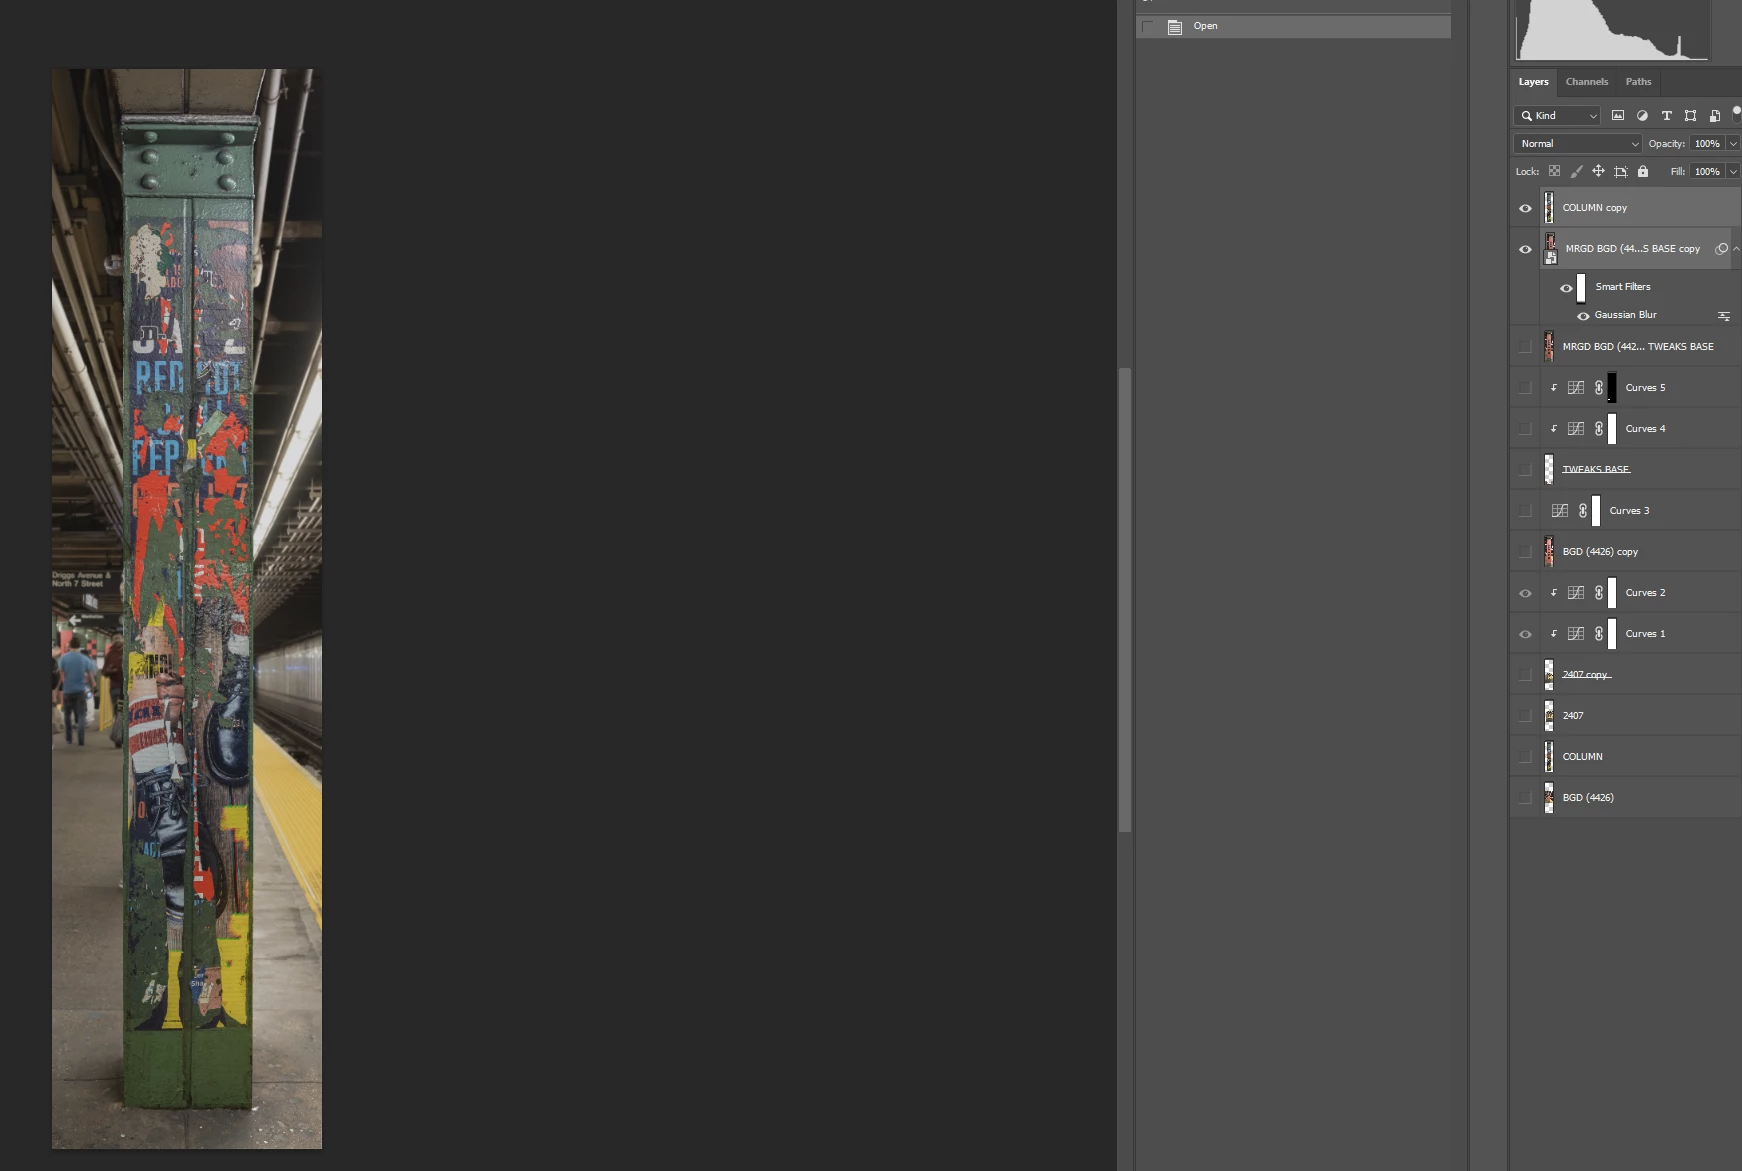
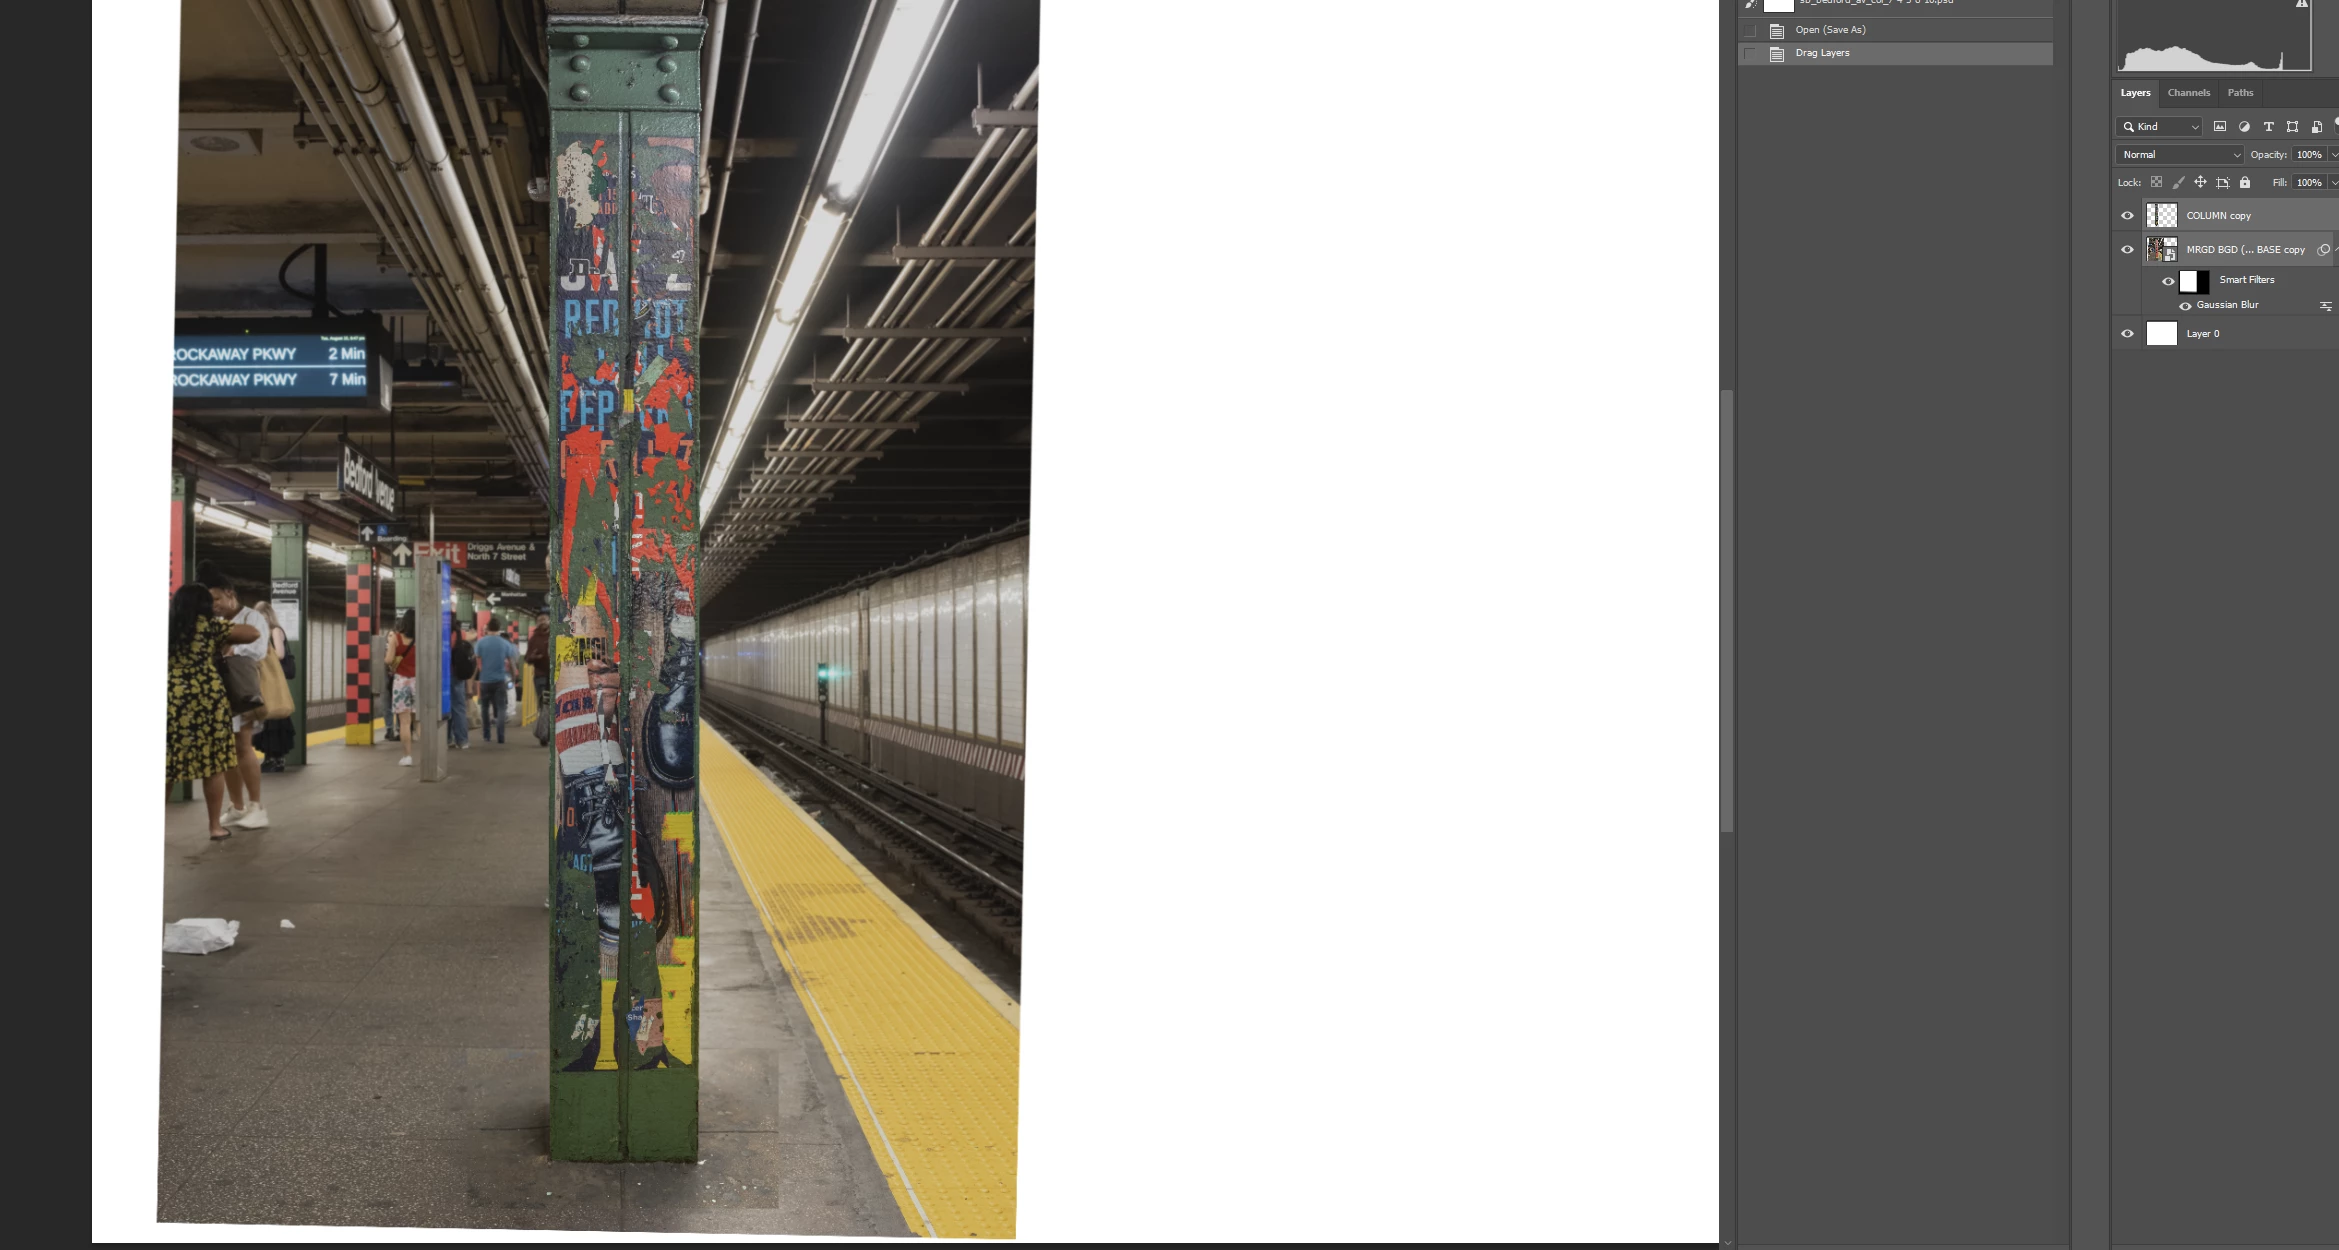
I want to copy 2 layers - foregound and background - to a new document of a different size. Screen shot 1 shows the source document. The 2d screen shot shows the destination document with the 2 layers pasted. More of the source document has been copied than I want. If I crop the source document to its image area as displayed in the source document (screen shot 3), the crop affects the entire destination document. How can I crop the source document to display as shown in the source document without flattening the 2 layers and also retain the wider 28200 px width of the destination document? Thanks.
1 Correct answer
OK. These are the steps shown in the demo below:
1. Select the layers you want to work with.
2. Group them (into a layer group). I show doing it by clicking the Create a New Group button at the bottom of the Layers panel, but you can also choose Layer > Group Layers, or press the keyboard shortcut shown next to that menu command.
3. Choose Select > All to create a selection the exact size of the canvas area, because that’s the area you want to preserve for this layer group in the other documen
...Explore related tutorials & articles
Copy link to clipboard
Copied
Yes, a crop always affects the entire document, so cropping doesn’t help when you want to restrict the dimensions of specific layers only.
The reason you see more of the layers in the second document is that in the first document, the extra bits were always there, but the parts extending outside the document dimensions were hidden. In a document of different dimensions, more of the layer area is visible.
A mask is one solution. Group the two layers that you added to the second document, and to that group, apply a mask of the dimensions you want to be visible of those two layers. The mask will hide everything in the group that is outside its dimensions. It can be a pixel mask or a vector mask; the vector mask will be easier to resize.
Copy link to clipboard
Copied
Thank you. A few questions. You said "Group the two layers that you added to the second document," What I did was select the 2 layers and copy, paste them into the new document. I'm not sure what you mean by "Group" them. If something other than what I did, can you explain.
Second, can you explain the steps for applying the mask to the areas I want not to appear. I don't know how to identify those areas for purposes of masking them, and applying the mask there. Thank you.
Copy link to clipboard
Copied
OK. These are the steps shown in the demo below:
1. Select the layers you want to work with.
2. Group them (into a layer group). I show doing it by clicking the Create a New Group button at the bottom of the Layers panel, but you can also choose Layer > Group Layers, or press the keyboard shortcut shown next to that menu command.
3. Choose Select > All to create a selection the exact size of the canvas area, because that’s the area you want to preserve for this layer group in the other document.
4. With the layer group selected in the Layers panel, create a mask from the selection. I clicked the Add Layer Mask button at the bottom of the Layers panel, but you could choose Layer > Layer Mask > Reveal Selection. Because the layer group is selected, the mask is attached to the layer group, masking all layers in the group.
5. Drag & drop (or copy & paste) the layer group to the other document.
6. Just to show how it works, Shift-clicking the layer mask disables or enables the mask, and Alt-clicking it shows or hides the mask contents (my demo shows Option-clicking because I’m on a Mac). When the mask is disabled (a red X shows in the mask thumbnail), you can see the full extent of the layer group contents.
 
Copy link to clipboard
Copied
Amazing! That was easy and it worked perfectly. Thank you.
![](/skins/images/EAF9F7E131C5D03B206D7C6CFC7D852B/responsive_peak/images/icon_anonymous_message.png)