Copy link to clipboard
Copied
Hi
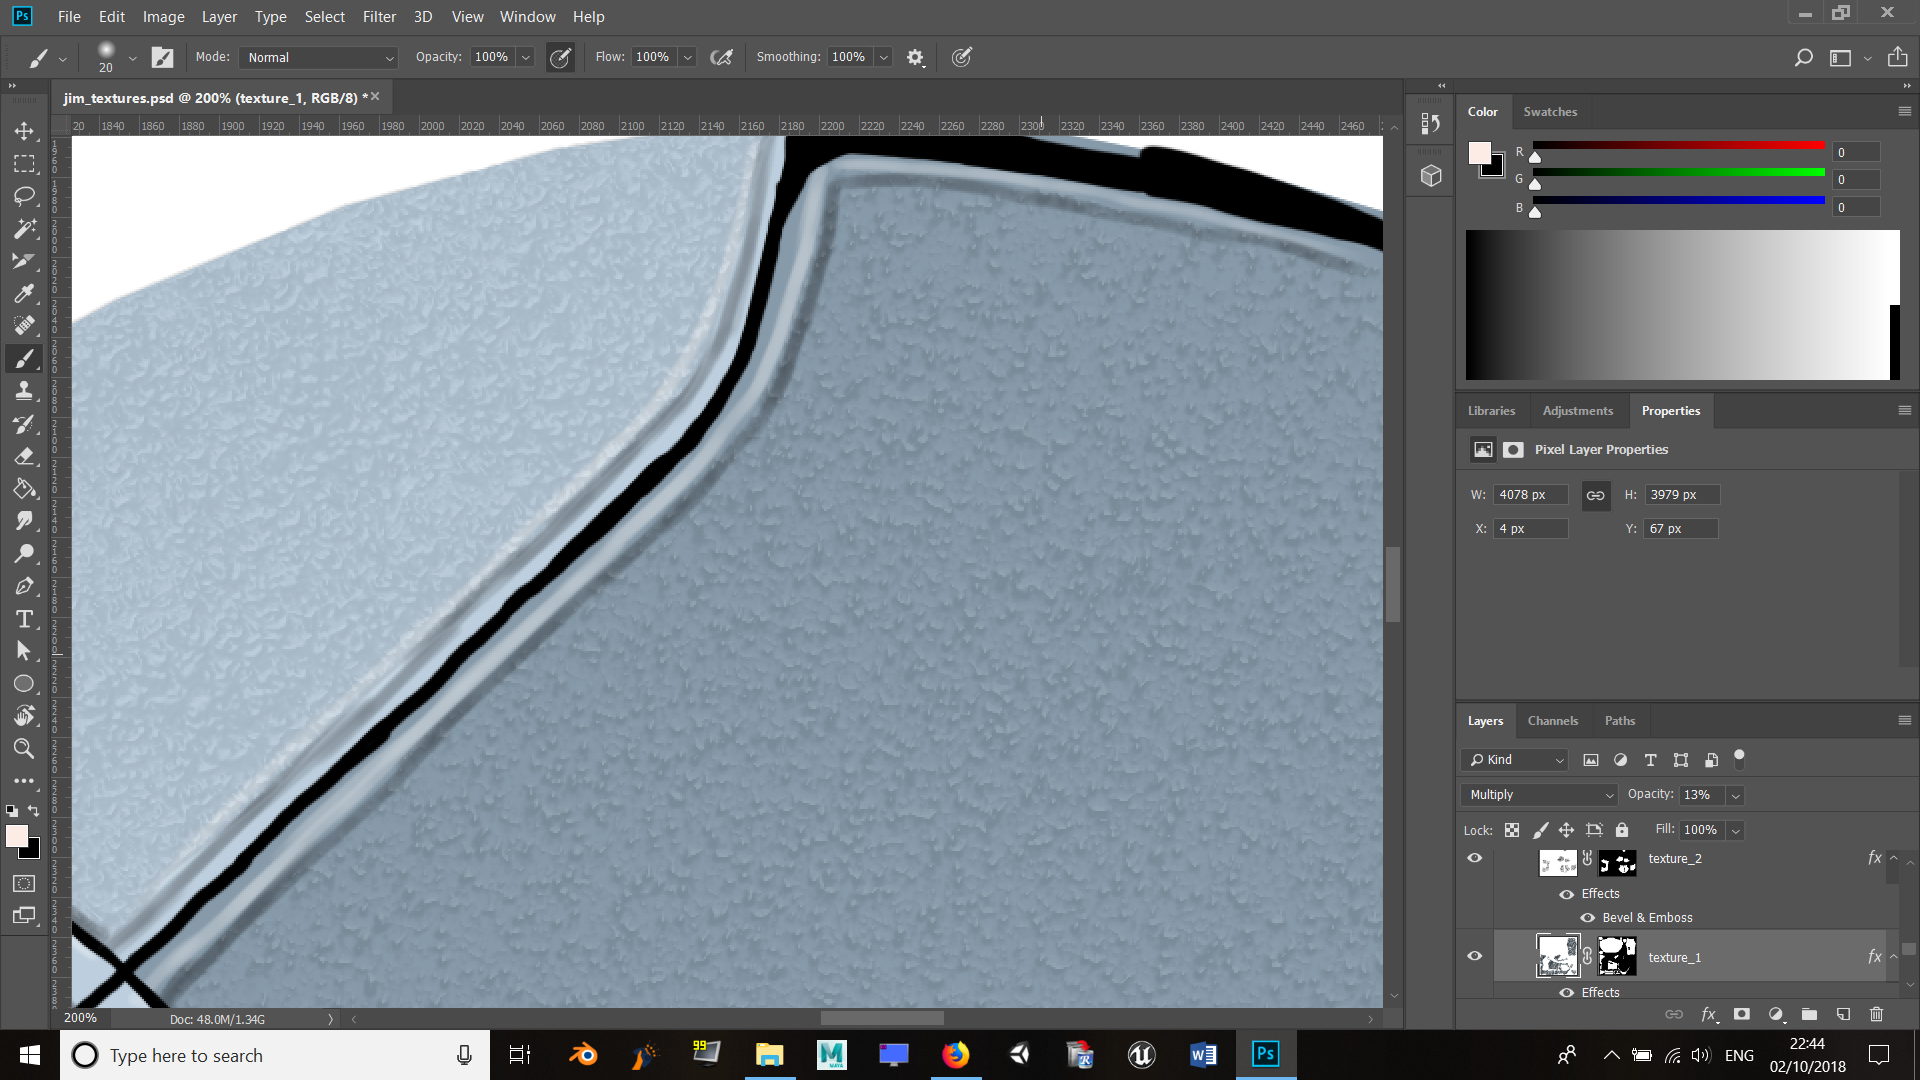
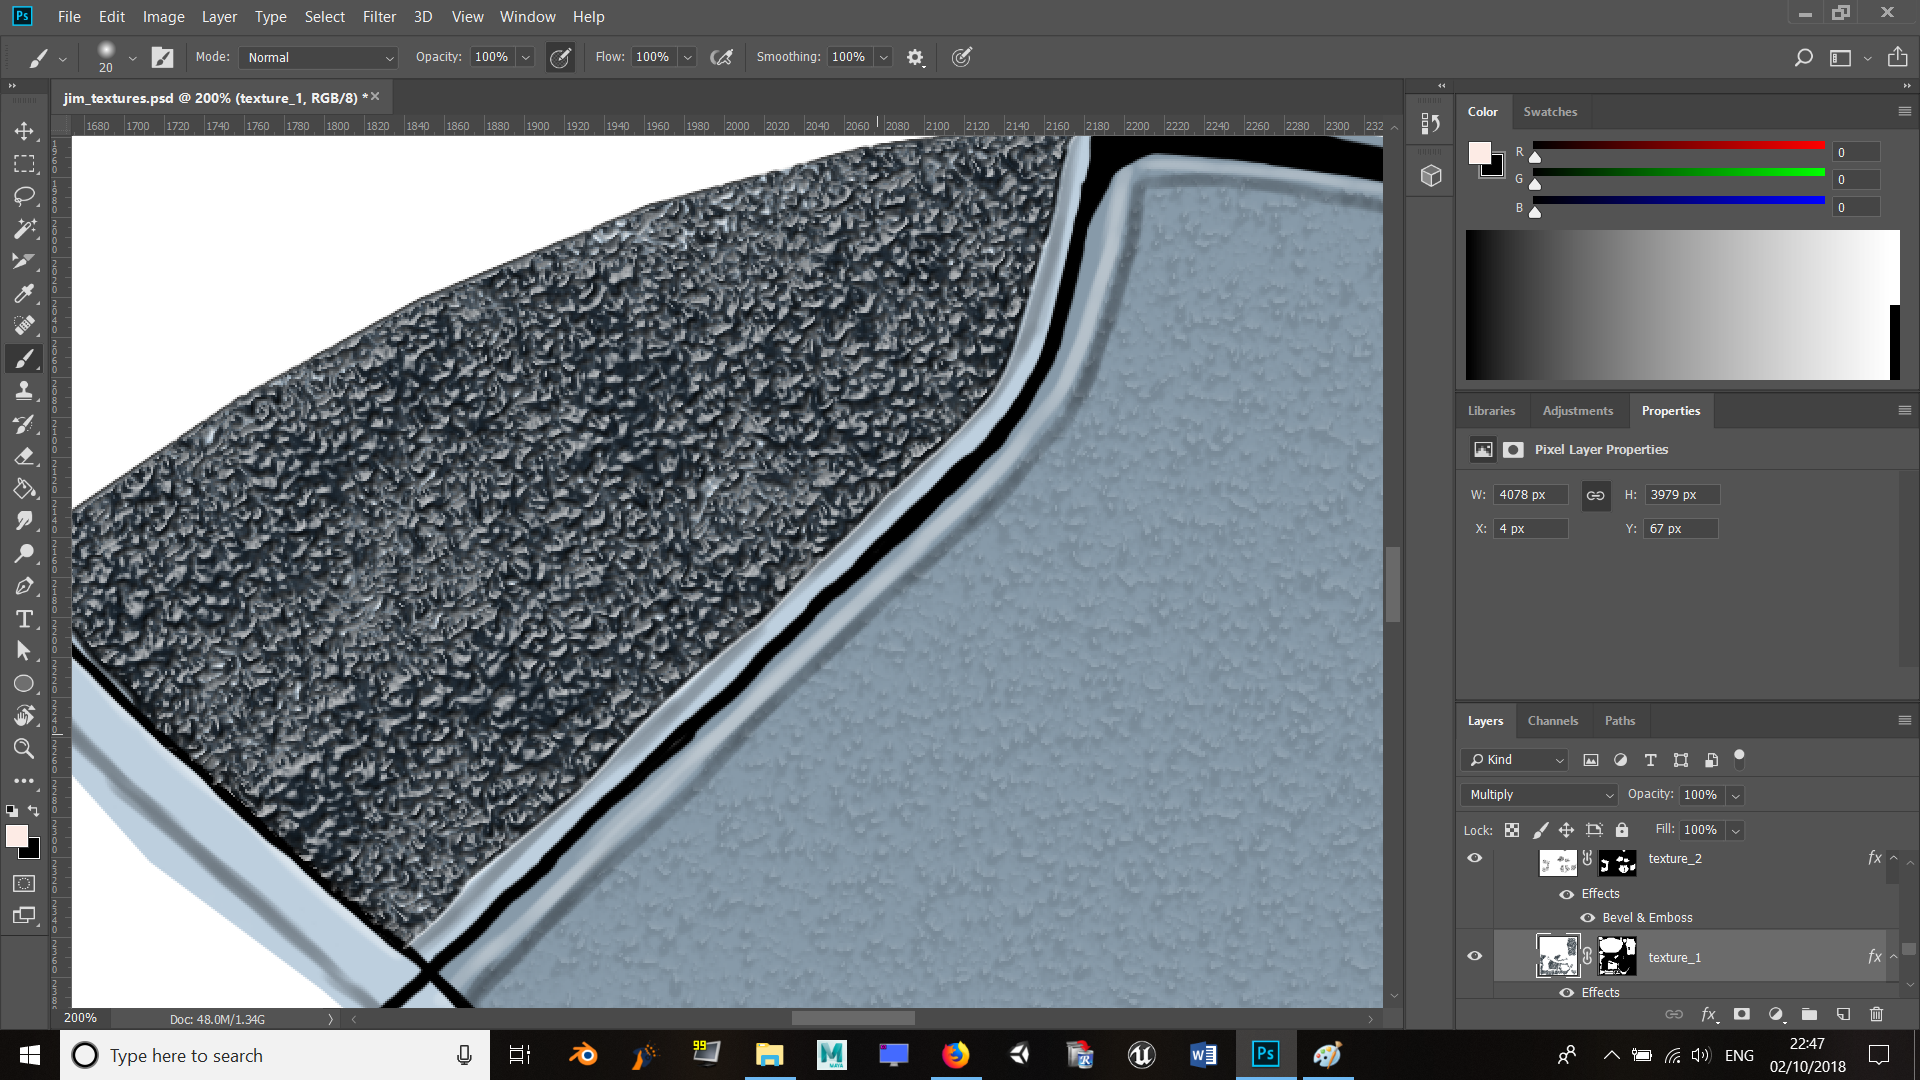
I'm in the process of creating specular, roughness, hardness and bump map textures for a 3D model. I'm following a book, but it doesn't explain the process of texturing, so I'm having to figure things out for myself. I'm unsure how this effect was created though. It looks like the same texture you used to get on wallpaper... The original is black and the opacity was turned down to 10%. How do you do apply this effect?
Thanks
 1 Correct answer
OK
The disadvantage of applying this to the diffuse texture is that when you apply it to a 3D model, the shadow detail will not match the 3D lighting on the model.
But to simulate that effect :
On an empty layer paint with a "splatter "brush (you can download one free in Kyles Mega pack if you are using Photoshop CC)

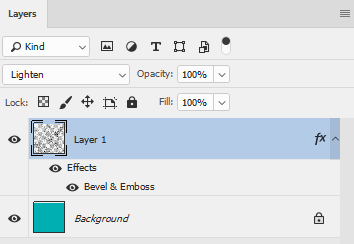
Right click the layer in the layer panel and in Blending options add a bevel and Emboss effect

Adjust the blending mode and opacity to get the effect you require (I've used "Lighten")

Dav
...Explore related tutorials & articles
Copy link to clipboard
Copied
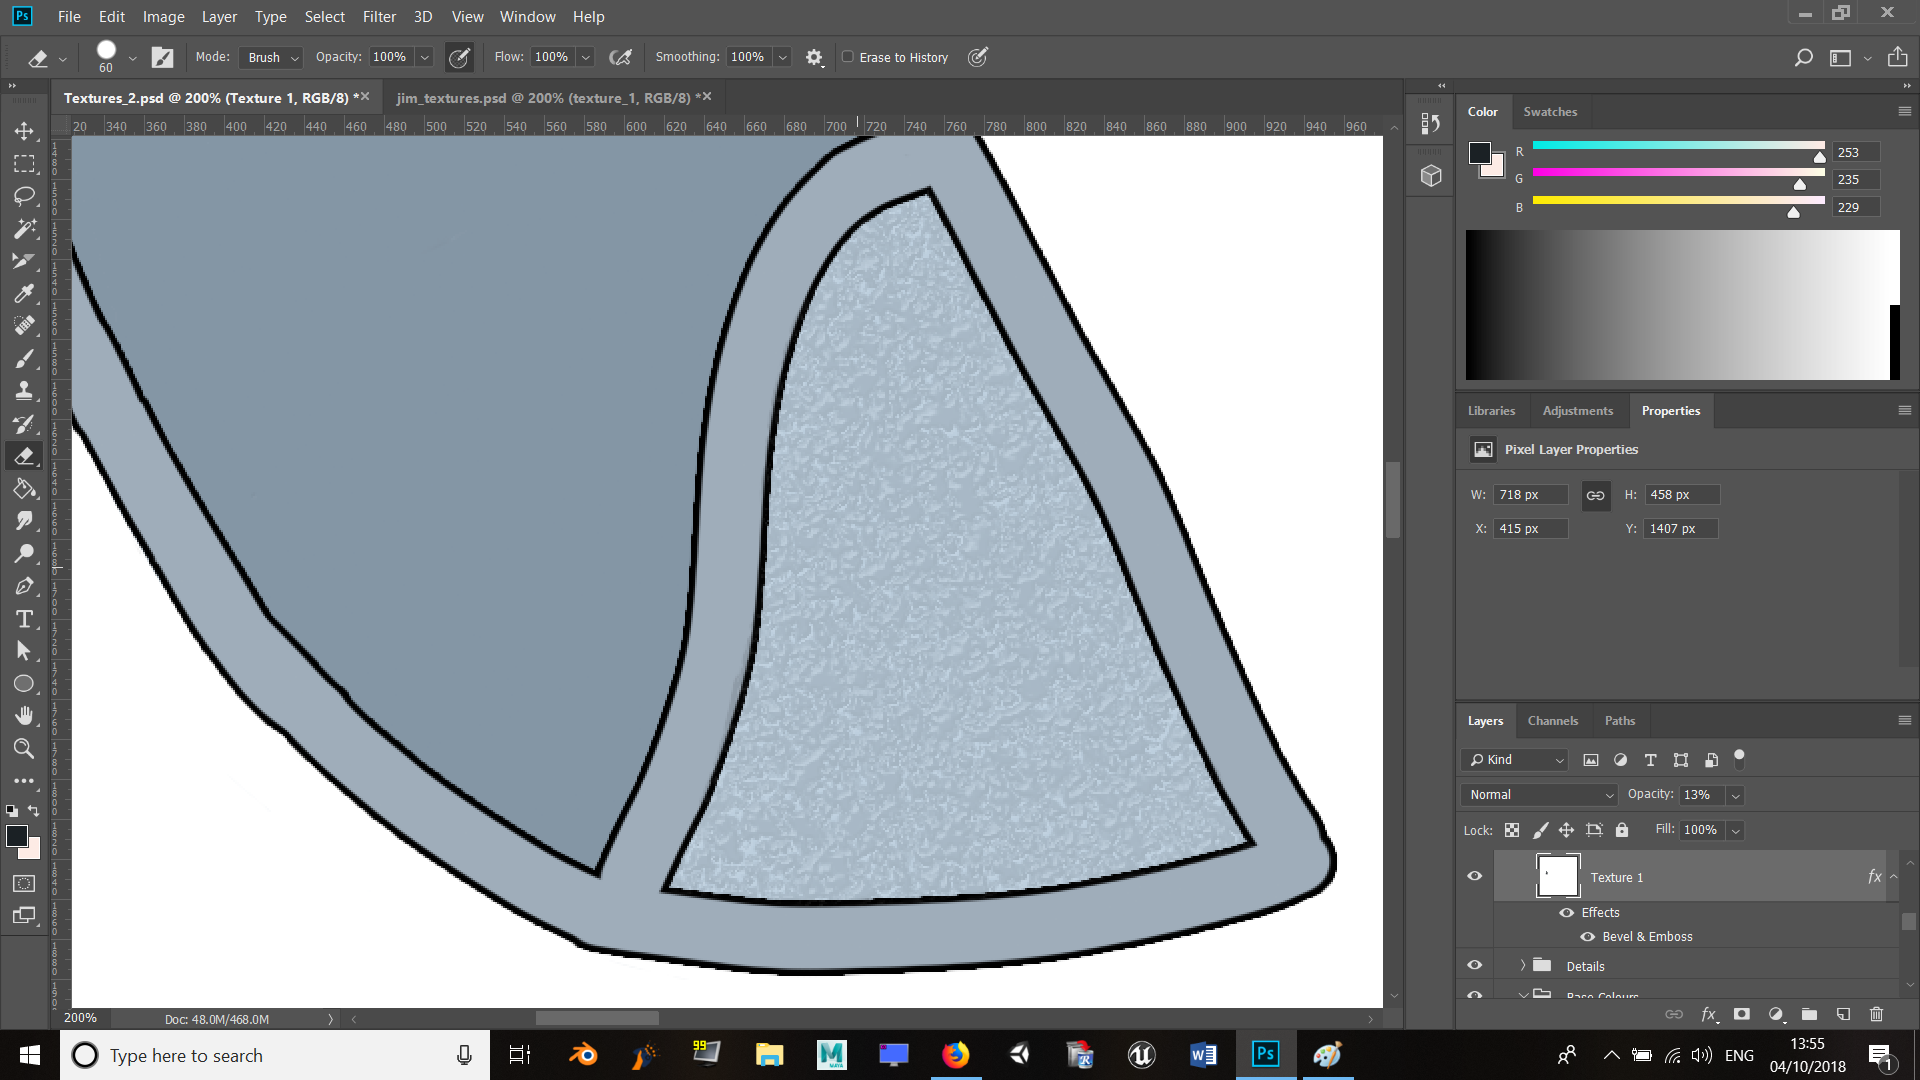
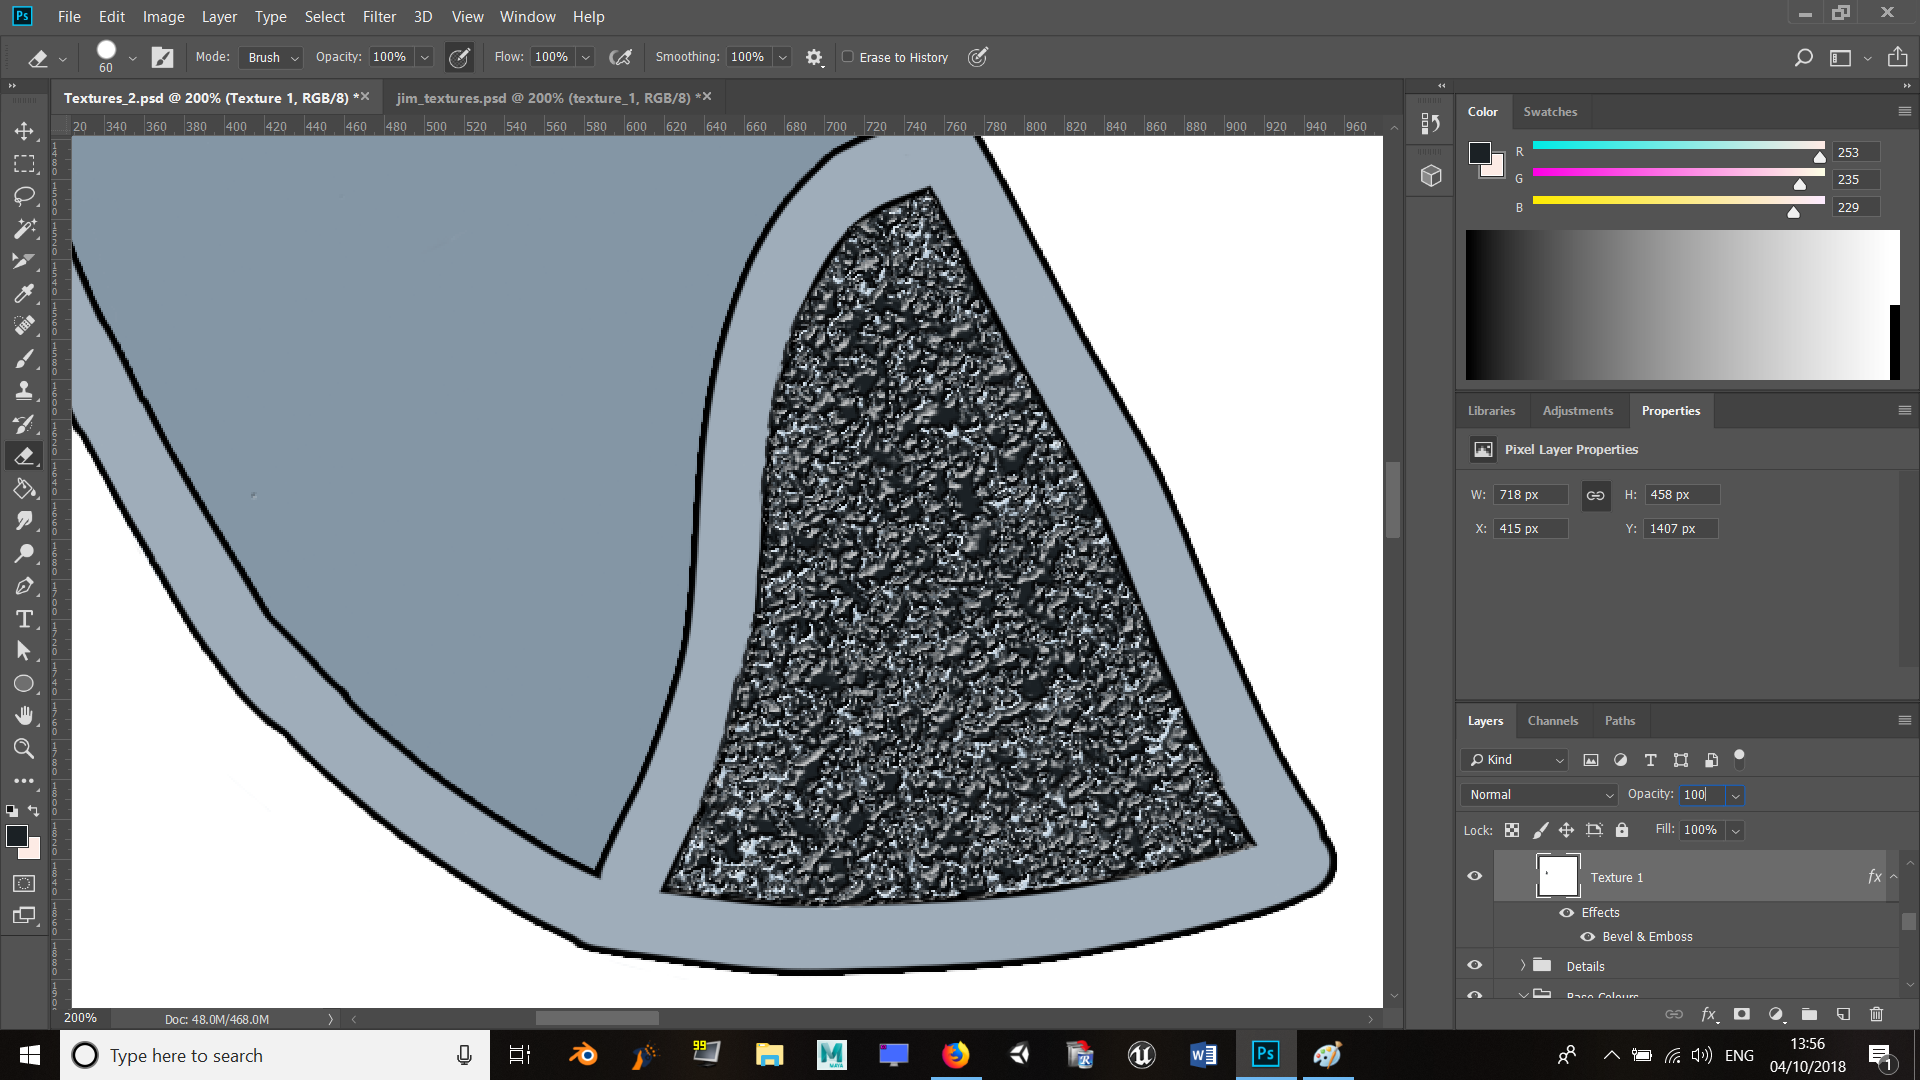
Looks like the only thing you did not change was the layers opacity. Top image it is 13% and the bottom it is 100%.
Copy link to clipboard
Copied
No, these are both from the author of the book. I was just showing what the effect looks like before they applied the opacity. ![]()
Copy link to clipboard
Copied
Hi
I'm slightly puzzled as to what you are trying to achieve here.
For 3D, a bump map can be used to simulate height variations on the surface of a model. The actual model mesh is not altered, the bump map is used during rendering to create some highlights and shadows as if the surface has texture. The map is a simple grayscale image with 50% grey representing 0 height, black representing maximim depth and white representing maximum height. So the bump map just needs to represent where those height variations are. It does not contain any highlight or shadow information as that will be done at the 3D rendering stage.
Example :
3D layer :
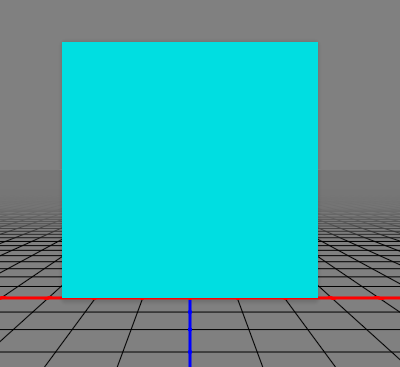
+ Bump Map
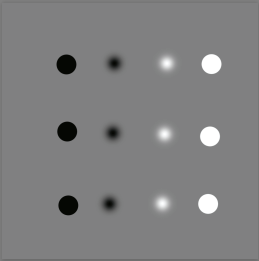
= Result
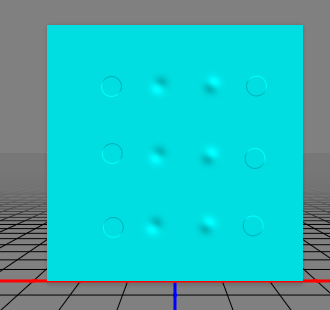
Your screenshots show use of bevel and emboss which is a way of introducing a similar simulated depth effect on 2D objects. So you can use it to make lots of small circles appear to have some depth by adding some highlights and shadows based on an artificial light source. What bevel and emboss does not do is create a bump map, which has no lighting information - only the height.
If you can explain a little more what you are aiming at , and perhaps what 3D tool you will be using for rendering, we may be able to help you better.
Dave
Copy link to clipboard
Copied
Thanks for replying, Dave. I see. I’m still new to all this, so I’ve most likely made a mistake. I figured it was a bump map or normal map due to that sense of depth the texture gives on the outfit. The author’s example texture I downloaded doesn’t list them as bump maps, just as textures under an ’added/extra detail’ folder.
Either way, I want to replicate and learn how the author made these textures so I can apply them to my model. He made four - diffuse, which I’ve done, a specular, a hardness and a roughness. These textures come under his diffuse texture as extra details. I just want to figure out how he achieved this effect.
Thanks
Copy link to clipboard
Copied
OK
The disadvantage of applying this to the diffuse texture is that when you apply it to a 3D model, the shadow detail will not match the 3D lighting on the model.
But to simulate that effect :
On an empty layer paint with a "splatter "brush (you can download one free in Kyles Mega pack if you are using Photoshop CC)

Right click the layer in the layer panel and in Blending options add a bevel and Emboss effect

Adjust the blending mode and opacity to get the effect you require (I've used "Lighten")


Dave
Copy link to clipboard
Copied
Excellent! Thank you, Dave. ![]() As soon as I’be attempted it I’ll upload the results.
As soon as I’be attempted it I’ll upload the results.
Copy link to clipboard
Copied
Will practise some more with this today, though I was struggling to replicate the effect. I even checked and copied the properties of the author’s textures, but still wasn’t getting the same results to my satisfaction. 😕 They should be light on top and dark at the bottom (like yours Dave), to give the illusion of depth, but I just haven’t been getting that result very well. Plus the spattering effect still looks a bit too pixelated even with the opacity turned down.
Copy link to clipboard
Copied
Hi
They should be light on top and dark at the bottom (like yours Dave), to give the illusion of depth, but I just haven’t been getting that result very well.
Check the light angle in bevel and emboss as well as the structure and shading settings (see screenshot in my previous post)
Plus the spattering effect still looks a bit too pixelated even with the opacity turned down.
What resolution document are you using - the post was a screenshot but as far as I remember I was using a 1024x1024 pixel document
Dave
Copy link to clipboard
Copied
My project file is 4096x4096.
EDIT: Oh, I forgot to mention: the author's texture file has a mask layer attached to the textures as well. I'm actually confused with the mask layers and how they work. Also, what size brush did you use for yours?
Copy link to clipboard
Copied
Yush! Nailed it. It was just a case of increasing the brush size so it doesn't look pixelated and copied the author's bevel settings. ![]()
Find more inspiration, events, and resources on the new Adobe Community
Explore Now