- Home
- Photoshop ecosystem
- Discussions
- Re: Cutting out a transparent edge to layer below
- Re: Cutting out a transparent edge to layer below
Copy link to clipboard
Copied
Hi Everybody -
I want to overlap 2 layer of text (type) above the base layer below. At first I thought the example was just an enlarged black edge, but later realised it is transparent.
Hope this makes sense. Here is an example - the white text layer above (not visible in example) and the white text layer underneath the layer below cuts through the base layer with a transparent edge that I have to assume is done with the text and an overrsized outline of that text.
Thanks for any and all help!
Garry
 transparent enlarged outer edge.png)
 1 Correct answer
Here are my $0.02 Cutting out a transparent edge to layer below - YouTube
Note: you can add a layer mask to the group of layers, it works exactly the same. Automation is possible using actions but things will be complicated if you are planning to update text.
Explore related tutorials & articles
Copy link to clipboard
Copied
You poster a png if you want to write about layers and Photoshop items you should post a screen capture of you document open in Photoshop where where the layers palette and other importation palettes are visible so we can get some idea of what you writing about. Are your text layers text layers or pixels layers containing text etc.
Supply pertinent information for quicker answers
- The more information you supply about your situation, the better equipped other community members will be to answer. Consider including the following in your question:
- Adobe product and version number
- Operating system and version number
- The full text of any error message(s)
- What you were doing when the problem occurred
- Screenshots of the problem
- Computer hardware, such as CPU; GPU; amount of RAM; etc.
Copy link to clipboard
Copied
Hello JJMack -
Hope these screenshots make sense -
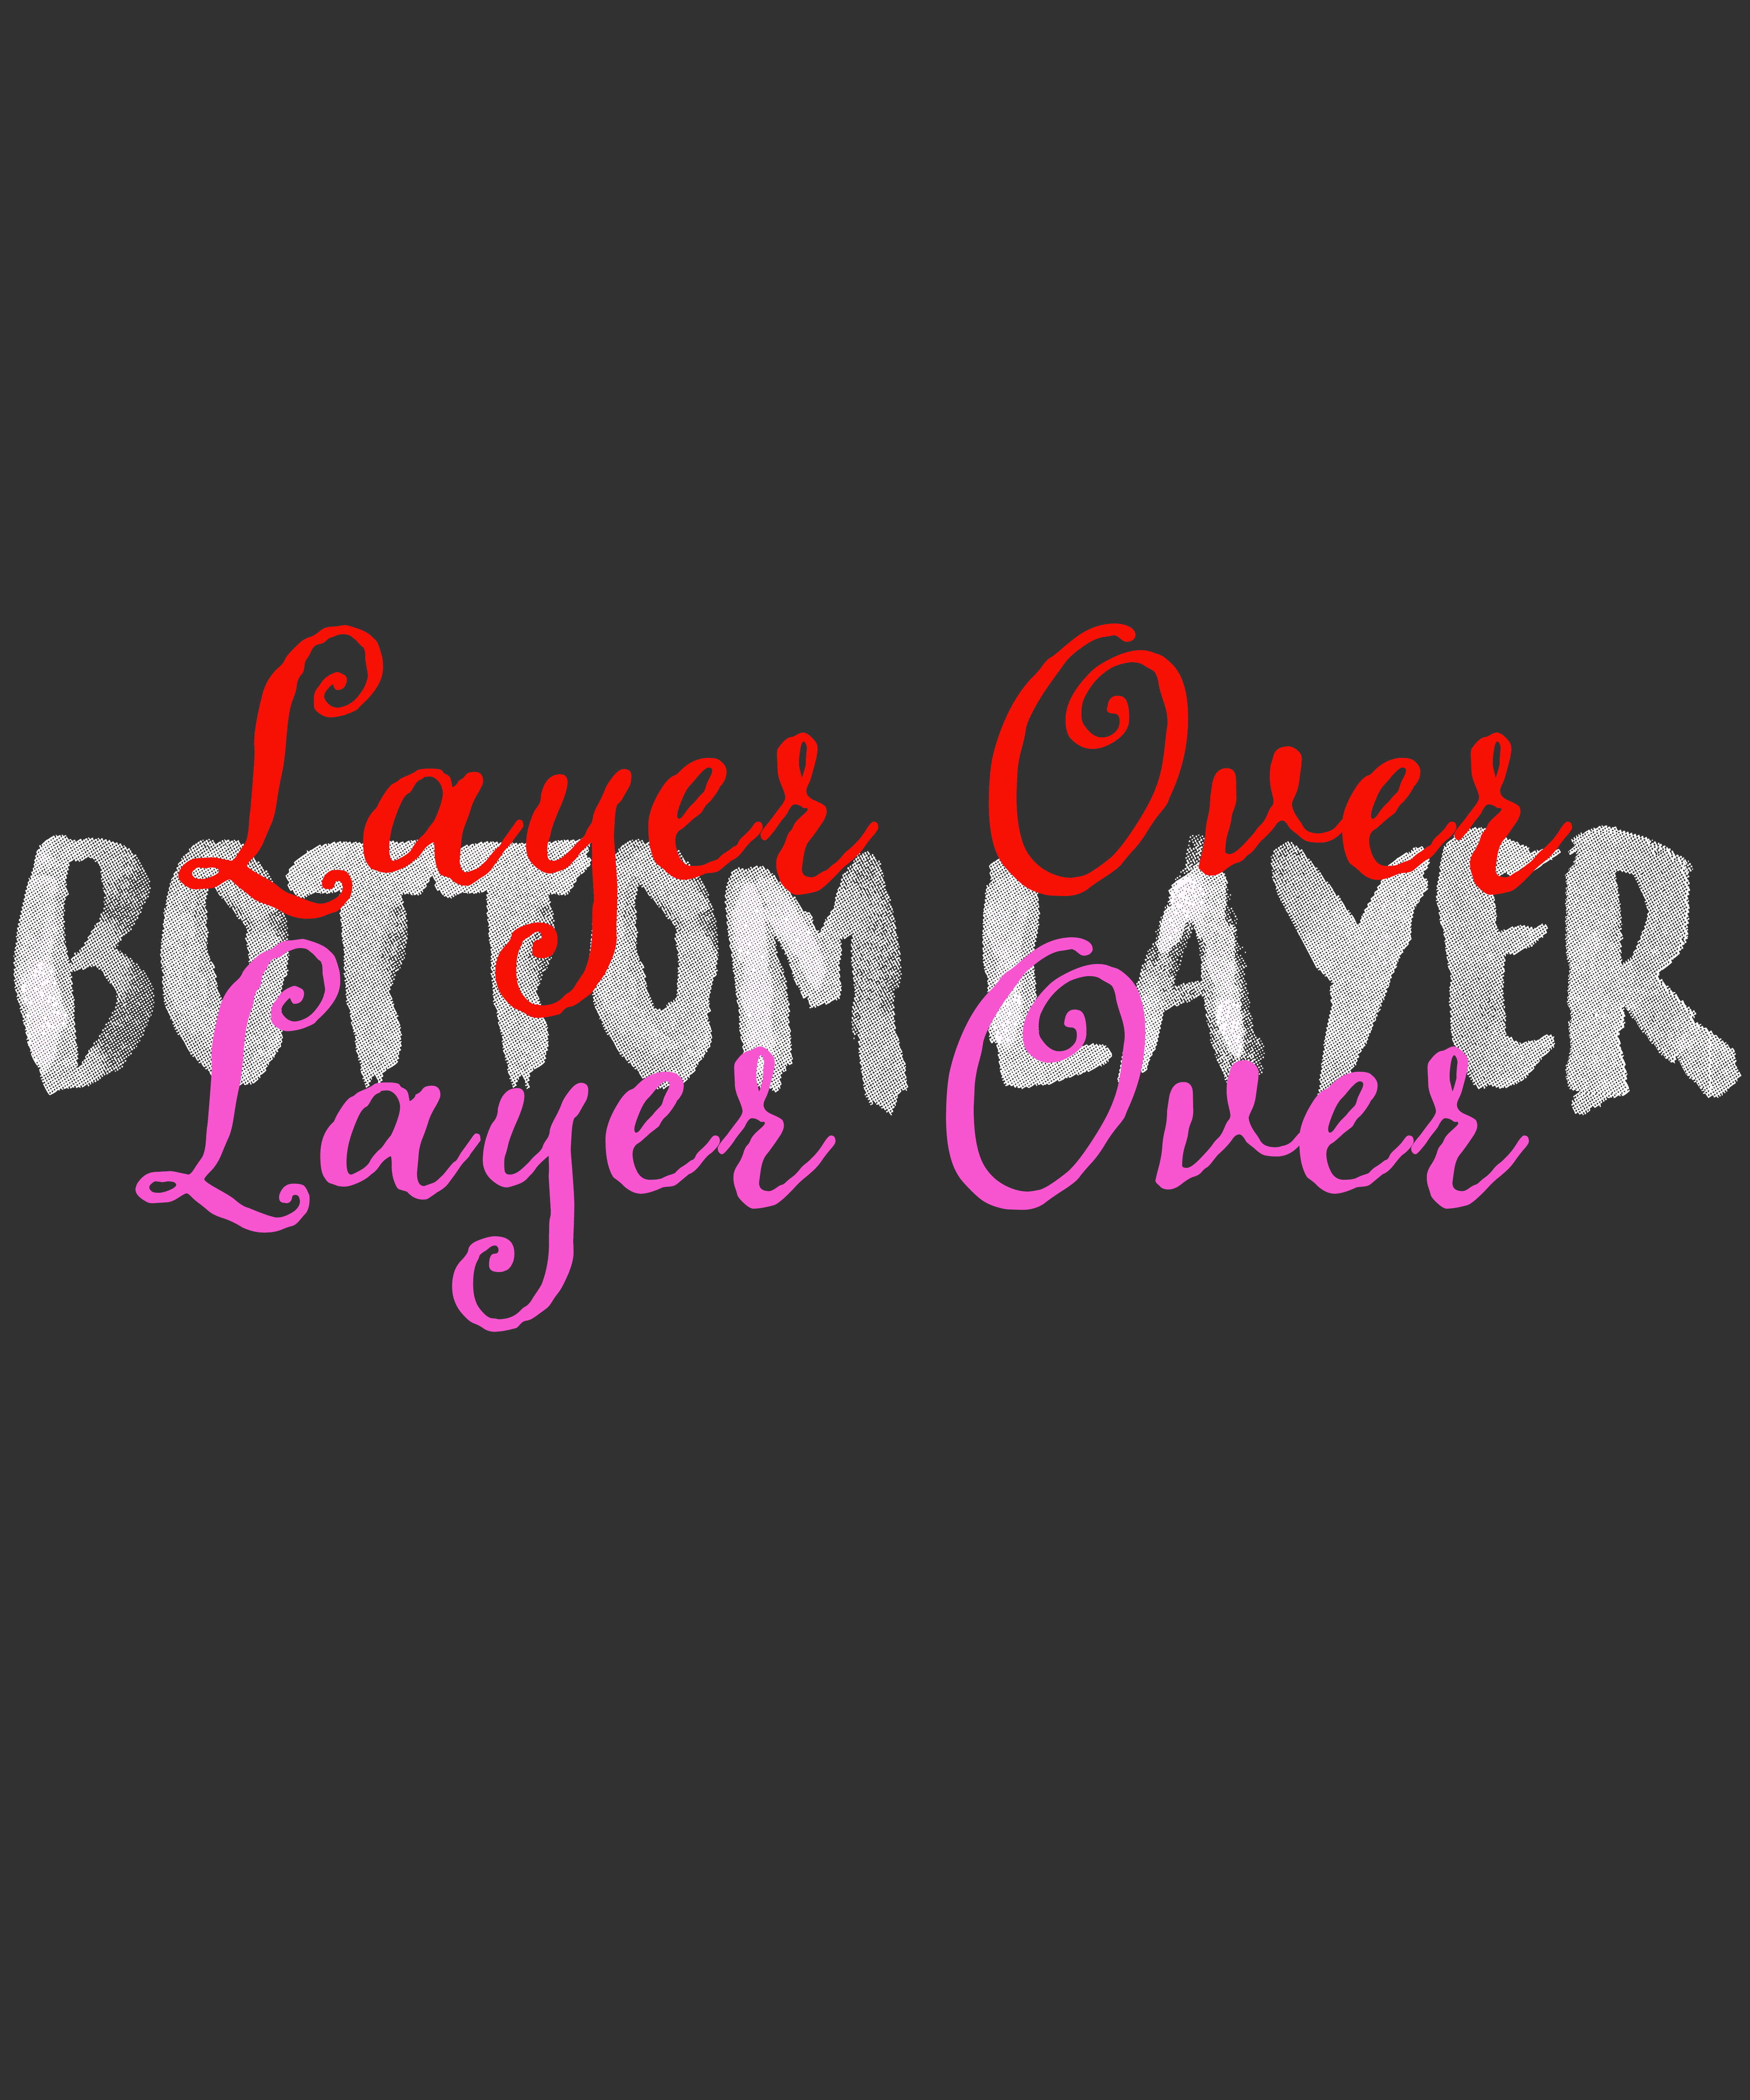
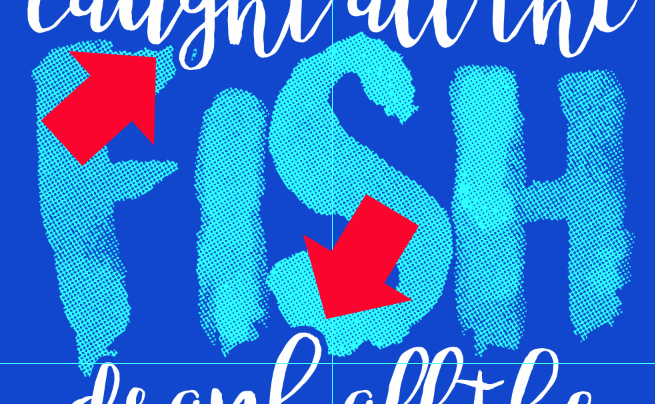
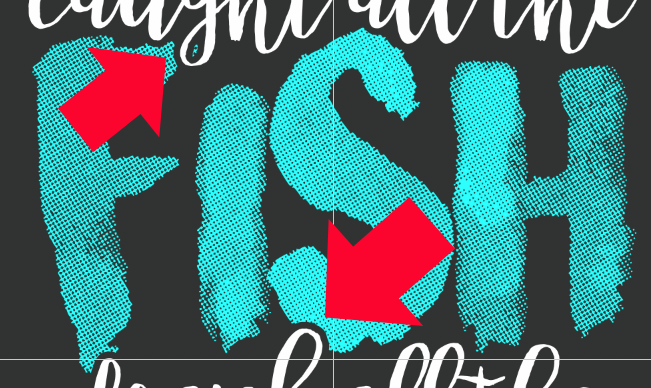
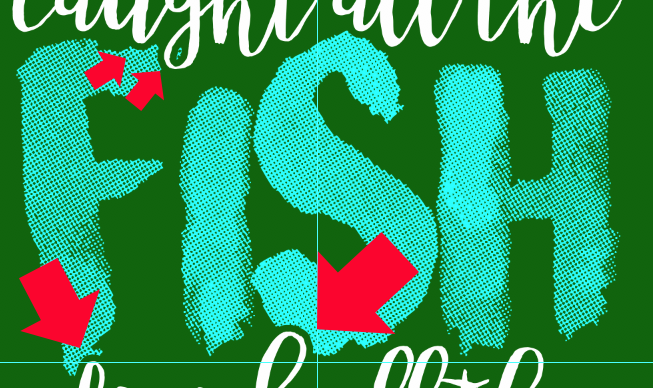
Where the text layers (upper pink layer and lower red layer) cross over the white bottom layer I want the "pink" and "red" text to cut out the white layer with an over sized transparent shape of the text.
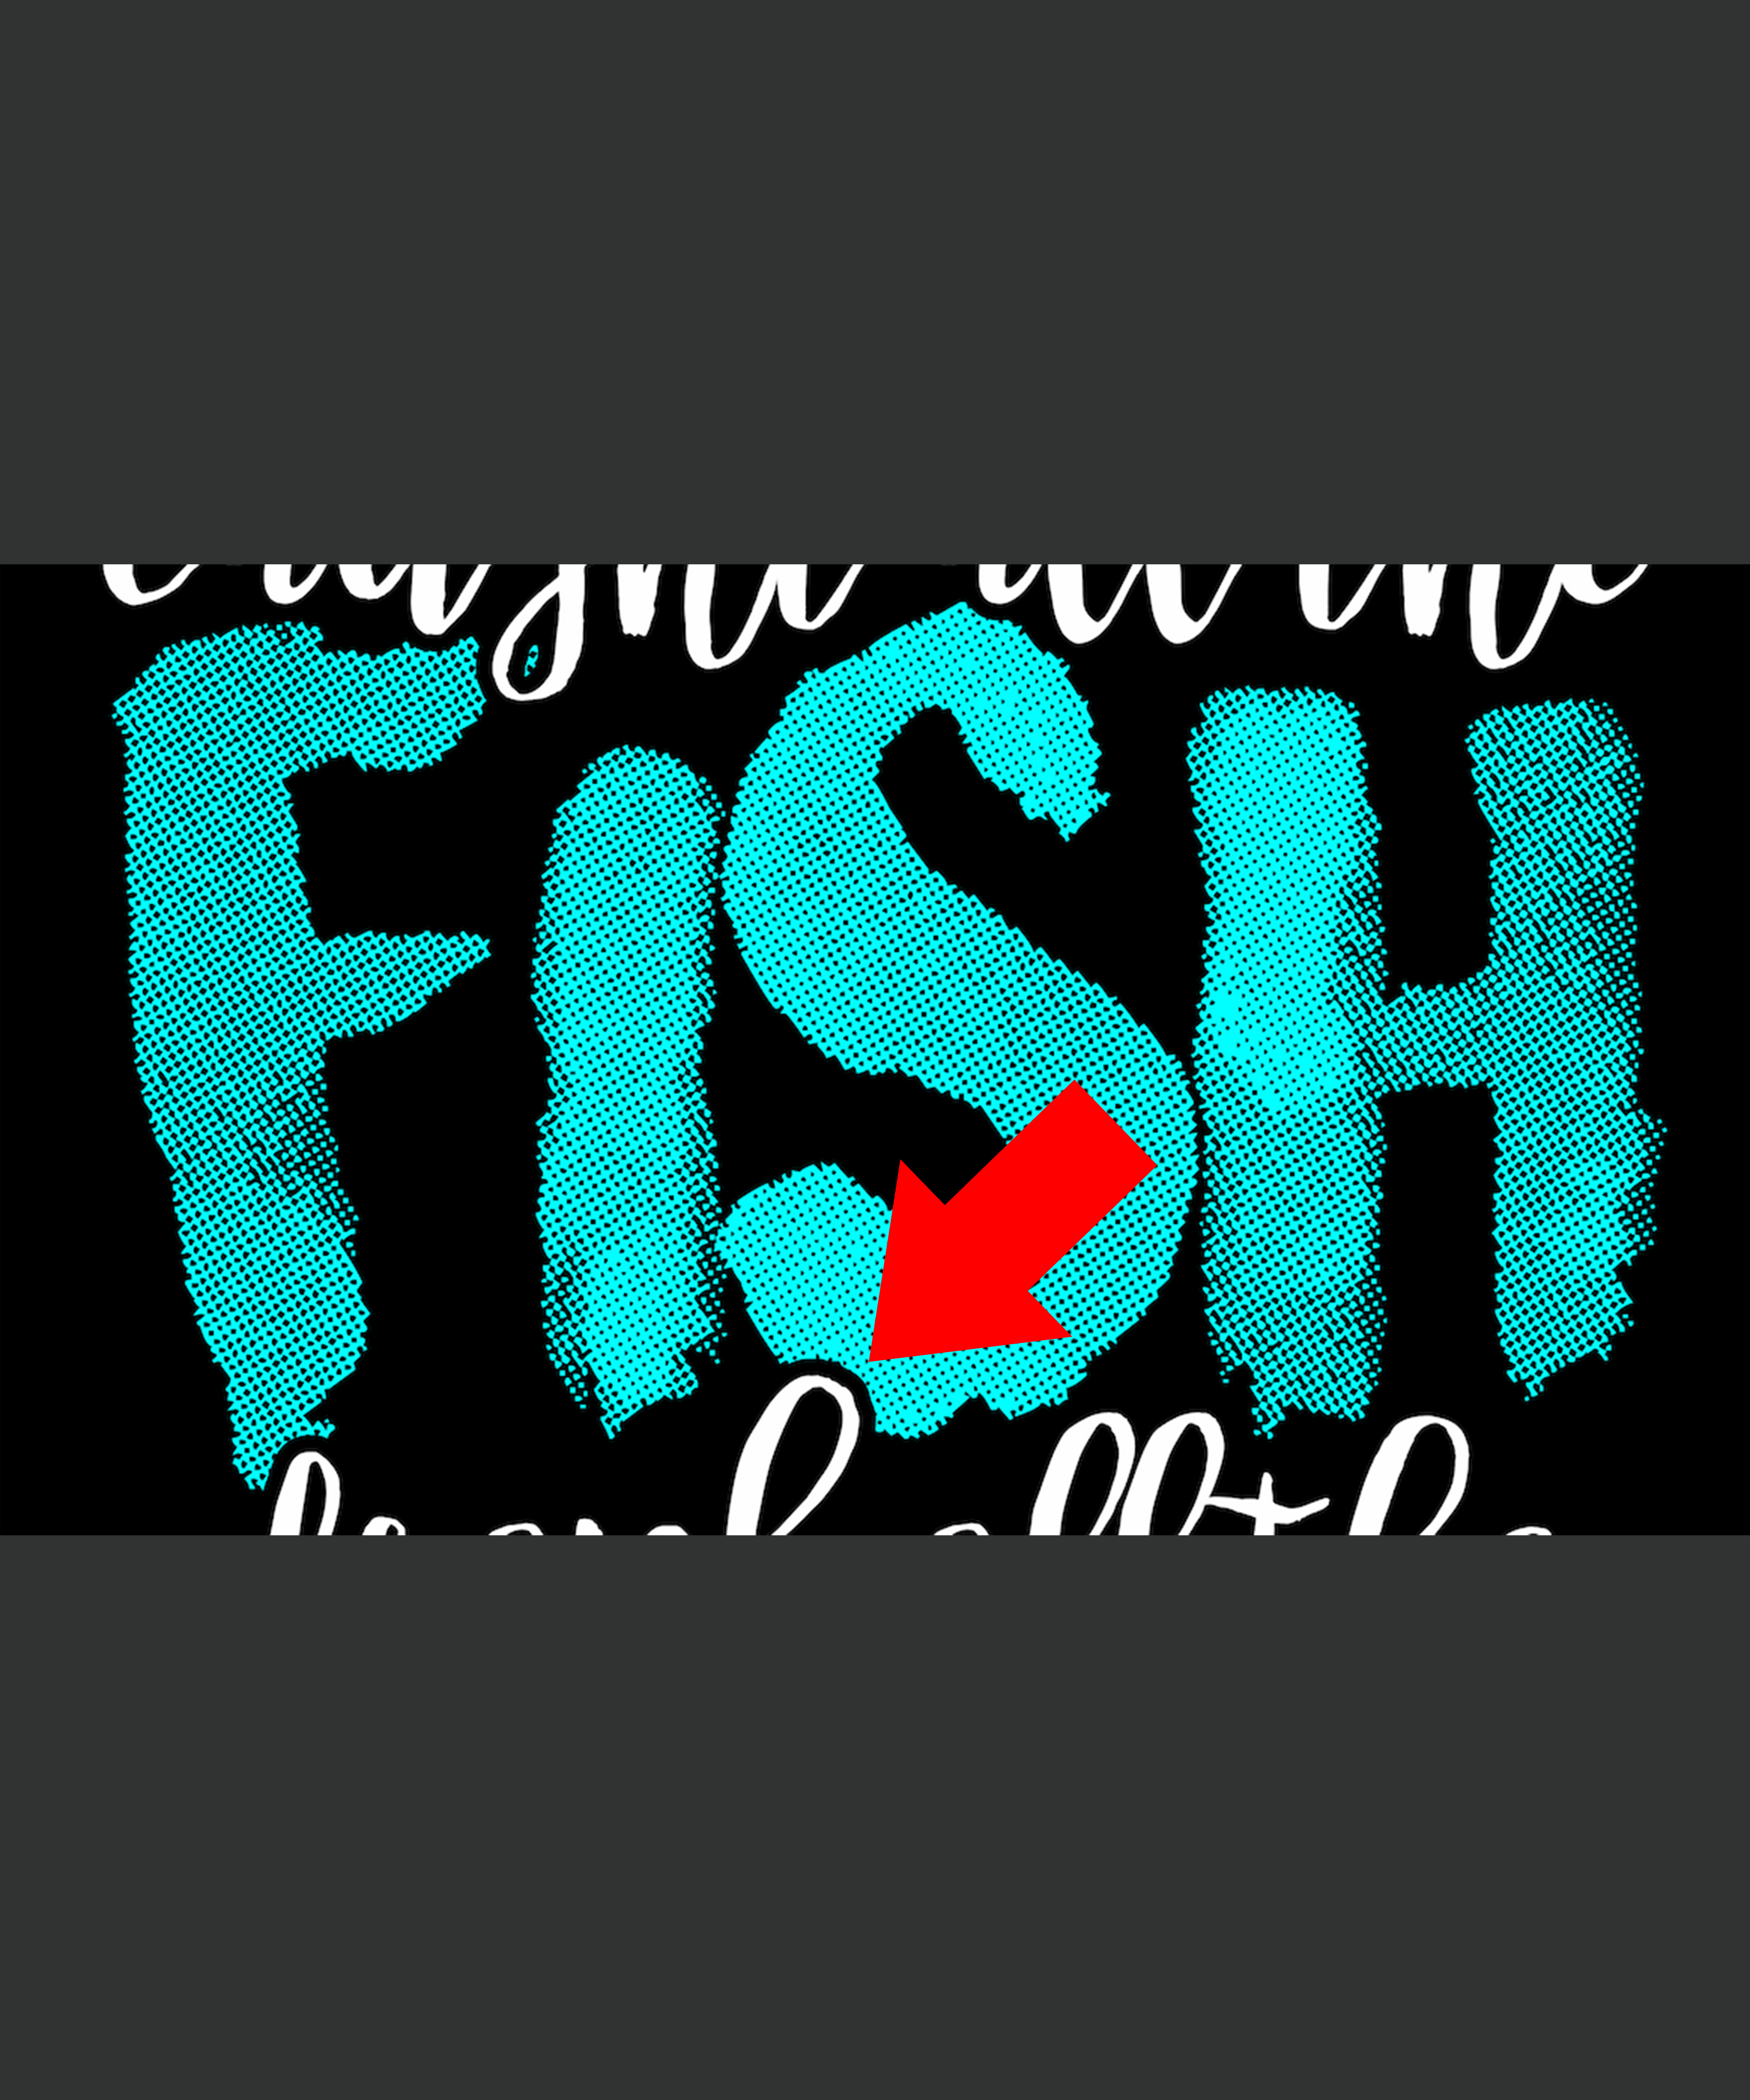
Example of it being used is the white lettering cutting out a transparent shape of the text "over" the blue FISH text (3rd screen shot).
Hope this makes sense ![]()
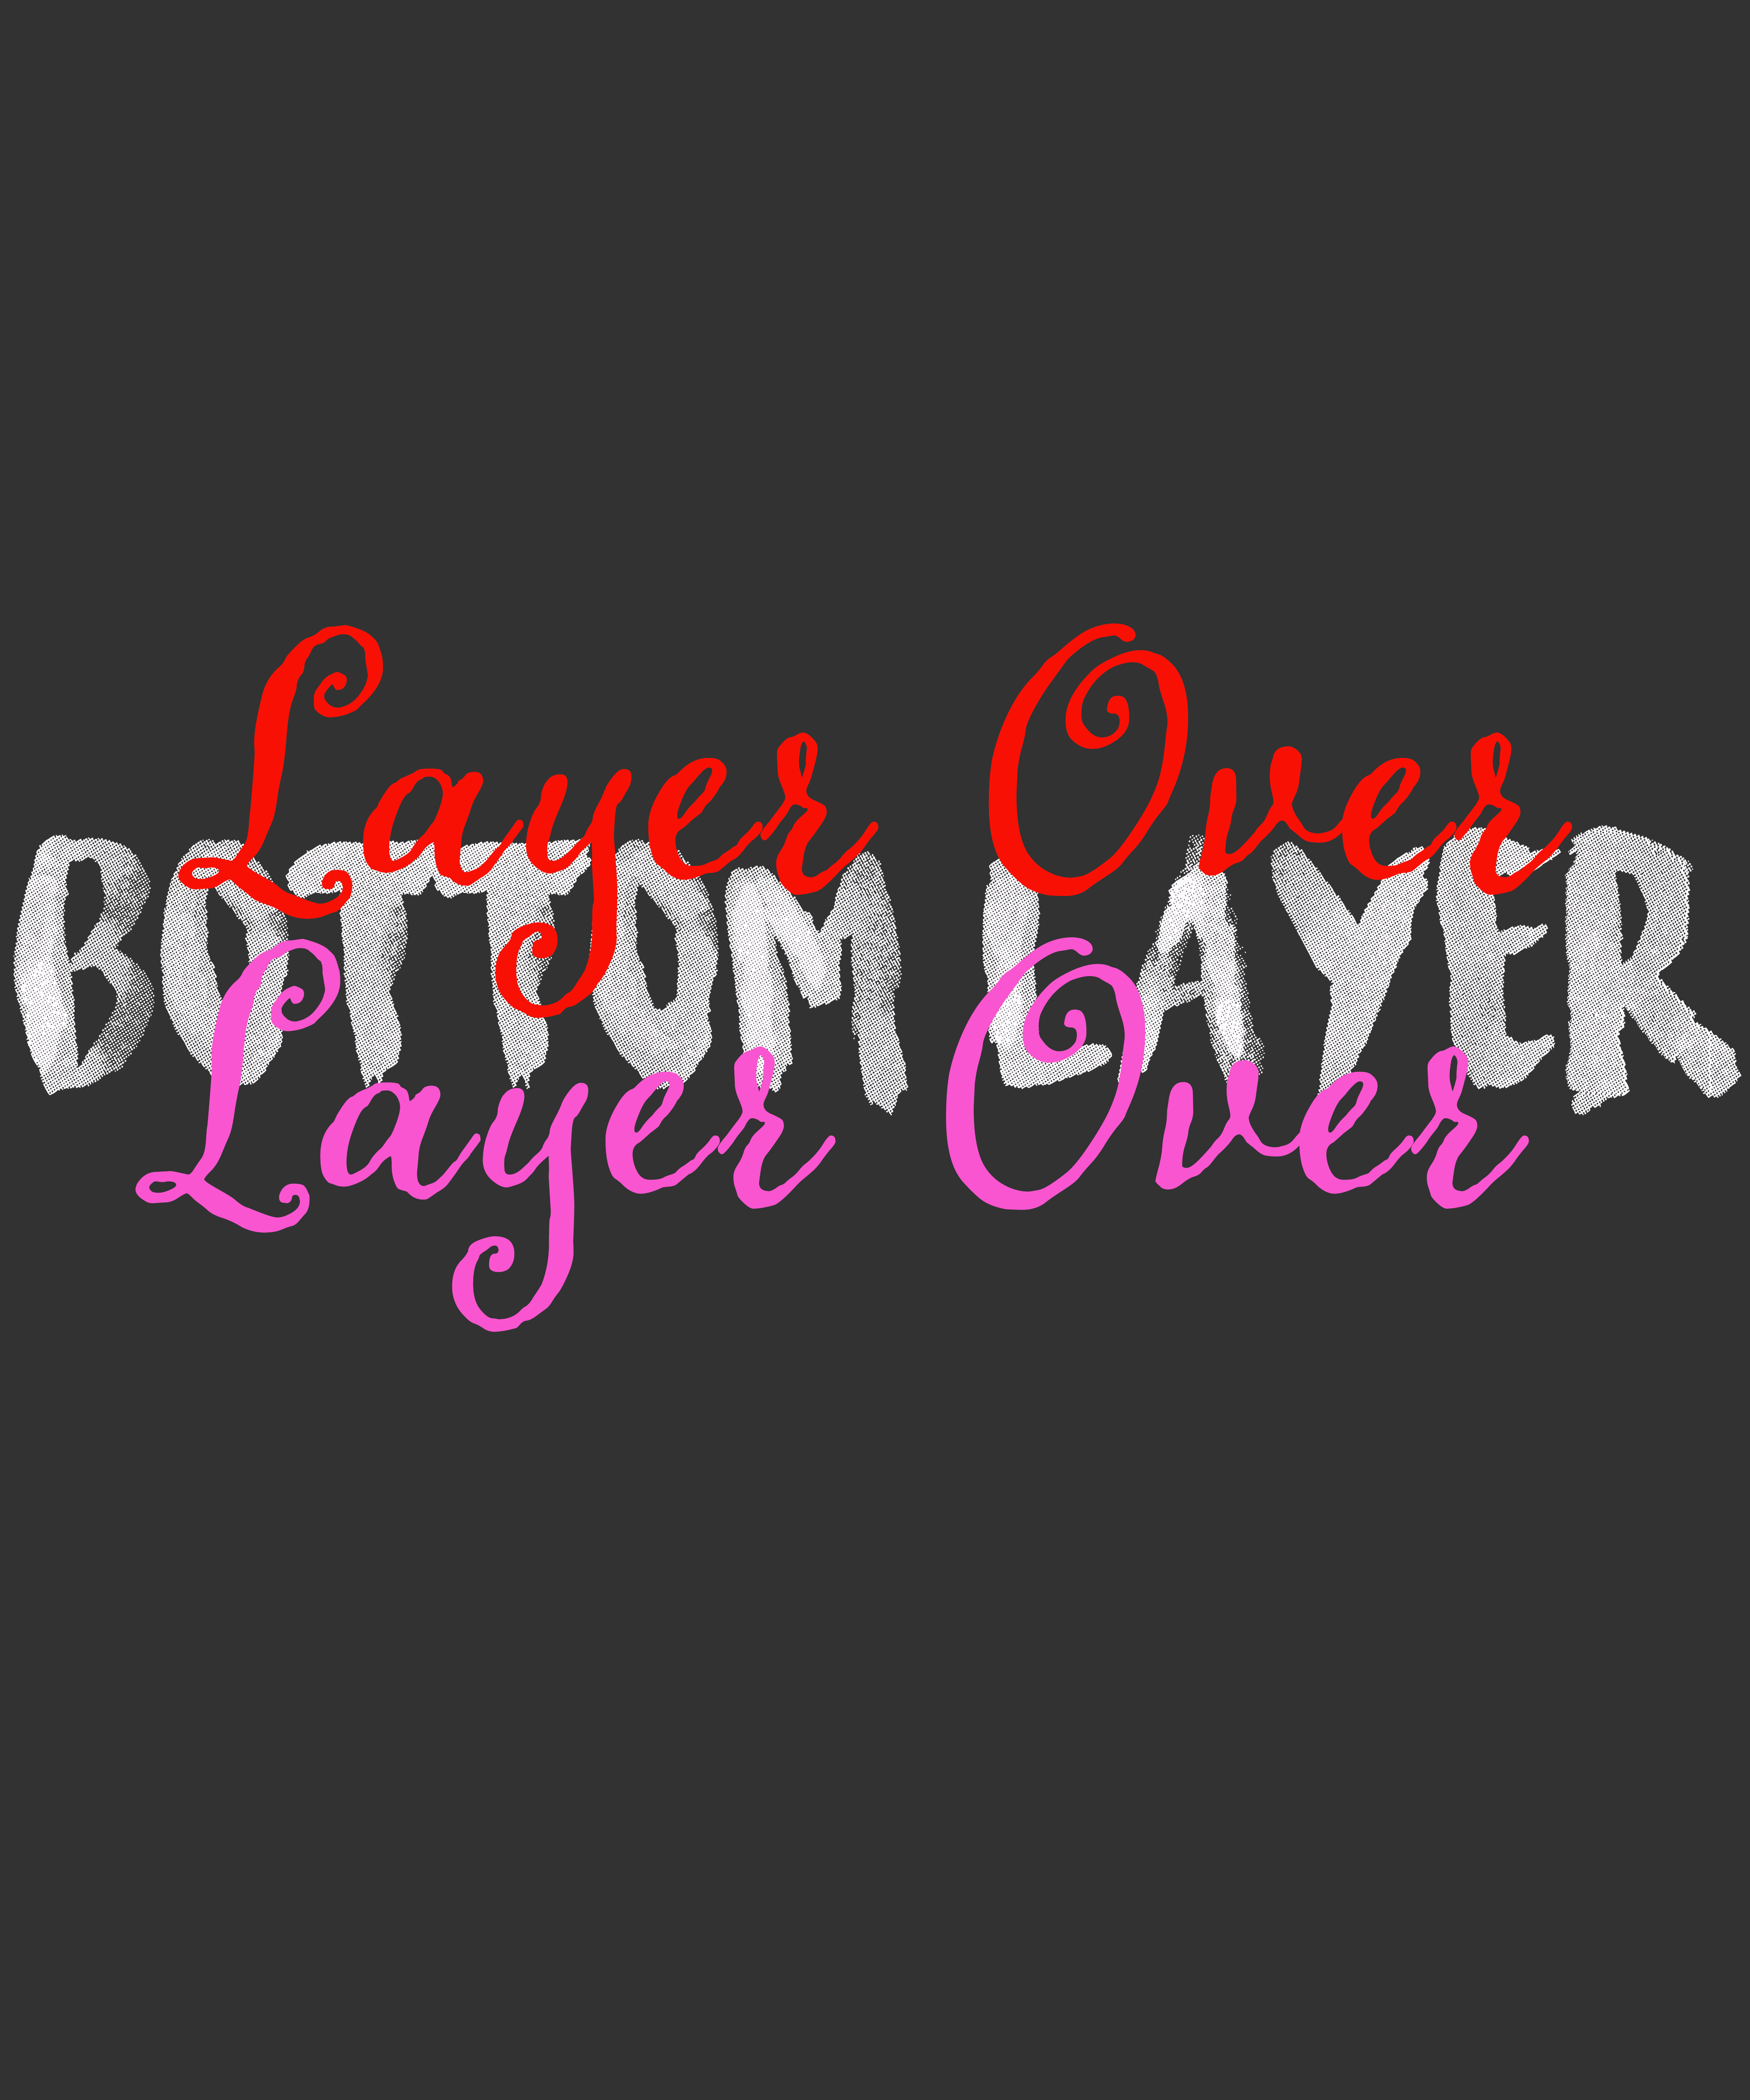
 with transparent holdout from surrounding and overlaying text.png)
Copy link to clipboard
Copied
ps
Photoshop CC 2018
Macbook Pro
Copy link to clipboard
Copied
png Screen shot shows how I am trying to cut out the layer below (blue "fish") with the White text (type) ((font)) and that oversized text cutout to be transparent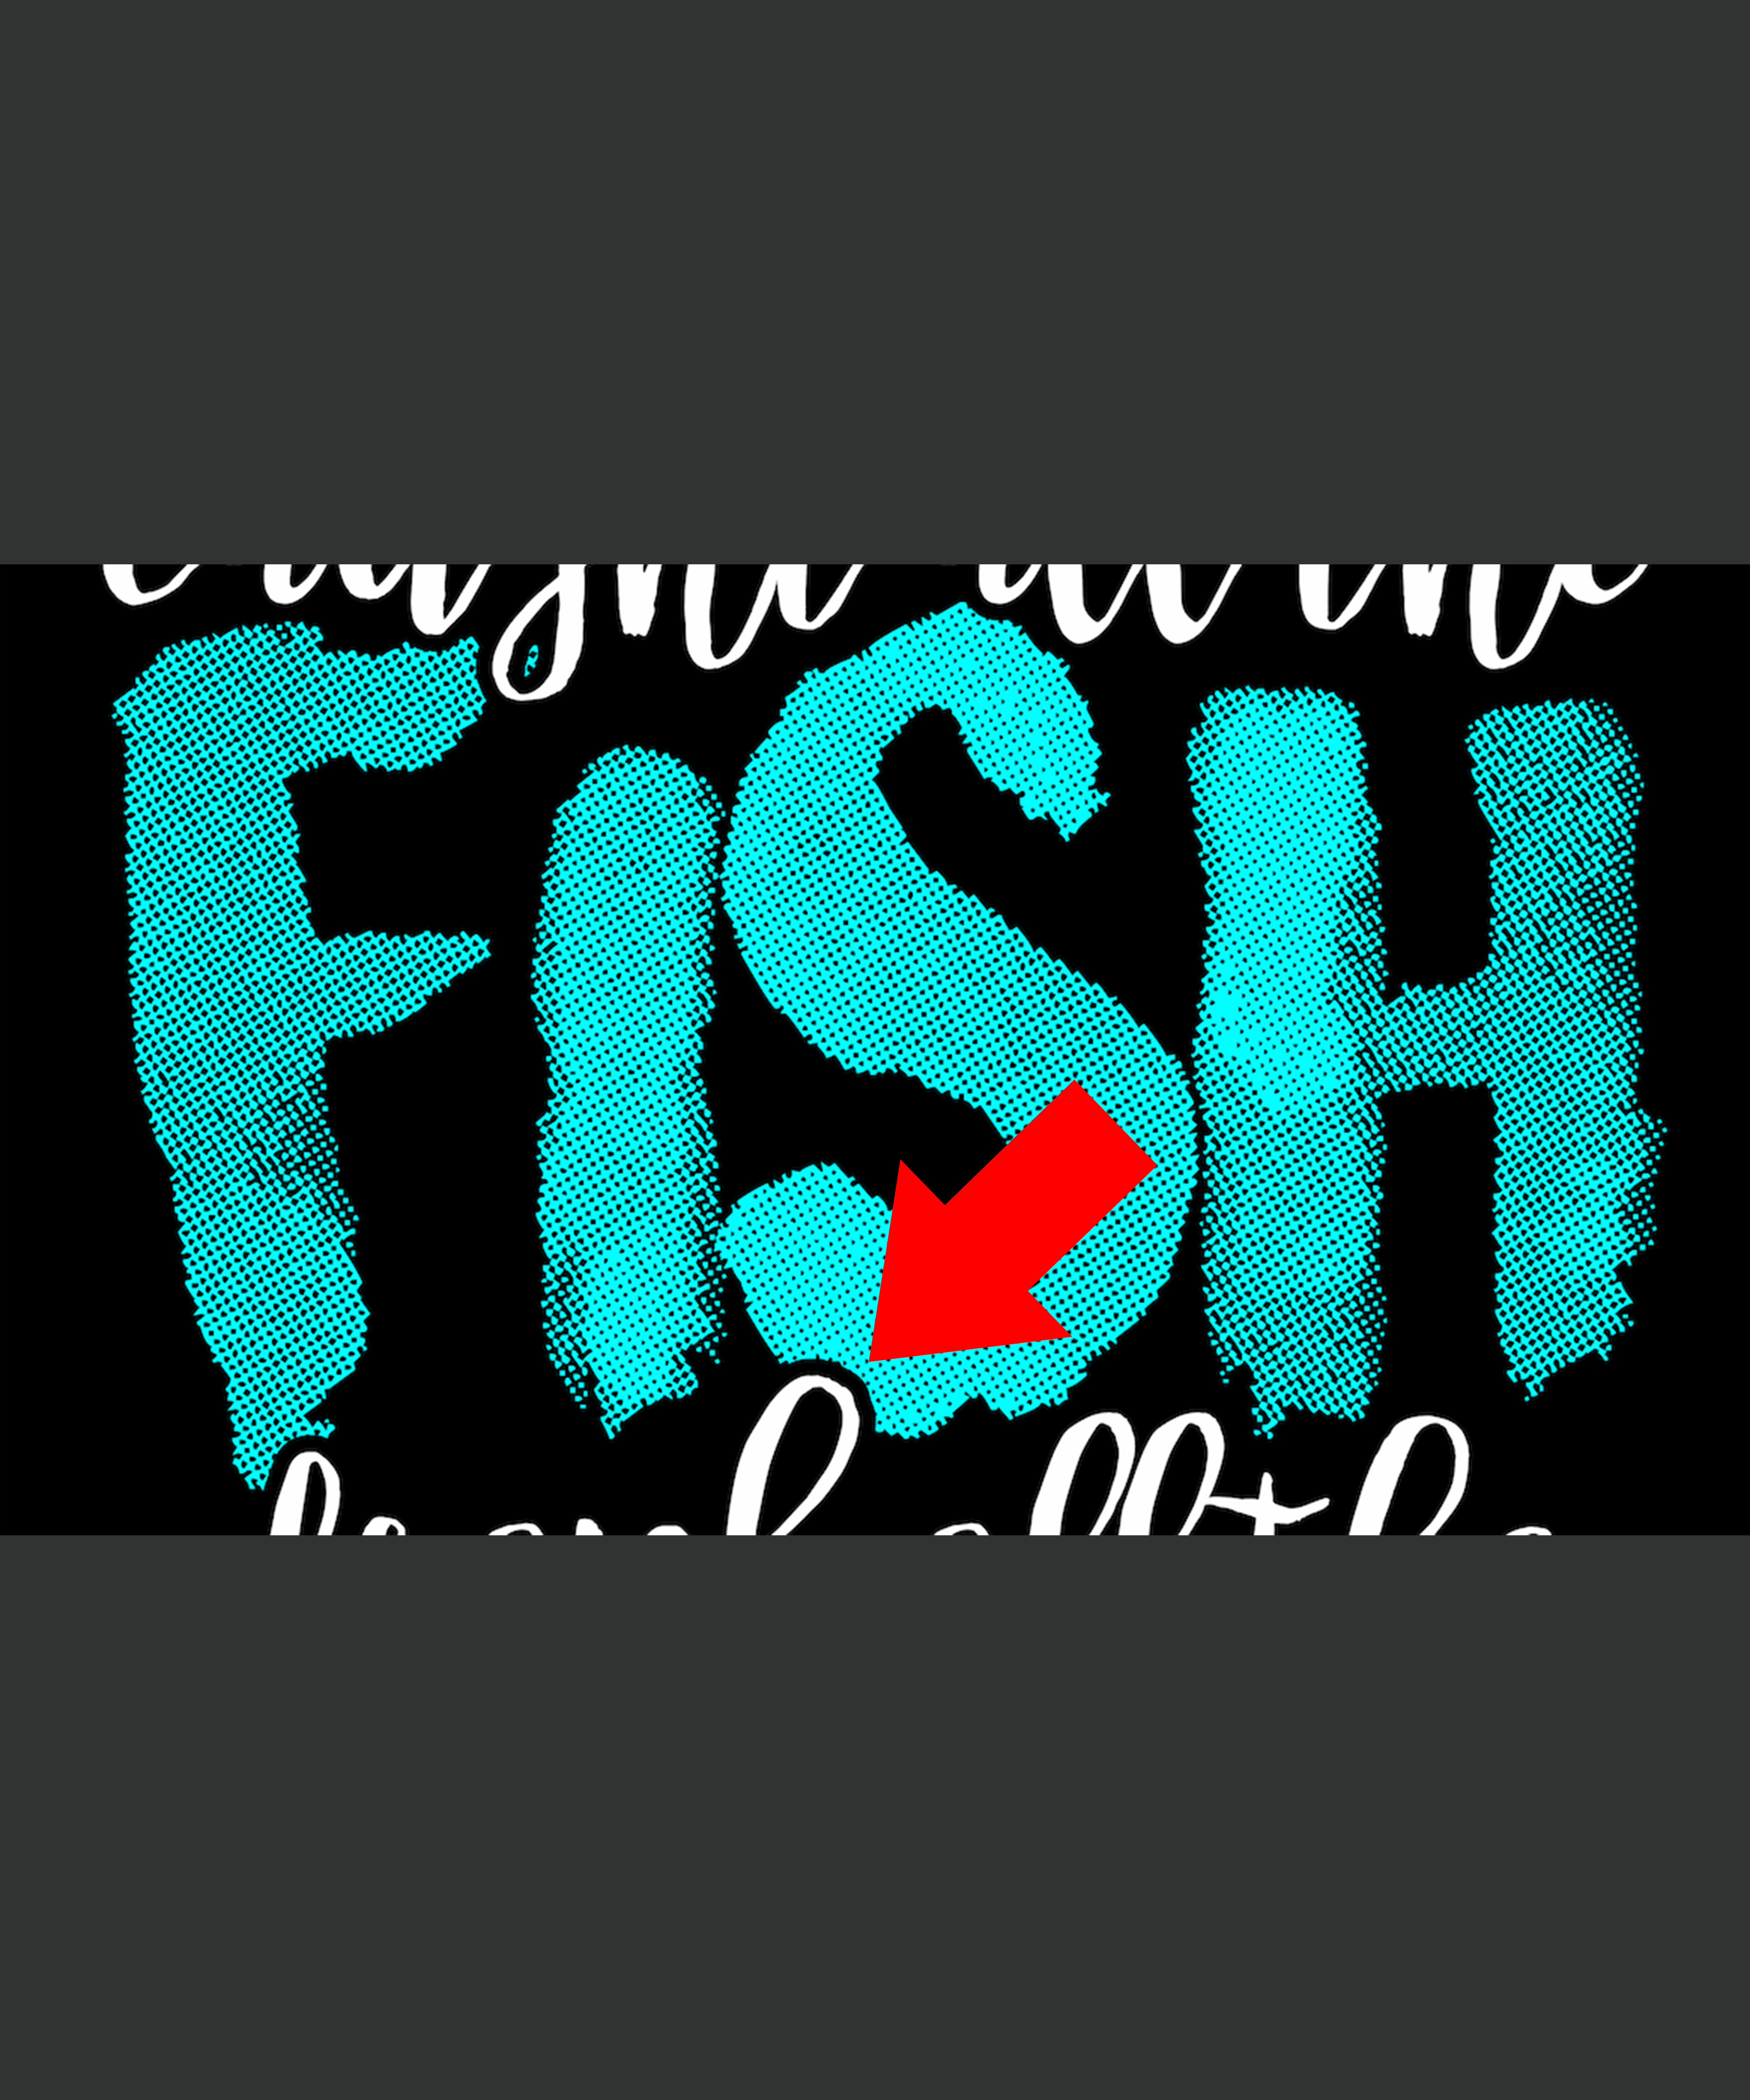
Copy link to clipboard
Copied
Hello JJMack-
photoshop CC 2018
Macbook Pro
macOS High Sierra
Version 10.13.3
2.8 Ghz Intel Core i7
Memory 16GB 1600 MHz DDR3
Below is hopefully a little clearer of what I hope to achieve. And that is an outline that is slightly larger than the size of my font. And that outline is not black or a color, but a thin (outside and inside) edge knockout for the base layer (aka background layer).
 with transparent holdout from surrounding and overlaying text.png)
Copy link to clipboard
Copied
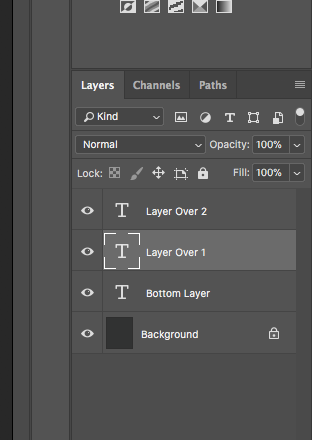
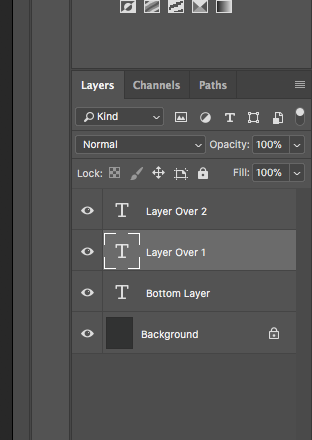
None look like a screen capture each look like a part of a different screen capture of a document or documents at different point in time. There may be one document that has three text layers two seem to be renamed and the one renamed Layer Over 1 is the current Photoshop target normal mode 100% opacity and fill these are visible over a visible dark background layer that may contain something or just a dark come. This layer structure may be related to some or part image parts posted in a different state. There are no layer mask or layer styles whet the layers palettes was captured. The bottom text layer "Bottom Layer" does not look like any text font I have seen in any of the parts in fact in the image none of he text look like normal Photoshop vector font. If all the image parts are from the same document major editing has been done to the layers. What has been done. What state in the document now in.
Supply pertinent information for quicker answers
- The more information you supply about your situation, the better equipped other community members will be to answer. Consider including the following in your question:
- Adobe product and version number
- Operating system and version number
- The full text of any error message(s)
- What you were doing when the problem occurred
- Screenshots of the problem
- Computer hardware, such as CPU; GPU; amount of RAM; etc.
Copy link to clipboard
Copied
Sorry, JJMack -
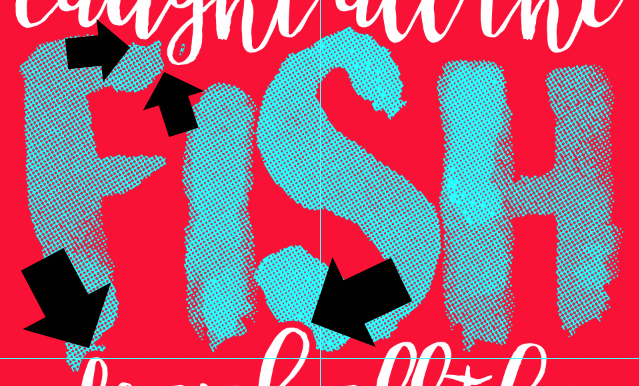
Attached is a png file of my layers palette with the original png file on a transparent background. I put a red background underneath the "artwork layer" to show you how different colored backgrounds show that it is not just a black outline surrounding the overlapping texts
Hope it makes sense - sorry to drive you crazy
I own the original artwork as a png file. I bought it and like how the used the overlapping text obviously on separate layers to scallop out a cutout of the text layer underneath. I love what they have done and I'm just trying to figure out how they did it so I can do the same with things I might create. I believe it is somehow an outline of the above layers text as the cutout is seemingly precise. I could scallop out to achieve the same thing with the eraser tol but I was hoping to be more exact and precise.
on a mac
Photoshop CC 2018
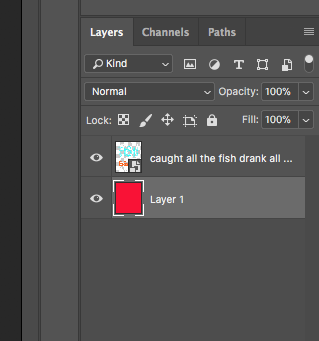
layers panel with original artwork on a png file with a red background layer underneath that I added to show transparency
Copy link to clipboard
Copied
If the original file was a png file there was a single pixel layer with transparency there were no text layers. There may be color borders around the original text characters. You dif not post that png. The layer palette you show this time looks like you have merged all your layers above your red background layer into a single smart object layer. The only way to work on all you layers now is to open the smart object in Photoshop and edit the object to remove what you do not want. Add a bottom black layer and make only one of the upper layer visible to see the layer content over black. So you can see the pixels on the layer that you do not want in the layer so you can delete them and also add any missing pixels that you want but are not there. The loutline may be cause by missing pixels. Do the same to the other layers one layer at a time. Then make all layer visible delete the black layer and close the work document and reply yes to save it so Photoshop will update your smart object layer's object.
Copy link to clipboard
Copied
Hi JJMack -
I'm sorry for leading you down a long path of uncertainty. Yes, the artwork I bought is a png file and placed on a transparent background so it can be sent to a printing service as a png file to print that very design onto a t-shirt.
The only reason I put it into photoshop was to show you that no matter what color the background (or t-shirt color) is that color will show through and is not just a black stroke outline surrounding the text.
The only thing I sometimes do to one of the png files that I purchase is - take it into photoshop and add a mask to the layer and then apply a texture pattern to make the image look distressed and worn -- or.... let even more of the t-shirt color come through the open or transparent portions of the design. Then save it back to .png on a transparent background for the t-shirt printing service to print the design onto a t-shirt.
I also make my own text-based t-shirt designs in photoshop, and I am a professional photographer so I do a lot of my own retouching etc and am very familiar with layers and masks and textures. I'm just not the graphic designer I would wish to be.
But the previous png file with overlapping text was originally done in photoshop with layers for each line of text. Graphic Designers of work like this won't give out their secrets because that's how they make money and sell you a design that you like - but only deliver you a png file.
I like what they did and want to make my own graphic designs sometimes - albeit not as good as a good designer but I at least aspire to.
So I wasn't trying to do anything in photoshop with that previous png file example. I was only showing it as the end result of what I still want to attempt to do. I'm not a graphic designer - so I don't know some of the tricks they do, but I want to learn. And this forum has been especially helpful along with all the various versions of Photoshop that I have had over the years. And I just wanted to glean some knowledge of how to do this "text stroke edge cutout" Maybe it's some sort of stroke edge that punches through a layer beneath it. But how d I do that/ Is there a magic stoke on a font that makes a transparent knockout layer beneath it allowing the background (or t-shirt color) to come through?
Below is an example of how I construct a text-based T-shirt file in Photoshop Cc 2018 and then save it as.psd and then save it again as a .png file to send to the t-shirt printing service
I hope all of the above is understandable - I'm a very simple guy trying to learn something to make my efforts even better
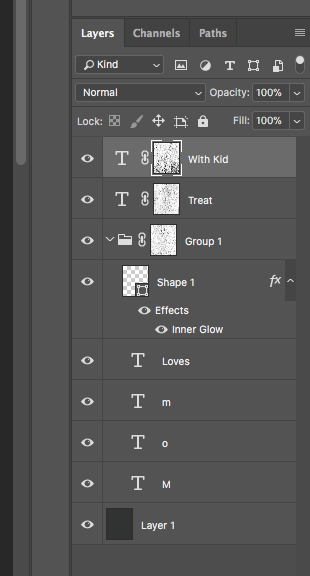
Copy link to clipboard
Copied
Below is the png I've been sending - but without any color background layer (and much harder to see along with a screenshot of the psd file. Again - I'm not trying to do anything to this .png file.
What I am trying to do is emulate the way the type (font) cuts out the layer it overlaps.
So my question is how do I make a text layer that by my decision of design cutout portions of a type layer that it may overlap
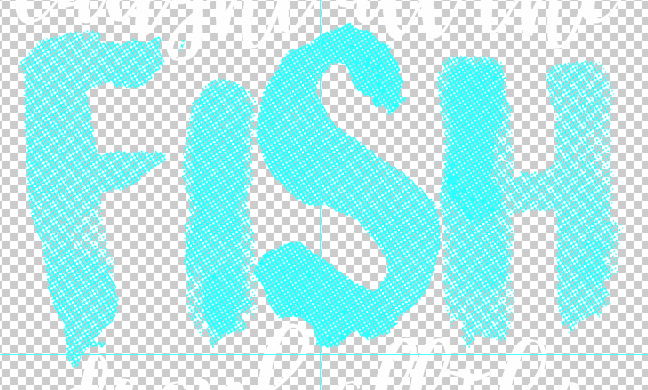
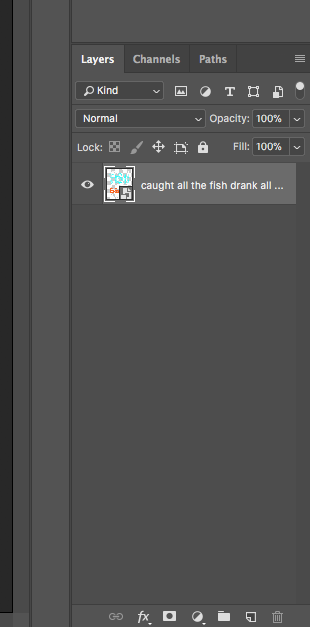
The only reason the layer shows as a smart object is because the png file is pasted into a transparent psd file that has the correct size and width dimensions required by the printing service. I would then normally apply a distressed effect in photoshop and then save back out to .png and send to the printer
Copy link to clipboard
Copied
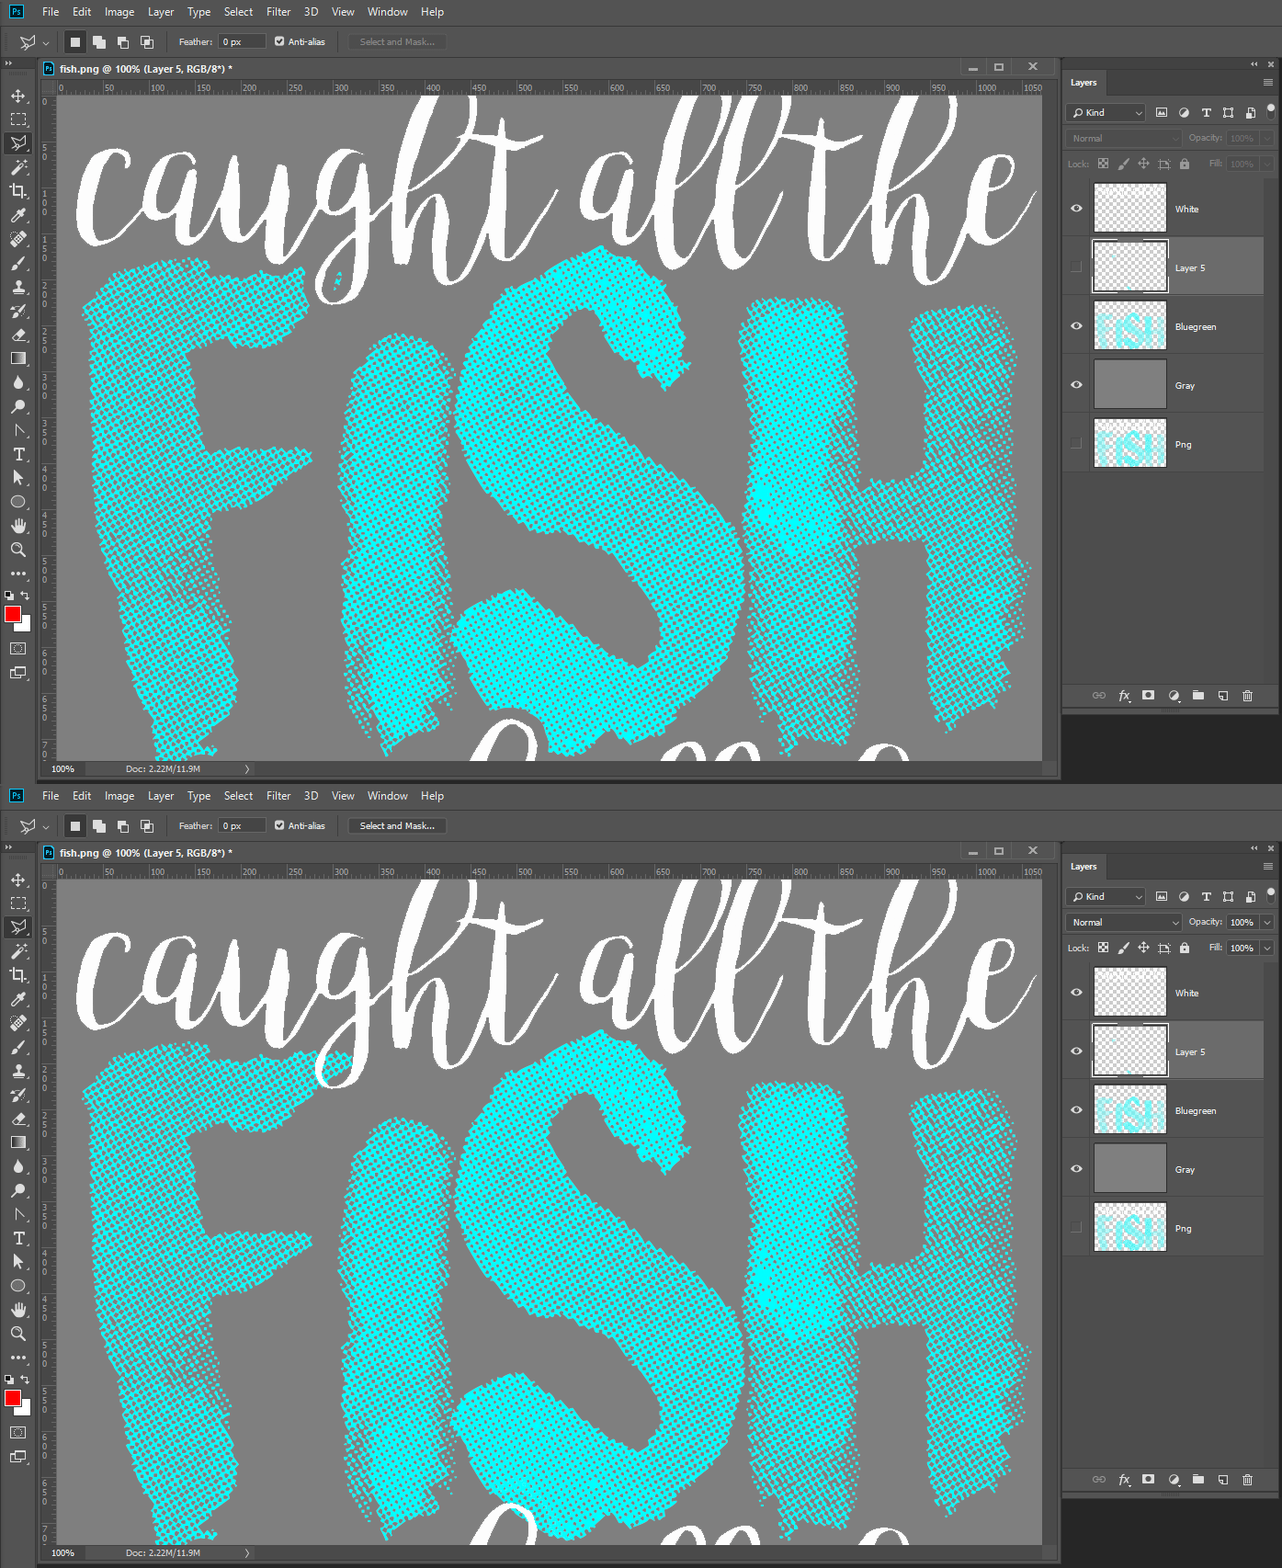
Open the original Png files in Photoshop Use the Magic Wand to select all White. With that selection do a Ctrl+C and Ctrl+V Copy Paste. Deselect target the bottom layer and use the Magic Wand to select all the blue-greens then Copy paste. Turning off the visibility of the bottom layer should not change the image appearance. It look like Fish is missing parts of some of the fish characters. Turn off the visibility you the white top layer and add an empty layer below it. With the empty layer targeted use the clone stamp tool to fill in the missing parts of the fish characters.
Copy link to clipboard
Copied
Hi JJMack-
I'm still not connecting with you I'm afraid. I'm not trying to edit any .png file.
I'm building a new design in .psd completely unrelated to the png example design I sent.
I believe I have found the answer with an outer stroke on one of my new creation .PSD text layers > then converting this layer to a smart object > then adjusting the blend mode to deep Knockout.
And I can record this action and repeat the desired effect on any and all of my new text layers .PSD files and then convert the finished design from .psd to a .png file to send to the printing service for another t-shirt...
Thanks for your help - I never wanted to edit my .png the png files were just examples of what I wanted to achieve in a separate aa yet undesigned final version of a new .PSD file with text layers
Copy link to clipboard
Copied
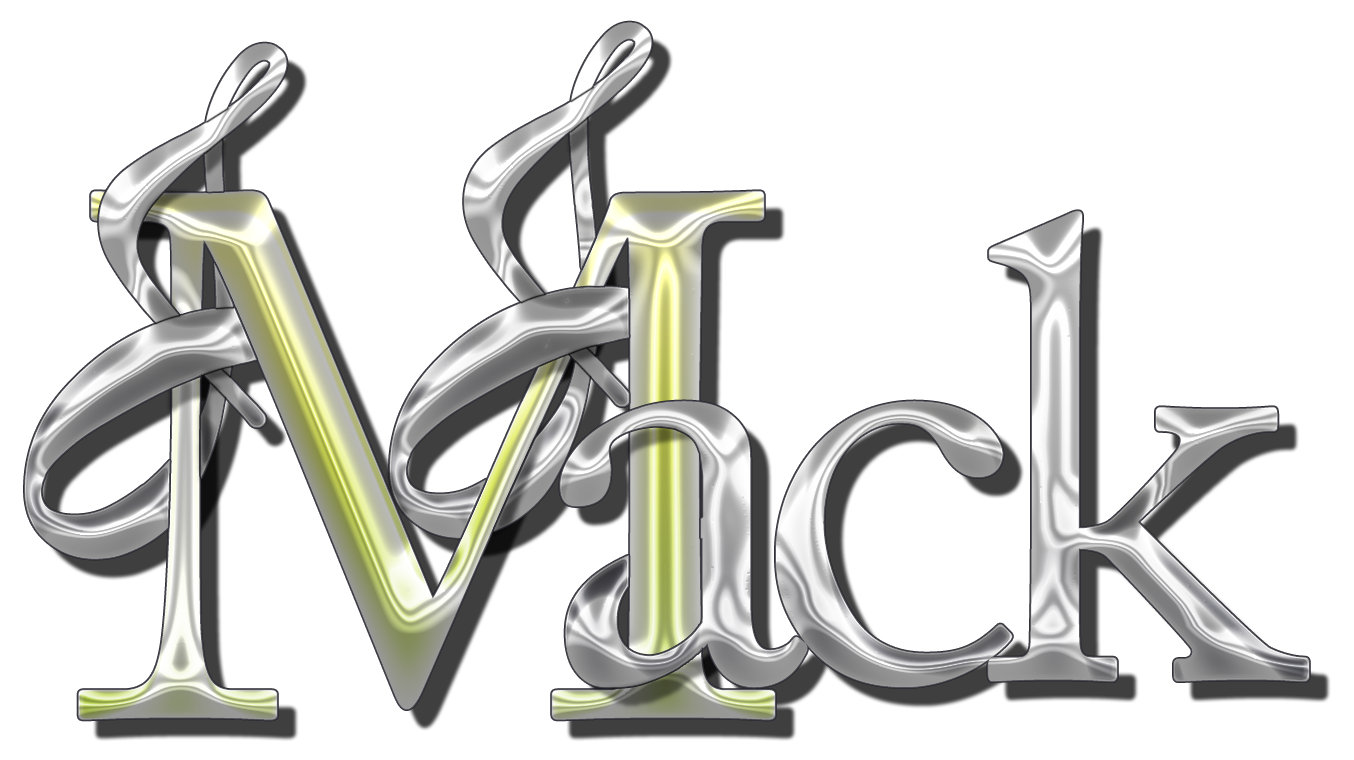
If you are building a new design. With Photoshop layers tools and features all that is stopping you is your creative process. IMO using you brain and its knowledge you should be able to create whatever design you can dream up.
Linked Letters [Logo or Monogram ]
Copy link to clipboard
Copied
Hi JJMack -
That's beautiful!
Here is the sloution to my question - Bojan Zivkovic - Thank you so much!! I will go try it now
created by Bojan Živković in Photoshop - View the full discussion
Here are my $0.02 Cutting out a transparent edge to layer below - YouTube
Copy link to clipboard
Copied
Hi Garry! ![]()
Looks like there’s many different ways to get this result and I’d like to share one with you. You can achieve this look with 3 different layers: Dark Grey as background layer, next bright halftone and white script on top. You can apply a stroke to the white script text that is the same color as the background. It will appear as though we are cutting into the bright halftone but we are only covering it.
Hope you find this helpful ![]()
-Sebastian
Copy link to clipboard
Copied
Here are my $0.02 Cutting out a transparent edge to layer below - YouTube
Note: you can add a layer mask to the group of layers, it works exactly the same. Automation is possible using actions but things will be complicated if you are planning to update text.
Find more inspiration, events, and resources on the new Adobe Community
Explore Now
