 Adobe Community
- Home
- Photoshop ecosystem
- Discussions
- Re: Dealing with "Halo" using the select and mask ...
- Re: Dealing with "Halo" using the select and mask ...
Dealing with "Halo" using the select and mask (but not that kind of halo)
Copy link to clipboard
Copied
Hi there! I am a total PS beginner here. That being said, I have searched and found many ways to correct the haloing effect one typically encounters using the select and mask tool. However I am still left with something that I cannot seem to solve.
I shot some headshots using a plain white backdrop. After the shoot, I was informed that the client needed a specific backdrop color (lesson learned there ...ask first).
I need to swap my white background for a chocolate painted backdrop (not sure what to call it).
Here is what I have done; feel free to critique or suggest other ways to do things as we go.
1) Original image. Notice the perimeter of the hair and that there is nothing special going on here.

2) I open in PS and use the Select and Mask tool:
2a) Using the quick select tool I get the following mask.
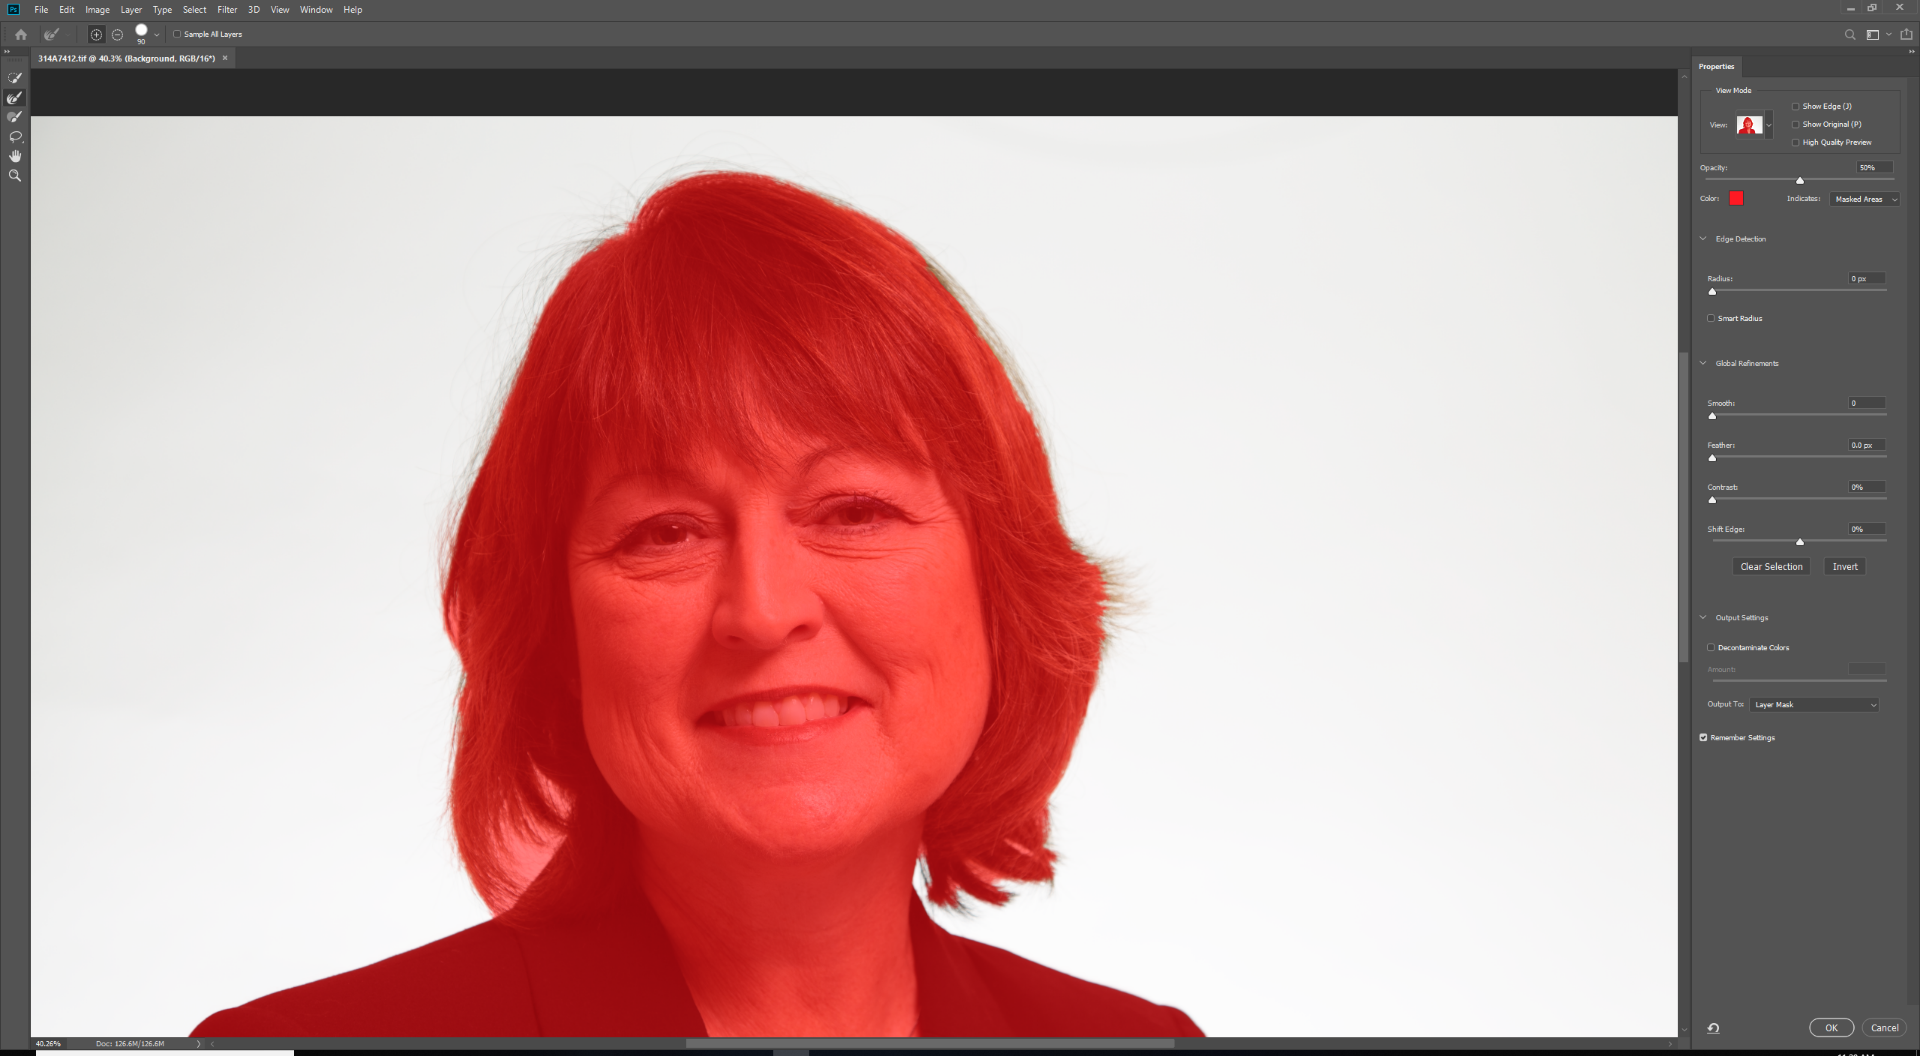
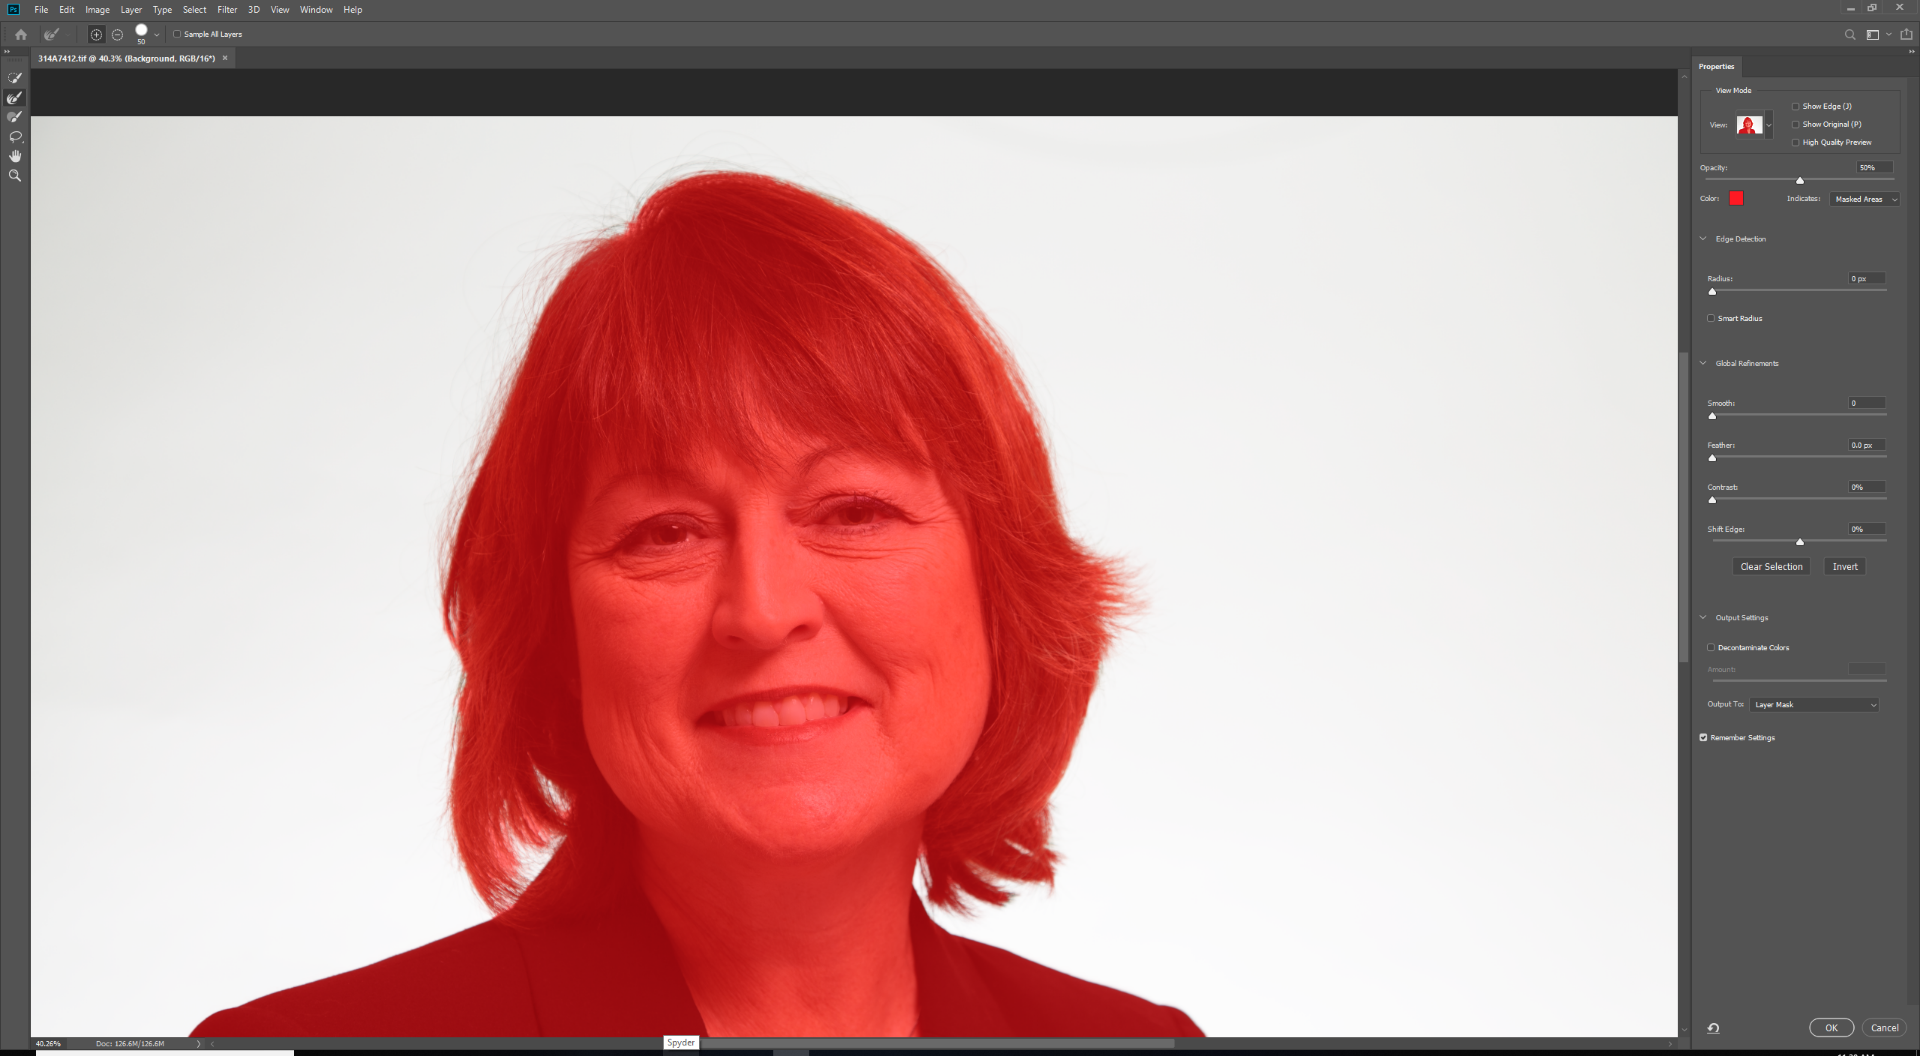
2b) I can see that some hair was missed, so I go in with the Refine Edge Brush tool and a stylus to try and get it:
I am pretty sure this is where I am going wrong. The mas that is being generated by the Refine Edge Brush tool is not as "red" as the mask that was generated by the quick select tool. I think this is indicating the level of opacity of the refine edge selection, but I am not sure how to change it or if I should be using a separate tool altogether.
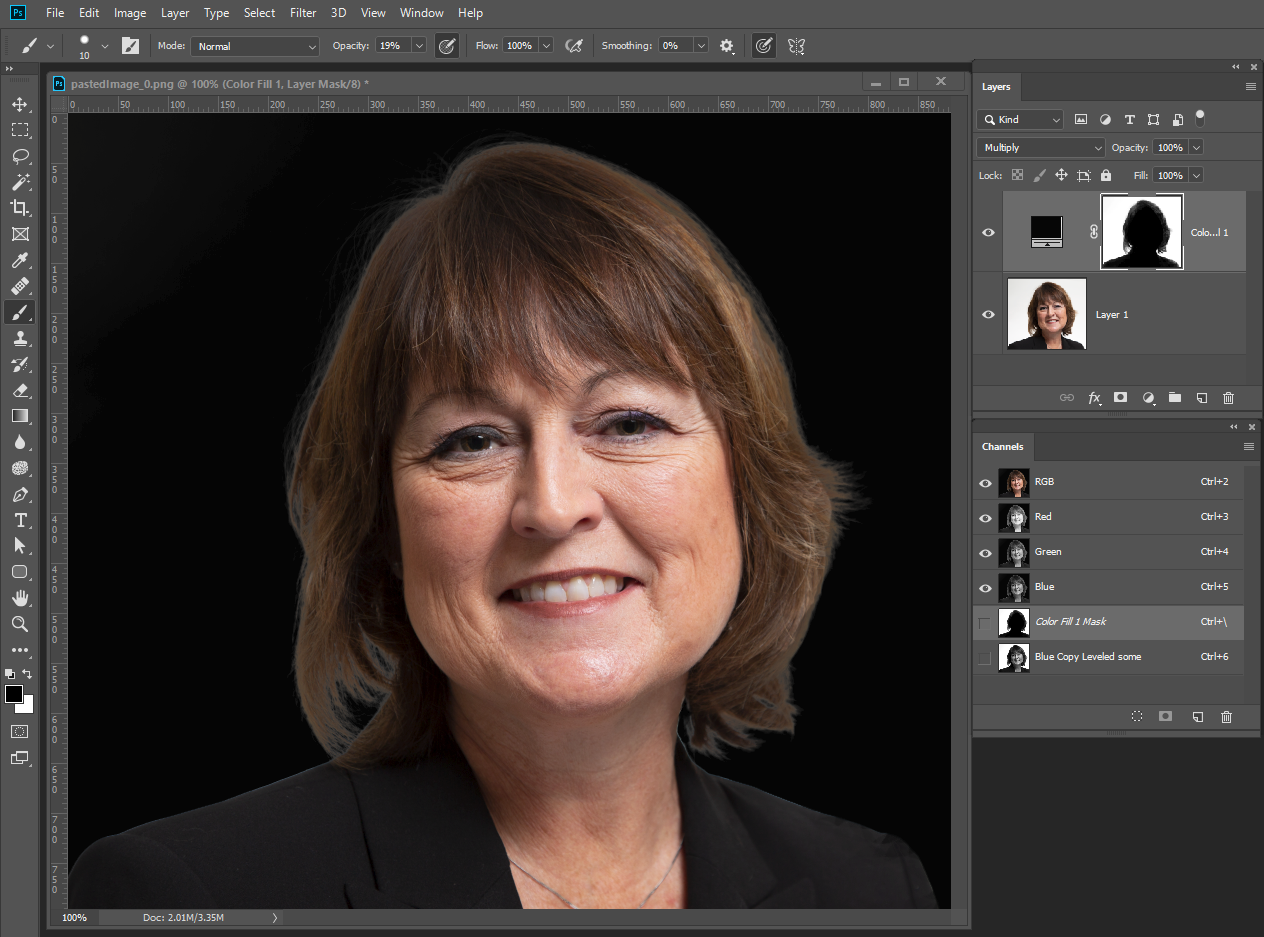
2c) I then invert the selection and send to layer mask. I create a new layer underneath this one and fill it with black (just to see how I did):
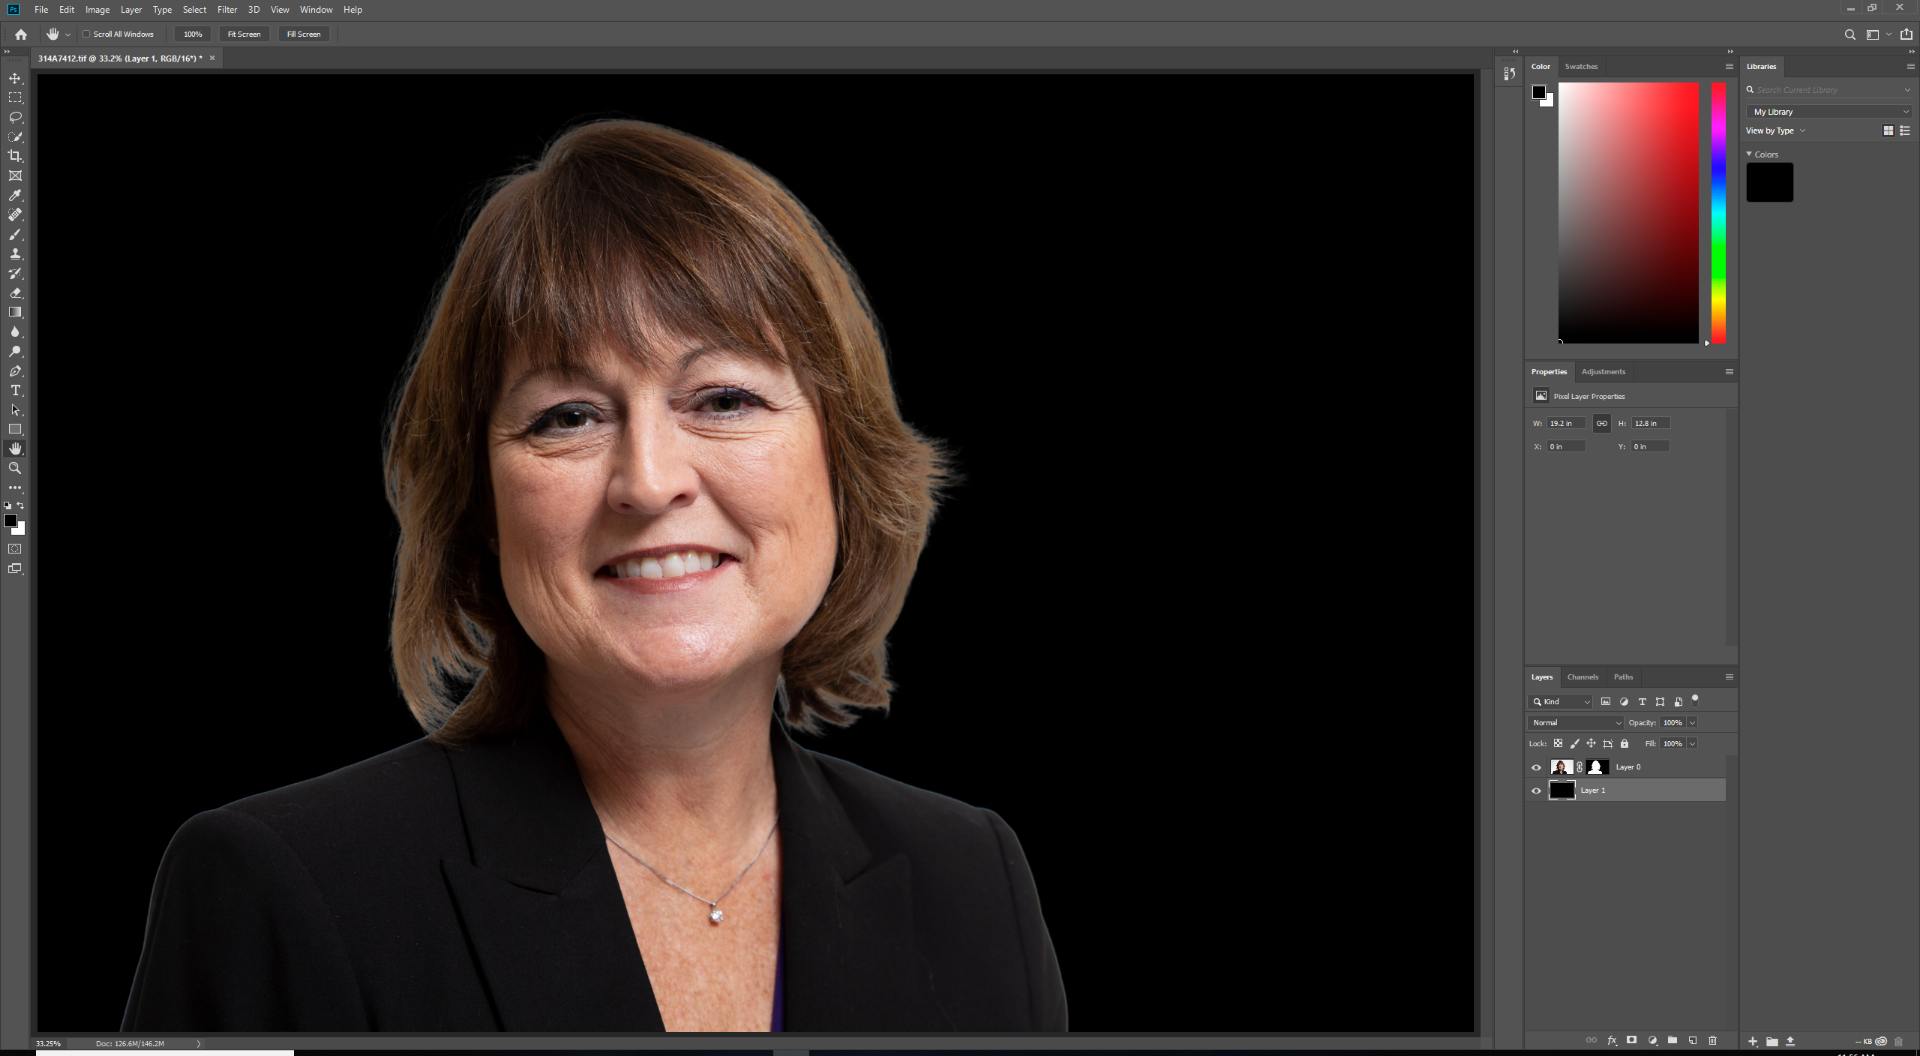
I hope you can see that the hair near the perimeter, especially the right hand side, has quite a bit of "glow" to it and looks quite unnatural.
Thanks so much if you read this far! Any advice would be appreciated.
Explore related tutorials & articles
Copy link to clipboard
Copied
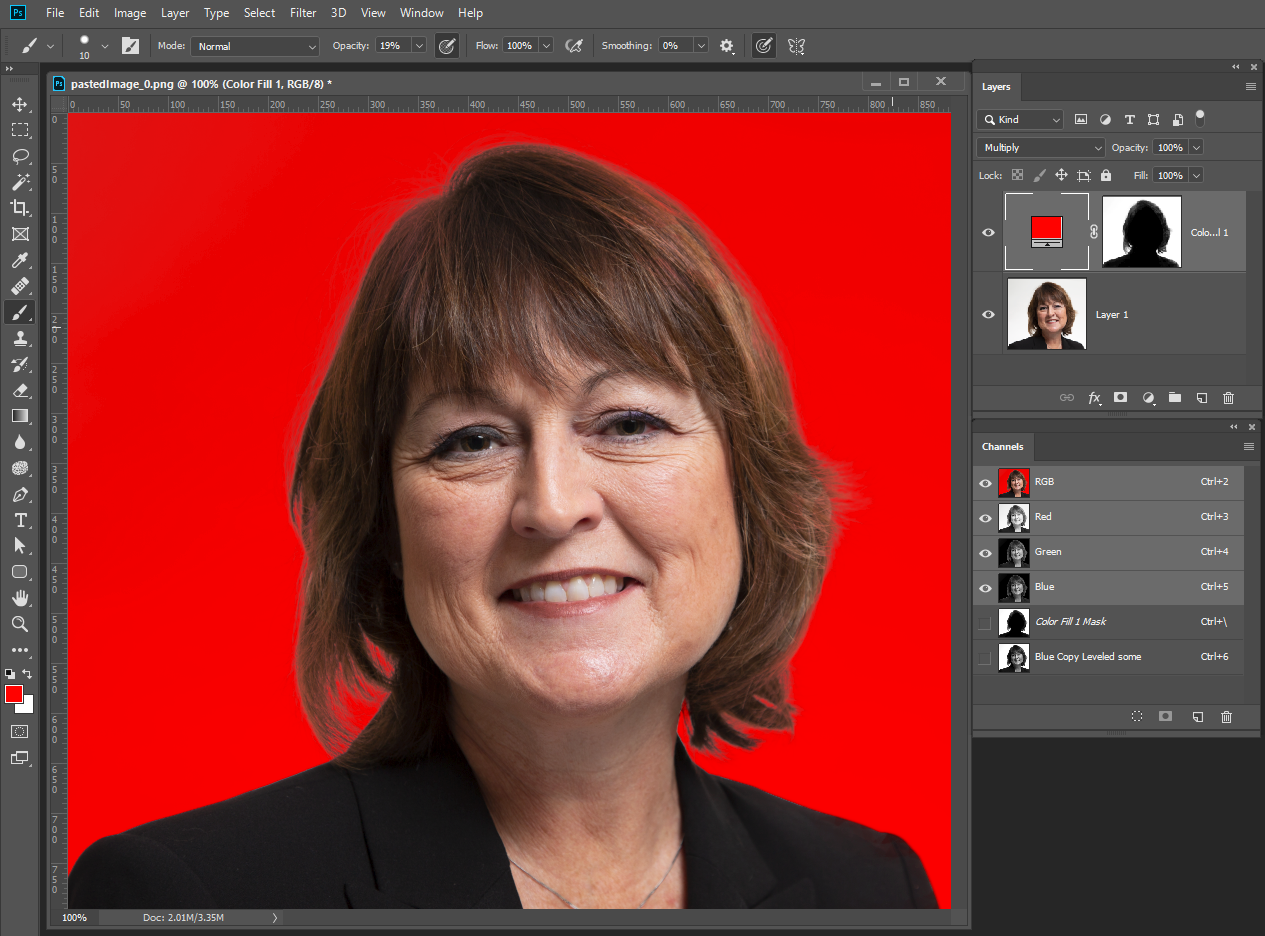
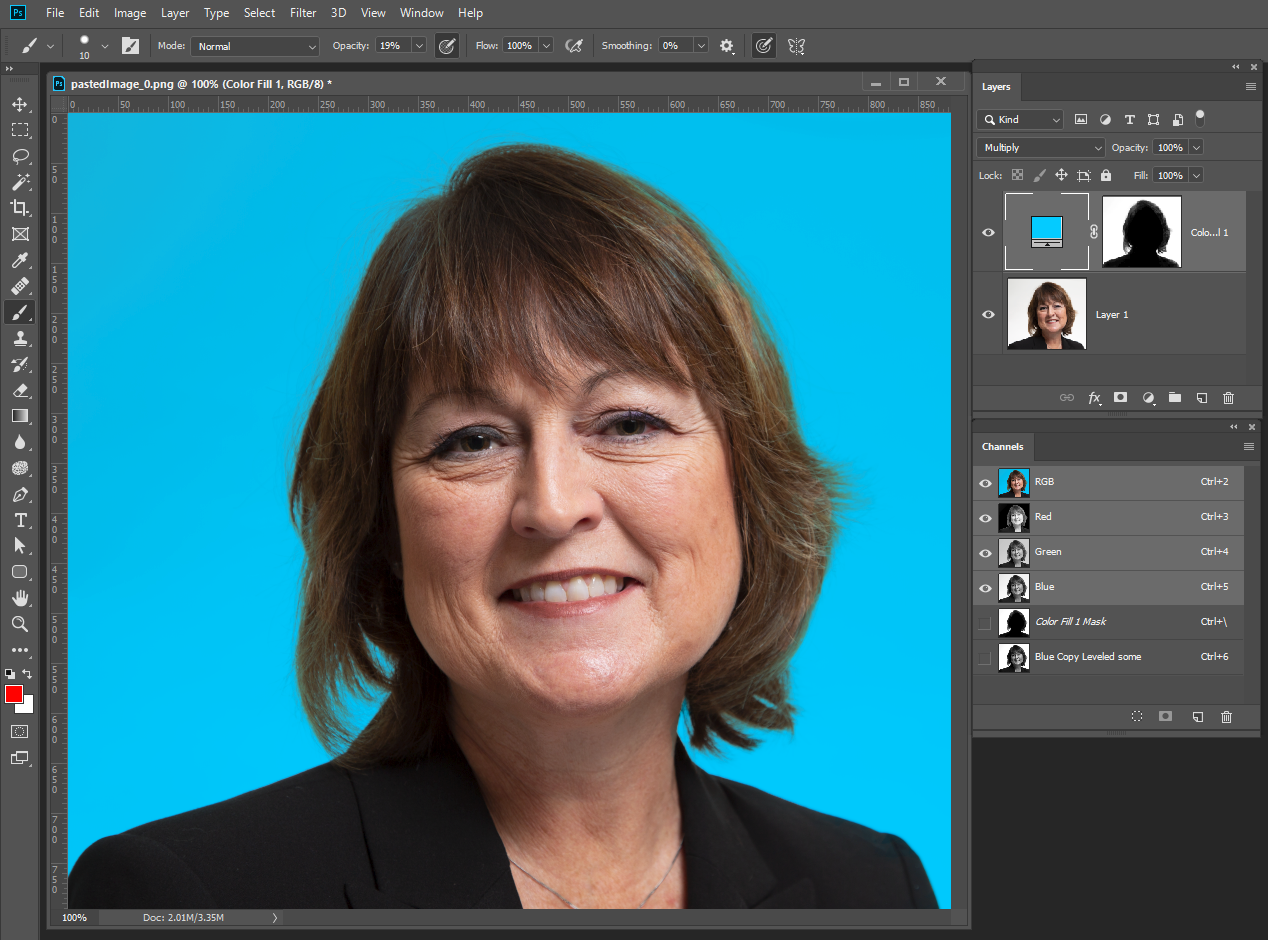
Sometime with a near white background multiply blending and a less perfect layer mask will work well. Black though is a hard replacement color the slightest color blended in shows big time.
Copy link to clipboard
Copied
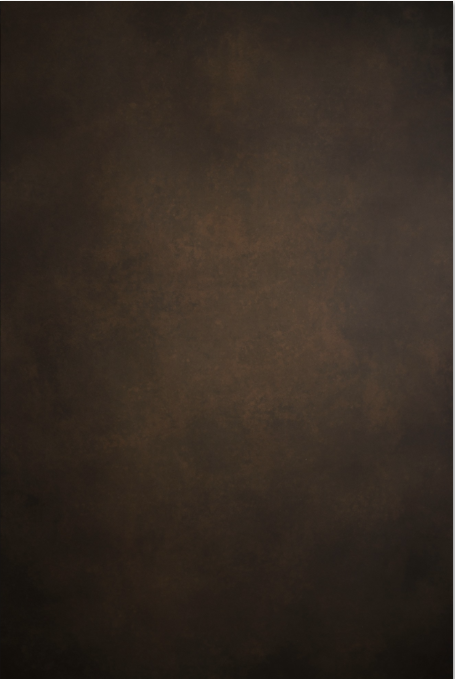
JJMack - Thank you for your reply. I actually do not need to use black, but instead need to use something similar to below.
Can you make any suggestions on how to accomplish this and reduce the halo?
Copy link to clipboard
Copied
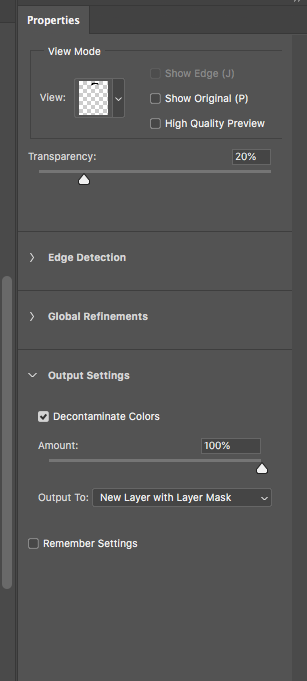
To remove some of the fringe around the hair. Check Decontaminate Colors, when using the Select and Mask...
Copy link to clipboard
Copied
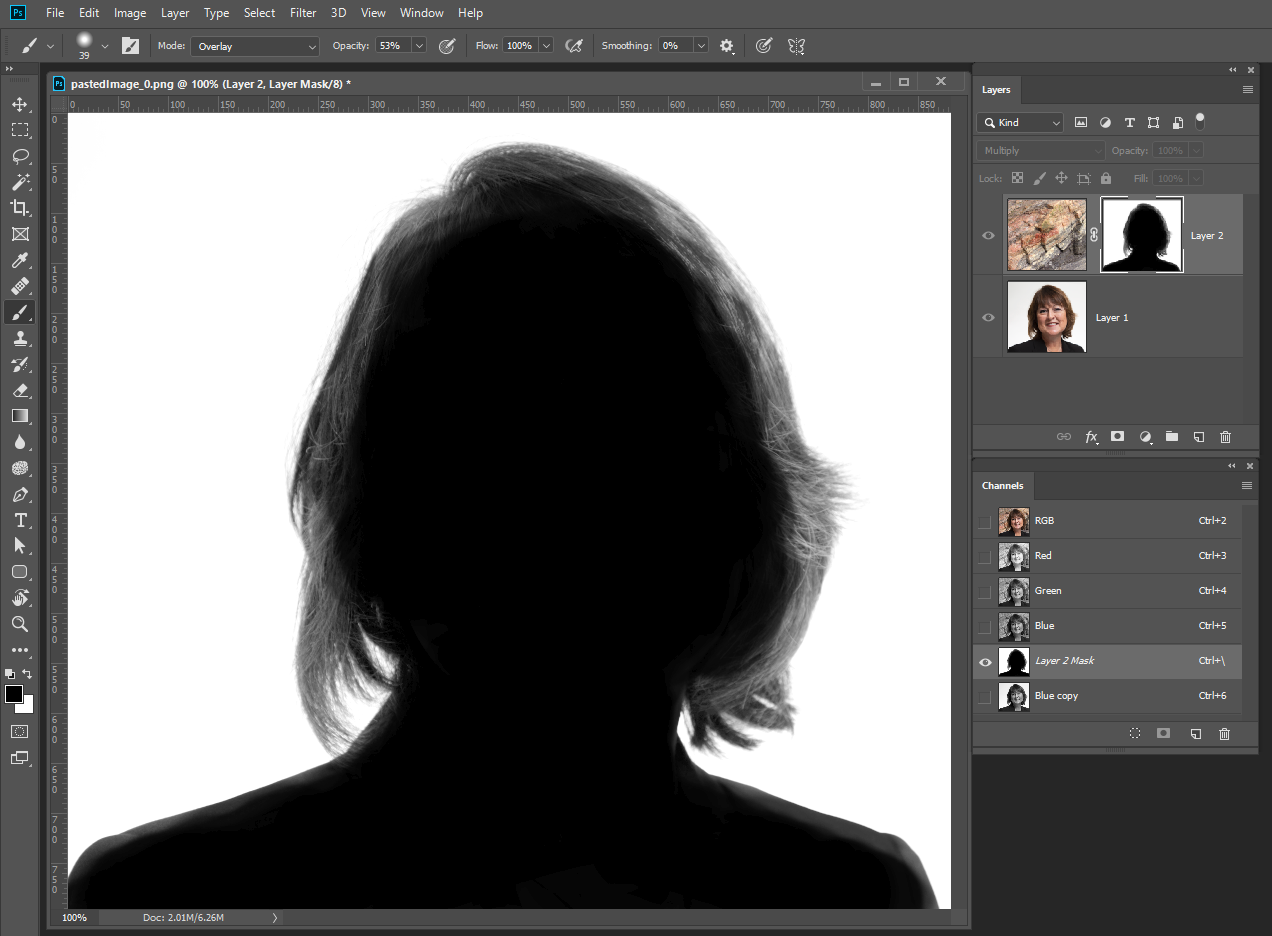
If you can choose the background replacement you should choose one the has more neutral colors. That will blend well with the fringe edge areas that can not be masked well. You want to blend them in not mask these areas. Put the replacement on top and set its blend mode to multiply so you see how the fringe areas blend. Add a layer mask like a copy of the blue channel. Use a levels adjustment on the layers mask and move the center slider to adjust how the fringe areas blend. Then paint with black on the layer mask. Use brush blend mode overlay mode when you brush near the fringe areas. use low opacity brush to built up the mask slowly.

Copy link to clipboard
Copied
Again the mask does not need to be perfect and you can continue to work on it, You do not want to paint in the fringe areas by hand you want to use Photoshop tools in these areas for best results. You can always improve the mask one way or an other.I just did you image quickly. Blending lessens the halo effect its still there but softer because the original background was a light neutral color near white. Blending recovers some of the masked off darker color where whites does noting to the replacment background.

Copy link to clipboard
Copied
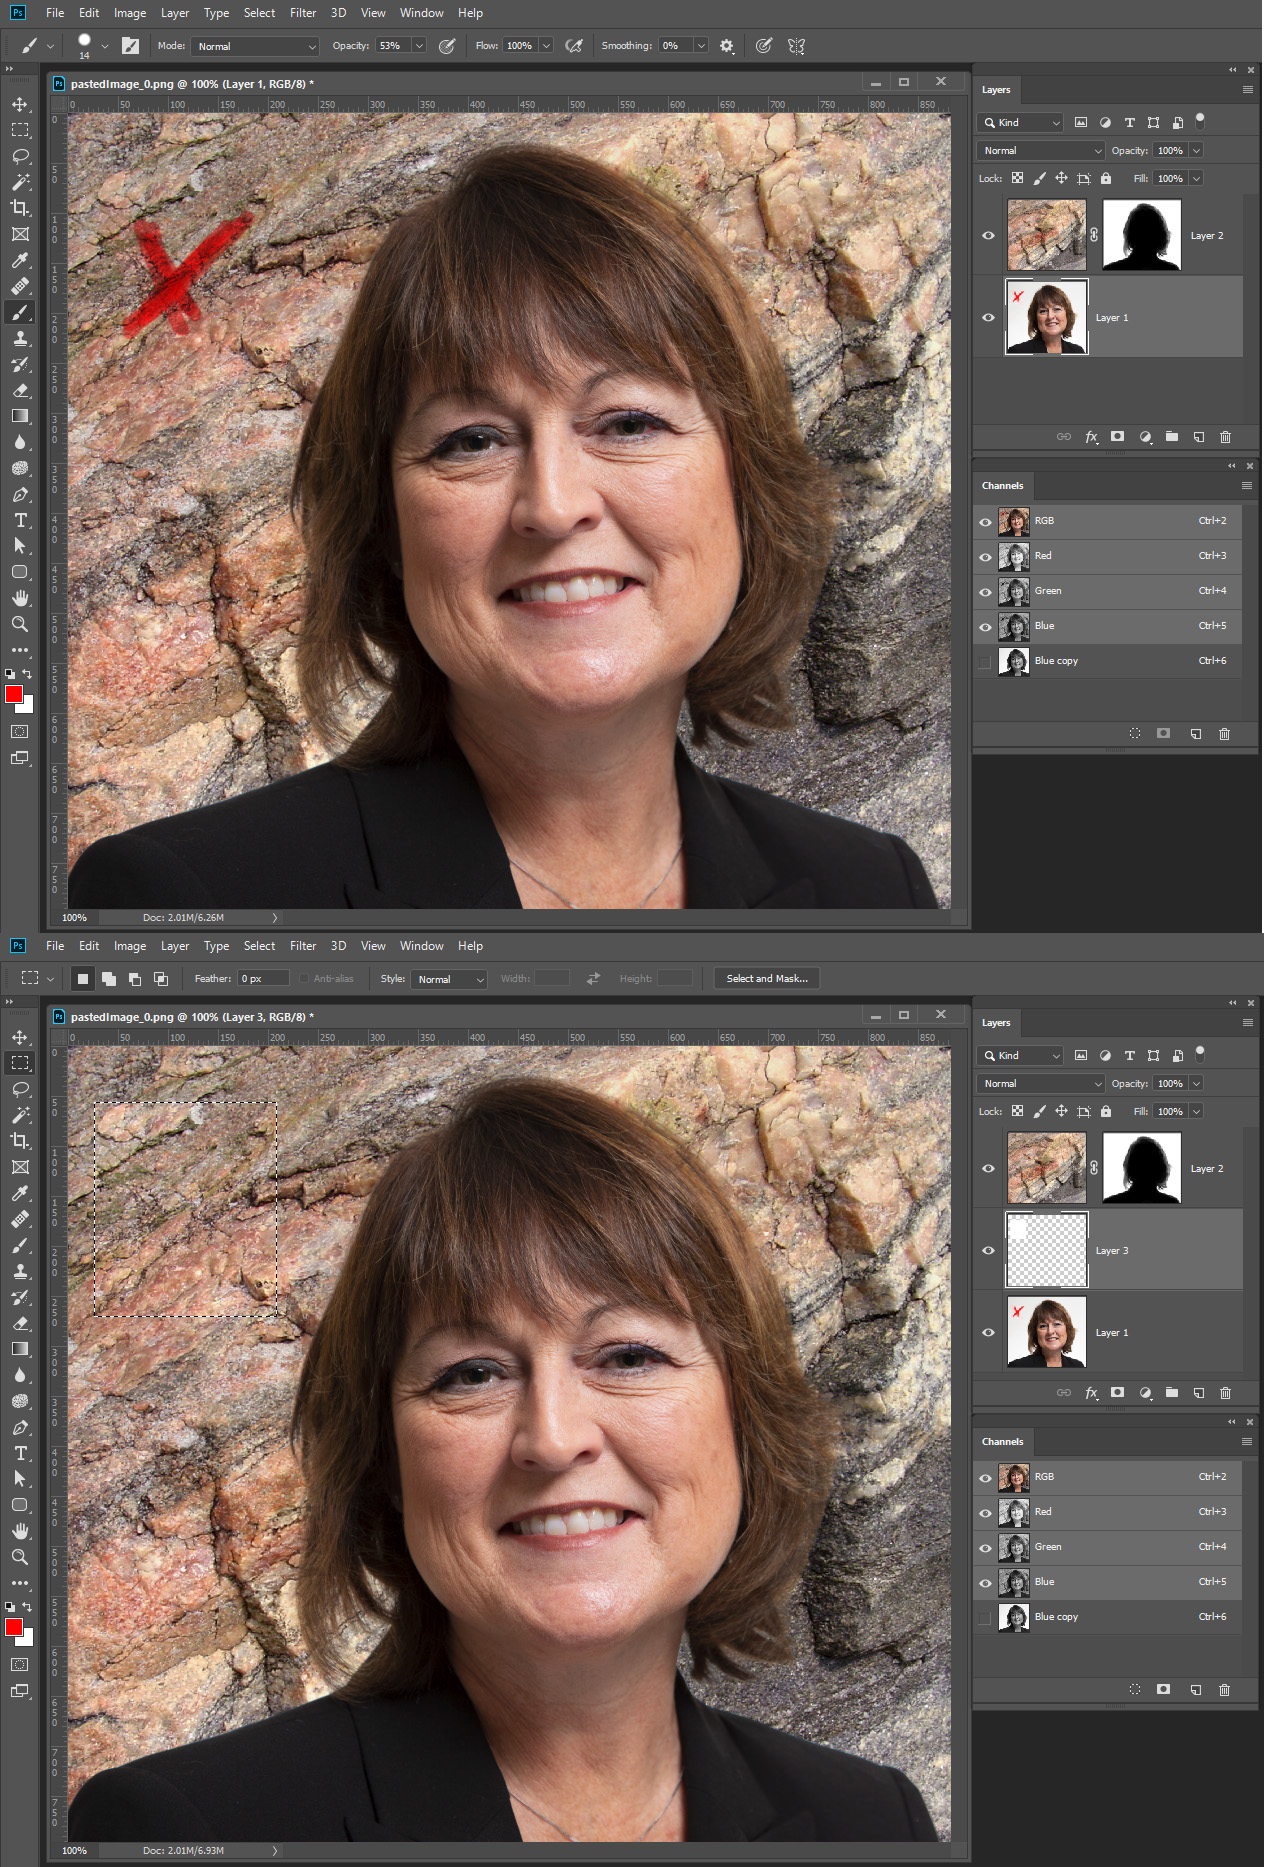
Here I added a red mark to the background that would need to be covered with white. That is easly done.
Copy link to clipboard
Copied
A trick I sometimes use is to duplicate the front layer, and set the lower one to multiply blend mode. Then contract the mask for the top layer ever so slightly, in combination with some added feathering.
It should be noted that a lot of this haloing is in fact not a result of the selection itself, but is reflected light from the surroundings. This can normally be brought under control with a curves layer and a soft mask.

