- Home
- Photoshop ecosystem
- Discussions
- Re: Delete Background on Stock Photo
- Re: Delete Background on Stock Photo
Delete Background on Stock Photo
Copy link to clipboard
Copied
Hola! I need major help with deleting a background from a stock photo I have purchased. The background of the photo is not white - it has a black and gray zig zag background. I've tried creating a copy of the layer, using the magic wand and the delete key - and still CANNOT get it to work. At this point - I'm ready to just pay someone to do it for me!!
Things to note (in case it makes a difference): The background of my document is just plain white, and I placed a stock photo on top of that as a new layer - that will serve as my "background" for my document. What I'm trying to do is to place ANOTHER stock photo (the one with the black and gray zig zag background that I want GONE) on top of that first stock photo. Maybe that is not possible and that's why I can't get this to work??
Can someone please help me with this? Any help would be much appreciated!
Thanks!
E
Explore related tutorials & articles
Copy link to clipboard
Copied
Make a selection of your subject and make a mask from that selection.
Without seeing the image, it is hard to recommend the best method for making a selection but in general Select and Mask works well. Output from Select and Mask as "New Layer with Layer Mask". This will add a mask to your layer which will show the layer where the mask is white and show the underling layer(s) where the mask is black.
Dave
Copy link to clipboard
Copied
As Dave has said, it is near impossible to give you the best advice without seeing the images and layers, but as this is a stock image that you have paid for, I am wondering if you could have found a better alternative? If you used Adobe stock, then there are some amazing tools for locating images, and some even more amazing tools on the way. In fact, it seems to me that Adobe are making it as easy as they possibly can for us to spend our dollars buying their stock images. If only they put the same effort into fixing bugs.
If it was a PNG and showed as having a transparent background on the stock site, then it is important that you download the file to your computer, and open or place the file in Photoshop. Grabbing a PNG image from the browser and pasting it in a Photoshop document will result in the transparency becoming black.
Or you might be able to use layer blend modes, or at a push Blend If in the Layer Styles panel. I don't like this tool as it rarely gives you a completely clean selection.
So if you'd like more advice, show us the background and stock images as separate screen shots, and describe how you would like them to appear.
Copy link to clipboard
Copied
Hi Ernie,
As the guys have said it is never easy to talk about images you cannot see, but if all you have is a stock image on a white background the following method will usually get you started and is pretty easy to do.
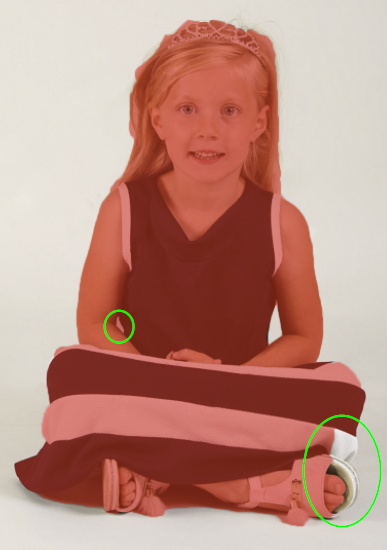
I'll show you how you can get a composite like this in about 5 minutes.

2) Start with your image on a white background

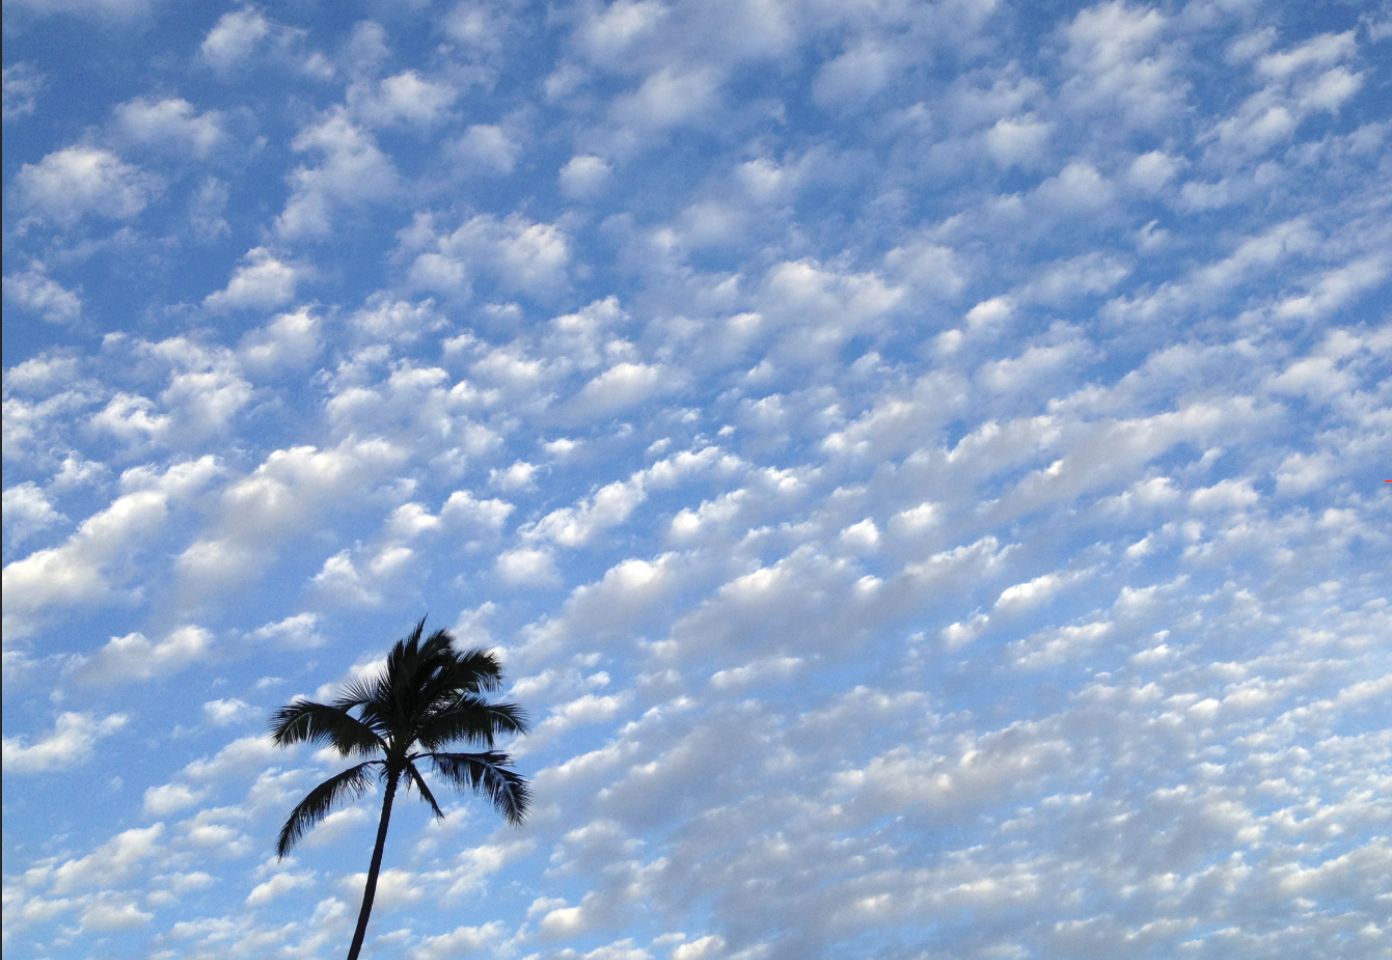
3) Find yourself a background.
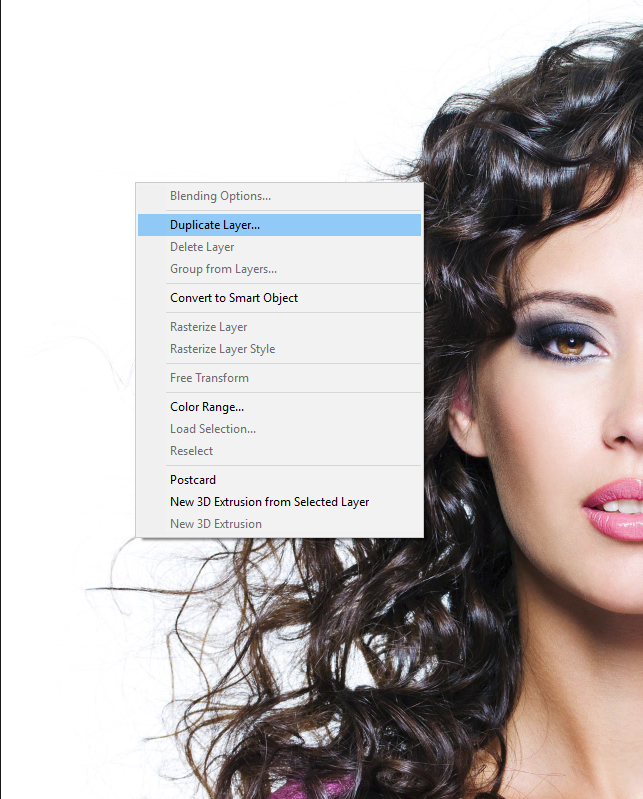
4) In the first image press 'm' on the keyboard to select the marquee tool and right click the image. Select 'Duplicate Layer'
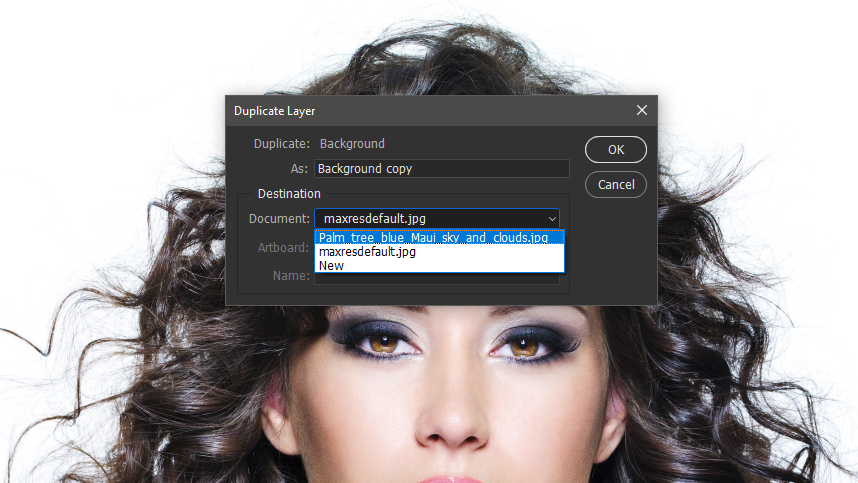
5) In the dialog that appears select the image for the background, in this case the sky. This will copy the girl into the background image.
6) You should now have two layers. Set the blend mode of the upper layer to 'Multiply' and the white content of the image disappears like below.
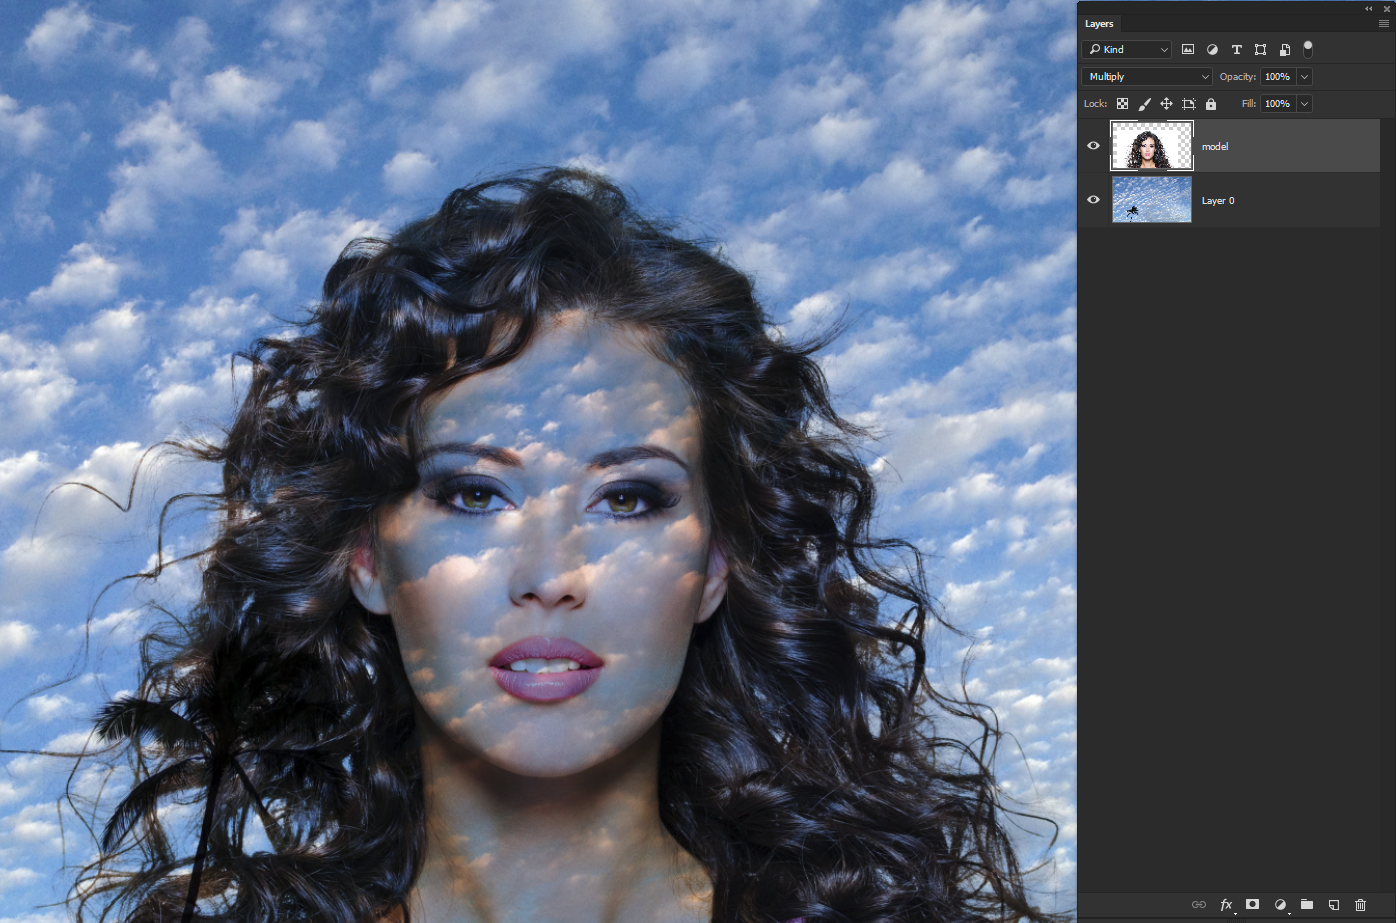
7) Create a layer mask on the sky layer and with black as the foreground color and using a soft brush paint away the clouds from inside the girls face. If there is a halo anywhere, simply select the smudge tool and on the 'mask' make gentle strokes to blend the halo away.

8) Finally you can make the foreground and background blend better together by applying a Brightness and Contrast adjustment layer , clipping the adjustment to the girl image in order not to change the background. Very easy to do and will retain almost all detail in this type of image.
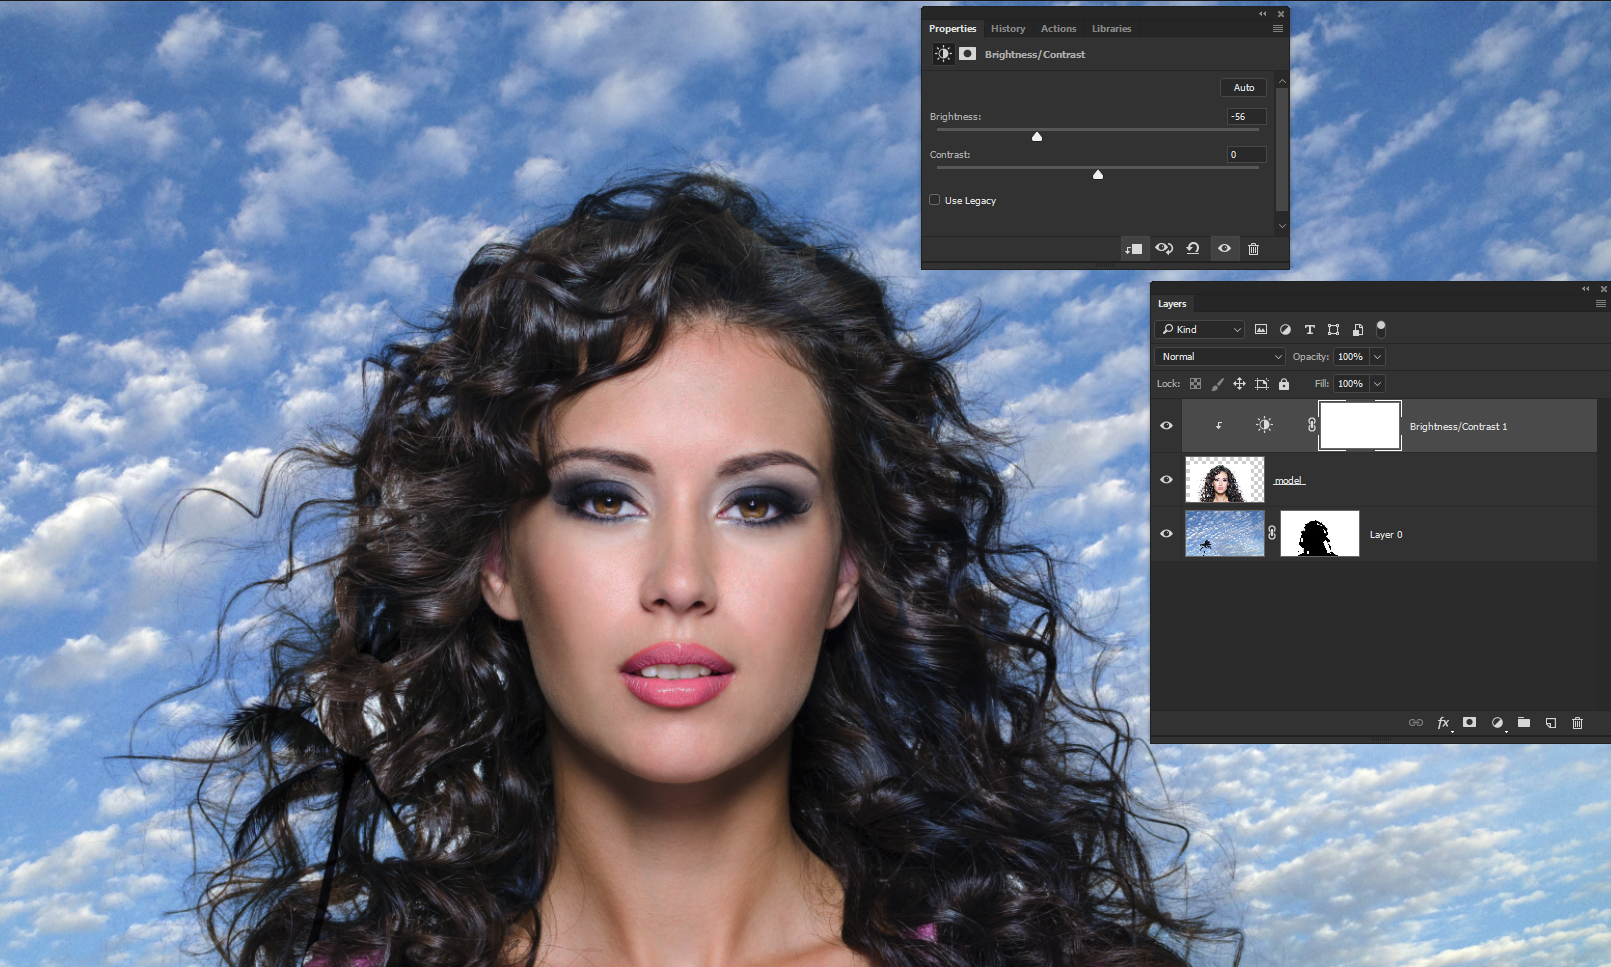
Copy link to clipboard
Copied
Hi all - and thanks for your suggestions! I don't know why I'm having such a difficult time with this...
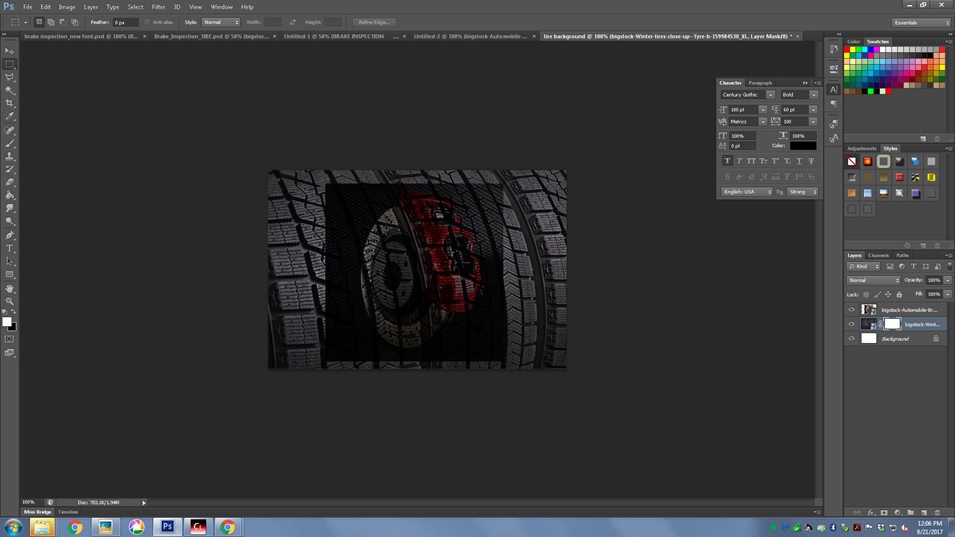
Terri - your instructions seemed like they were the easiest for me to understand - and I'm still not able to get it to work. I got all the way to Step 7 and applied a mask. I made sure my background layer was selected - in this case the tire background and then applied a layer mask (I selected "Reveal All") - however when I went to erase the blackish background from the car brake image - I get stuck! All I want is that blackish background behind the car brake GONE.
Any idea what I'm doing wrong? I have attached a photo of how far I got - maybe that will help explain exactly what I need help with next.
Thanks everyone!
E
Copy link to clipboard
Copied
Hi Ernie
If you click on the mask you can then paint over the image with a brush and you are actually painting on the mask.
If you paint with white it shows what is on the layer. If you paint with black it hides the layer and shows the layer(s) beneath. As well as the brush you can also use selections and fill with black or white.
I hope that helps you
Dave
Copy link to clipboard
Copied
Alt clicking the layer mask to open it as a B&W alpha channel can be useful.
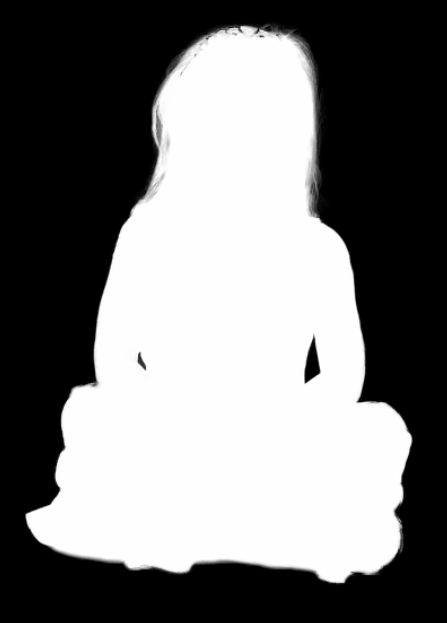
It's similar to the trick of turning Quick Mask to show if you have missed anything before entering Select & Mask.
