OK, let's take it from the top:
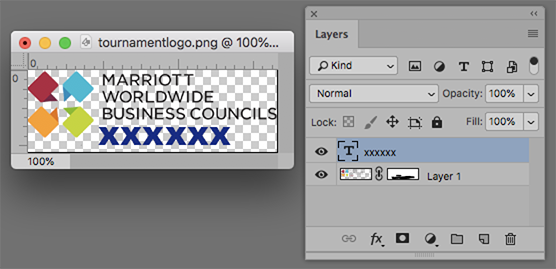
1. Open the file, the one you posted that shows a logo & type on a transparent surround.
2. Add a mask by clicking on the symbol right next to the fx symbol at the bottom of the Layers panel. The mask is now next to your image on the layer in the Layers panel and note that it has a frame around it rather than a single line. That signifies that when you paint, you will be painting on the mask although you only see the image.
3. Choose the Brush tool and you will see a circle of brush size on the image. Tap the keyboard square bracket keys next to the letter P. One makes the brush larger, the other makes it smaller. Make it a size slightly larger than a letter in the bottom line of type, the line you are going to change.
4. Drag the brush along that type line. A black line will appear on the mask in the Layers panel and as you draw, the line of type will disappear.
5. Now choose the Type tool and in its Options bar, choose a font, a type size and color (black). Type the revised text. You are replacing the entire line, not just the number. When you are satisfied, click the Commit checkmark in the Type options bar.
6. To Save with layers so that copy may be changed again next year by just changing the type layer, save as a psd file.
7. Next, Save as a png file so the file looks like the one you posted, but with the revised type.
8. Optional: To also Save as a single layer file with a white background, save as a jpg.
Good job!


 7
Replies
7
Replies


 AdChoices