

- Home
- Photoshop ecosystem
- Discussions
- Re: Exporting .png from Photoshop - Drop shadow to...
- Re: Exporting .png from Photoshop - Drop shadow to...

Copy link to clipboard
Copied
Good evening everybody
I've recently started creating my own product mockups (for digital prints) with Photoshop. Working with smart objects, several layers etc. is no problem - everything works the way I want it to in .psd files.
I've seen that people sell mockups online as .png with a transparency where the print is supposed to go. I've tried to recreate this but hit an obstacle:
I have a background layer with the (transparent) cutout inside the frame, for example, and a second layer with a flower overlaying part of this transparency. As the light is coming form above, there's no shadow inside the frame, but the layer with the flower has a drop shadow.
When exporting the file as .png, the soft drop shadow (barely visible in the .psd file) suddenly becomes a heavy gray streak.
Have I overlooked something in the export options or do I have to work differently with the layers?


 1 Correct answer

The problem you have with your drop shadow is there are no pixels to blend the drop shadow effect into. The layer frame covers the whole canvas so the Canvas bounds acts as a cropping mask the outer frame shadow effect would fall outside the documents canvas. The Frames inner shadow would fall onto the images and blend into the image. However you are trying to save that frame as a png template without an image. So there are no pixels the effect can be blended into. You will need to add the d
...Explore related tutorials & articles
 18
Replies
18
18
Replies
18
Copy link to clipboard
Copied
mkrohn wrote
I have a background layer with the (transparent) cutout inside the frame, for example, and a second layer with a flower overlaying part of this transparency.
Something is wrong with your description of what you have! The Photoshop background layer does not support transparency. If your layer has a transparent cutout in a frame. That layer is not the document background layer.
You can has a layer over a background layer that covers an area that is inside a frame in the Photoshop Background layer. No layer can be below a document background layer.
All my Template PSD files have a background layer that images are placed in above in in order. Their Location Size and Shape are mapped by alpha channels with names "Image 1", Image 2", ... "Image N".
Copy link to clipboard
Copied
That was apparently a wrong use of the term "background layer" on my part. I unlocked the background layer and than made the cutout to transparency. I can now add a layer below that to show what I want to see in the frame cutout.
But as I want a .png with a cutout, I would deactivate that layer below because I don't want to export it.
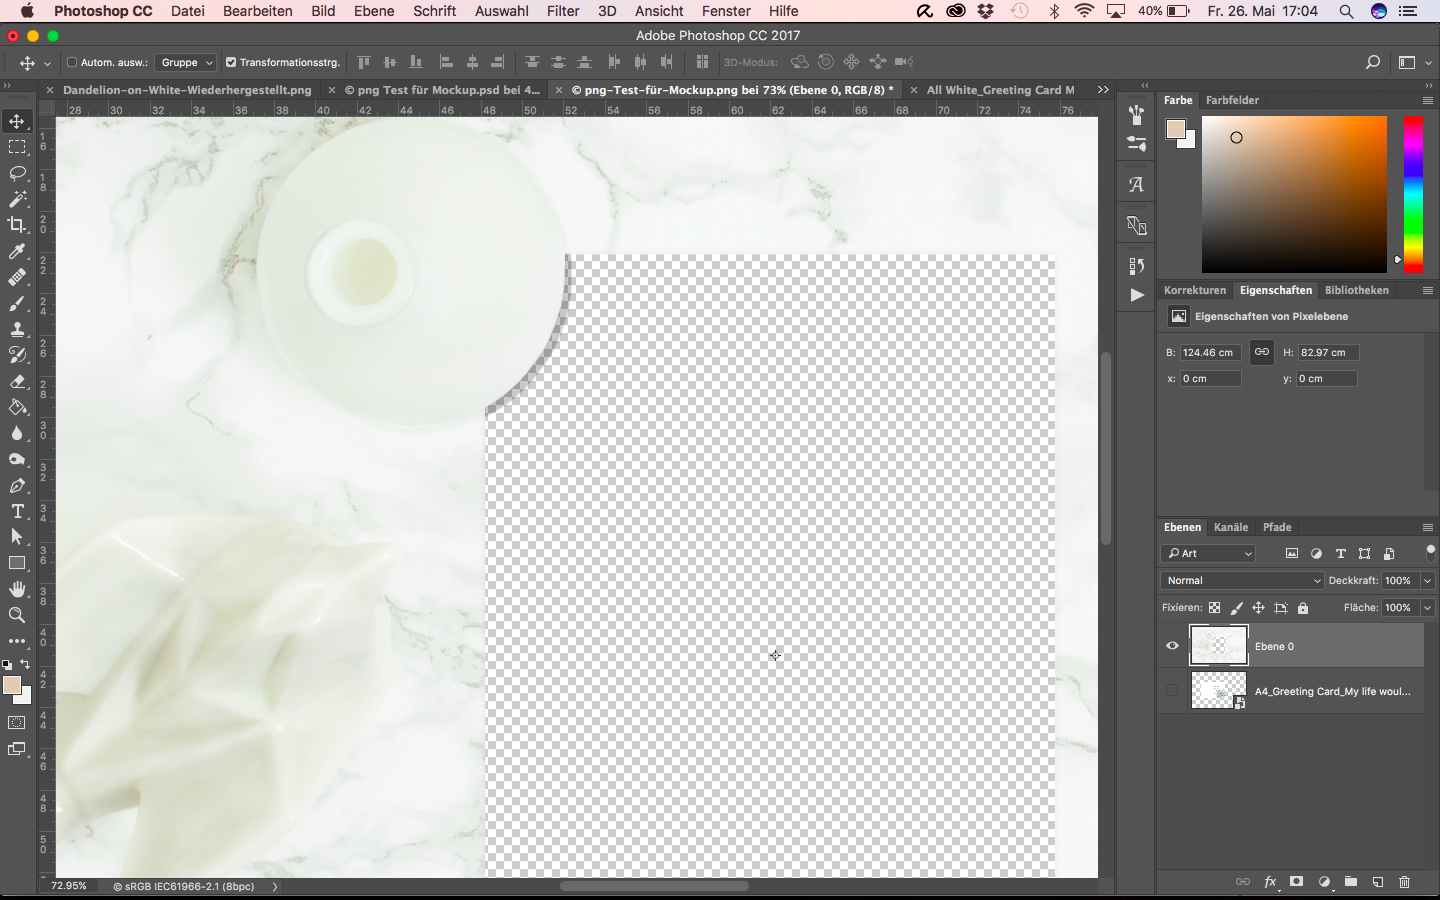
It's the dropshadow of the vase in this case, that looses the transparency, when I export as .png and then move the picture blow it.
The original .psd

The exported .png opened in photoshop with the desired picture below it.


Copy link to clipboard
Copied
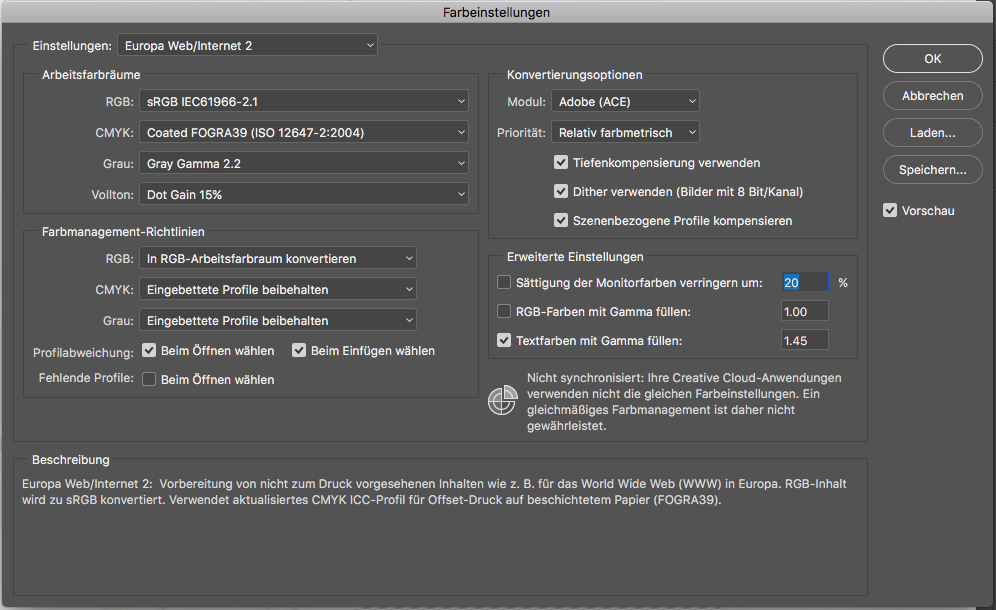
What are the Colour Spaces?
Copy link to clipboard
Copied
Sorry, I'm not a native speaker, so I usually have to go and translate the Photoshop specific terms 😉
Does this include all the information you need?
Copy link to clipboard
Copied
I asked for the images’s Colour Space/s, not the Working Space.
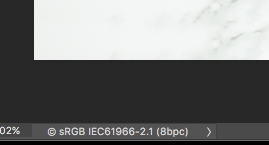
Is the original psd sRGB? (set the Status Bar and/or the Info Panel to indicate the Document Profile)
Did you export the png with Save for Web (Legacy)?
Copy link to clipboard
Copied
Yes, the original .psd is in RGB and I exported it with Save for Web (Legacy)
Copy link to clipboard
Copied
Copy link to clipboard
Copied
Did you export PNG-24?
Copy link to clipboard
Copied
Did that as well...
Looking at just the .png the drop shadow is transparent. But as soon as the picture is placed behind it, it shows up way too dark.

Copy link to clipboard
Copied
Could you please post the png?
Copy link to clipboard
Copied
Copy link to clipboard
Copied
What are the complete Schlagschatten-settings?
What is the Blend Mode?
Edit: Unless the Blend Mode is »Normal« (or »Multiply« with a truly black shadow etc.) merging it may cause unavoidable changes in appearance.
Copy link to clipboard
Copied

Copy link to clipboard
Copied
The blend mode of the shadow or the blend mode of the layer the shadow is applied to?
The blend mode of the layer itself (with the vase) is set to "normal".
Copy link to clipboard
Copied
I see what you are doing. Your Frame with a cutout is saves as a png image file which you use as a template file that you place in images below.
Most just save their template file as a PSD. They then Place in images into their psd Template document and save out populated image documents.
Your template method has advantages in that they are very small files which are easy to use and create. Your method is not as flexible as a PSD file they are easier to modify and can have layers to customize the template for different appearance and use. Other Photoshop features can be used in the template to aid populating images and have additional custom option or effects.
Many PSD templates design I have seen are complex and are harder to create and use then they need be. My designed Photoshop PSD templates are IMO easy to create and used and can be automatically populated. However there are some limits. Images can not be populate automatically with a tilt or effects like a perspective warp. Those effect can be manually added during or after images population.
Again IMO my template design is simple which makes creating template an easy thing to do my scripts make use of the templates simple design and can populate your images into the custom templates you create.
Photo Collage Toolkit
Photoshop scripting is powerful and I believe this package demonstrates this A video showing a 5 image collage PSD template being populated with images:
The package includes four simple rules to follow when making Photo Collage Template PSD files so they will be compatible with my Photoshop scripts.
- Size the photo collage templates for the print size you want - width, height and print DPI resolution.
- Photo collage templates must have a Photoshop background layer. The contents of this layer can be anything.
- Photo collage templates must have alpha channels named "Image 1", "Image 2", ... "Image n".
- Photo collage templates layers above the background layers must provide transparent areas to let the images that will be placed below them show through.
There are fifteen scripts in this package they provide the following functions:
- HelpPhotoCollageToolkit.jsx - Online Help
- TestCollageTemplate.jsx - Used to test a Photo Collage Template while you are making it with Photoshop.
- CollageTemplateBuilder.jsx - Can build Templates compatible with this toolkit's scripts.
- LayerToAlphaChan.jsx - Used to convert a Prototype Image Layer stack into a template document.
- InteractivePopulateCollage.jsx - Used to interactively populate Any Photo Collage template. Offers most user control inserting pictures and text.
- ReplaceCollageImage.jsx - use to replace a populated collage image Smart Object layer with an other image correctly resized and positioned.
- ChangeTextSize.jsx - This script can be used to change Image stamps text size when the size used by the populating did not work well.
- PopulateCollageTemplate.jsx - Used to Automatically populate a Photo Collage template and leave the populated copy open in Photoshop.
- BatchOneImageCollage.jsx - Used to Automatically Batch Populate Collage templates that only have one image inserted. The Collage or Image may be stamped with text.
- BatchMultiImageCollage.jsx - Used to Automatically Batch Populate Any Photo Collage template with images in a source image folder. Easier to use than the interactive script. Saved collages can be tweaked.
- PasteImageRoll.jsx - Paste Images into a document to be print on roll paper.
- BatchPicturePackage.jsx - Used to Automatically Batch Populate Any Photo Collage template with an image in a source image folder. Images Rotates for best fit.
- BatchPicturePackageNoRotate.jsx - Used to Automatically Batch Populate Any Photo Collage template with an image in a source image folder.
- PopulatePicturePackage.jsx - Used to Automatically populate a Photo Collage template Fill with the same single image and leave the populated copy open in Photoshop.
- PCTpreferences.jsx - Edit This File to Customize Collage Populating scripts default setting and add your own Layer styles.
Copy link to clipboard
Copied
Thank your for your detailed answer and your inputs. I myself work with mockups or templates in Photoshop to have all the additional options you mention. However, I'm trying to create a template somebody not owning Photoshop could use as well, that's why I'm trying to create this .png-file.
Copy link to clipboard
Copied
The problem you have with your drop shadow is there are no pixels to blend the drop shadow effect into. The layer frame covers the whole canvas so the Canvas bounds acts as a cropping mask the outer frame shadow effect would fall outside the documents canvas. The Frames inner shadow would fall onto the images and blend into the image. However you are trying to save that frame as a png template without an image. So there are no pixels the effect can be blended into. You will need to add the drop shadow to the frame with the image populated. If your template is not going to be used in Photoshop what ever imaged editor is used will need to be able to add the drop shadow.
Copy link to clipboard
Copied
Thank you for explaining!

Find more inspiration, events, and resources on the new Adobe Community
Explore Now
 AdChoices