

- Home
- Photoshop ecosystem
- Discussions
- Re: Flattening image changes it
- Re: Flattening image changes it

Copy link to clipboard
Copied
Hi all.
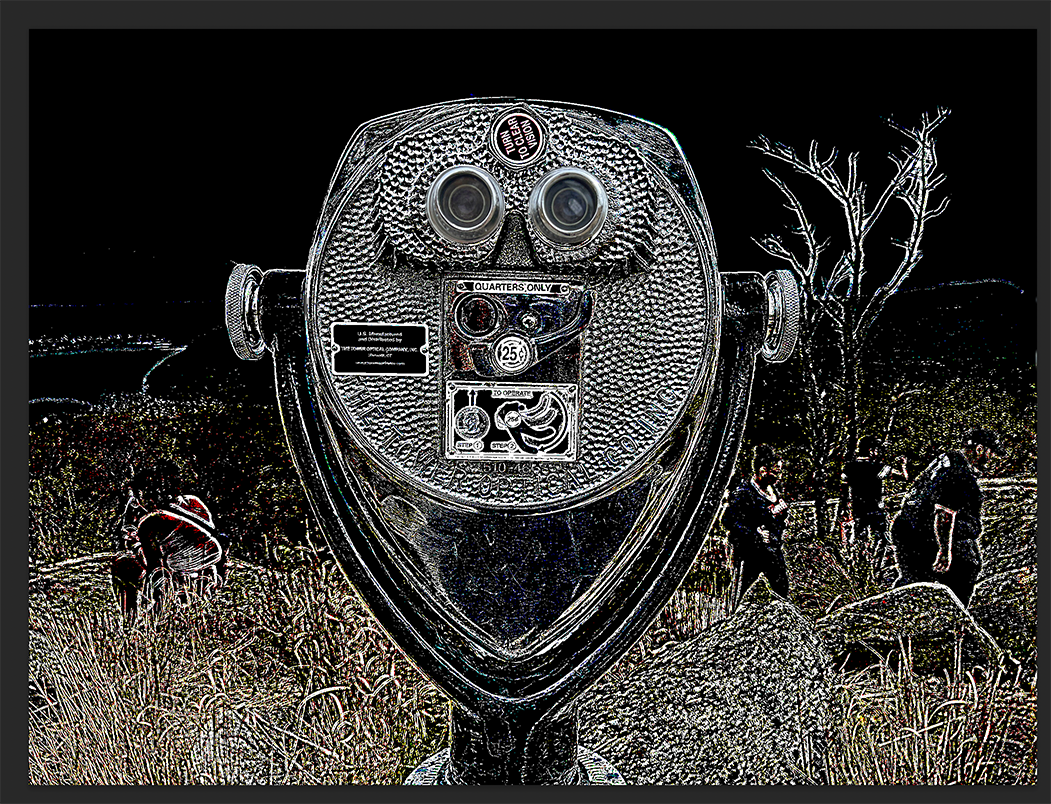
I dont remember ever seeing this before but am today. I have an image with over a dozen adjustment layers. When I flatten the image, it changes. Specifically it gets a little darker. What am I missing?
Thanks


 1 Correct answer

Hi
gma_Arts wrote
...... So if I export the flattened image to the printer, what will the printed image look like? The one I see at 100% or the one I see at fill screen after flattening?
The actual image is the version rendered at 100% zoom (flattened or not).
When sent to the printer there is also the conversion to inks on paper to take into account. This will always change the look (light emitted from a screen will always be different from that reflected from paper). You can preview a simulati
...Explore related tutorials & articles
 43
Replies
43
43
Replies
43

Copy link to clipboard
Copied
Unless I change the fill to 0% it will look like the flattened version.

Copy link to clipboard
Copied
Can you share the layered file?
Copy link to clipboard
Copied
Unless I change the fill to 0% it will look like the flattened version
That’s expected behaviour. When you flatten either in Photoshop or in a pagelayout the transparency flattens to white pixels and the appearance changes, so you have to color correct and edit with a white or opaque background layer to see how the image will flatten. If you are trying to keep the silhouette transparent for the pagelayout you would need to create a mask.
Copy link to clipboard
Copied
I do realize that it flattens to white pixels, but I don't need to keep the background transparent. My main concern is the color shift which I rarely notice as an issue. Just once in a while do I see this big color shift. Like I said, I work in Photoshop a lot and I don't have this problem often, but when I do I'd love to know why and how to fix it. I've never had to color correct after flattening. Just seems random that I have this issue. I can share the layered file, but it sounds like there is no resolution that will work for the issue other than color correction. Frustrating.
Copy link to clipboard
Copied
I turned the background on and adjusted each layer to a screen capture that I had taken of the image without the background layer turned on. I think that's going to work. I appreciate your help. Thanks!

Copy link to clipboard
Copied
You have no idea how much this helped me. Been working in PS pretty regularly (roughly 20-30 hours a week) both for work and personal purposes for several years now. I run into this issue way more than I'd like, and it's such a demotivating situation to find yourself in once you've finished a piece only to find it visually change out of recognition upon merging layers/flattening image/exporting as image file/etc. I come from a background of working on paper collages. Wanting to share them, I invested in a scanner began learning how to scan them at high resolutions to upload online. I suppose I've remained stuck in the mindset of wanting my images to be as big and as sharp as possible. This has completely rewired how I look at working digitally. When scanning a physical piece of art into a digital image, there is always going to be a bit of subtle blur around the edges of shapes regardless of how high the resolution is. But you still want to scan them at a very high resolution to preserve as much detail as possible. I've been thinking all this time that artworks created digitally needed to be approached the same way, but, in fact, I now see you must on occasion approach these artworks from the opposite direction and actually add in a bit of blur to soften the edges thus creating an illusion in the details of the image that the artwork was not developed digitally but physically. This seems to somehow trick all the elements allowing you to see the image, such as the monitor and the software allowing images to be rendered on its screen, into preserving subtleties of an image without altering the overall visual appearance when zooming or rerendering said image. I'm not trained in any of this stuff and have learned everything I know on my own. So my explanation of this is really just an explanation of my understanding of why this solution works. It is the only solution I've found to date that has worked and makes sense. Thank you so much ChrisDx. You have helped me immeasurably.

Copy link to clipboard
Copied
My solution is: Don't flatten your images! Why would you want to lose track of the work you've done? Depending on what you're using it for, better to export/save a jpeg. In my experience color and luminosity are unchanged.

Copy link to clipboard
Copied
Good advice. I NEVER flatten anything. You can save it as any flat format but keep the layered file.

Copy link to clipboard
Copied
I would be ok with not flattening it. However, when I go to resize the image, that also changes the coloring/shadows/etc.
So, I thought flattening would help. While it technically works, as when I resize it after flattening it is perfect. It's the flattening part that modifies it too much. Any thoughts there? I will say, I am not very proficient in Photoshop and do most of my work in Illustrator and this has never been an issue. *Hope that makes sense.

Copy link to clipboard
Copied
The key here is to view at 100%. Then you will see that they match perfectly. Flattening doesn't change anything - but the preview isn't always reliable when you are zoomed out at lower zoom ratios.
Here's the explanation:
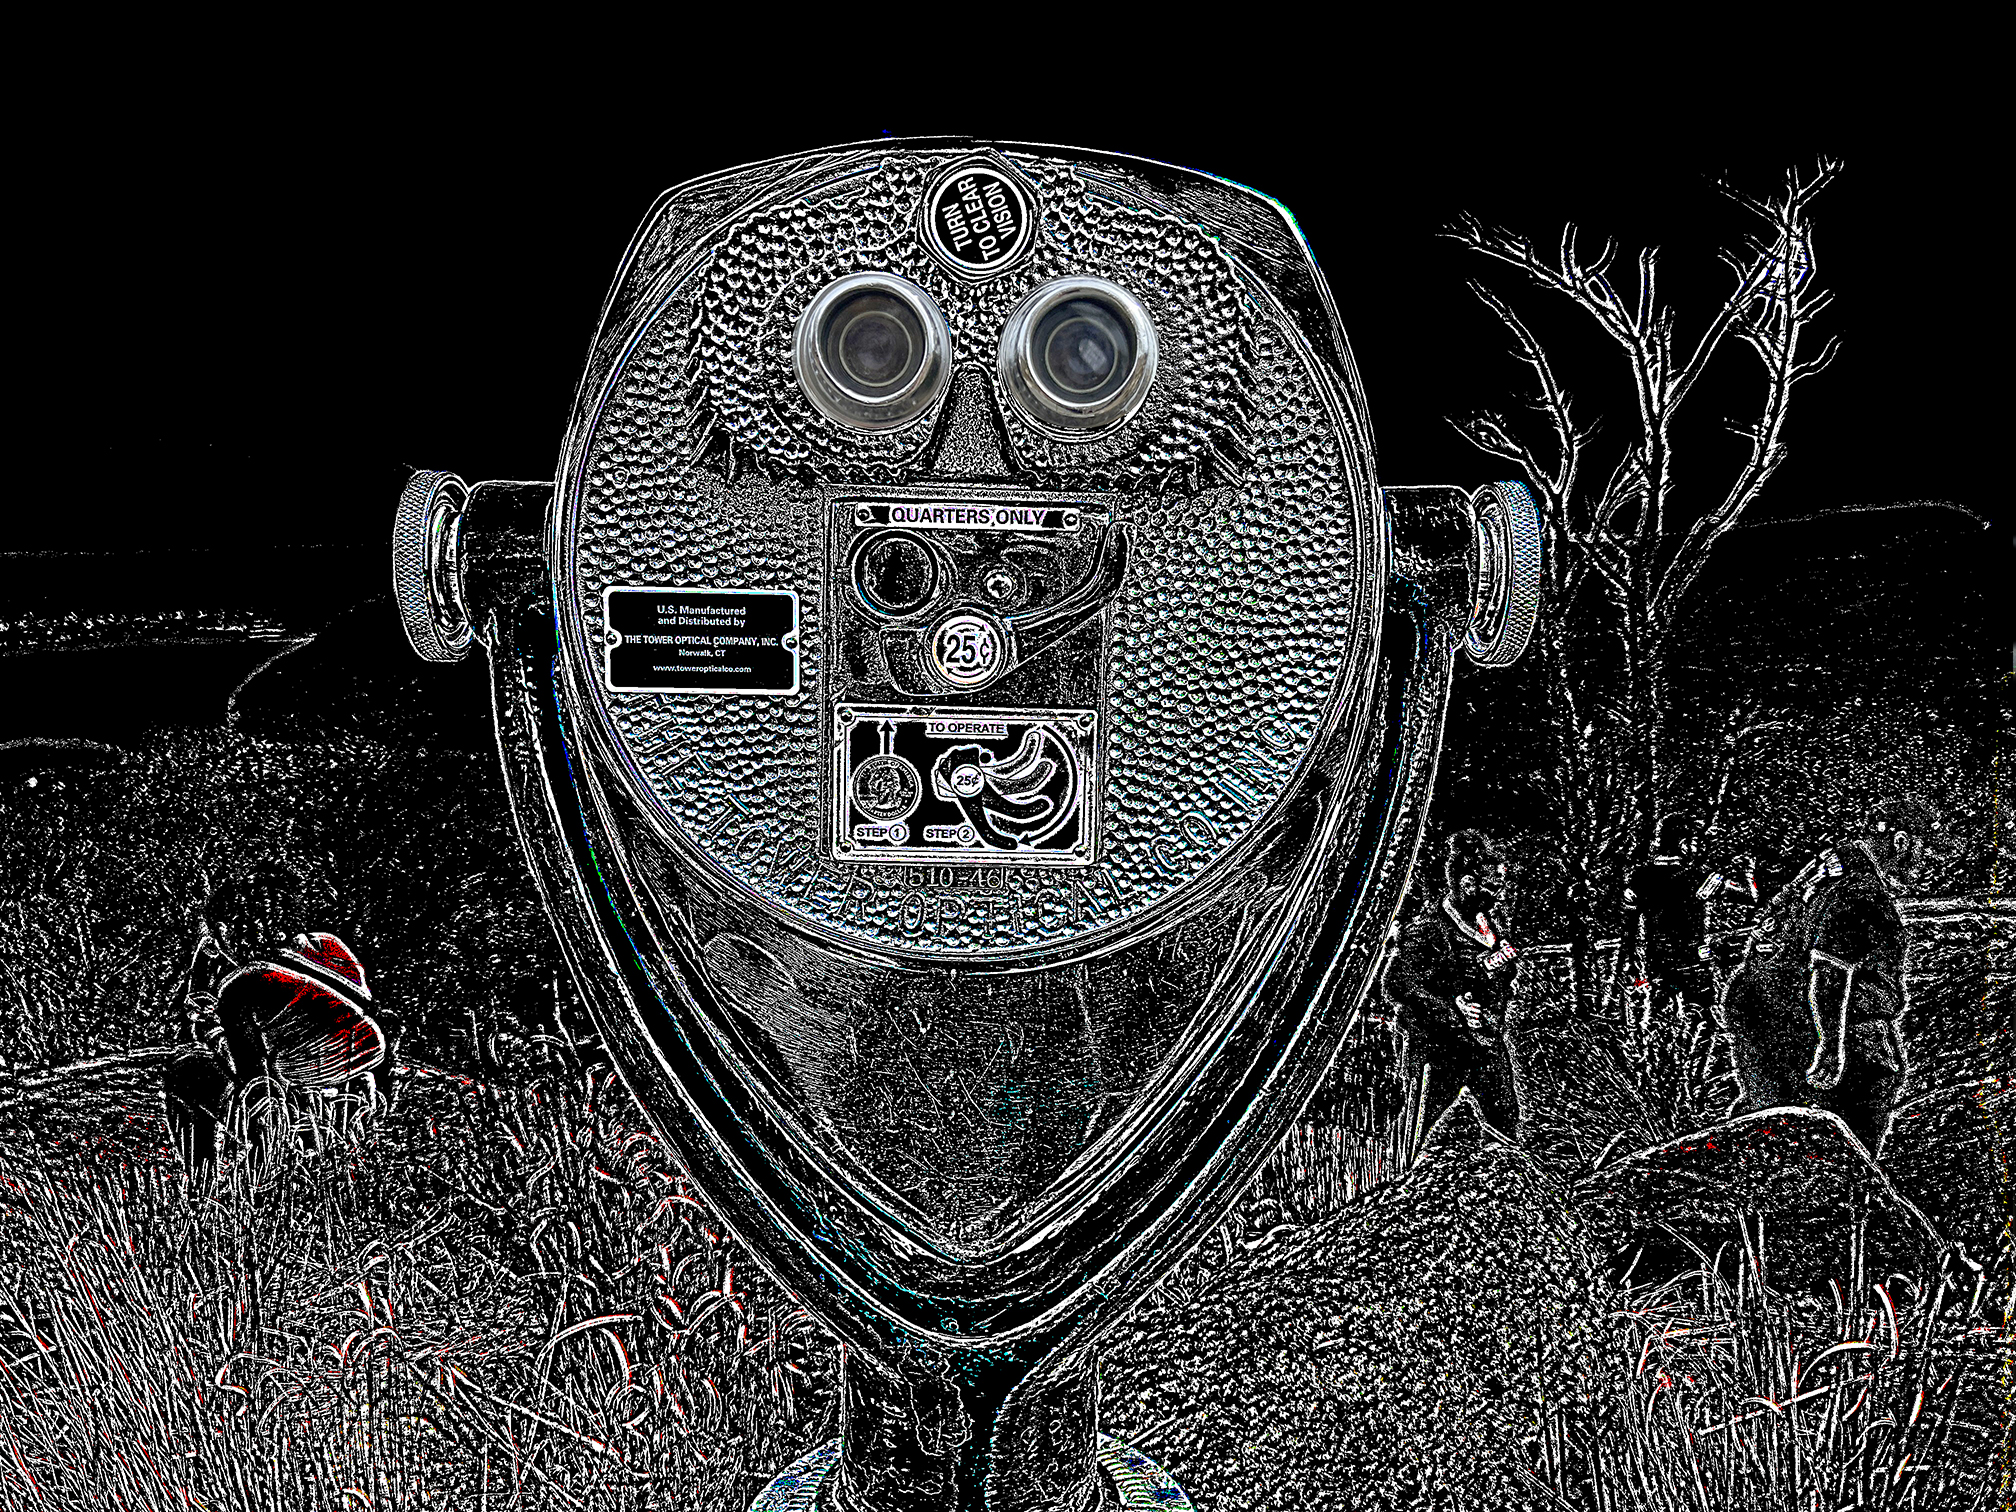
Adjustment and blending previews are calculated on the basis of the on-screen version of the image. That's done for performance reasons. Zoomed out, the on-screen image is a downsampled and therefore softened version of the image. That means there will be intermediate pixel values, resulting from the downsampling, that aren't there in the full data. So the calculation is done on partially "false" data.
In a normal photograph this is insignificant. But if there's a lot of sharp pixel transitions, like in a very noisy or binary image (line art, halftone screen etc) - then it becomes a factor.
100% is a very significant number. It has nothing to do with size - it means that one image pixel is represented by exactly one screen pixel. In other words, the preview is calculated on the same data as the full original. So they match.
To sum up: the flattened version is the correct one. The preview is misleading. Unless you view at 100%. For critical assessment of noisy/binary images, always check at 100%. That's always basic precaution.
Copy link to clipboard
Copied
OK Try this:
-Save the original file as is.
-Now save it with a new name (just adding a "2" does the trick), and on this duplicate file do this:
--On each layer with a Blending Mode/Layer Style, go Layer>Rasterize>Layer Style
-- go Layer>Flatten Image
--Save.
Let me know if this works.

Copy link to clipboard
Copied
Hello- Tiff> two layers with a blend for desired effect> color differs from preview when flatten or save as JPG. Very annoying. What to do> take screen shot of preview (mac: Command 4)- it's for video use anyway. Note: color also changes when enlarging preview. If screen shot can do it, why can't photoshop? And why can't photoshop convert the low res preview data to high res to be used in printing output? Doesn't photoshop do something like that when converting in "Image Size?"
Copy link to clipboard
Copied
Read the thread again. The explanation has been given several times.
Short version: In some cases, like this one, you must view at 100% to see adjustment and blending previews correctly. 100% has nothing to do with size. It means one image pixel is represented by exactly one physical screen pixel.
This is exactly the type of image (sharp pixel-level edges and transitions) that will be maximum affected by this. In a "normal" photograph it's not an issue. Here it is.
Copy link to clipboard
Copied
Things are really confusing...
Adding my two cents, I'll explain my situation and let's see how that has anything to do with 100% viewing, and please let's also remain patient.
Tiff Image with layer style: gradient, opacity:50%, blending mode:difference
Flattening or rasterizing the layers appears to change the gradient style blending mode to normal.
But here is the really weird thing:
Even before flattening the layers, when opening the file in Lightroom, Lightroom shows the image as if the layer style blending mode is set to normal.
So, I'm pretty much lost in my efforts to understand what's going on...

Copy link to clipboard
Copied
Things are really confusing...
Adding my two cents, I'll explain my situation and let's see how that has anything to do with 100% viewing, and please let's also remain patient.
Tiff Image with layer style: gradient, opacity:50%, blending mode:differenceFlattening or rasterizing the layers appears to change the gradient style blending mode to normal.
But here is the really weird thing:
Even before flattening the layers, when opening the file in Lightroom, Lightroom shows the image as if the layer style blending mode is set to normal.
So, I'm pretty much lost in my efforts to understand what's going on...
By @Senhor_Ron
Could you please post screenshots taken at View > 100% with the pertinent Panels (Toolbar, Layers, Options Bar, …) visible?
For the layered and flattened state obviously.
Copy link to clipboard
Copied
@c.pfaffenbichler
Never mind... I was indeed so confused that I misinterpreted two different statements about the 100% preview `trick´ and as a result turned things around in my head, while Lightroom was actually showing me the correct results, not the results that I expected to be correct...
Sorry!
Using Photoshop off and on since 1998 or so, and sometimes I still want to bang my head against the wall.
Again, sorry!
Copy link to clipboard
Copied
actually showing me the correct results, not the results that I expected to be correct
By @Senhor_Ron
That's usually what it boils down to.
The final merged result is always correct. The preview may be incorrect, unless you view at 100%. At 100% everything is always correct.
Full explanation in my post above dated sep 2023.
Copy link to clipboard
Copied
@D Fosse wrote:
Full explanation in my post above dated sep 2023.

Copy link to clipboard
Copied
Difference mode is oneoé the conditions that can throw things off. Also, there was a performance change at some point, it used to be that 16-bit images were shown as 8-bit for some magnification levels. IIRC that was changed so they now always use 16-bit display. A couple of years ago, I sent Adobe a sample file that looks HUGELY different when downsampled to 8-bit from 16-bit, and that would also appear different at different zoom levels.
-
- 1
- 2

Find more inspiration, events, and resources on the new Adobe Community
Explore Now
 AdChoices