- Home
- Photoshop ecosystem
- Discussions
- Help with adding a V border to the bottom of a pho...
- Help with adding a V border to the bottom of a pho...
Copy link to clipboard
Copied

Hi if anyone could help me out in how to go about making the above image from this image
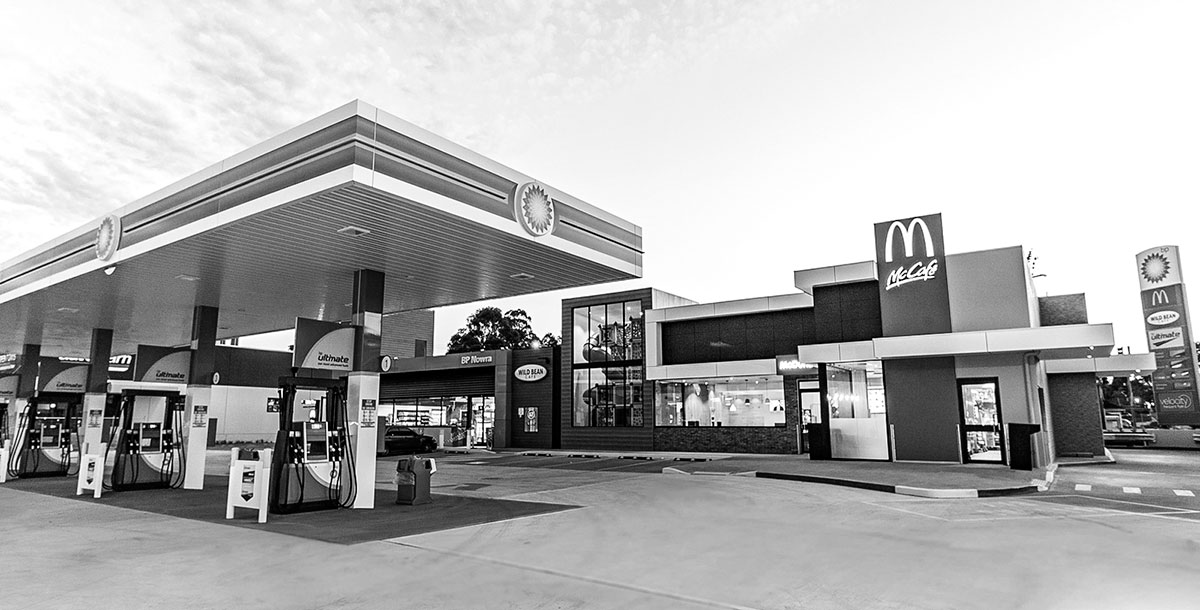
I know how to add a straight border but the v border is beyond me. Appreciate any suggestions ![]()
 1 Correct answer
How much help do you need?
I just used the Lasso tool to select the V shape, and filled, and filled a new layer with the amber colour.
Then copied that layer, locked its opacity, and filled with white.
Them moved the white layer down a few pixels.


The curves darkens the photograph to about the same as the template

I'm guessing you are OK with the text?
Explore related tutorials & articles
Copy link to clipboard
Copied
How much help do you need?
I just used the Lasso tool to select the V shape, and filled, and filled a new layer with the amber colour.
Then copied that layer, locked its opacity, and filled with white.
Them moved the white layer down a few pixels.


The curves darkens the photograph to about the same as the template

I'm guessing you are OK with the text?
Copy link to clipboard
Copied
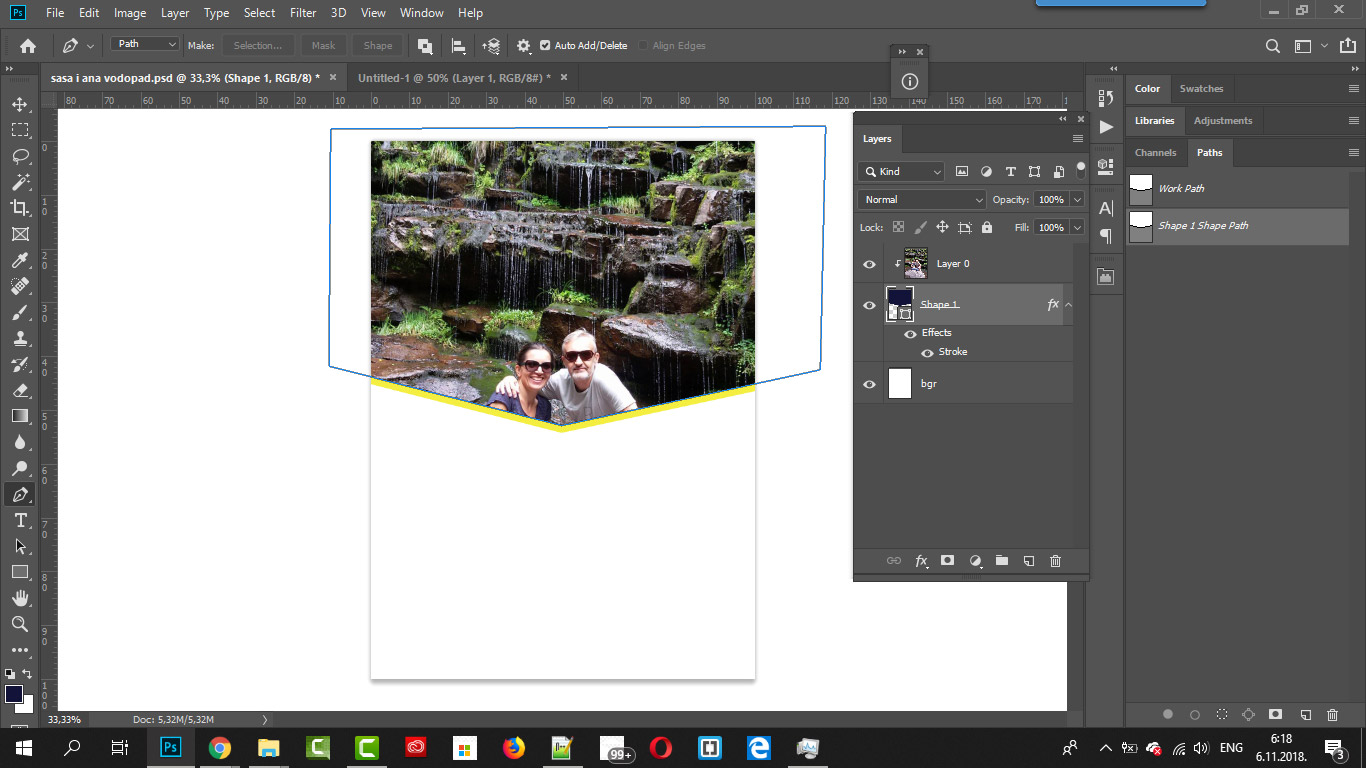
I will assume you want V border at bootom in Photoshop. One way is to clip image to V shaped rectangle which has sides beyond canvas and to add stroke effect. Below is screenshot to examine and understand what I mean. Will that work for you?
Copy link to clipboard
Copied
Thanks so much for your prompt reply. Used the top answer but I see your answer would have done the job perfectly too ![]()
Copy link to clipboard
Copied
broomeGirl wrote
Thanks so much for your prompt reply. Used the top answer but I see your answer would have done the job perfectly too
It's definitely one of those many roads reach the same destination situations. Bojan place the V on top, I let it peep out from behind the white V. I think we were both trying to keep it simple. If you do it again, use the Pen tool, and maybe turn on the grid, or pullout some guides from the rulers — it's usually a help to have the rulers turned on when producing graphic content with Photoshop.
A few tips to move you forward...
When you turn on the grid, depending on how it is set in Preferences, the density might be too sparse, or as in this case, too dense.
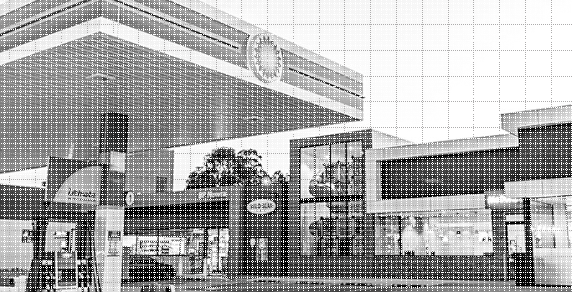
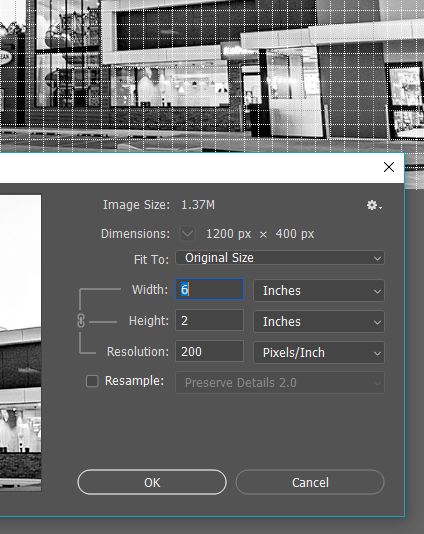
I never change the grid settings Preferences, but rather change the dpi in Image size, with Resample turned off.
So at the moment Resolution is set to 72dpi, and pixel size is 1200 x 400.

Changing resolution to 200 (with Resample unchecked) gives us a more user friendly drid spacing, but has not changed the pixel size
I've turned off the grid because I don't want anything to Snap to it at the moment and dragged out a guide from the left ruler, and let it snap to the centre. (Make sure Snap is checked in the View menu)
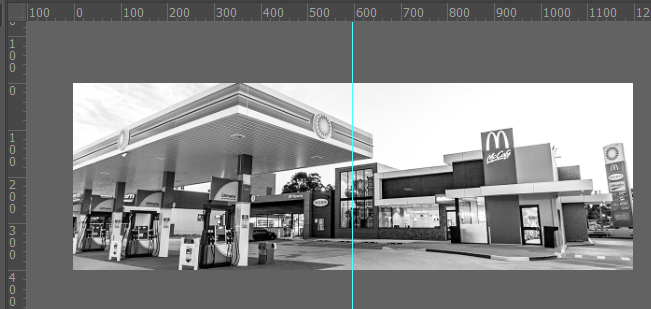
Now I'll pull out from the box where the rulers intersect, to the bottom of the central guide. The vertical location is not important in this case.

The zero point is now in the centre of the canvas.
Note I changed the resolution to 300 because the grid was still too dense.
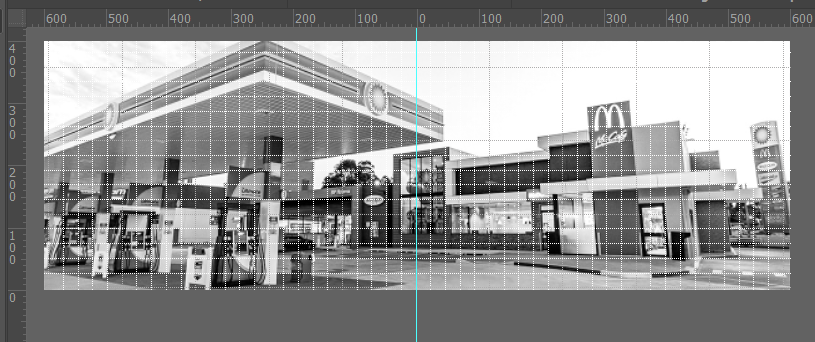
Using the grid to help, I've dragged two more guides. Turned off the grid (Ctrl ') and used the Pen tool to craw the outline of the V. You'll see why this is a good workflow in a moment.

With the workpath selected (which I renamed to prevent it being deleted) I go
Layer > New Fill Layer > Solid Color

Give it a name, and choose a colour. I have gone with white for clarity at this stage

Now comes the magic. Choose the Direct Selection tool (White arrow) and drag around our new shape layer (the V)
You can see above all five points are solid, which means they are selected.
Drag a window around the centre point.
Now only that point is selected. The others have a white core.

You can now drag that point to change the shape. Holding down the Shift key restricts movement to up and down with now lateral movement. Cool hah?

I've undone that, and dragged a window around the upper two points which both become selected.

And I can move just those points. Whoops! I forgot to hold down the Shift key ![]()
Note the advice window telling me how far the points have been moved.
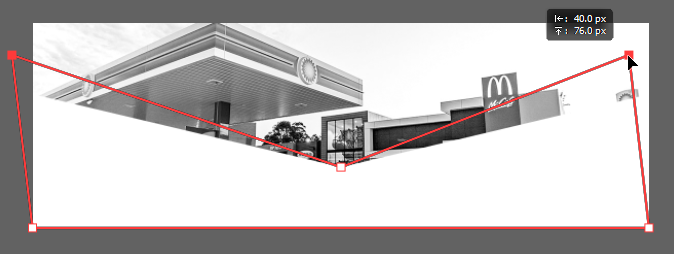
Note holding down Ctrl (Cmd) toggles between Direct Selection, and Path Selection tools (White arrow / black arrow)
The above is how an experienced user would approach the graphic. I used more resources above than I would have in real life, by way of demonstration.
Copy link to clipboard
Copied
Hi Trevor .. wow thanks so much for this AWESOME tutorial!!! So sorry I haven’t replied earlier but just saw it. I am travelling at the moment but as soon as I get the chance I look forward to putting this wonderful info to use
Copy link to clipboard
Copied
Thanks so much, perfectly clear, job accomplished once I worked out it was the polygonal lasso tool ![]()
Get ready! An upgraded Adobe Community experience is coming in January.
Learn more

