


Copy link to clipboard
Copied
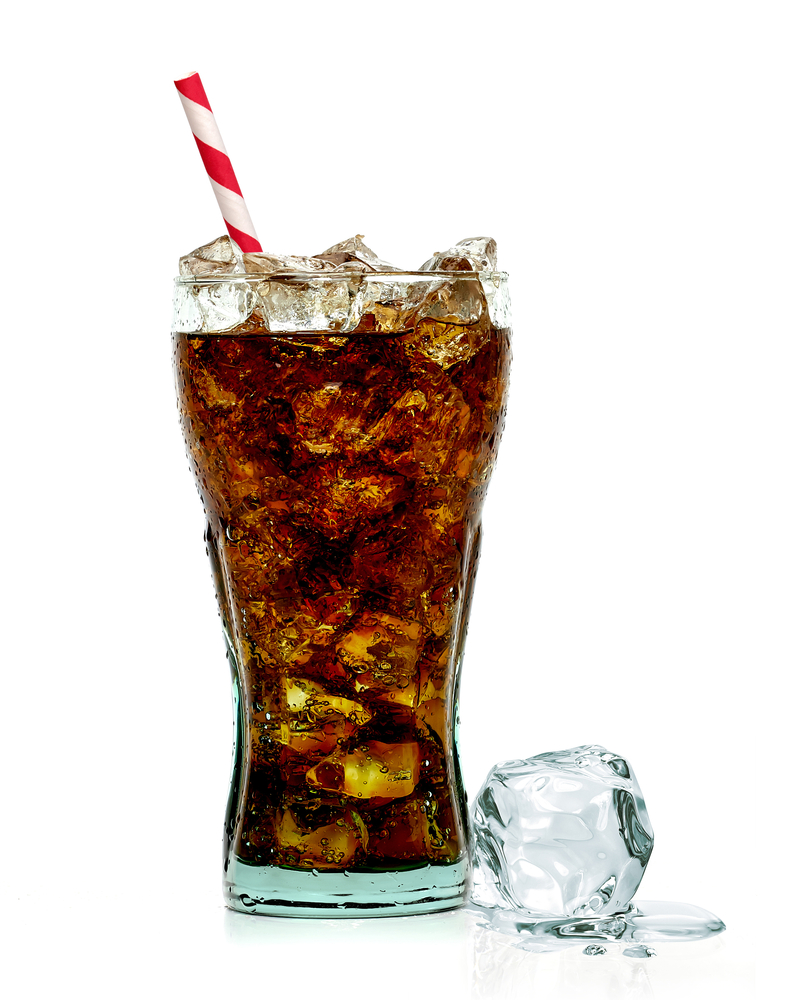
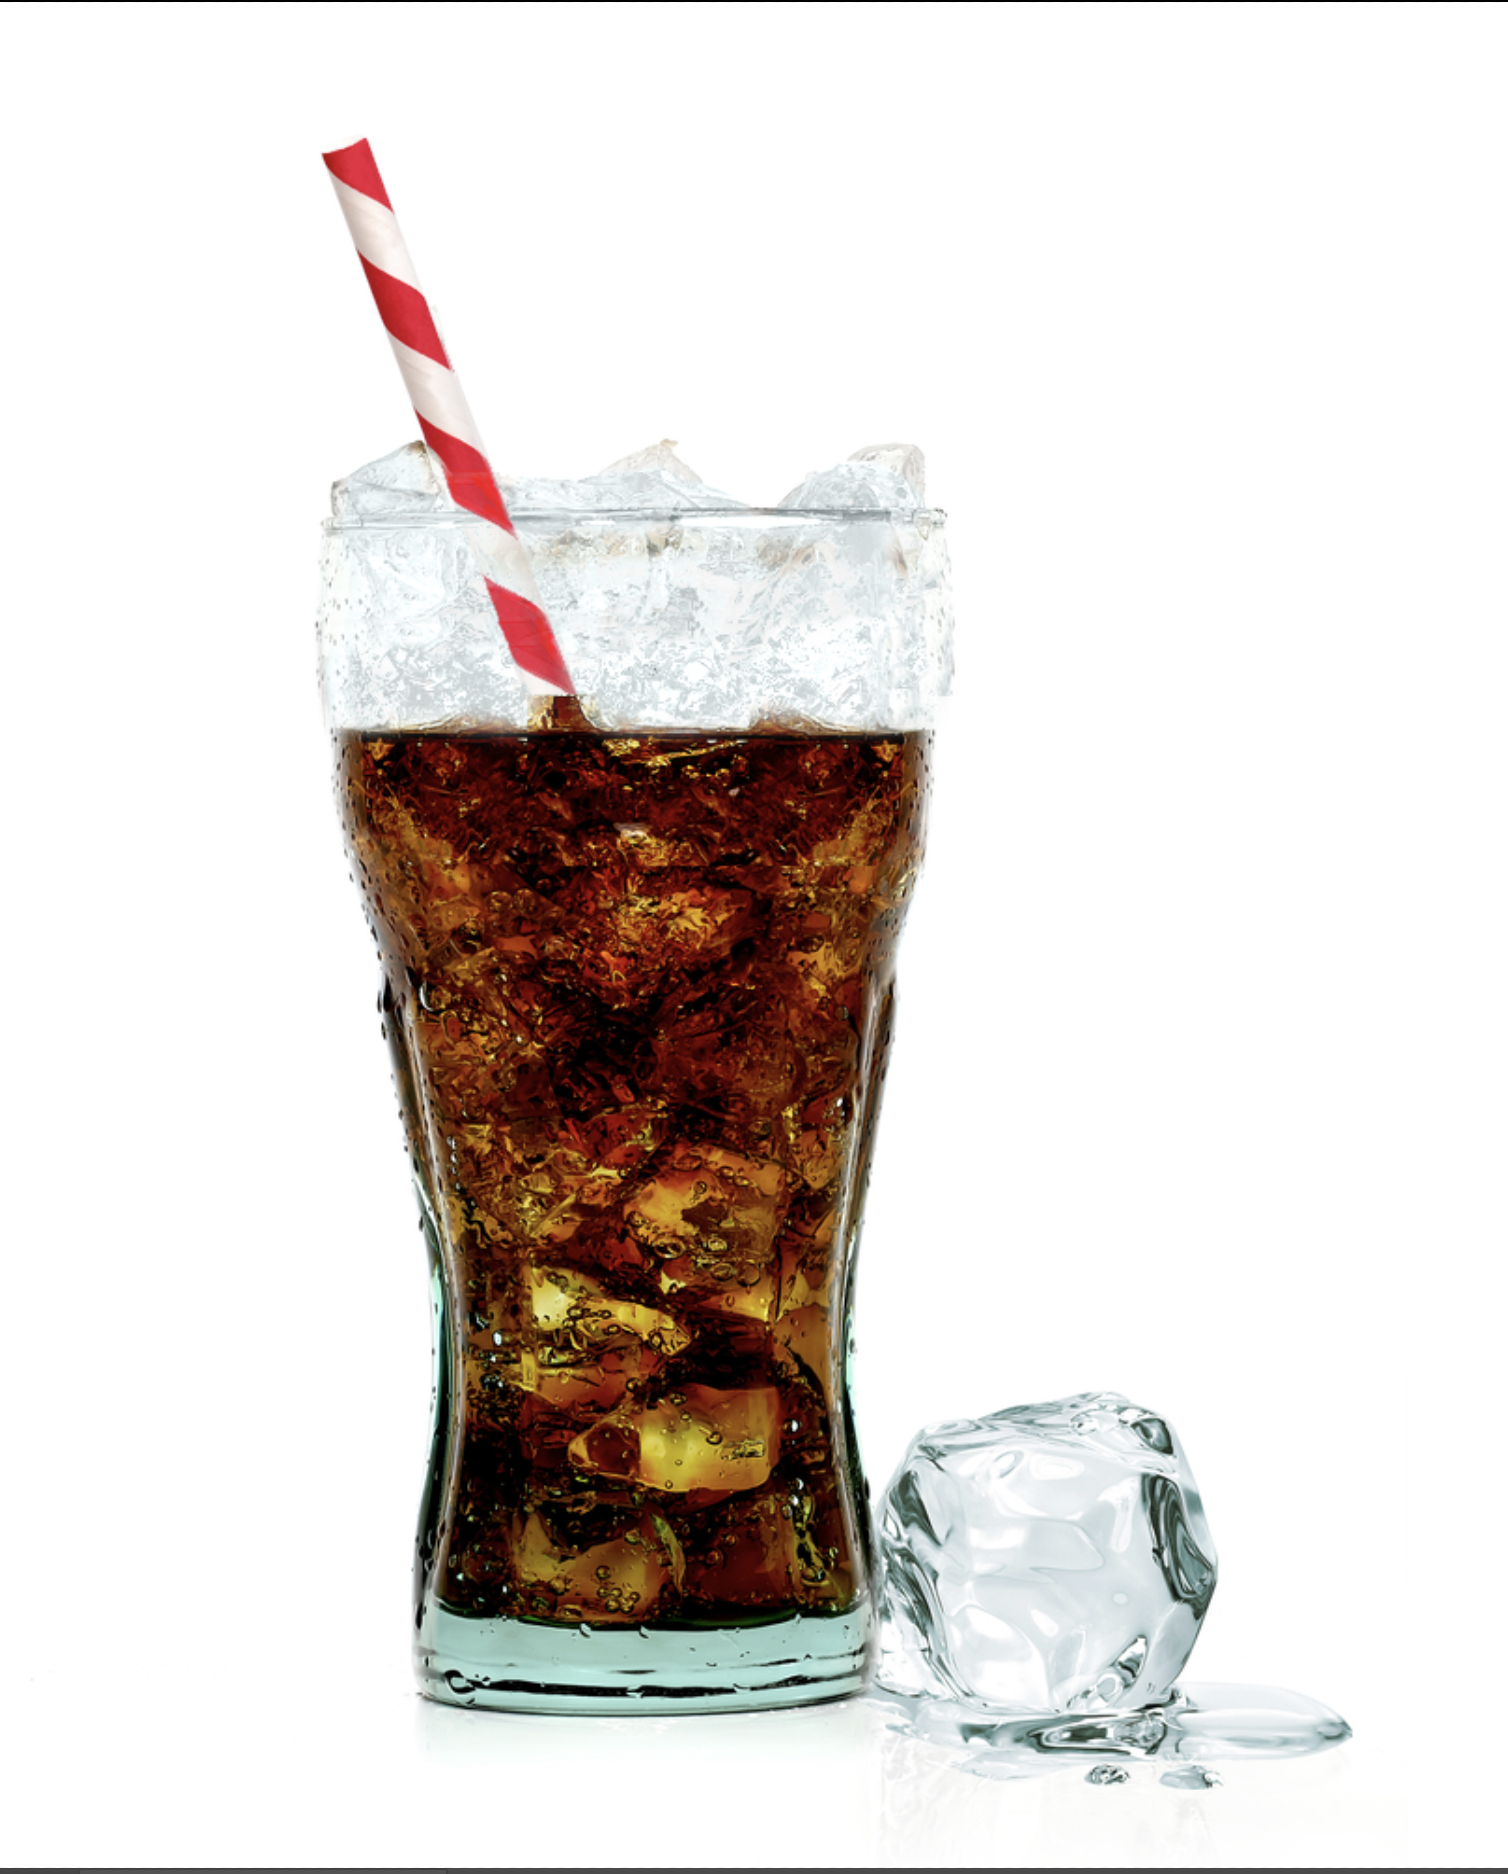
I want to make this glass with soda into a series of photos being : 2/3 full, 1/2 full , 1/4 full and finally empty.. any help on achieving this would be help full


 1 Correct answer
Well, mine was done in a similar method. First I drank the drink but left the ice (I don't like ice).
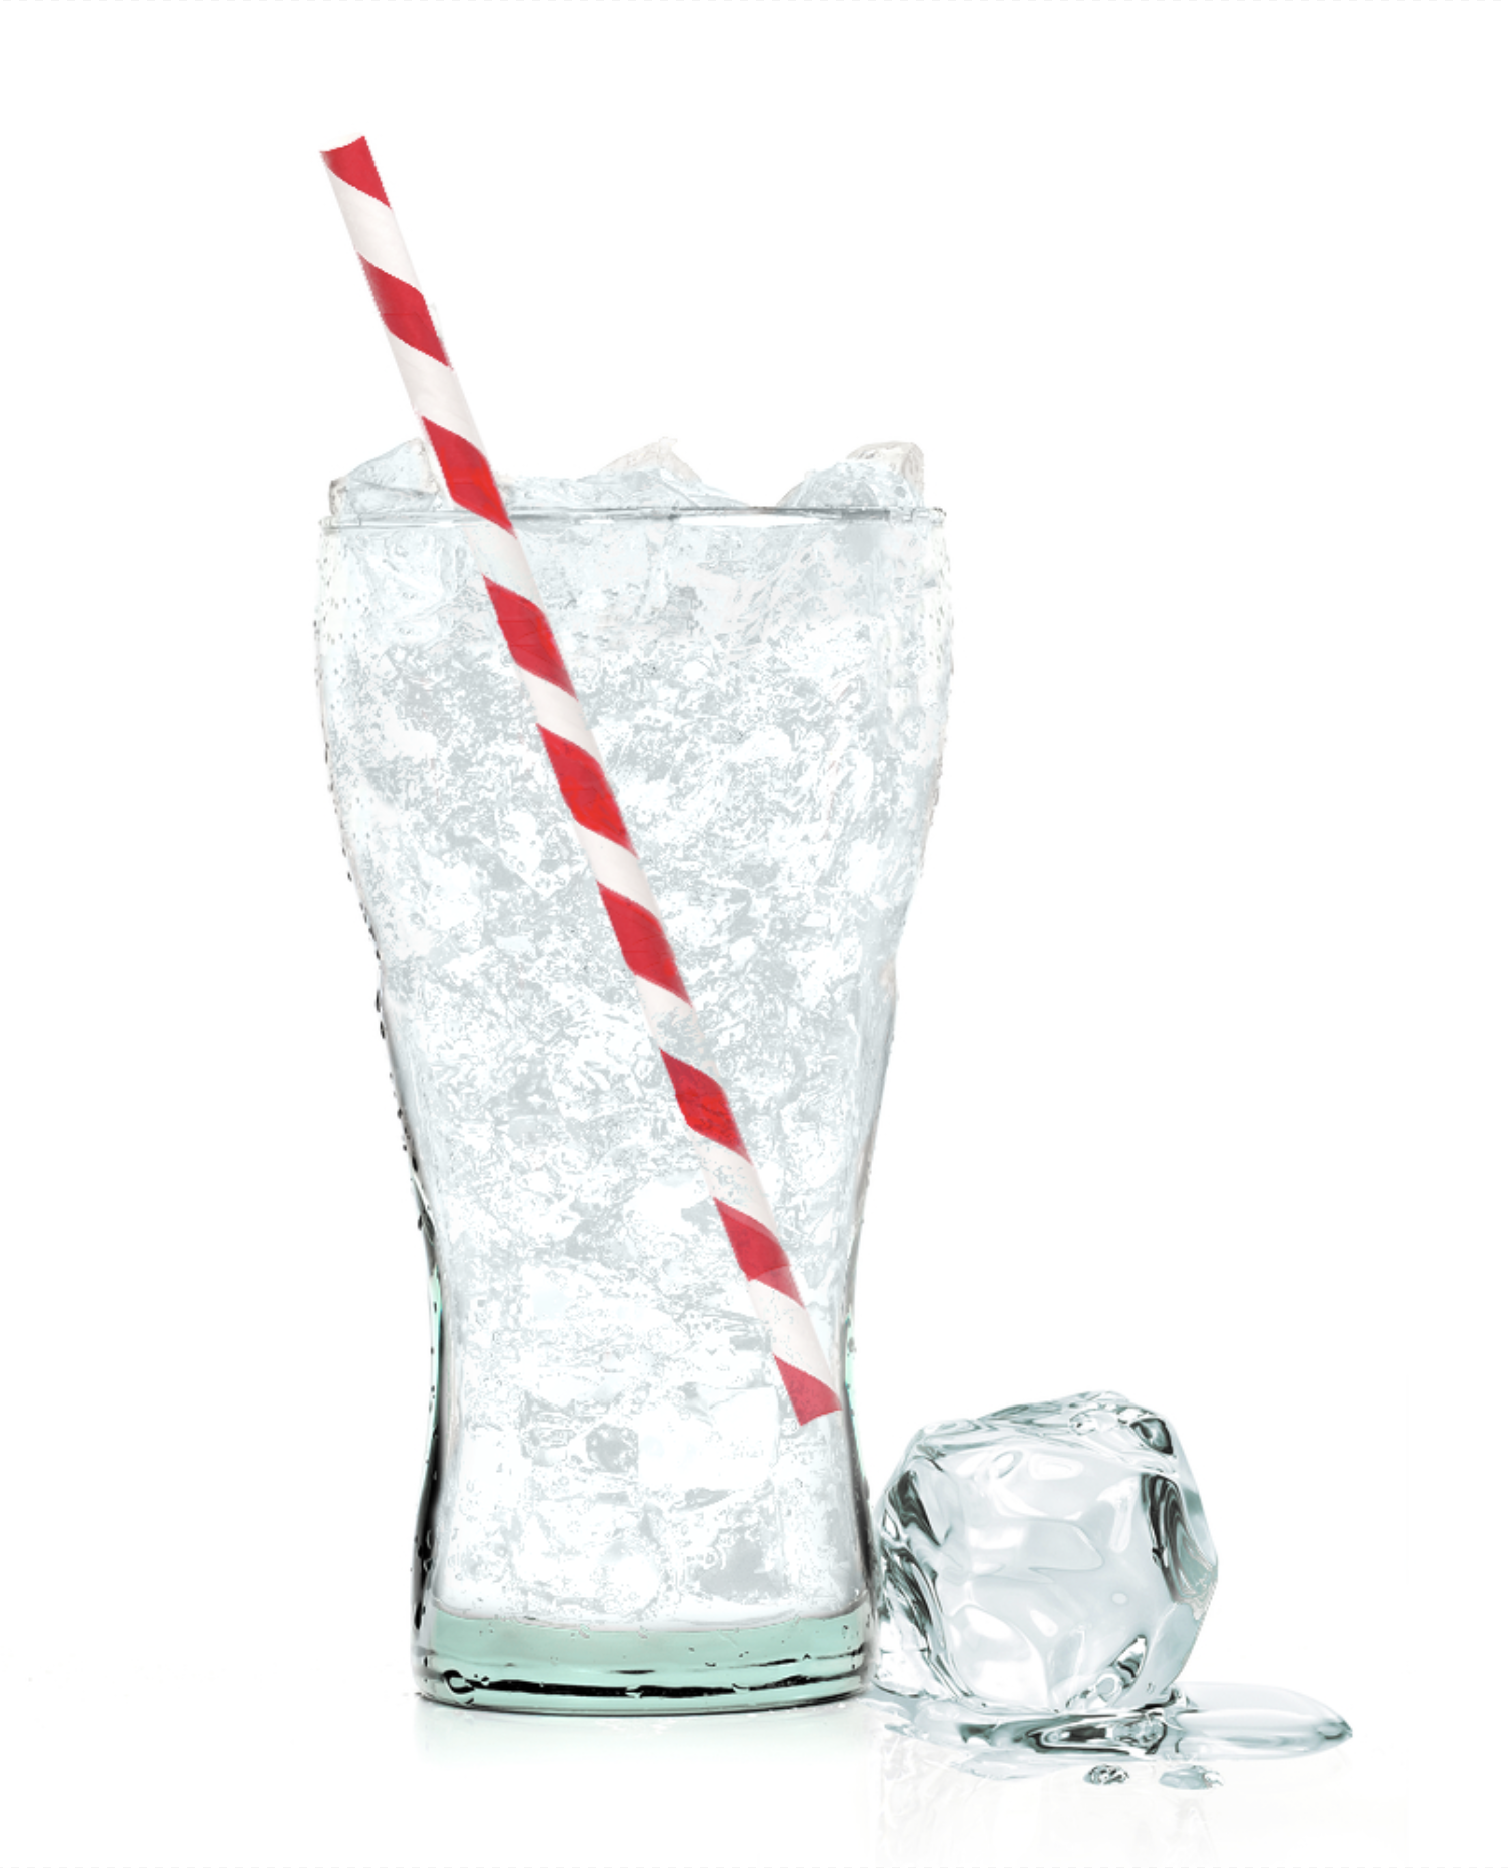
Then I filled it back up ( I was still thirsty, and it was a small glass!)
Using the first image and the surface of the drink then just moved the surface down and exposed the empty glass. Easy to animate this way. 
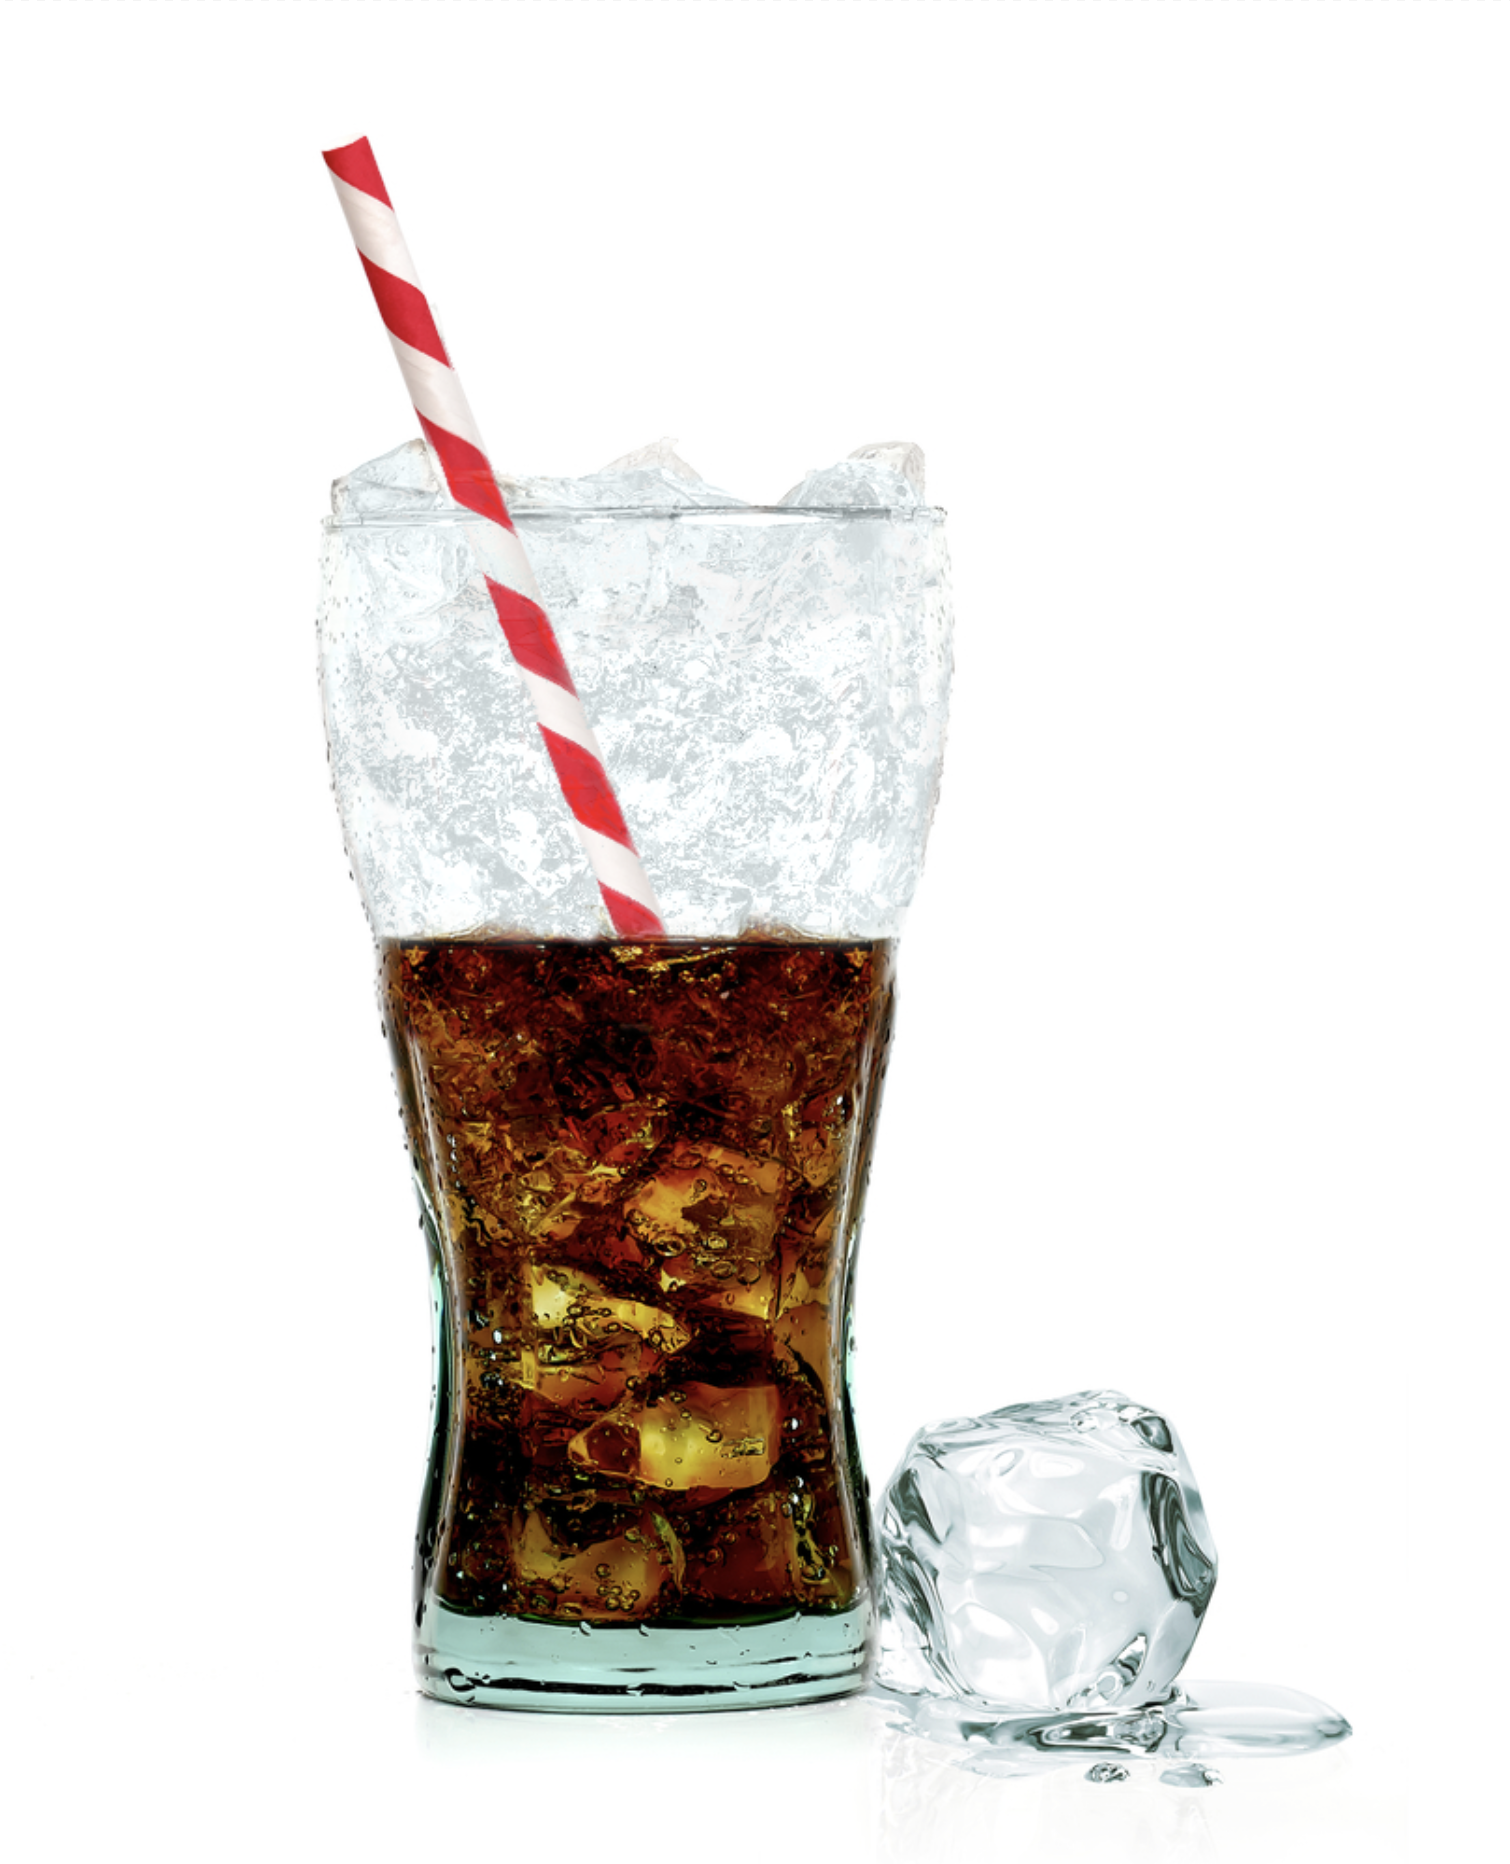
Although some could do this without coming up for air, I had to stop for a breath...
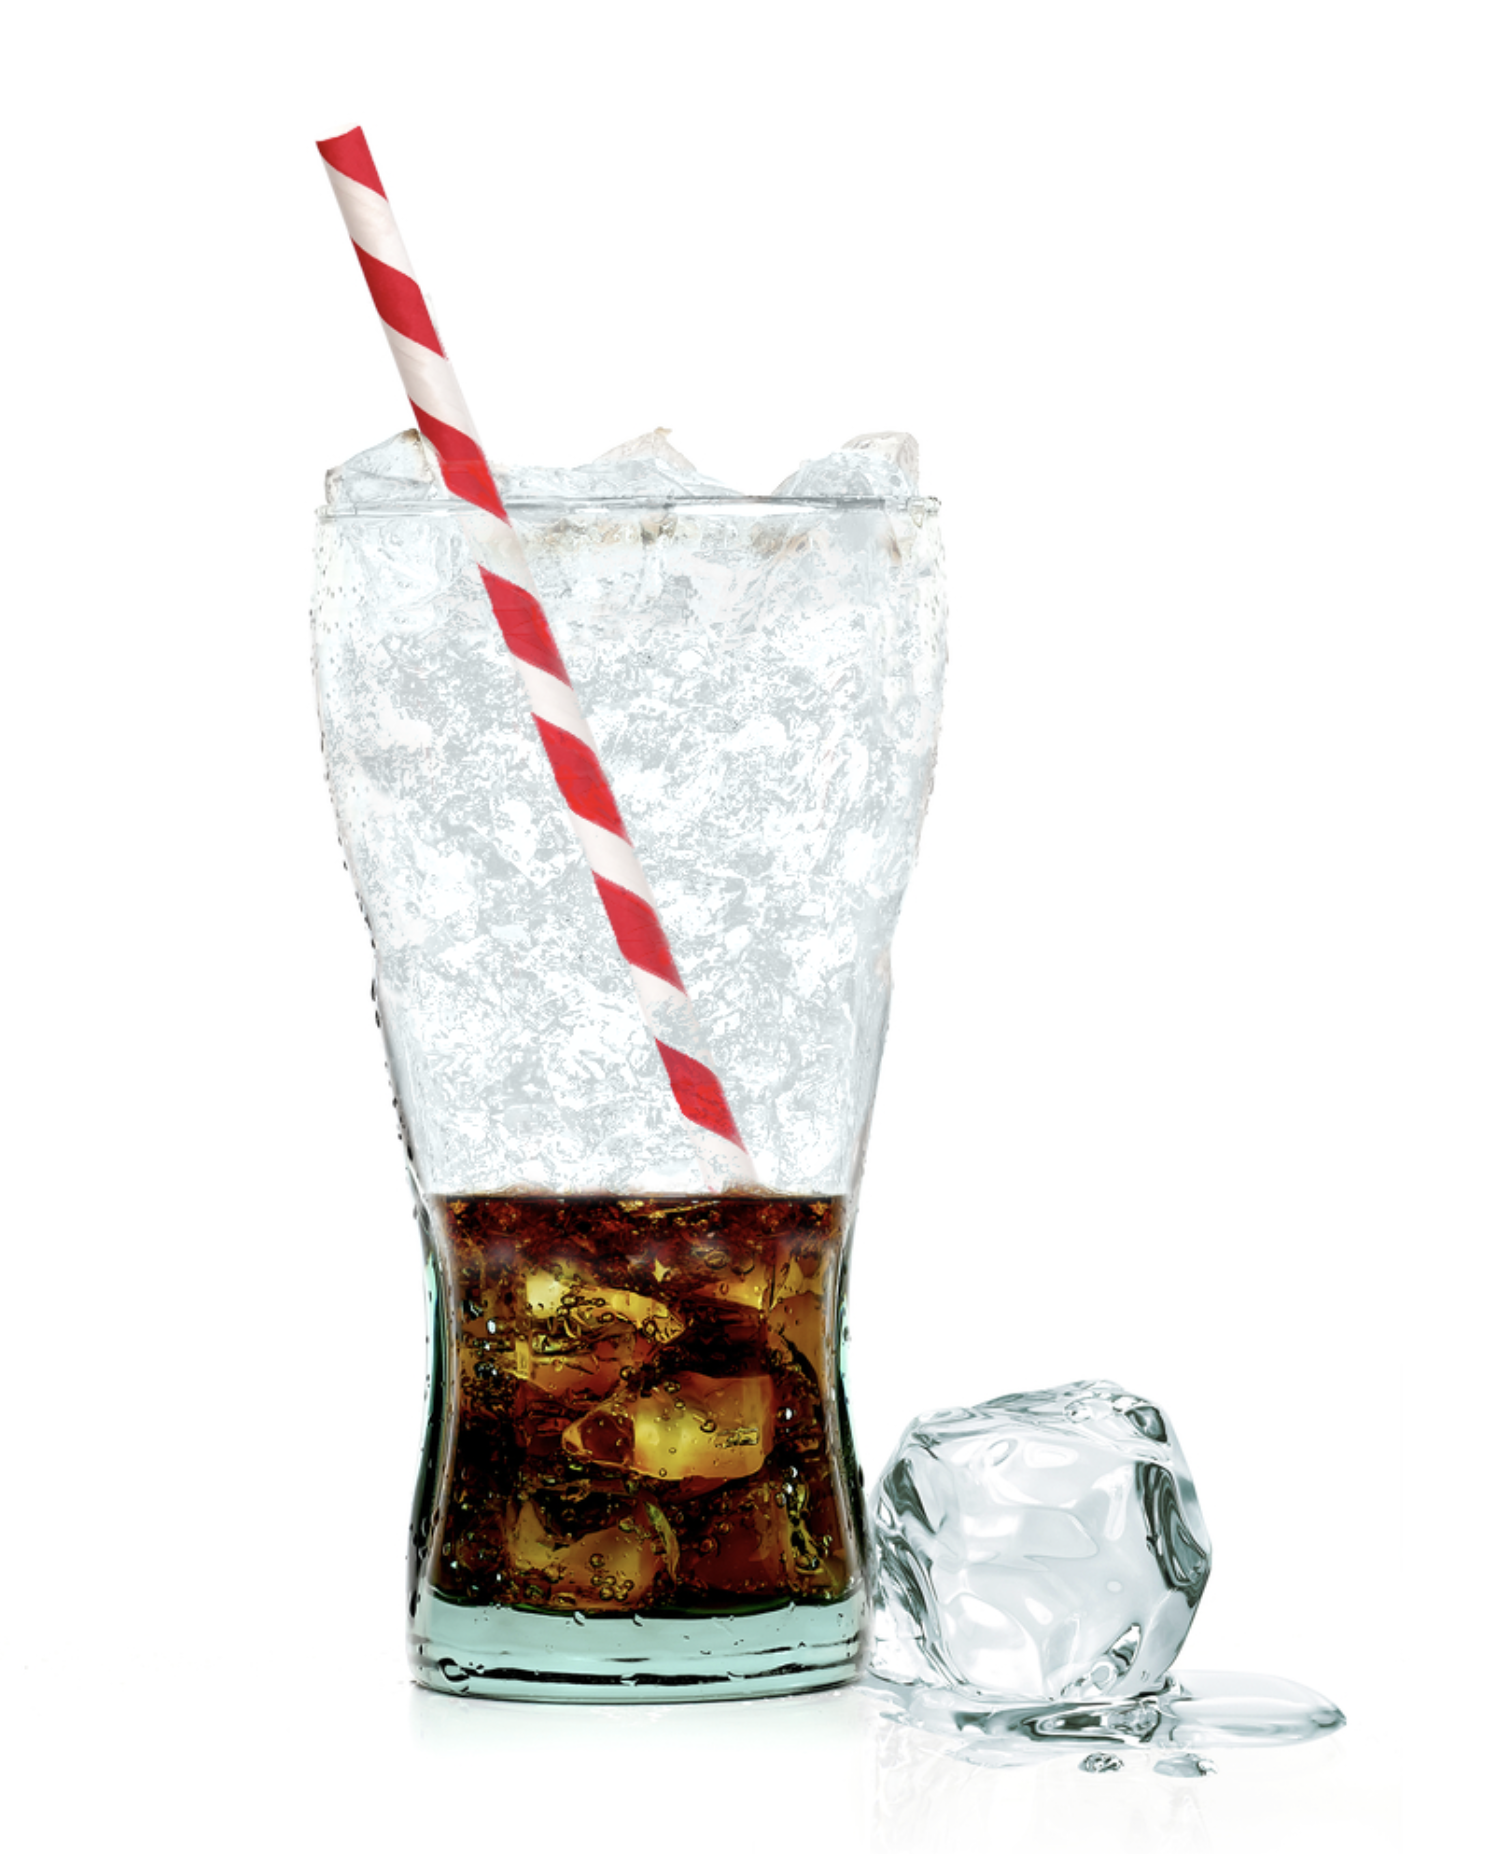
Then of course head for the bottom and try not to burp
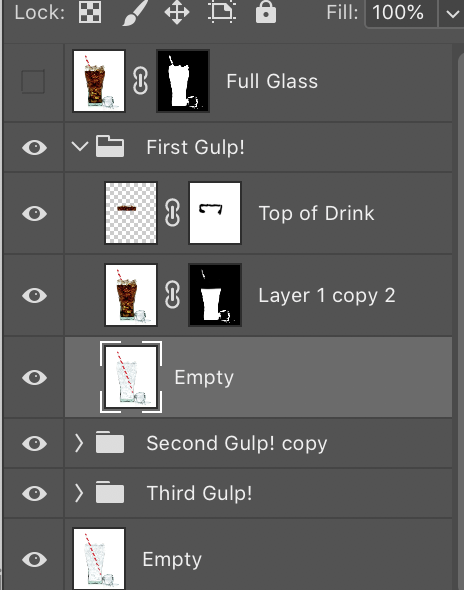
The empty Glass was made by using Replace
...Explore related tutorials & articles
 7
Replies
7
7
Replies
7
Copy link to clipboard
Copied
that would need to be shot in "sequence" i am afraid. There is nothing to work with it would be remotely possible if the Glass was empty and you had individual shots of the other elements.

Copy link to clipboard
Copied
It would be easier to reshoot.

Copy link to clipboard
Copied
Maybe instead of reshooting, look for stock art that includes the various levels like this one Cola collection - Buy this stock photo and explore similar images at Adobe Stock | Adobe Stock Even if you had an empty version of the glass and tried to mask out portions of the full glass, the position and shape of the ice realistically would change as you got to the bottom as would any bubbles inside the glass vs the clean glass, so it would be fairly painstaking to try to recreate that.

Copy link to clipboard
Copied
This was wonderfully summed up in another thread - I think it was Trevor.Dennis who said it:
It's not an effect. It's a photograph.

Copy link to clipboard
Copied
Not an easy fix, but it might be doable. I'll be working it out as I do this post, so I am not exactly sure what's going to happen.
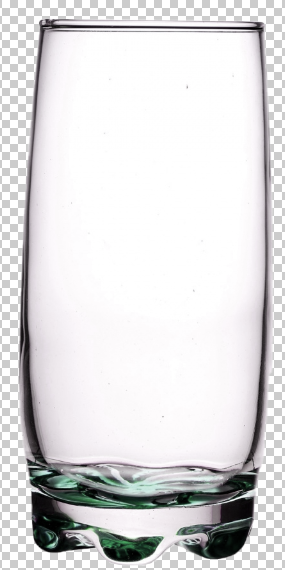
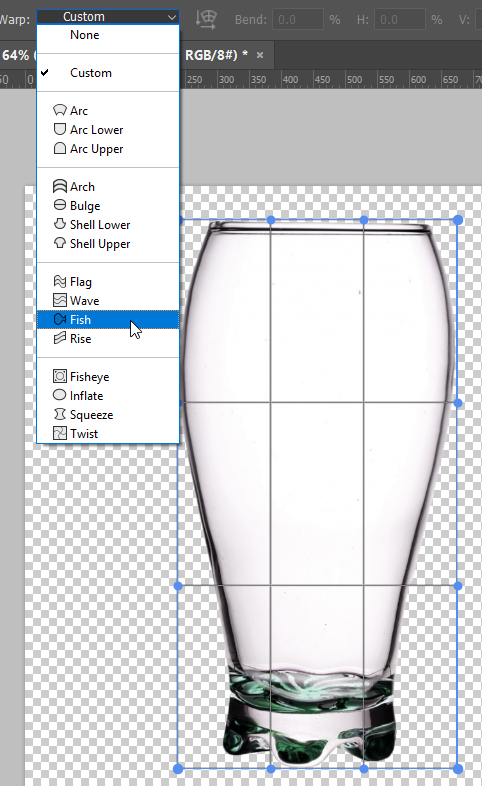
First you need an empty glass. I couldn't find the same glass
So I used Free Transform > Warp to get it closer
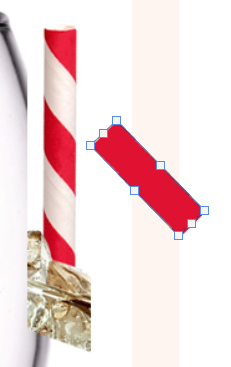
Then we need a straw, so fill a selection with the straw colour
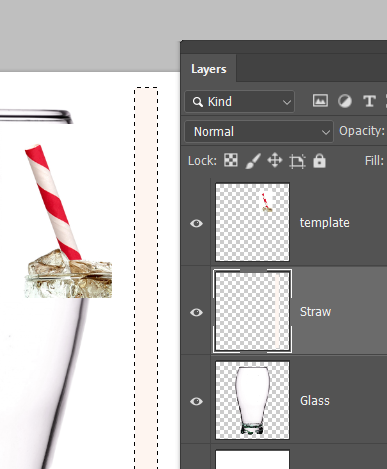
Fill another selection with the red stripe colour on a new layer, and Free Transform it to match the angle. Note I have straightened the original straw layer to help with the alignment.
Before you OK the Free Transform (FT) click on the Warp button, and give it a slight Flag twist. You can turn the Warp off temporarily to get the length about right, then go back into Warp to fine tune. This step is necessary to get the twist in the right place
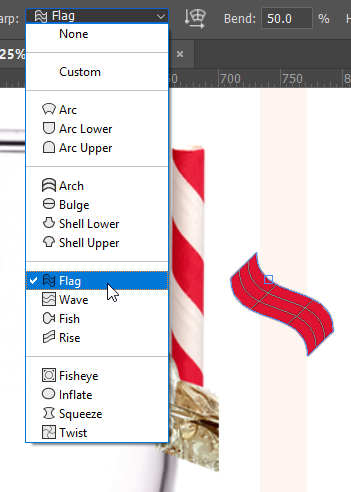
I said I was working this out as I did it, and the warp did not work, so I stepped back and made the red stripe layer a Smart Object, and clipped it to the straw stem. Then went back to FT > Warp the stripe. This meant I could better see what I was doing, and could go back in a fine tune, because it was a Smart Object. I've got a bit more twist, but I am going to leave it for now.
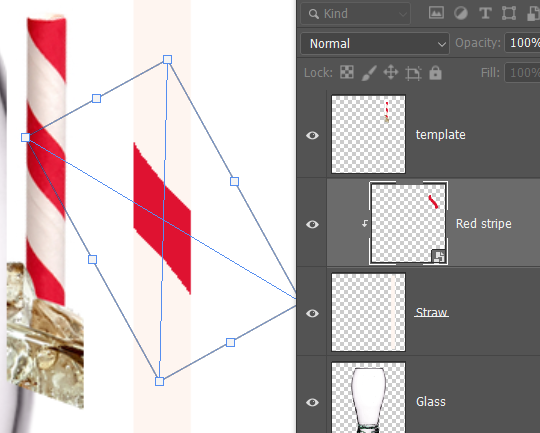
I've grouped the straw layers.
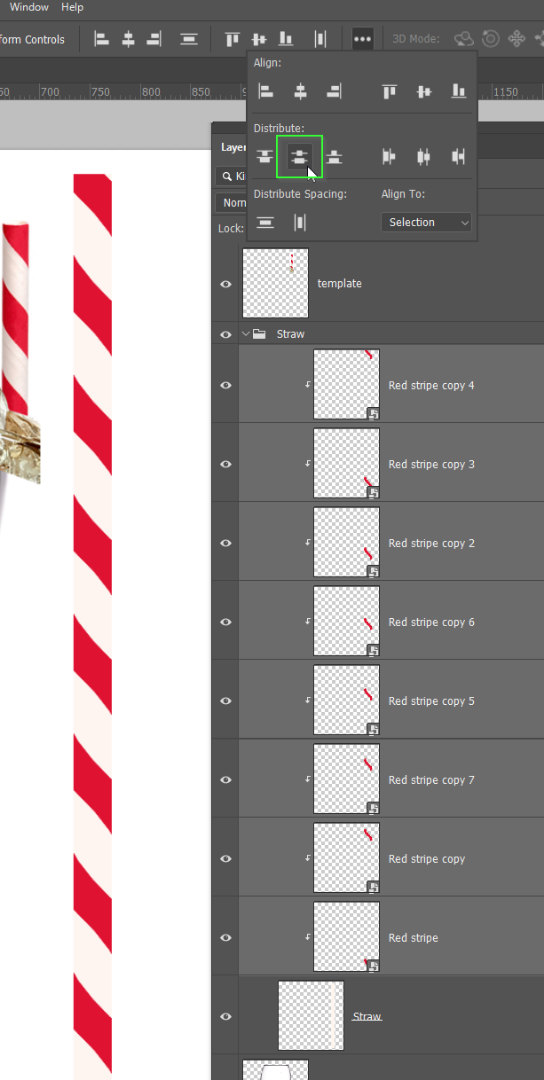
Copied the stripe layer several times
And with the Move tool selected, used the alignment tool to distribute the stripes up the straw.
I've filled a selection with black and blurred it
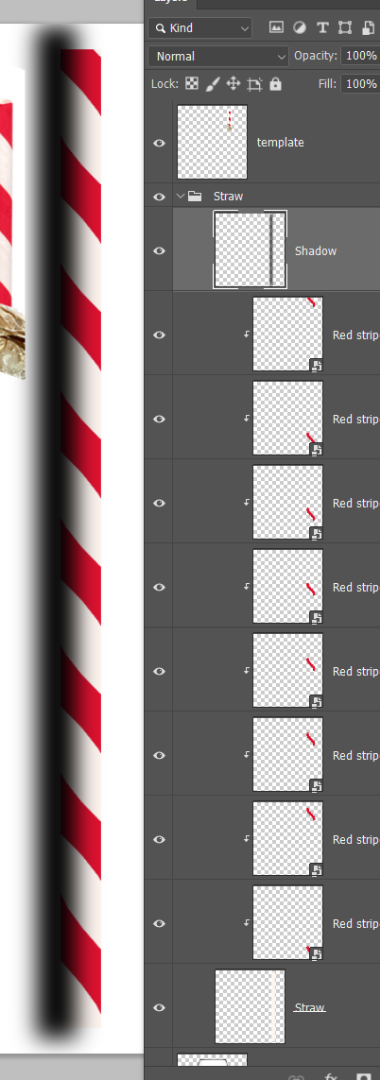
I've clipped it to the straw stem, reduced opacity to 40% and set it to Multiply.
Made a copy and moved to the right side of the stem
Made a white stripe down the center, blurred it and set to Screen
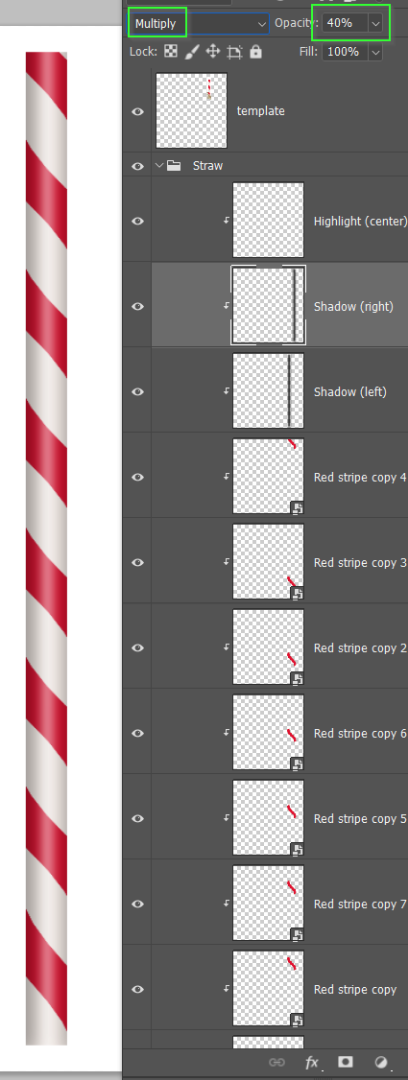
Made the straw group a Smart Object.
Placed it below the glass layer
And set the glass layer to Multiply (this will probably change when we add the liquid)

Nearly there
I've cut out the liquid and ice from the original
Copied to the new glass document.
Made it a Smart Object
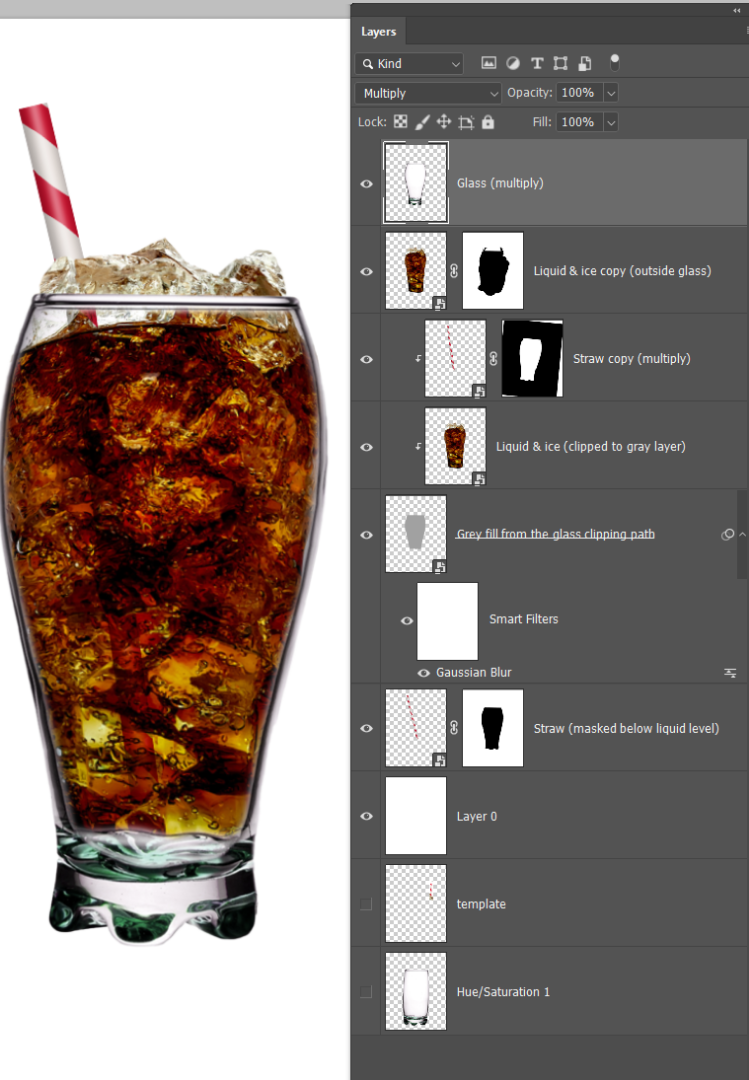
And made a clipping path just inside the glass outline.

A few things have happened now, sop I hope you can follow
The primary liquid layer is clipped to the gray layer meaning that's the only bit that shows
There was a bad transition at the edge, so I blurred the gray layer so the liquid would extend outwards into the glass edge.
A copy of the liquid layer was moved up the stack, and masked so it only shows the outside glass bit
Note the glass is still at the top of the stack set to Multiply.
The straw layer is masked below the ice
A copy of the straw is moved up the stack, rotated a bit to mimic refraction
And set to Multiply
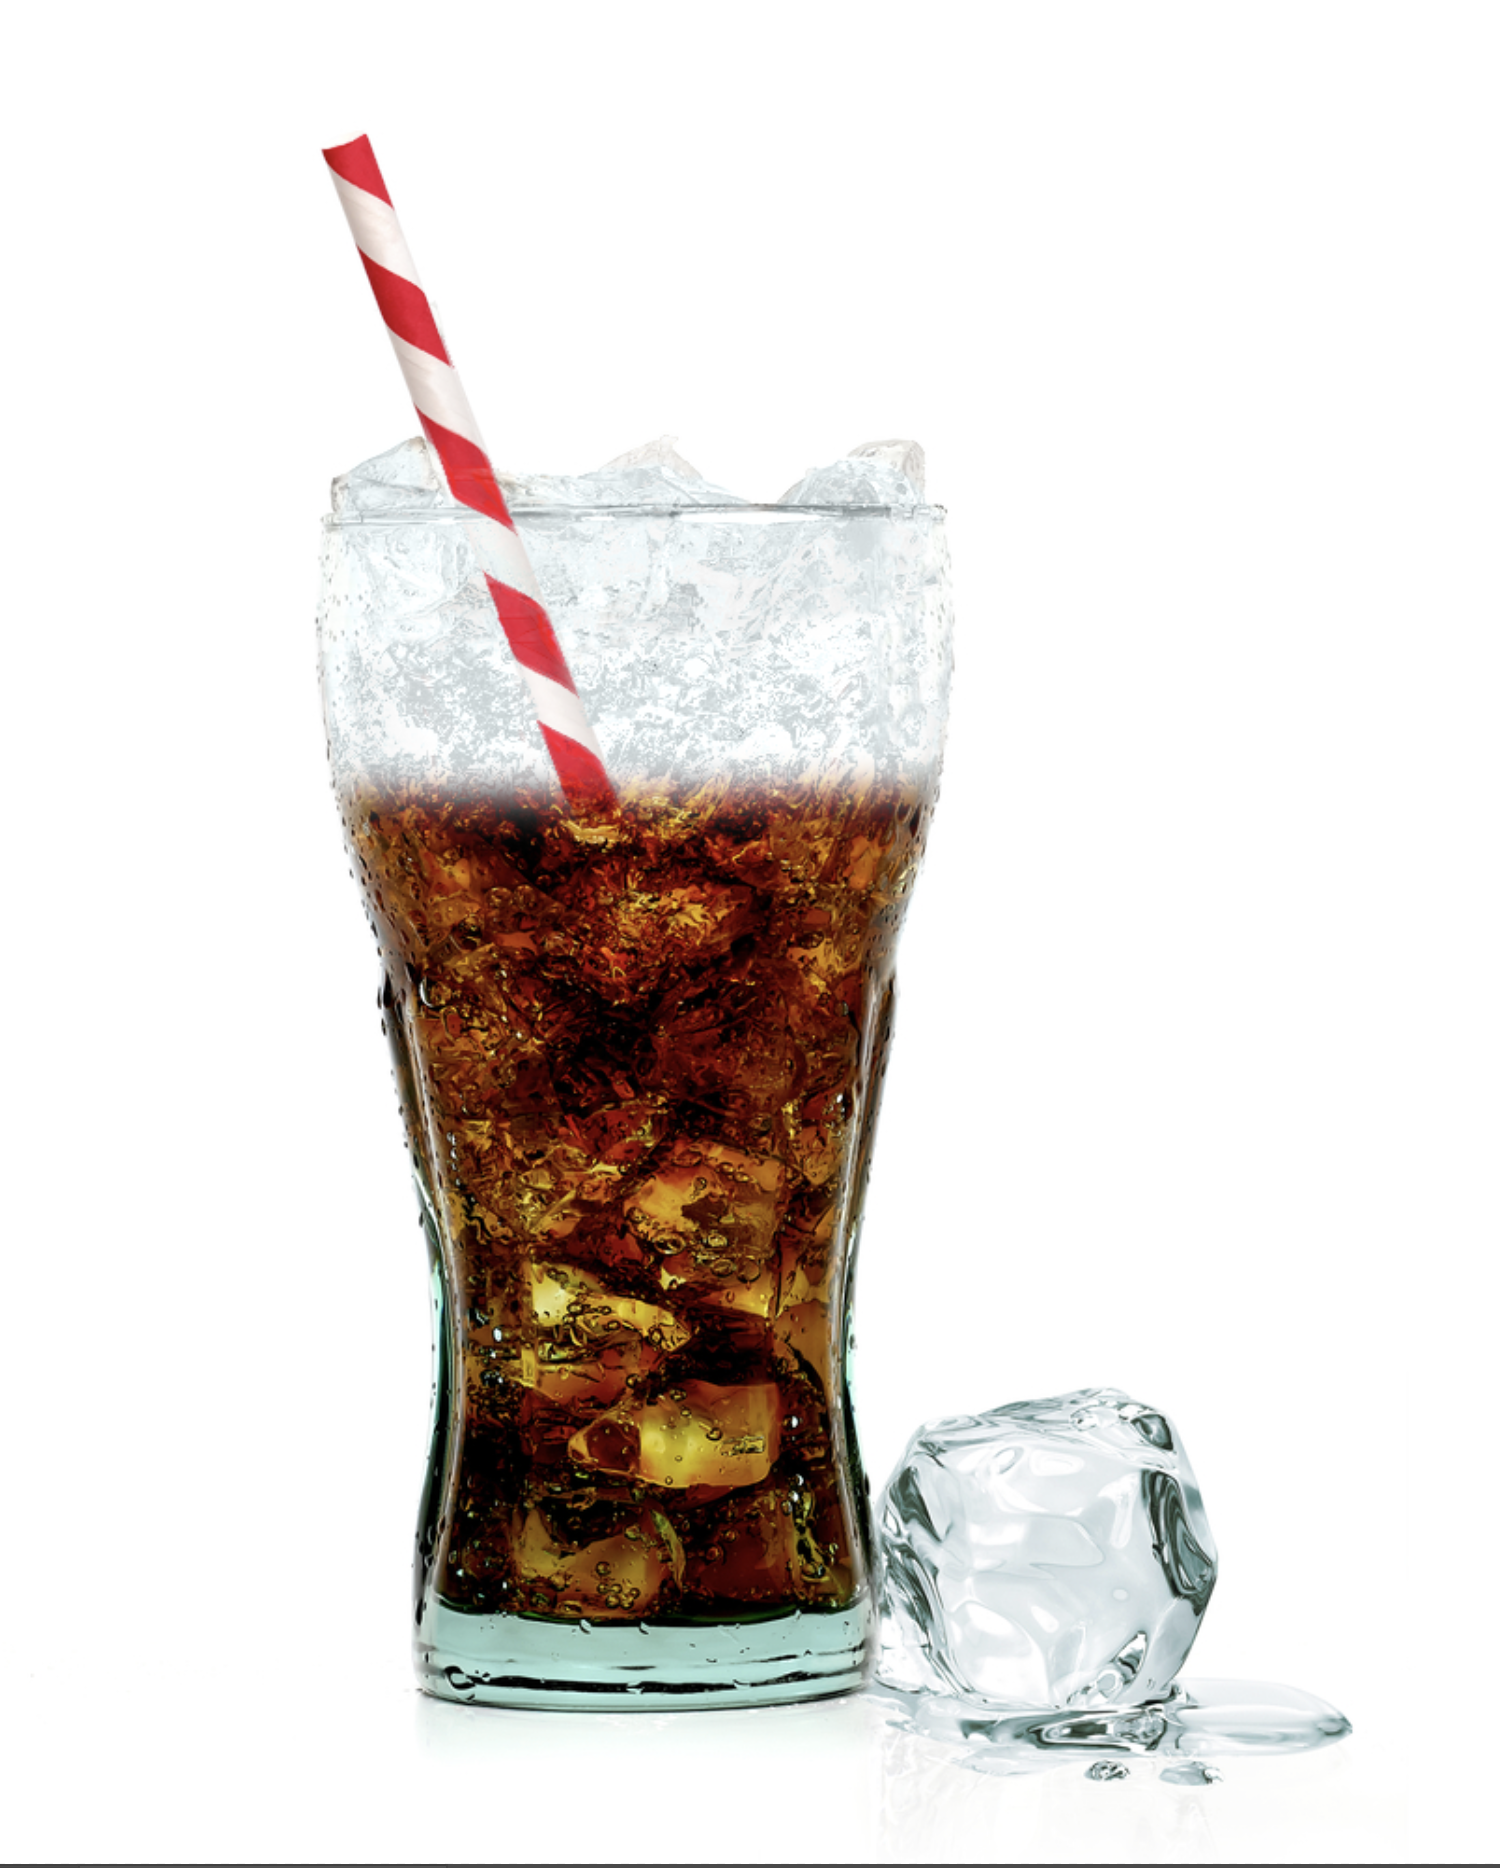
I'll just do the half full. You can work it out for the other two.
The red layers are no longer needed
The green layers have been changed.
The liquid layer just need moving down. Its mask hides the liquid outside the glass
Both straw layers need changing. The outside was unmasked to the new liquid level
The below liquid was changed to Hard Light and its opacity dropped to 50%
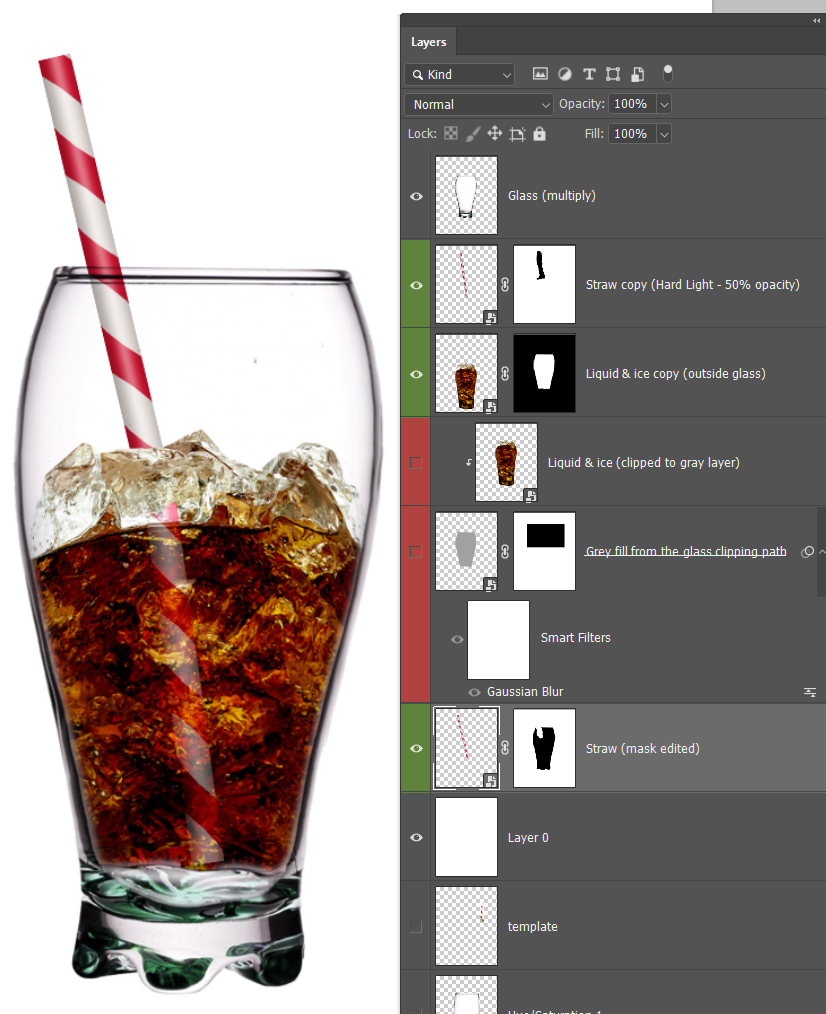
I did say it was not an easy fix. The clipping masks and gray layer are the important bits. They help you control what shows and what doesn't, and they provide an easy way of reloading the selections (By Ctrl clicking the work path). Blend modes are also crucial, but it's OK to toggle through to see what works and what doesn't. I have a good idea which blend mode I need, but I still use trial and error sometimes.
Good luck, and enjoy.

Copy link to clipboard
Copied
Wow, Trevor.Dennis! 
Copy link to clipboard
Copied
Well, mine was done in a similar method. First I drank the drink but left the ice (I don't like ice).
Then I filled it back up ( I was still thirsty, and it was a small glass!)
Using the first image and the surface of the drink then just moved the surface down and exposed the empty glass. Easy to animate this way.
Although some could do this without coming up for air, I had to stop for a breath...
Then of course head for the bottom and try not to burp
The empty Glass was made by using Replace color and removing the black and brown, then brushing back in the bits that were glass. Then duplicating the straw and flipping it in Darken mode a few times to make a full straw. Then copy that layer, change it to normal mode, and mask it out. Then brush back in the bits that need to be more solid.

 AdChoices