- Home
- Photoshop ecosystem
- Discussions
- Re: How can I "clean" this photo of a painting?
- Re: How can I "clean" this photo of a painting?
How can I "clean" this photo of a painting?
Copy link to clipboard
Copied
I have a photograph of a painting. Here is a small screenshot.
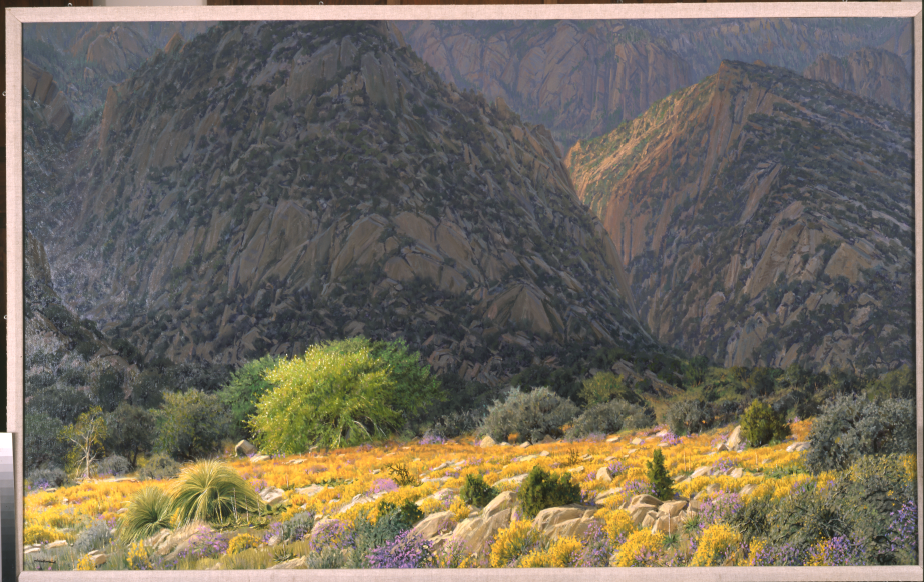
On the left you can see some horrendous noise. This is a 100% screenshot.
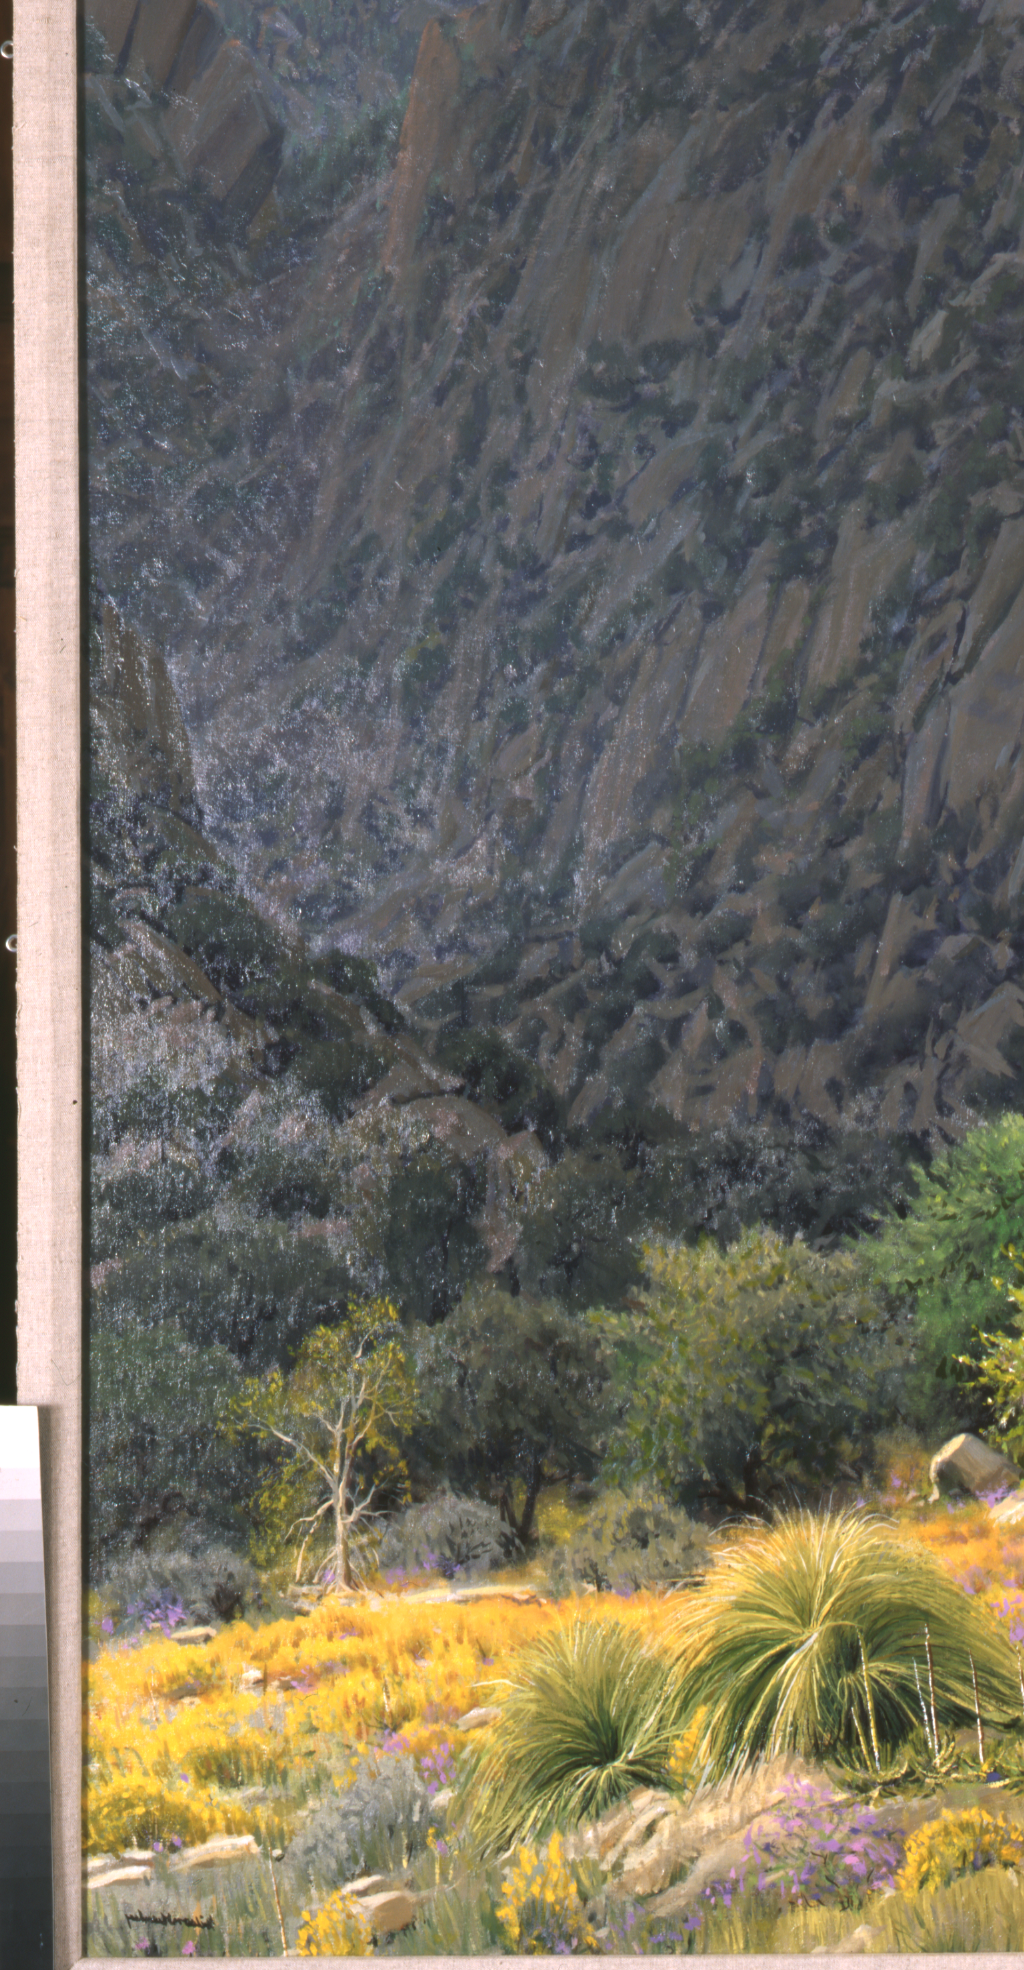
How can I clean this up? There isn't enough good material to work with to allow me to use either the spot healing brush or the patch tool. And I tried some of the noise reducing filters, but they made the rest of the image look mushy.
Here is a link to the original. Dropbox - 2005-11001.tif - Simplify your life
Explore related tutorials & articles
Copy link to clipboard
Copied
That does not seem to be noise but rather reflections or scratches.
Are there no photographs with different lighting?
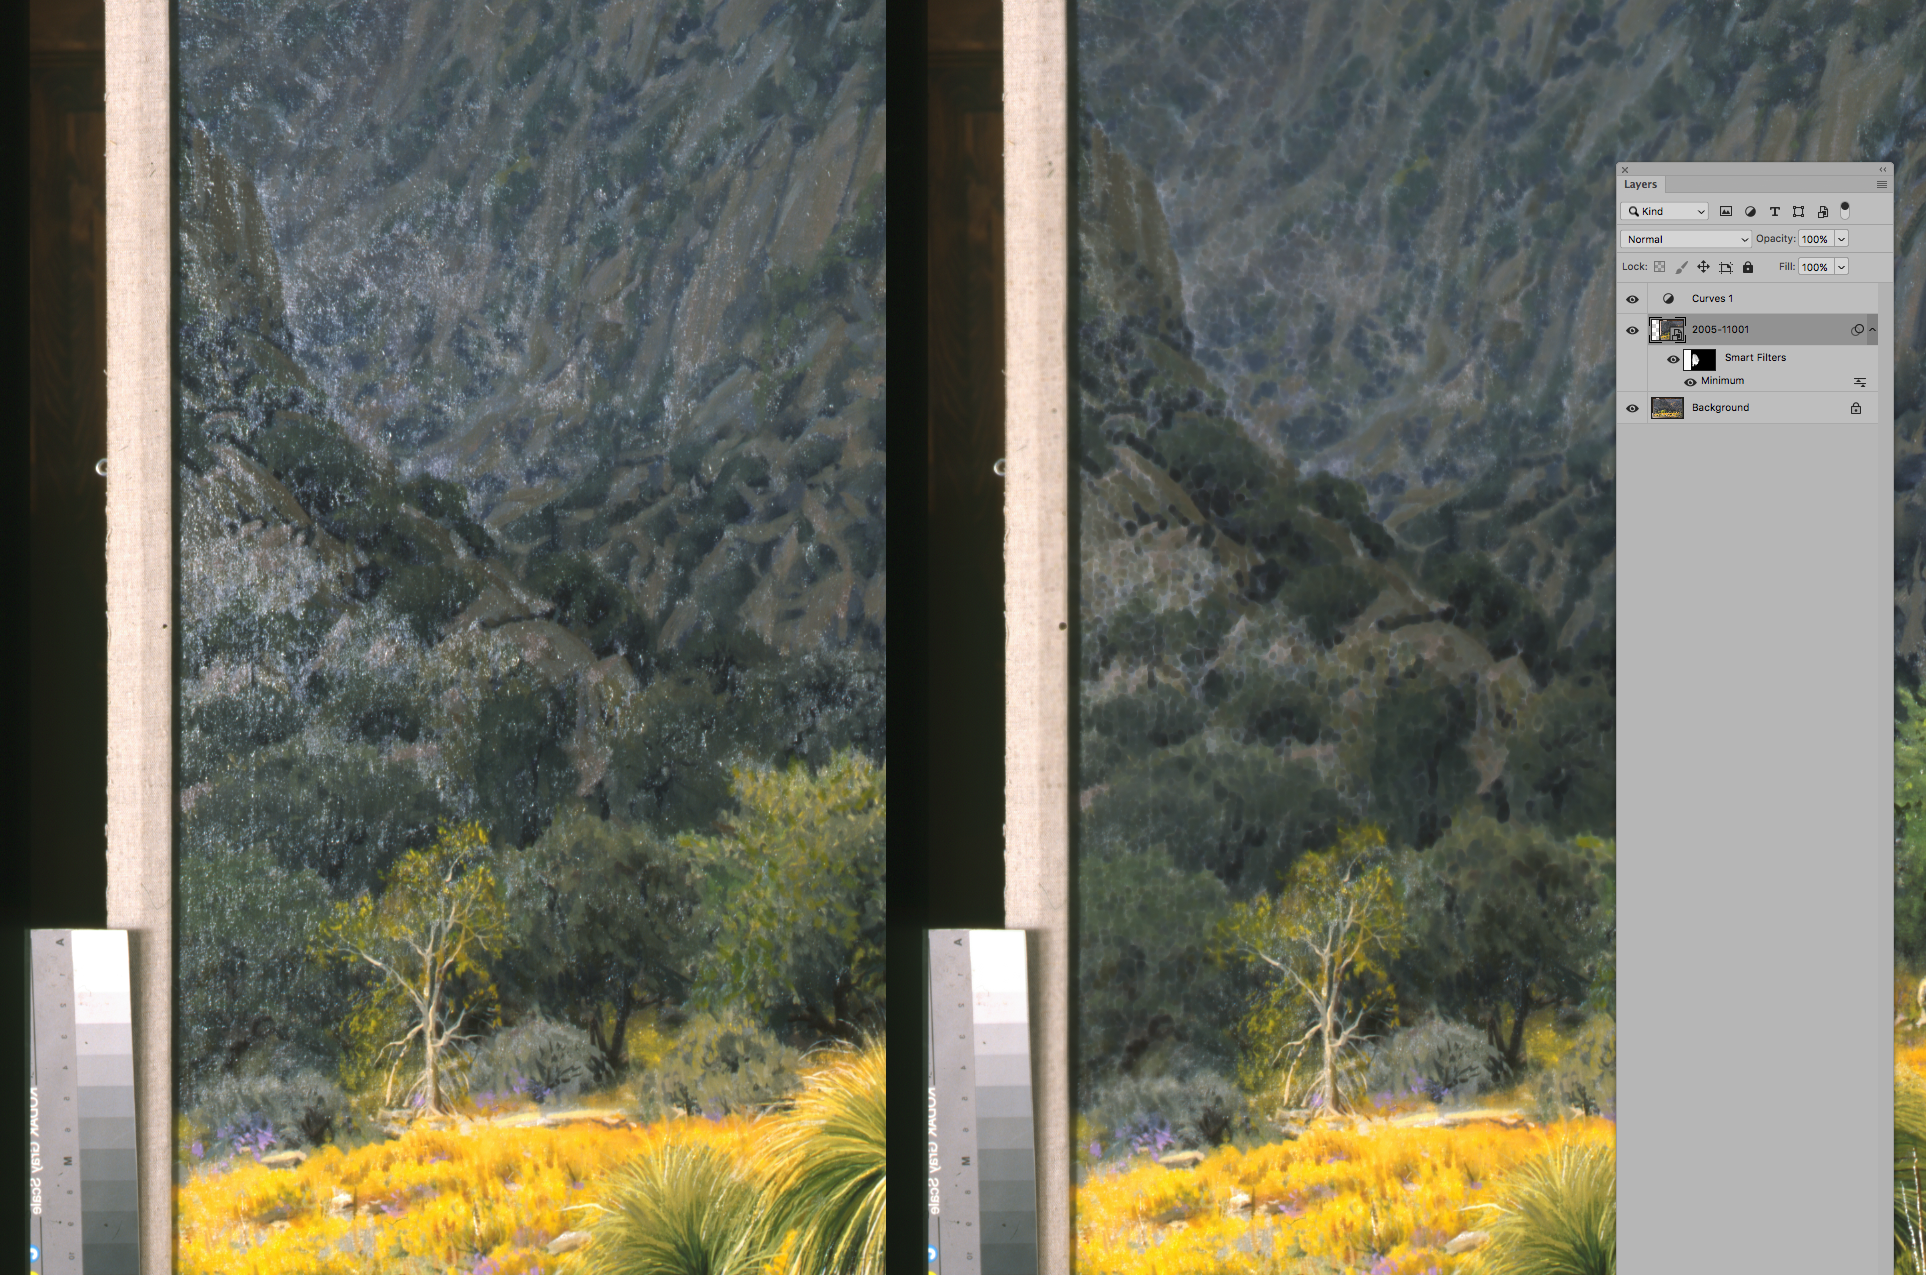
Some painting may be necessary but the Filter Minimum with a Mask might help a little.
Copy link to clipboard
Copied
Can you explain to me how you did that?
Copy link to clipboard
Copied
The screenshot shows that the Filter Minimum has been applied to a Smart Object and has a Filter Mask.
One can paint on that Mask to hide (black) or reveal (white) the Filter’s effect.
Copy link to clipboard
Copied
Can you tell me what this "Filter Minimum" is? And why are you using a Smart Object?
Copy link to clipboard
Copied
Filter > Other > Minimum
The Filter more or less spreads the darker pixels …
And why are you using a Smart Object?
Working destructively can make sense or even be unavoidable in some cases but generally working non-destructively provides for increased flexibility and reliability and is therefore preferable. (edited)
For example you might find the Filter-settings too much/too little later on – with a Smart Filter you can double-click the Filter in the Layers Panel and change the settings accordingly.
Copy link to clipboard
Copied
It was only a matter of time before D Fosse showed up with the definitive answer. The problem is light reflections.
Copy link to clipboard
Copied
https://forums.adobe.com/people/Bo+LeBeau wrote
It was only a matter of time before D Fosse showed up with the definitive answer. The problem is light reflections.
Thanks, Bo ![]() I have a very simple guiding principle for my presence here in the forum: If I don't know, I don't say anything. I only post when I know what I'm talking about - and this is something I do for a living, so I feel I'm on secure ground here
I have a very simple guiding principle for my presence here in the forum: If I don't know, I don't say anything. I only post when I know what I'm talking about - and this is something I do for a living, so I feel I'm on secure ground here ![]()
Copy link to clipboard
Copied
https://forums.adobe.com/people/Bo+LeBeau wrote
It was only a matter of time before D Fosse showed up with the definitive answer. The problem is light reflections.
You'd need to go a long way to find someone better qualified to answer this particular question. If the OP does not have the time to invest in years photographing works of art in a gallery (which is what Dag does) then they could take a shortcut, and read Fil Hunter's Light Science & Magic. It is essential reading for the budding product and commercial photographer.
Light Science & Magic : Fil Hunter : 9780415719407

You can actually find earlier editions online in PDF format. Chapter 3 is what you want.
Copy link to clipboard
Copied
Well good news is this definitely can be done! "Bad" news is it's going to be painstakingly slow manual process if you want a fantastic result. You can use a combination of the stamp tool the healing brush tool and normal brush.
(if I have sometime i will do a small section to show you the results that can be achieved)
/G
Copy link to clipboard
Copied
I would appreciate that.
Copy link to clipboard
Copied
That's not noise, but reflections caused by incorrect positioning of the lights. Move the lights further away, and at 45° angle.
Once you have reflections in the shot, it's not possible to remove without extensive manual work. Any automated procedure is at the risk of destroying actual detail.
If you really want to eliminate all reflections and glare, use cross-polarized lighting. This is a polarizer on the lens, together with polarizing film on the light sources. When they are rotated at right angles to each other, stray reflections are almost 100% blocked.
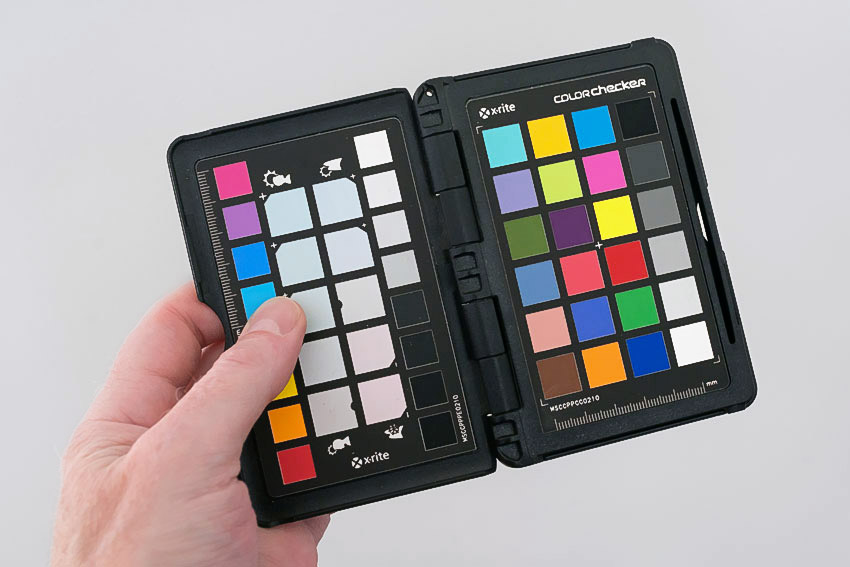
Also, invest in a ColorChecker. It has standardized values for each patch, so you can use the six neutral patches to set a basic tone response curve, as well as gray balance. For instance, the #3 darkest corresponds to Lab 52-0-0, or 48% in Lightroom if you use that.
Copy link to clipboard
Copied
I take pics of my paintings all the time, before I varnish but sometimes I still get glare. Taking 2 pics doesn't work because each pic shows different textures in the canvas. Any tips for using a cell phone for avoiding glare? I usually have to try several different locations to get a good pic and even then... I'm not a photographer, I'm an artist ![]()
Copy link to clipboard
Copied
Melissa, the camera doesn't matter. The light is the key. A basic setup for art repro - any flat surface - is two lights at 45° angle. Move them away as far as you can. Or actually it's not the distance, but to minimize reflection the ideal is a point light source. Diffused light is wonderful for a lot of things, but not this.
However, once you get into heavily textured surfaces, thick impasto paint and so on, it starts to get complicated because you also want to avoid hard shadows. Then I start looking at diffused light from above, not the sides, and polarizing gets even more important. You then have to avoid both shadows and reflections, and those two are often mutually exclusive unless you employ some nifty tricks.
Copy link to clipboard
Copied
Exactly. Hell, there's times I'm taking photographs of sketches I've done and the lighting can affect everything. Depending on what kind of lead I used, if the lighting is wrong in just the right spot, part of the linework has a weird glare too it. As with any photography, lighting is key
Copy link to clipboard
Copied
The best way to avoid glare is to use polarizing filters over the camera and the lights, with lights at 45 deg, as Dag mentioned above. If you have to use your cell phone, attach it to something like a tripod, and use the vise command to take the photo. Take several exposures and move a light around. Then blend them using darken mode to eliminate the hot spots.
Copy link to clipboard
Copied
Hello, Here is a small part of what can happen just running the photograph through Adobe Express Photoshop. There are at least 10 more to try out. Best regards, JH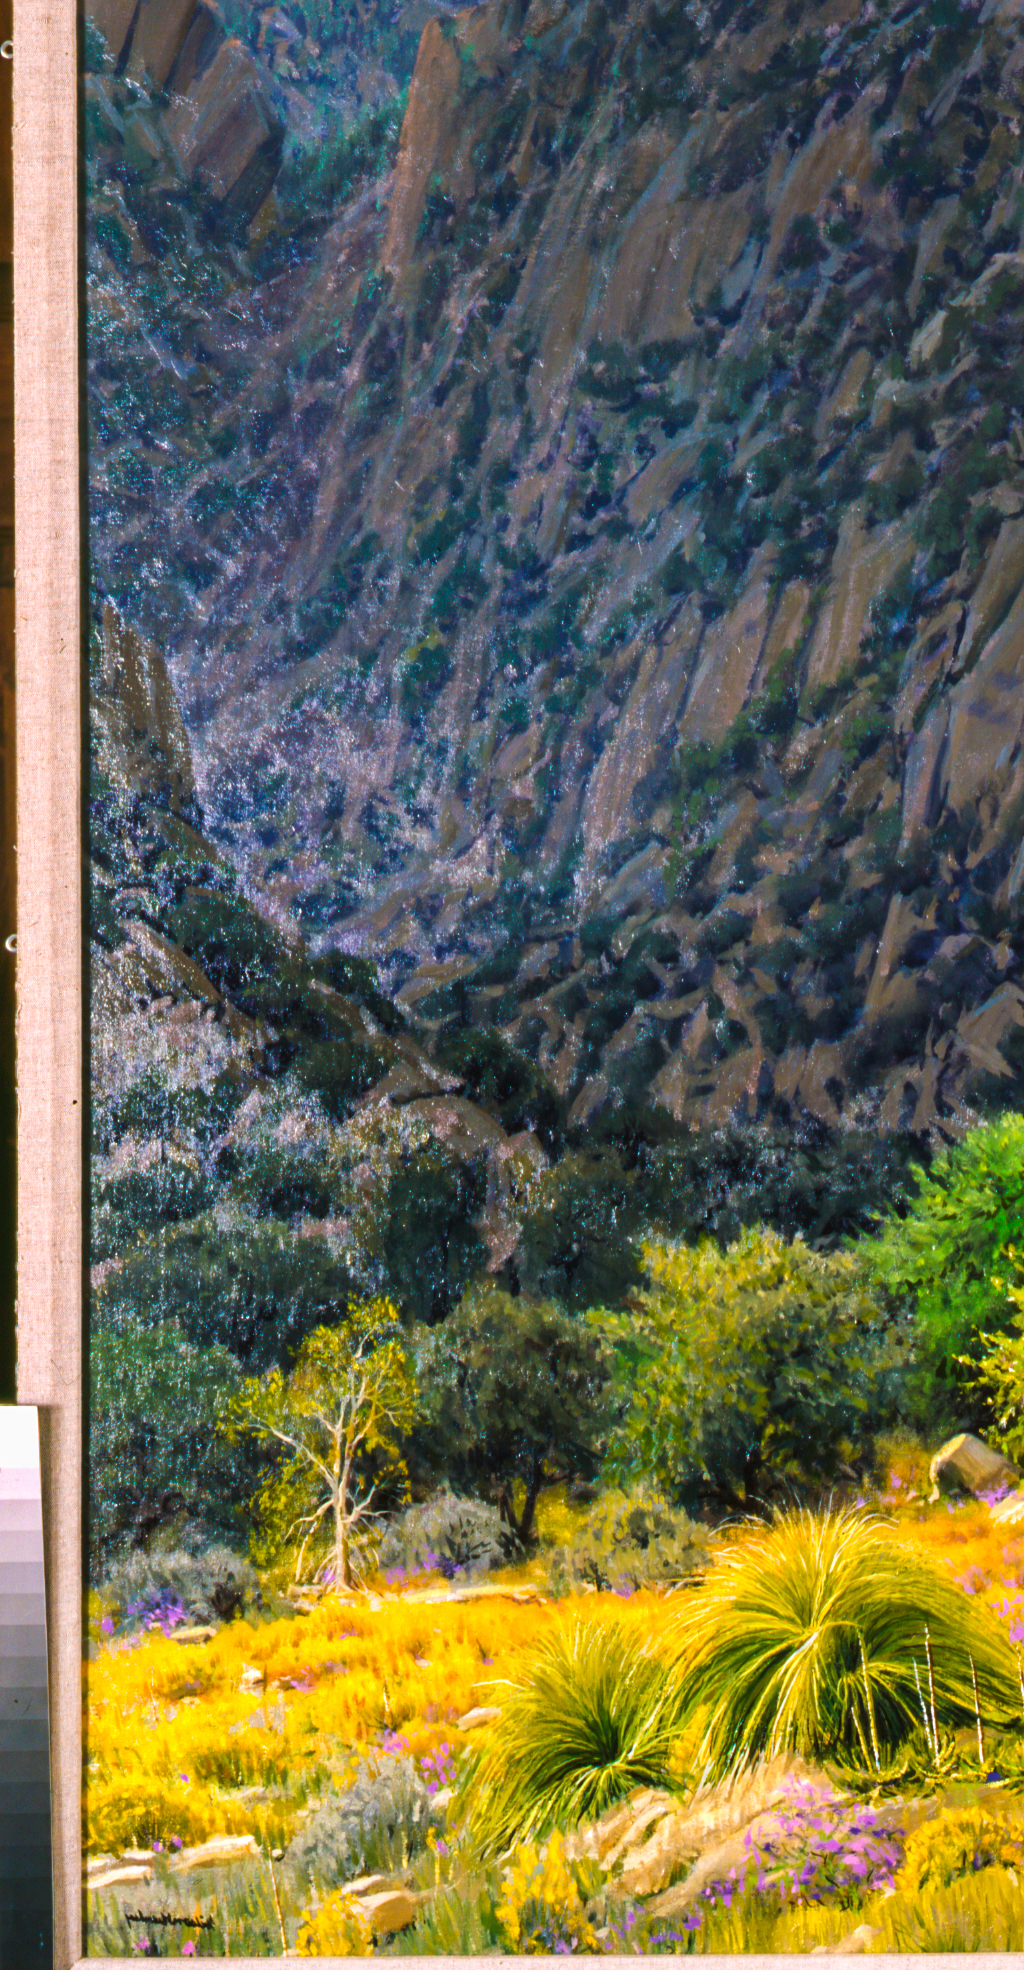
Copy link to clipboard
Copied
Here is a useful tutorial on how to remove Noise from a photo: How To Reduce Noise: In Grainy Photos - YouTube
Cheers,
Sim
Copy link to clipboard
Copied
Hi, okay I really couldn't spend more than 15 or so minutes on it so here is a before and after on a small section zoomed in...
I used healing brush, brush, and spot brush - all set to Darken so as to refine just the white reflective colours as a base to work from and painting techniques (thanks Wacom). Like I said. This is hours and hours of work. It may be best to reshoot (assuming of course that it possible) if not have errm fun, or use a filter as mentioned to get an "okay-at-best" result.
