- Home
- Photoshop ecosystem
- Discussions
- Re: how can I select precisely around complex subj...
- Re: how can I select precisely around complex subj...
how can I select precisely around complex subjects?
Copy link to clipboard
Copied
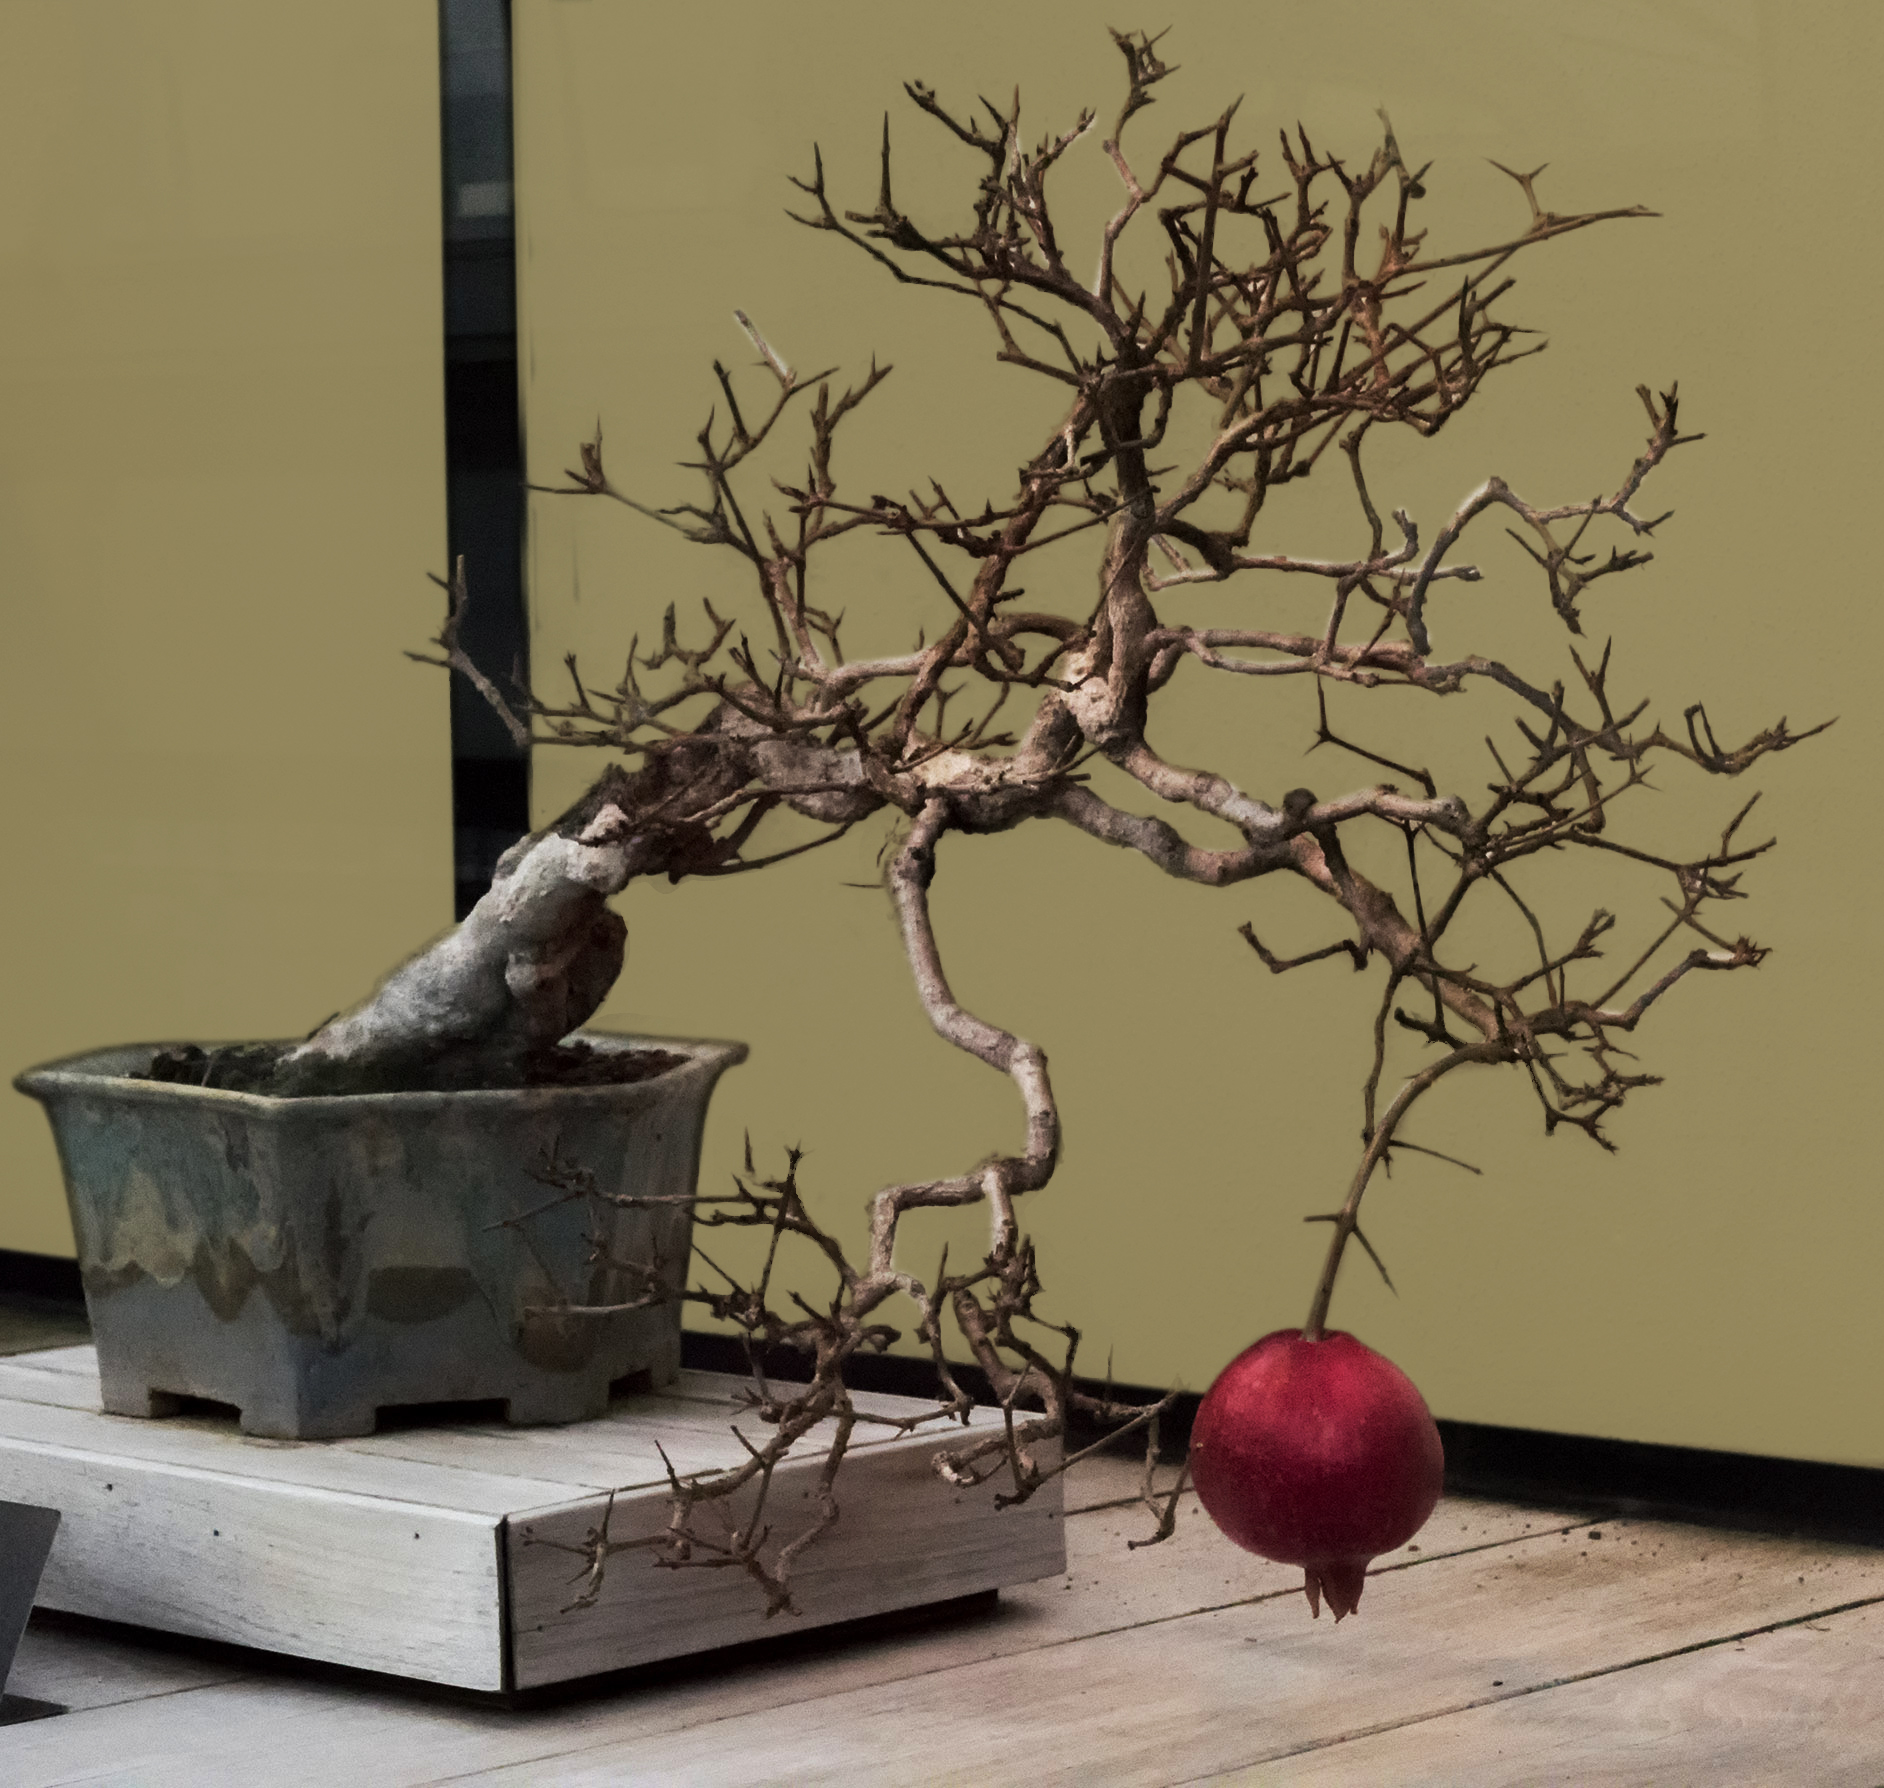
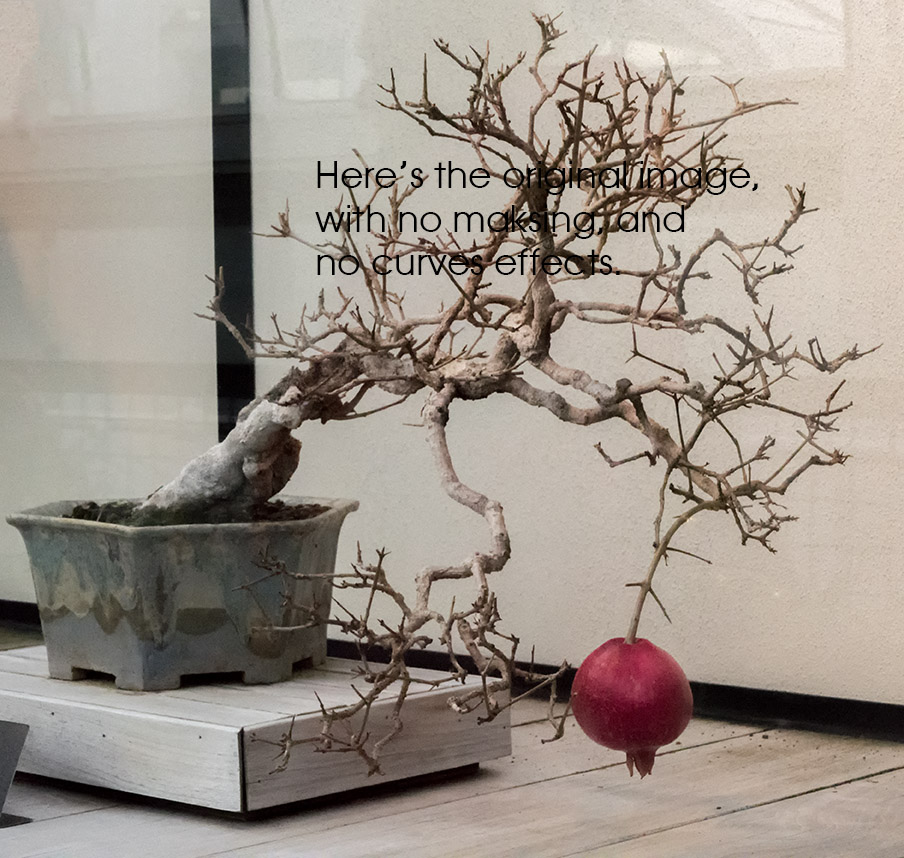
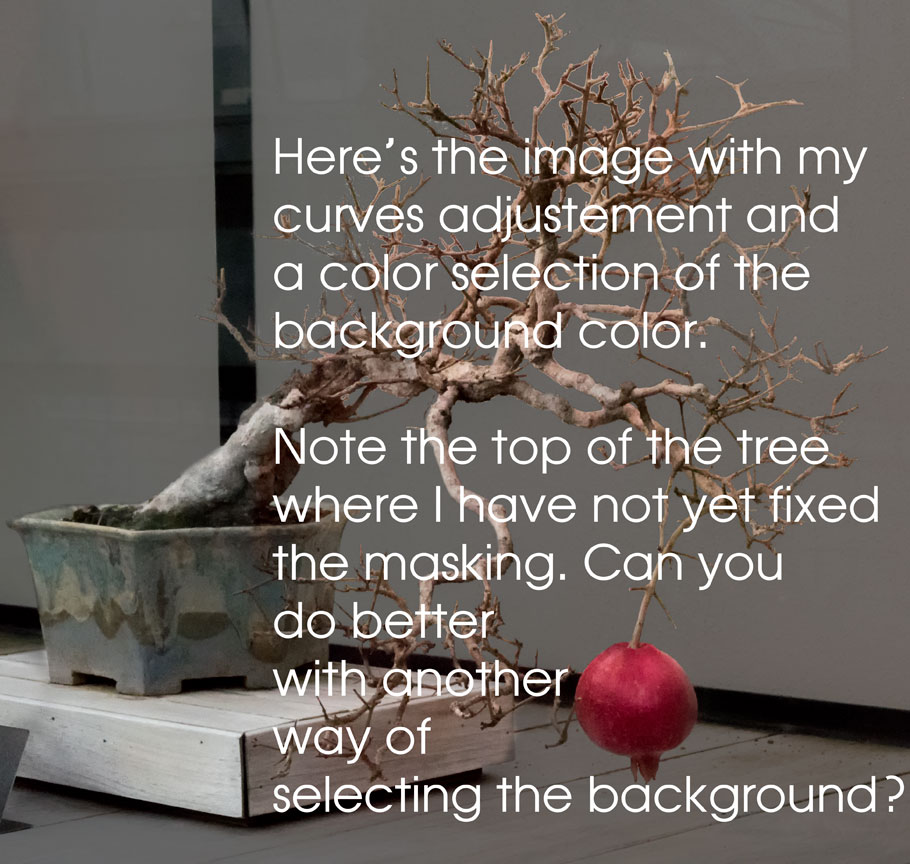
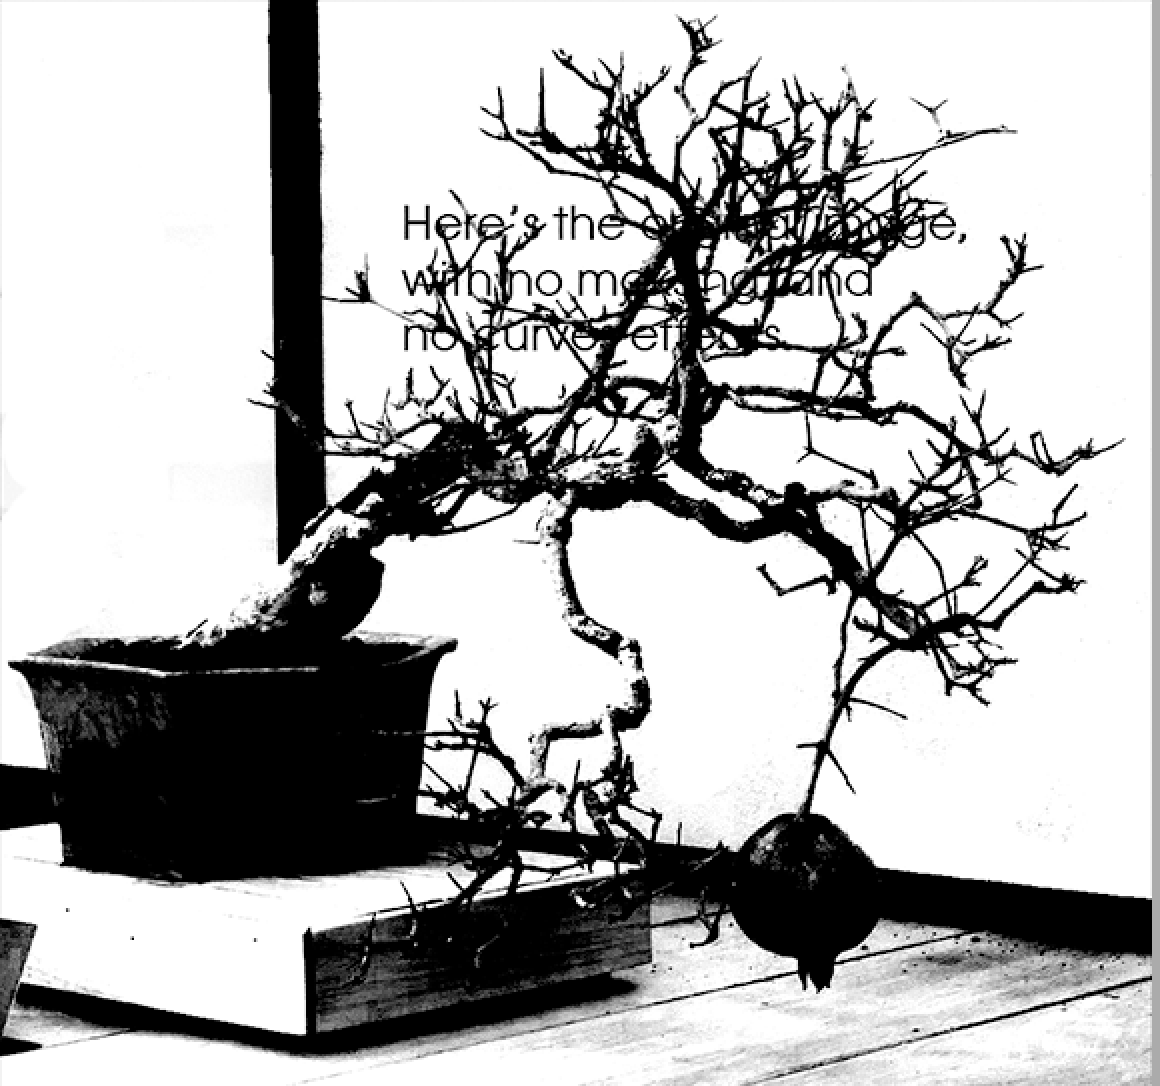
I am working on a photograph of a pomegranate bonsai tree with a light background. I want to darken the background without darkening the tree. I created a curves layer, and selected the background color. Even so, I have edges of branches to mask, and many parts of the background near branches that I need to unmask. I am spending only about fifteen minutes/day on fixing the masking, since it is so tedious. It's going to take me a total of at least three weeks to finish.
I could use some advice about how to better do this kind of selection for the next time I have a background that is so close to the color of the foreground.
Below are small versions of the original image and of the image after a curves layer and masking was added. Note that I exaggerated the darkening of the background to make the fixing of the masking easier. Feel free to take the first image and experiment with masking techniques.
Thanks for your ideas.
Phil
Explore related tutorials & articles
Copy link to clipboard
Copied
Try Youtube, there are 100's of videos on advanced/complex selections.
Copy link to clipboard
Copied
ok, I'll look. Thanks for the idea.
Copy link to clipboard
Copied
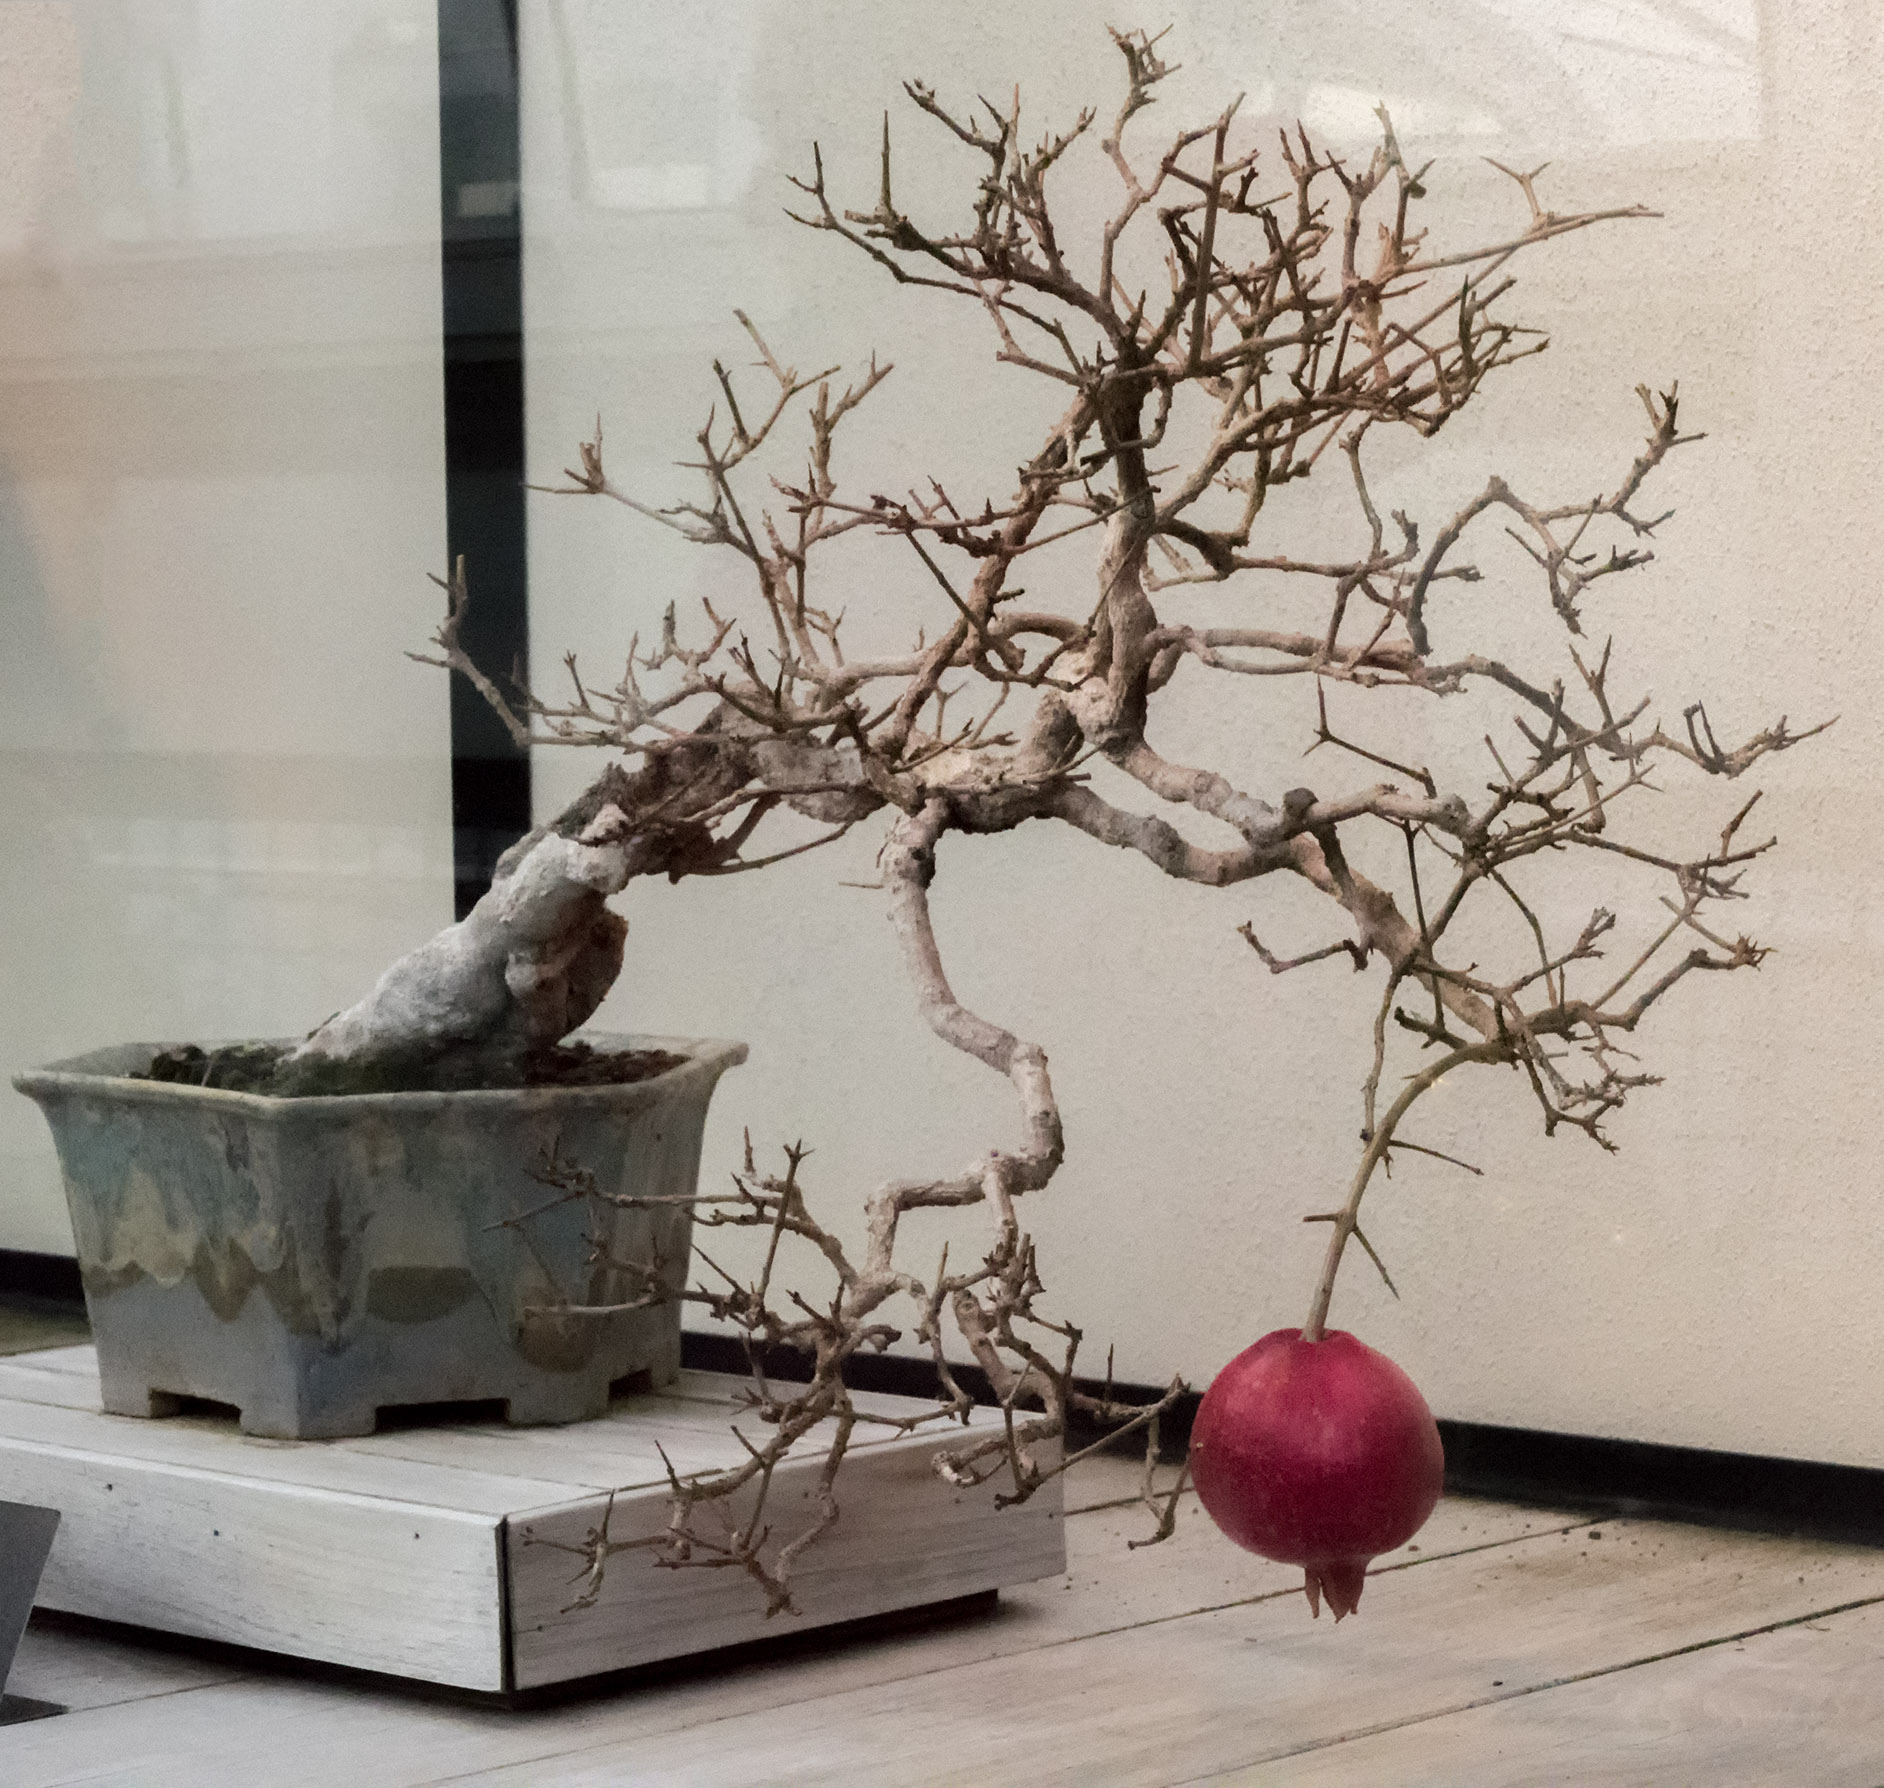
You are so right -- I went exploring and found a lot to learn that may be useful for other images. I'd never used the channels before. I couldn't figure out how to differentiate between the background and the branches well enough in the channels to use the techniques I found. Perhaps someone here can. I posted, in response to another answer, a larger jpg with no text, in case anyone wants to give it a try.
Thanks again,
Phil
Copy link to clipboard
Copied
Can someone else have a go at this please? I have swapped my original GTX570 into my 3930K build because the GTX970 is wanted for a new 7900X build. I was able to get to this byt increasing contrast, selecting the BG with the Magic Wand set to 50, and inverting. This is what I got after opening Select & Mask.

I am able to check Smart radius, but as soon as I try to adjust the radius it crashes. I tried several times, and tried different Drawing Mode settings, but it happens every time. It's an old GPU, so not a big surprise. So it looks like I now have limited Photoshop till the new build arrives early next week. I can feel the withdrawal setting in already. ![]()

Copy link to clipboard
Copied
No crash here Trevor, with AMD 7970 3GB. Sounds like Nvidia card/driver issue
Dave
Copy link to clipboard
Copied
Hi
Please check the below video
Detailed Selection and Background Removal (Trees) - Photoshop Tutorial - YouTube
Regards
Priyanka
Copy link to clipboard
Copied
worth a try, but I think the difference in density is not enough to use his method well. I'll try it anyway.
Thanks for the idea,
Phil
Copy link to clipboard
Copied
If you really want us to try your image, then paste it into the thread at a much higher resolution, and without the text.
Copy link to clipboard
Copied
ok.
Copy link to clipboard
Copied
Bullding a mask will require some bush work but for starters, a dupe of the Blue channel offers a good start. The image below was made with a Curves adjustment to increase contrast and a few minutes of touchup with the brush blending set to overlay and painting black and in white to preserve edges. From this point I believe Quick Mask would be a logical choice.
Copy link to clipboard
Copied
I always try to follow the rule not to composite onto darker backgrounds than the original as it never looks right to my eyes. Your image has lots of problems even before trying to make the cutout with noise and reflections as if it was taken through a pane of glass. When you get a mask by almost any technique the 'halo' effects around the intricate details of the branches become a real problem and I think you should look at tutorials for removing that particular effect.
