- Home
- Photoshop ecosystem
- Discussions
- Re: How Do I erase the white background?
- Re: How Do I erase the white background?
Copy link to clipboard
Copied
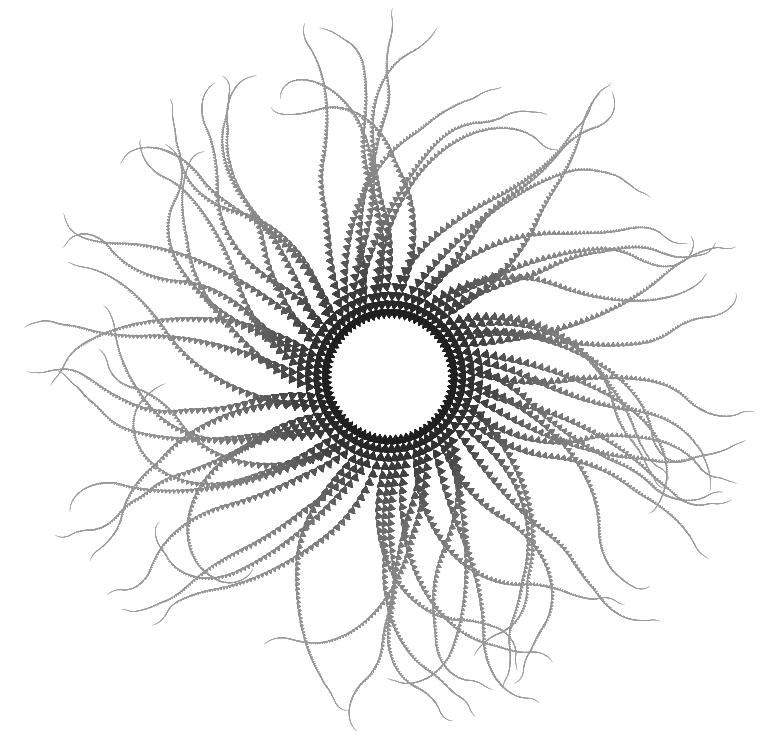
I have an image, (its looks challenging, isn't it?), I just tried to remove the background color (white) with background eraser tool but the problem is as the image contains black to gray so sometimes some arms also get erased. So is there any another process to do this? I have 15 images like this to process.
 1 Correct answer
Explore related tutorials & articles
Copy link to clipboard
Copied
Your image does look challenging!
One option:
You can use the magic wand tool to select all the white areas (you have to de-select the "Contiguous" checkbox in the tools options at the top of the window). You may have to do some tweaking regarding the Tolerance level to get all of the white but not the grey. Then you could theoretically delete the selection of the background with the delete key. but I think it would be better to inverse the selection (Select - Inverse) to select the shape and not the white background and then to use the refine edge functionality to further enhance the edges of the shape (if you have Photoshop CS5 the refine edge functionality does a very good job). The Refine Edge dialog in CS5 (I'm not sure about other Photoshop versions) gives you different options for outputting the selected shape, including putting it on a new layer. You can also move your selection to a new layer by clicking CTRL J.
If you end up with a light fringe around your shape (because it was extracted from a light background), here's a tip from Photoshop guru Matt Kloskowski:
Add an Inner Glow layer style to the transparent layer containing your extracted shape and use a grey color from the shape as the glow color. Change the blend mode in the layer style dialog to Multiply.

Copy link to clipboard
Copied
First the manual way:
1. duplicate the background layer
2. invert the duplicated layer (Ctrl+I)
3. Select>All (ctrl+a)
4. Edit>Copy (ctrl+c)
5. add a new fill layer color black
6. Alt click on the color fill's layer mask in the layers panel
7. Edit>Paste (ctrl+v)
8. Select>Deselect (ctrl+d)
9. click on the layer below in the layers panel to make the rgb channels active.
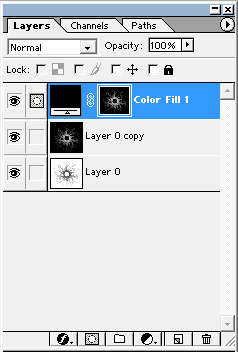
You can check the extraction by putting a color fill layer white below the black color fill layer.
If your satisfied with how it looks you can merge the black color fill layer with a new blank layer below.
You could make this into an action as below or download this free plugin for one click remove white.
http://www.cybia.co.uk/theworks.html
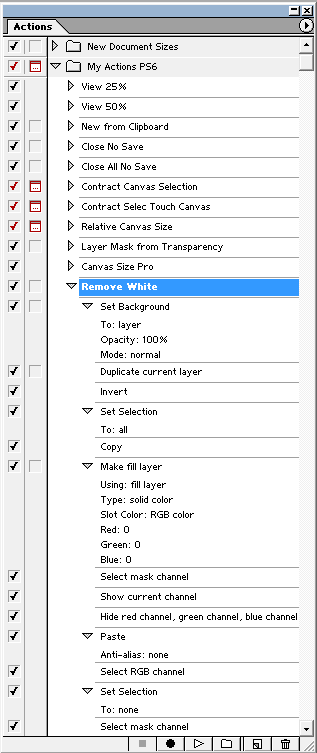
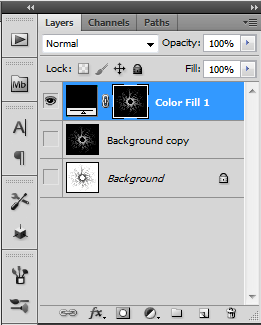
after extraction
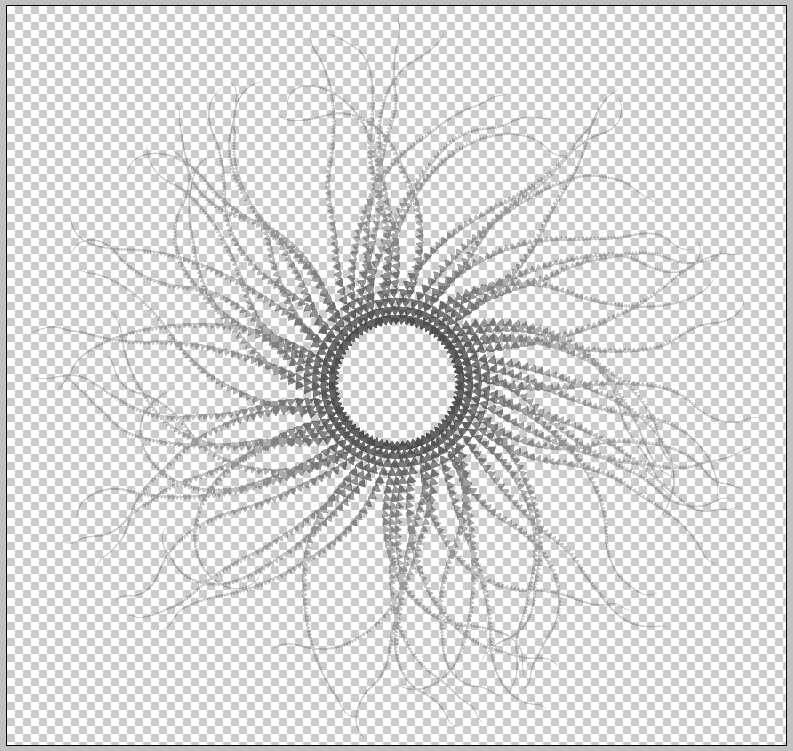
with white fill layer below
MTSTUNER
Copy link to clipboard
Copied
Wow, I see that I have been doing this in a convoluted way that doesn't give the best results! Thanks, MSTUNER, I am keeping these instructions for future use!
Copy link to clipboard
Copied
Reply to MTSTUNER post #2
What you have listed in steps 1-9 simply does not work on my Win 7x64 PsCS5 (latest version).
Have you left our any steps at all - have you assumed we would automatically do something and left that or those steps out?
What version of Ps are you using for this demonstration? From the appearance of the first included screenshoot it must be CS2 or earlier.

Copy link to clipboard
Copied
Even though i used ps6 for post #2 it should work exactly the same in cs5.
Which step doesn't seem to work in cs5?
In post #9 there is a short video clip using cs5.
MTSTUNER
Copy link to clipboard
Copied
I really can't say which step doesn't work. I simply followed all steps 1 to 9 precisely and it did not produce a transparent background in CS5. Have you actually tried it in CS5? At the conclusion of steps 1 to 9 I tried making each and every layer visible on its own and in combination with each and all of the remaining layers - to no effect. So I can't really say whether it is something I am doing or not doing, or whether your procedure is defective.
Thanks for the response in any event.
PS. The video using CS5 was a little too fast and not helpful without sound.
Message was edited by: Andrew_Hart

Copy link to clipboard
Copied
I'm sure it works in cs5 as described.
When you got ready to paste the inverted layer into the color fill layer mask
(step 6) did you Alt Click on the layer mask thumbnail in the layers panel?
(the document should turn white on the screen after Alt clicking on the mask)
Added:
On this particular image you could just load one of the channels as a selection,
select>inverse, make a new layer and fil the selection with black.
If you want an action that works similar to the old eliminate white filter:
(for the above image, convert to grayscale, duplicate the background layer
and run the whiteoutgray part of the action, then convert your image back to rgb color)
http://www.adobe.com/cfusion/exchange/index.cfm?event=extensionDetail&extid=1044908
MTSTUNER
Message was edited by: MTSTUNER
Copy link to clipboard
Copied
MTSTUNER wrote:
I'm sure it works in cs5 as described.
When you got ready to paste the inverted layer into the color fill layer mask
(step 6) did you Alt Click on the layer mask thumbnail in the layers panel?
Yes, of course, as this was one of the instructions in steps 1-9 in your first post (# 2).
If, after step 8 and instead of step 9 (click on the layer below the top layer), you Alt + Click on the eyeball of the top layer (remember, this is in CS5) you get what appears to be removal of the white background. However the ciliasun drawing itself has become desaturated - instead of rich-looking blacks at the centre slowly fading out to lighter greys at the tips of the rays/arms, you now have a noticeably lighter grey centre fading out to even lighter greys at the tips.
Message was edited by: Andrew_Hart

Copy link to clipboard
Copied
For photoshop versions later than photoshop 6 you might try
something like this (for an image like was posted by the original
poster)
1. Duplicate the background layer.
2. Load one of the r,g or b channels as a selection
(Ctrl+click on one of the r,b or g channels to load that
channel as a selection.
3. Press the Delete key.
(make sure the RGB channel is active before pressing the
delete key.
4. Select>Deselect.
5. Layer>Matting>Remove White Matte.
MTSTUNER
Copy link to clipboard
Copied
Re post # 16
Unfortunately, this process does not work on CS5 either, and once again results in a partially desaturated ciliasun drawing, the same result which I outlined in post # 18.
Step 2 may contribute to that result, but on first glance I don't think so. In any event it does not produce the result which I think you intended, namely selection of the white background only. Please correct me if I am mistaken in this assumption.
With a greyscale image such as the ciliasun posted by the OP (an RGB image comprising various shades of grey all the way from white to black) you cannot create a selection of all the white background (i.e. non-grey pixels) by Ctrl + Clicking on any of the channels, whether it be the RGB, R, G, or B. Instead, what you create is a luminosity mask, namely a selection of all the pixels which have a luminance of 50% or greater. Thus you must select at least some grey pixels. Only where you have a truly Black and White image (no shades of grey) will Ctrl + Clicking on one of the channels produce a luminosity mask which selects all of the white pixels only and ignores all the rest.
BTW, the method you have outlined in post # 16 seems to be a very satisfactory and quick way of producing a transparent background in a B+W image comprised of a black foreground and white background. All you have to do is eliminate step 5, return to the Layers Panel and Alt + Click on the top layer's eyeball. This is very useful.
Copy link to clipboard
Copied
Hey! let me explain what is happening. Then give me the idea to proceed.
1. I duplicated the layer and inversed that. (This made the white background black and other blacks also changed into white).
2. I selected the whole layer (obviously the duplicated one.) and then I went to Layer > New Fill Layer > Solid Color...
Named that layer something and proceeded with OK. then I choose black color and proceeded with OK.
3. By pressing Alt I click on the Layer mask thumbnail, (now the color will is change to white). Now the same thing as duplicated layer is pasted here.
4. Deselected. Click on the duplicated layer.
5. Again make a fill layer below the first fill layer with white color.
Finally it happens that the photo changes to as like the first image I used.![]()
Copy link to clipboard
Copied
Let me ask a stupid question:
Why go through all that to wind up at white again?

Copy link to clipboard
Copied
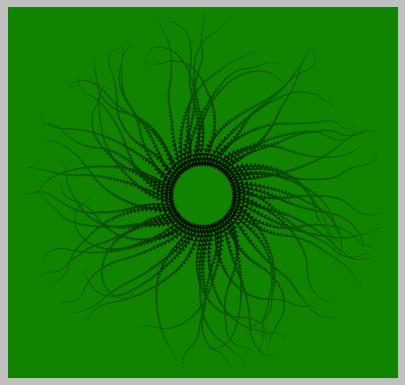
Putting the white fill layer below the top black color fill layer is just a
way of comparing the extraction with the original, you can use any
color, not just white to see what your object looks like on different
backgrounds, mainly your looking for any white fringe left behind.
When you complete all the steps you should be able to turn
off the visibilty of all the layers below the top black color fill layer
and see your object on a transparent background. (click on the eye
icons to the left of each layer in the layers panel to off the visibility for that layer)
with a green color:
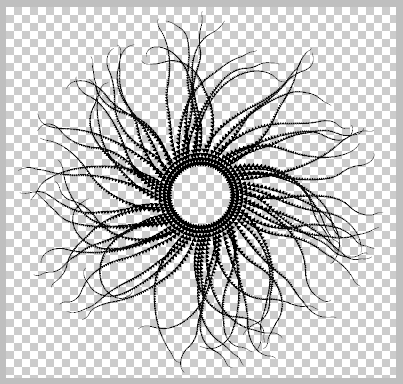
If that's what you want, just the object on a transparent layer, you can put
a new blank layer below the object and then merge those two layers.
(merging applies the layer mask and keeps the transparency)
Then you can save the transparent layer to a file format that supports
transparency like psd, tiff or png.
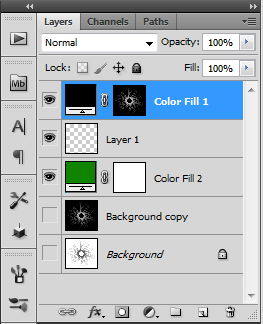
If you want the object more black (less transparent), then you can duplicate
the black color fill layer several times and then merge those layers.
MTSTUNER
Copy link to clipboard
Copied
One last request,
Can anyone give me a video tutorial on this??

Copy link to clipboard
Copied
Copy link to clipboard
Copied
I appreciate your work, very less people are ready to give a video tutorial for an individual.![]()
Thanks for this one...
Don't get you heart small, I have found and another way (it may be possibe that there might be many ways to do the same thing![]() )
)
and I want to share that with you.
This one is helpful when you have same color of background..
Open the document > Select > Color Range.. > Select the white color (in this case) > Pick eraser tool and move here and there![]()
Copy link to clipboard
Copied
Another way to delete the white would be to use Image Mode>Grayscale, and then just Duplicate the Channel, and Save it as Mask.
Open your original again, and drag that Mask Channel to the Image, then Delete.
This is what you get:
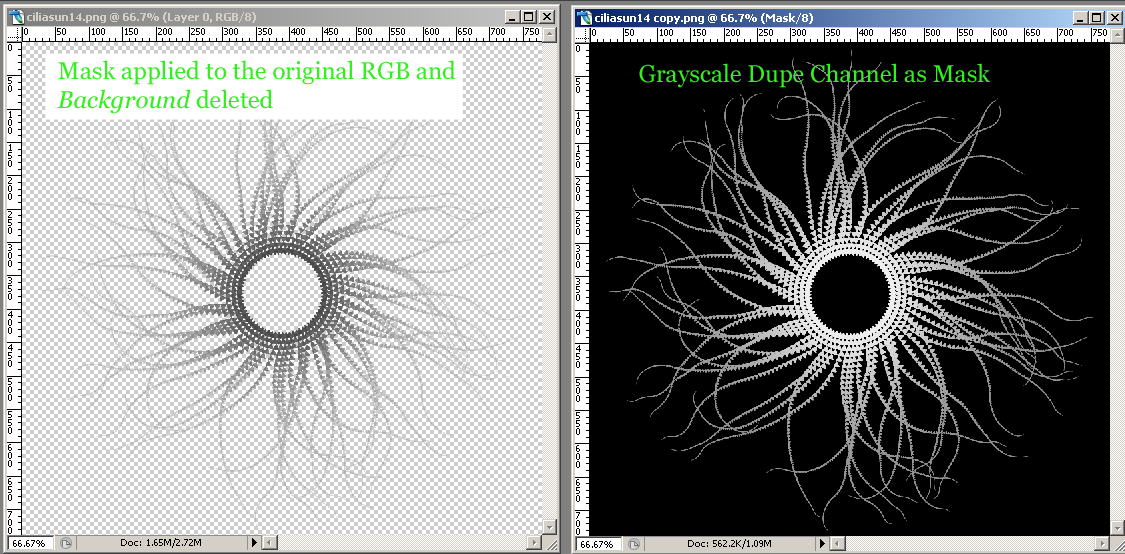
To remove the background from the Background Layer, do not forget to Dbl-click on it, to convert to a "regular" Layer.
Good luck,
Hunt
Copy link to clipboard
Copied
Bill re your post #6
I can't quite follow your process here. Can you be a little bit more specific, setting out the precise steps please?
Thanks
Copy link to clipboard
Copied
I liked this topic... ![]()