- Startseite
- Photoshop ecosystem
- Diskussionen
- Re: How do I repeat the texture of this towel?
- Re: How do I repeat the texture of this towel?
Link in Zwischenablage kopieren
Kopiert
Hello You Guys!
Is there someone out there who wouldn't mind explaining to me the best way to repeat the texture of this terry cloth towel? I want to REMOVE the two ridges at the bottom of this towel, and I want the towel to appear like the main texture just seamlessly continues from one end to the other. HUGE THANKS to whomever wouldn't mind sharing their knowledge, techniques, or suggestions. THANKS AGAIN!!! ![]()
 1 richtige Antwort
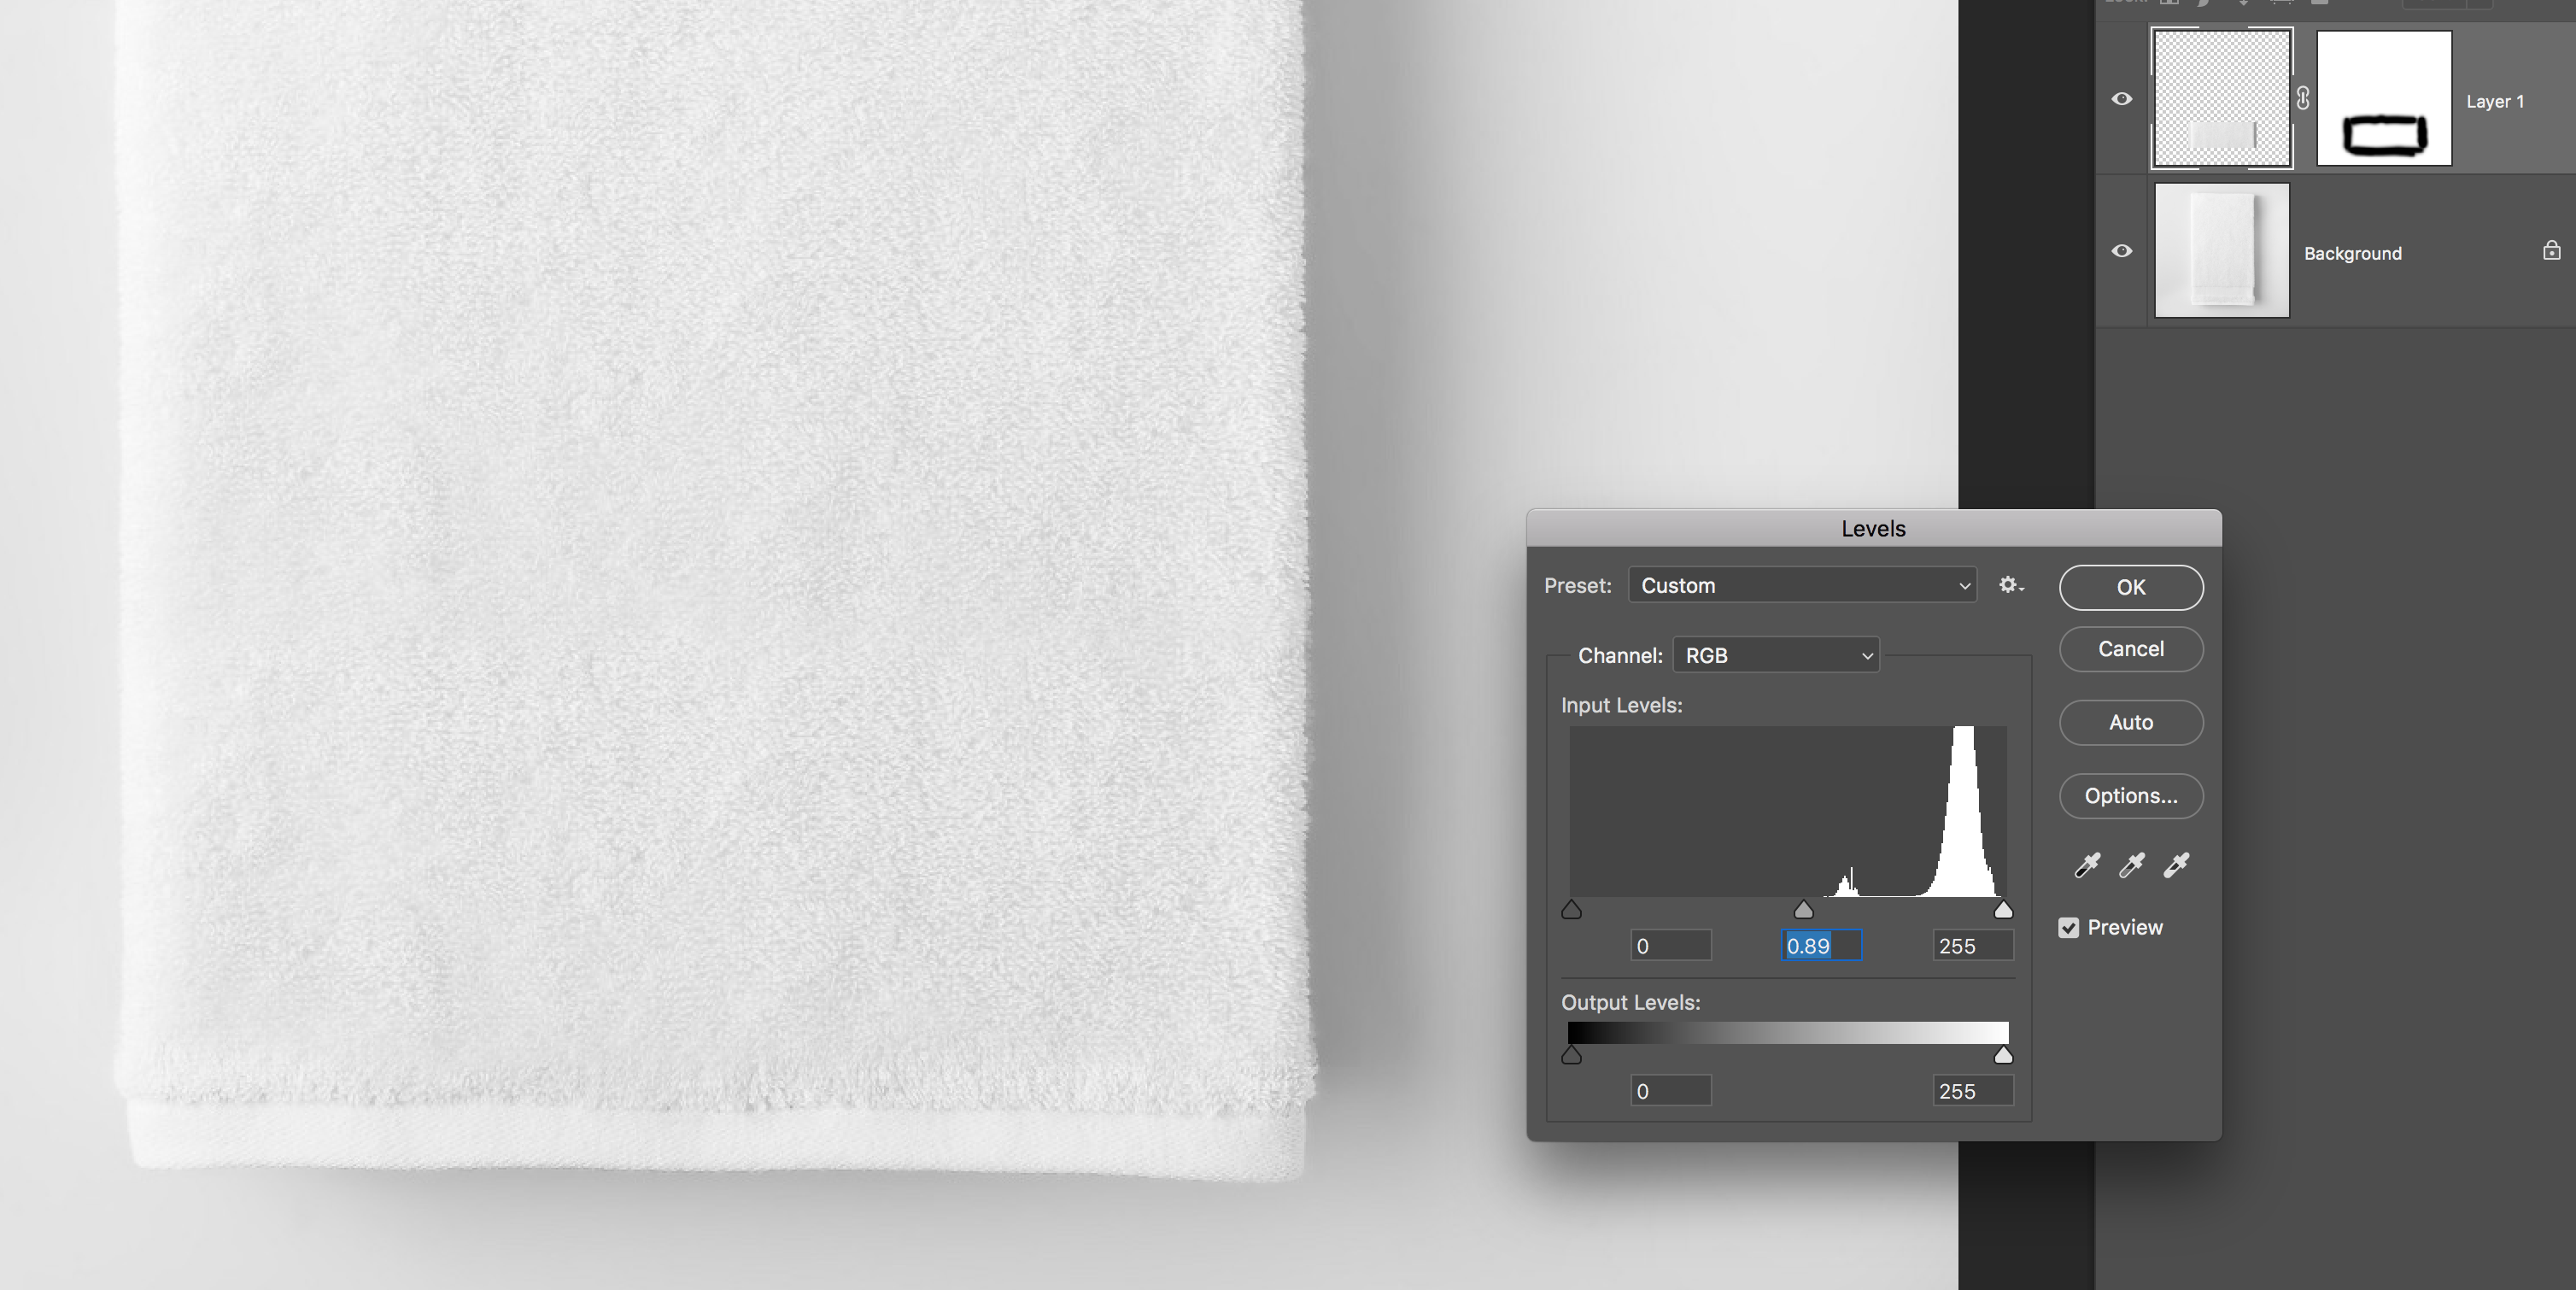
For this, I'd select a large portion of the towel above the area you what to change.
Layer > New > Layer Via Copy.
Move the selection down to cover the area, then use a layer mask to blend the edges. Afterward, use curves or levels to adjust the tone for a better match.
Entdecken Sie verwandte Tutorials und Artikel
Link in Zwischenablage kopieren
Kopiert
I suppose you are using Photoshop, so I moved this from Adobe Creative Cloud to Photoshop.
As a general indication:
To create a seamless pattern, you need to eliminate the seams. You do so by shifting the picture 50% horizontally and vertically. So the borders now fit but you will have a cross in the middle where the former borders come together. You edit those in such a way that the seam disappears and you're done.
1. Cropping:

2. Shifting (Filter->Other->Offset):

The problem with your picture is the uneven lighting. That will require either careful selection of the square or you need to retake the picture to get the correct even lightning. After editing, you need to recheck the borders again...by shifting again. You do not need to shift both directions in one rush or to really shift 50 %.
Link in Zwischenablage kopieren
Kopiert
Hi
What is the purpose of the texture? If it is just a one off to create repeating pattern then the method described above by Abambo works well.
However if this is to create a 3D surface material, and you will do this regularly, then consider the Substance software (which is now also owned by Adobe). Substance Designer, B2M3 and Alchemist all have tools to create a seamless texture from a photograph image - but they will also even out the lighting, take care of the tiling seams and produce the other texture maps used in 3D materials (such as Metallic, Height, Normal, Roughness) as well as the Base colour.
Dave
Link in Zwischenablage kopieren
Kopiert
Hello, THANK YOU for taking the time to offer your detailed techniques and suggestions, I certainly appreciate this!
Link in Zwischenablage kopieren
Kopiert
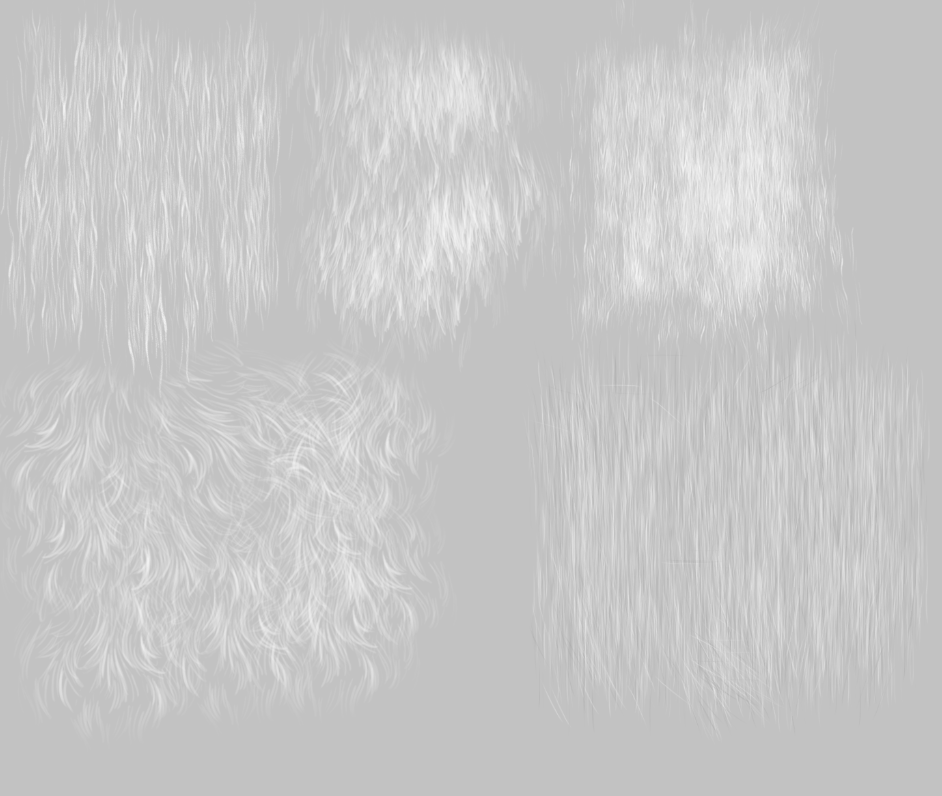
Something that came to mind was some of the Aaron Blaise brush presets. He makes some of the very best brush sets out there, They are not free, but at about $5 a set they are not far off free.
https://creatureartteacher.com/product/custom-photoshop-directional-fur-and-hair-brushes/

I didn't spend much time trying to get closer to the towel texture, but I think you could.
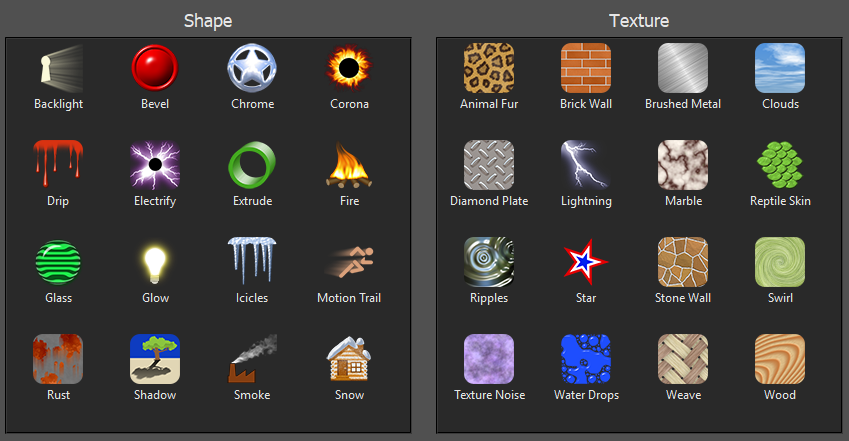
Another idea would be to use Alien Skin Eye Candy 7, which has an animal fur effect
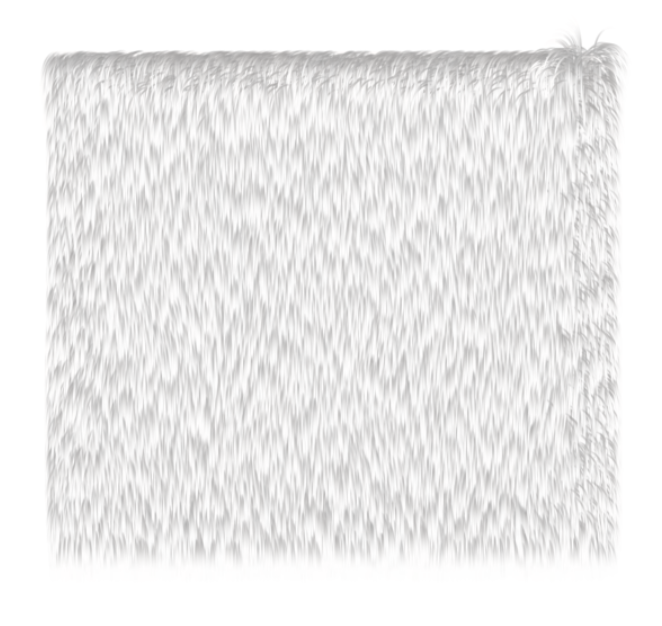
It is intended more for this sort of thing, but you have lots of control
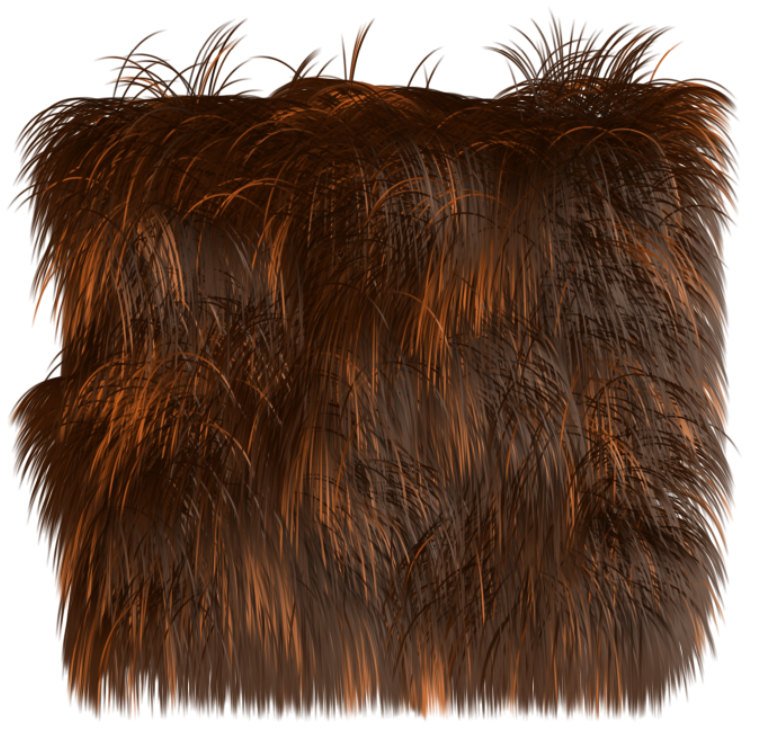
Eye Candy 7 is about $100 when there is a sale on, and is my second favourite plugin
Link in Zwischenablage kopieren
Kopiert
THANK YOU for taking the time to refer to me this amazing software as well as offer me your suggestions, I definitely appreciate it!
Link in Zwischenablage kopieren
Kopiert
For this, I'd select a large portion of the towel above the area you what to change.
Layer > New > Layer Via Copy.
Move the selection down to cover the area, then use a layer mask to blend the edges. Afterward, use curves or levels to adjust the tone for a better match.

Link in Zwischenablage kopieren
Kopiert
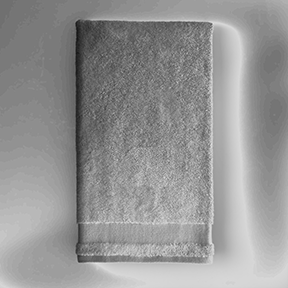
I suspect the texture will be incorporated into other objects of different colors, and perhaps of different sizes. If that is the objective, then perhaps this image should be reshot with more even lighting but maintaining texture and a less waffled surface so that the variation in tone on various colors does not become a distraction and can be made more prominent, when desired.
The image above was created with the Blend If command with a Black Underlying layer. Then a suitable sample could be taken and by duping and assembling (Edit > Transform > and Horizontal and Vertical Flips so edges butt) and compositing them into a single layer a larger area could be created. It should be done in this darker value so that the prominence of the texture can be controlled with the Layer's Opacity slider and its Blending Mode set to Multiply.
Link in Zwischenablage kopieren
Kopiert
Hello, THANK YOU for taking the time to offer your detailed suggestions, I definitely appreciate it!
Link in Zwischenablage kopieren
Kopiert
First, select a rectangle shape of just the towel area that you want.
Next, select the inverse of the selection (Shift + Command or Control +I)
Go to Edit menu and select Fill.
Select "Content Aware" from the "Contents" drop down menu. Click OK
You may need to clean up a slight seam on some areas with the healing brush tool.
Link in Zwischenablage kopieren
Kopiert
THANK YOU for offering your suggestions, I definitely appreciate it!
Link in Zwischenablage kopieren
Kopiert
An afterthought: If the towel is to be reshot as I suggested (Post #4) consider rephotographing it fully open and lying flat. At worst, it will reduce the compositing. At best, it may provide sufficient image area that assembling sections becomes totally unnecessary.

