Question
How do I select and mask and image as seen in the Black and White View Mode?
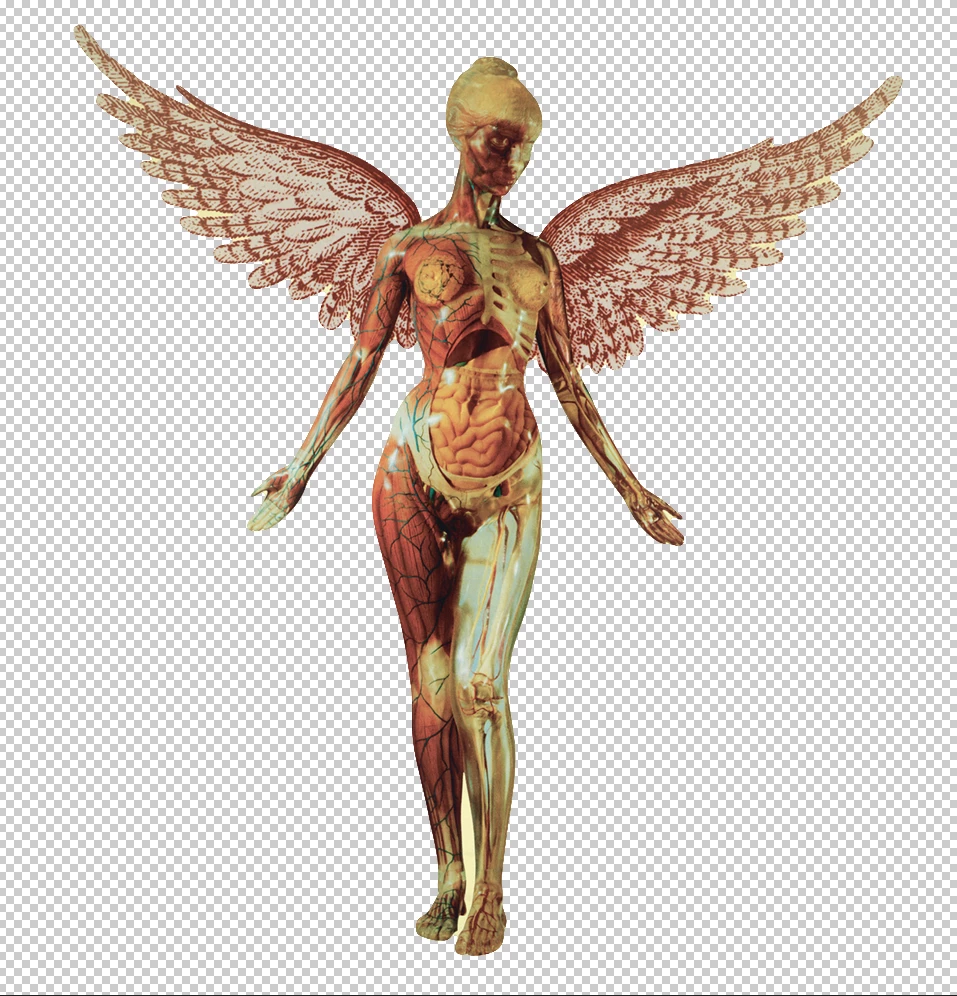
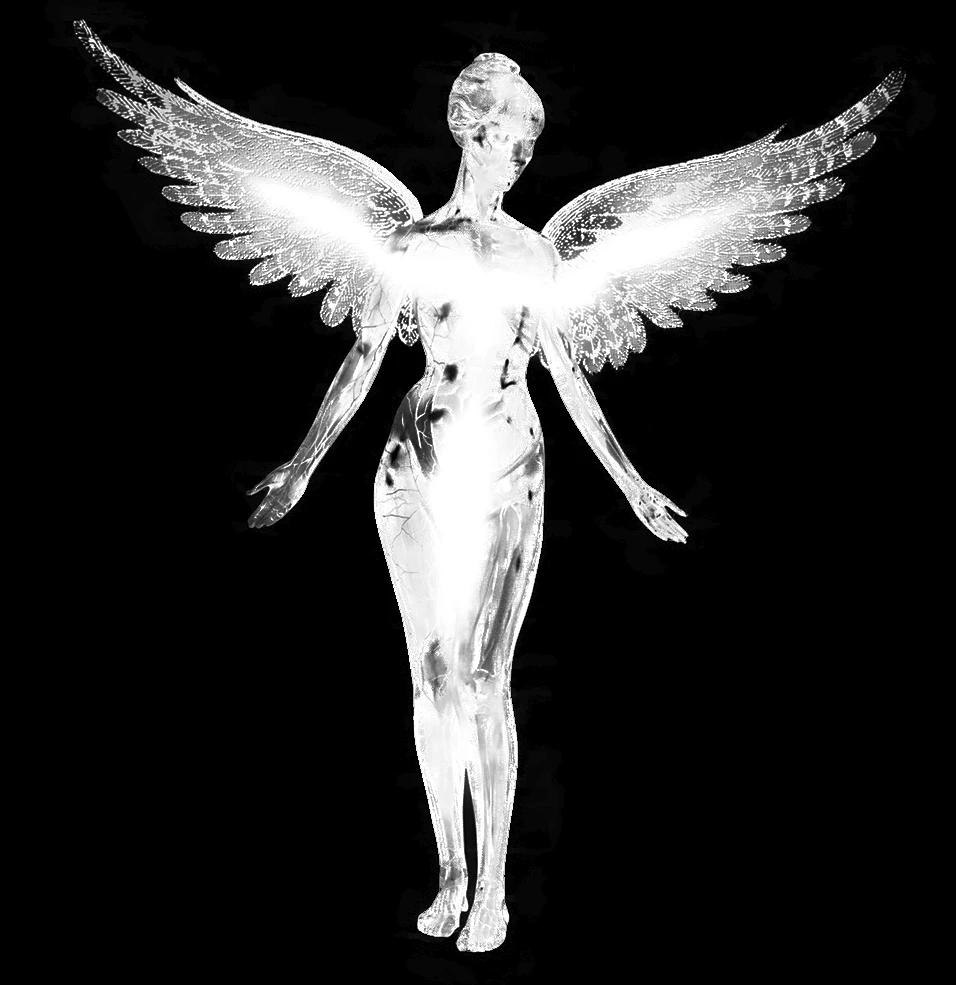
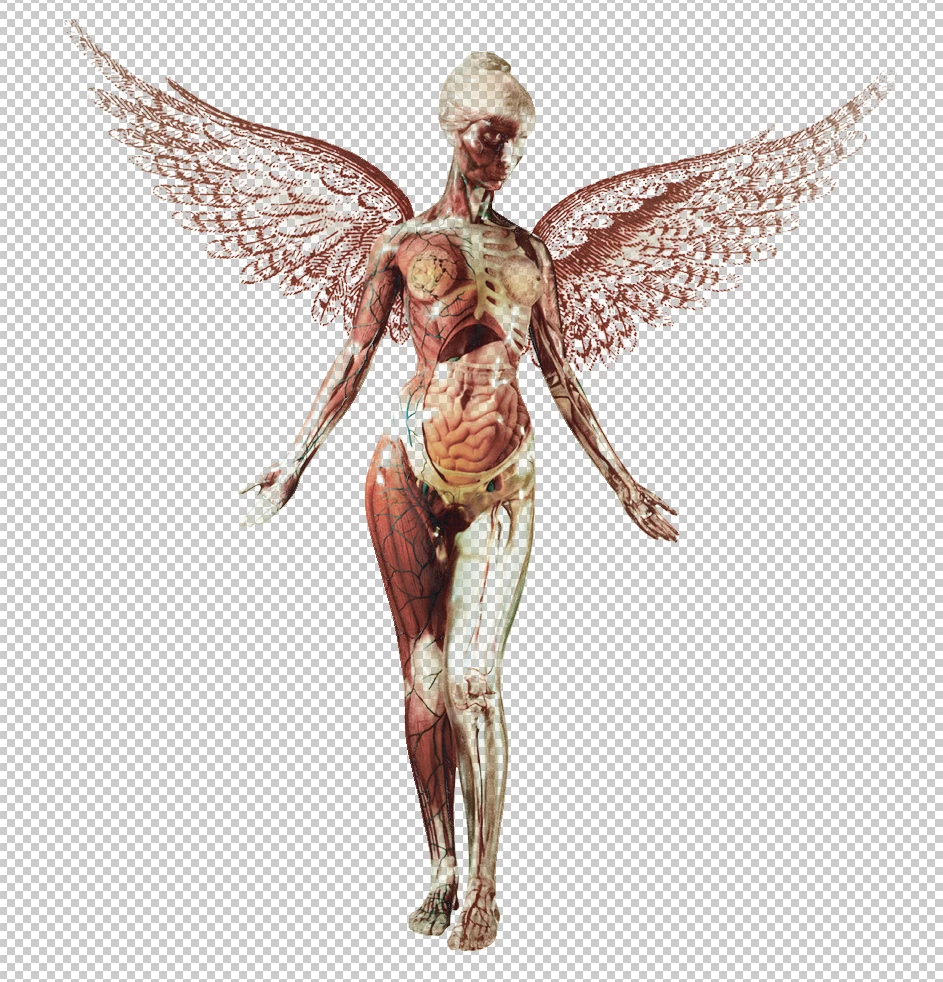
As seen from left to right (or top to bottom depending on your display):
1st picture is the baseline image I am working on; 2nd picture is how the asset looks when I select and mask on "Black & White (K)" View Mode (that's how I would like the final asset to end up as, all black and white); but finally, 3rd picture is the overall end product I get, awful looking and with annoying colours that did not show when I was in the select and mask isolation mode B&W View Mode. Then my question remains...
Is there any way to get the original asset to look like the 2nd picture does? I do not understand why the end product looks coloured. Can I select and mask the way View Mode shows me?