

- Home
- Photoshop ecosystem
- Discussions
- Re: How to achieve rough text look?
- Re: How to achieve rough text look?

Copy link to clipboard
Copied
Hi there!
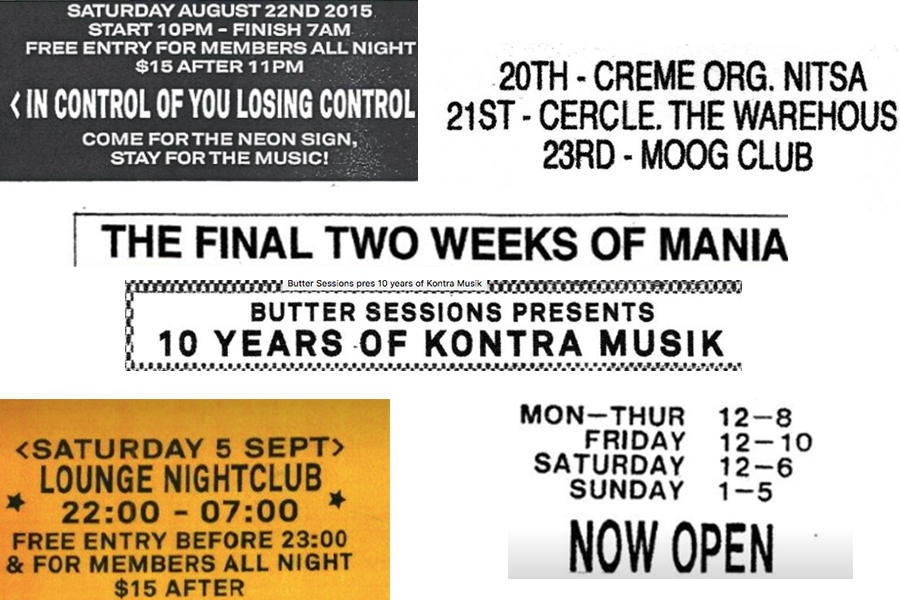
I am wondering how to achieve this rough kinda lofi look with text. I have tried numerous google tutorials though they generally don't end up looking very 'natural' and 'real'. Also is there a way to make the background have a similar effect?
Thanks in advance,
Oli


 1 Correct answer

You need to put the rough paper texture layer above the text layer and blend it and sent the blending mode to a suitable looking mode(multiply or overlay) so that you can see the roughness of paper on the text.
Explore related tutorials & articles
 10
Replies
10
10
Replies
10

Copy link to clipboard
Copied
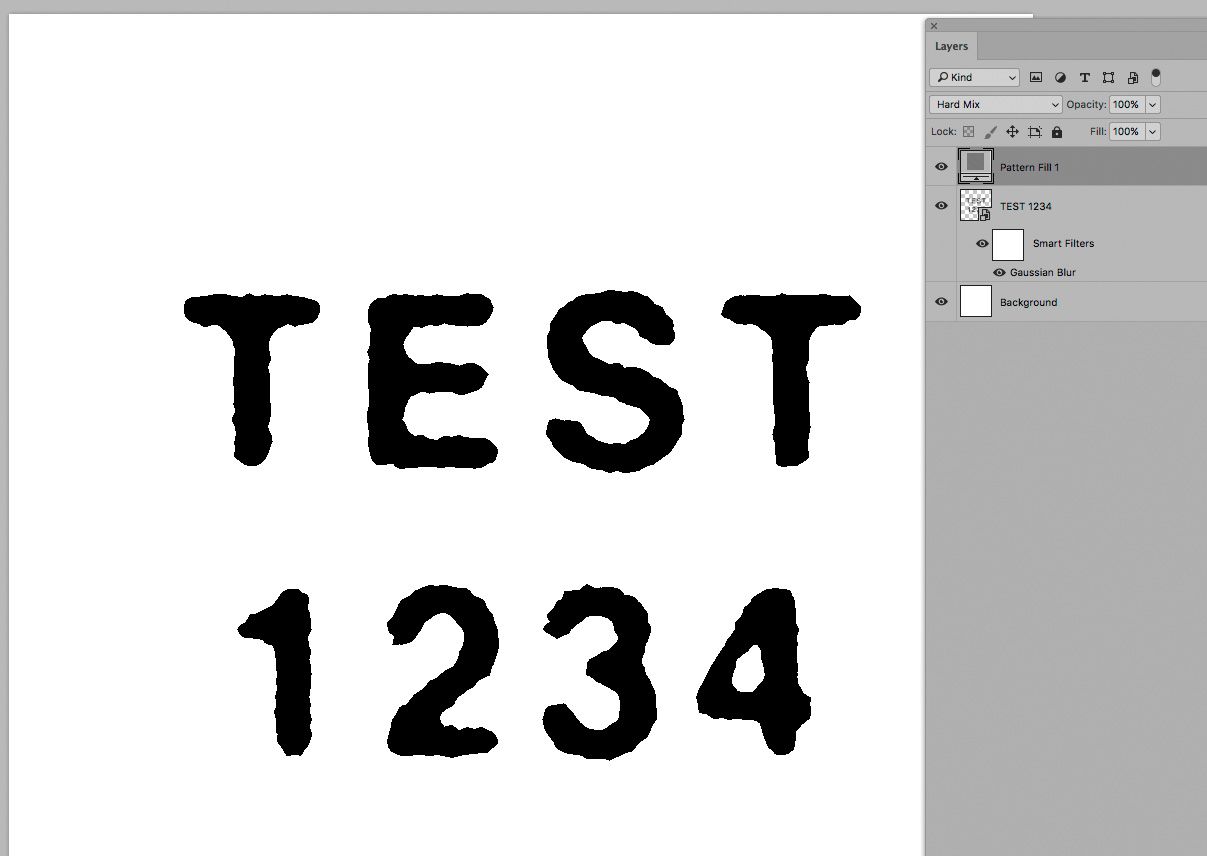
This text looks like it's been scanned and not very crisp. I would start by typing the text. Convert it to a Smart Object layer. (Target the layer and choose Filter > Convert for Smart Filters.) Then choose Filter > Blur > Gaussian Blur, with a radius around 0.5 pixels. Since the text is not a true deep black, you could then lower the layer opacity a little. The top word "Final" is the one I added; the bottom one is from your screen capture.

For the background, which looks like a dirty scan, you could create a new layer and fill it with a dark gray color. Then choose Filter > Noise > Add Noise, about 2.5% should do it.

Then choose Filter > Filter Gallery. Under the Sketch category, apply Photocopy. The background will turn white with speckles of dark gray.

If you want a dark background, choose Image > Adjustments > Invert.
If you want to make the texture less even, one way would be to add a layer mask by clicking the layer mask icon at the bottom of the Layers panel. Change your foreground/background colors to black and white. With the layer mask active choose Filter > Render > Clouds. You can also paint in the layer mask to customize it.

You may need to play with the various filter settings a bit to get the amount of noise you want for the background.
Copy link to clipboard
Copied
To this, I would like to add, use a rough paper texture stock image to get the worn out look even more nicely.
Copy link to clipboard
Copied
How would I apply this to the text?
Copy link to clipboard
Copied
Yes, I agree to that. I think it would add a more realistic look than could be achieved with filters.
Copy link to clipboard
Copied
Thanks very much for both of your help. Looking great now!! 
Copy link to clipboard
Copied
Thanks for your reply! This did help get closer to the look I want to achieve thought I feel like there is still something missing. Open to more advice if anyone can help
Copy link to clipboard
Copied
You need to put the rough paper texture layer above the text layer and blend it and sent the blending mode to a suitable looking mode(multiply or overlay) so that you can see the roughness of paper on the text.
Copy link to clipboard
Copied
Happy to help!

Copy link to clipboard
Copied
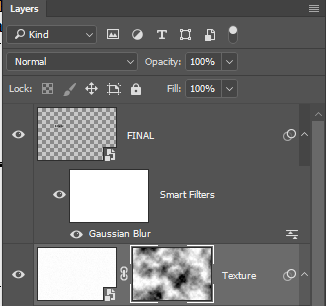
One method to roughen/randomize text’s edges is using a noisy/cloudy monochrome Layer set to Blend Mode Hard Mix over the blurred text.

Copy link to clipboard
Copied
https://www.photoshopessentials.com/photoshop-text/text-effects/worn-torn-text/
This tutorial uses the spatter filter on a layer mask of your text and works a treat!

Find more inspiration, events, and resources on the new Adobe Community
Explore Now
 AdChoices