Exit
  • Global community
    • Language:
      • Deutsch
      • English
      • Español
      • Français
      • Português
  • 日本語コミュニティ
  • 한국 커뮤니티
0

How to achieve woven displacement effect

Participant ,
Oct 08, 2021 Oct 08, 2021

Hi,


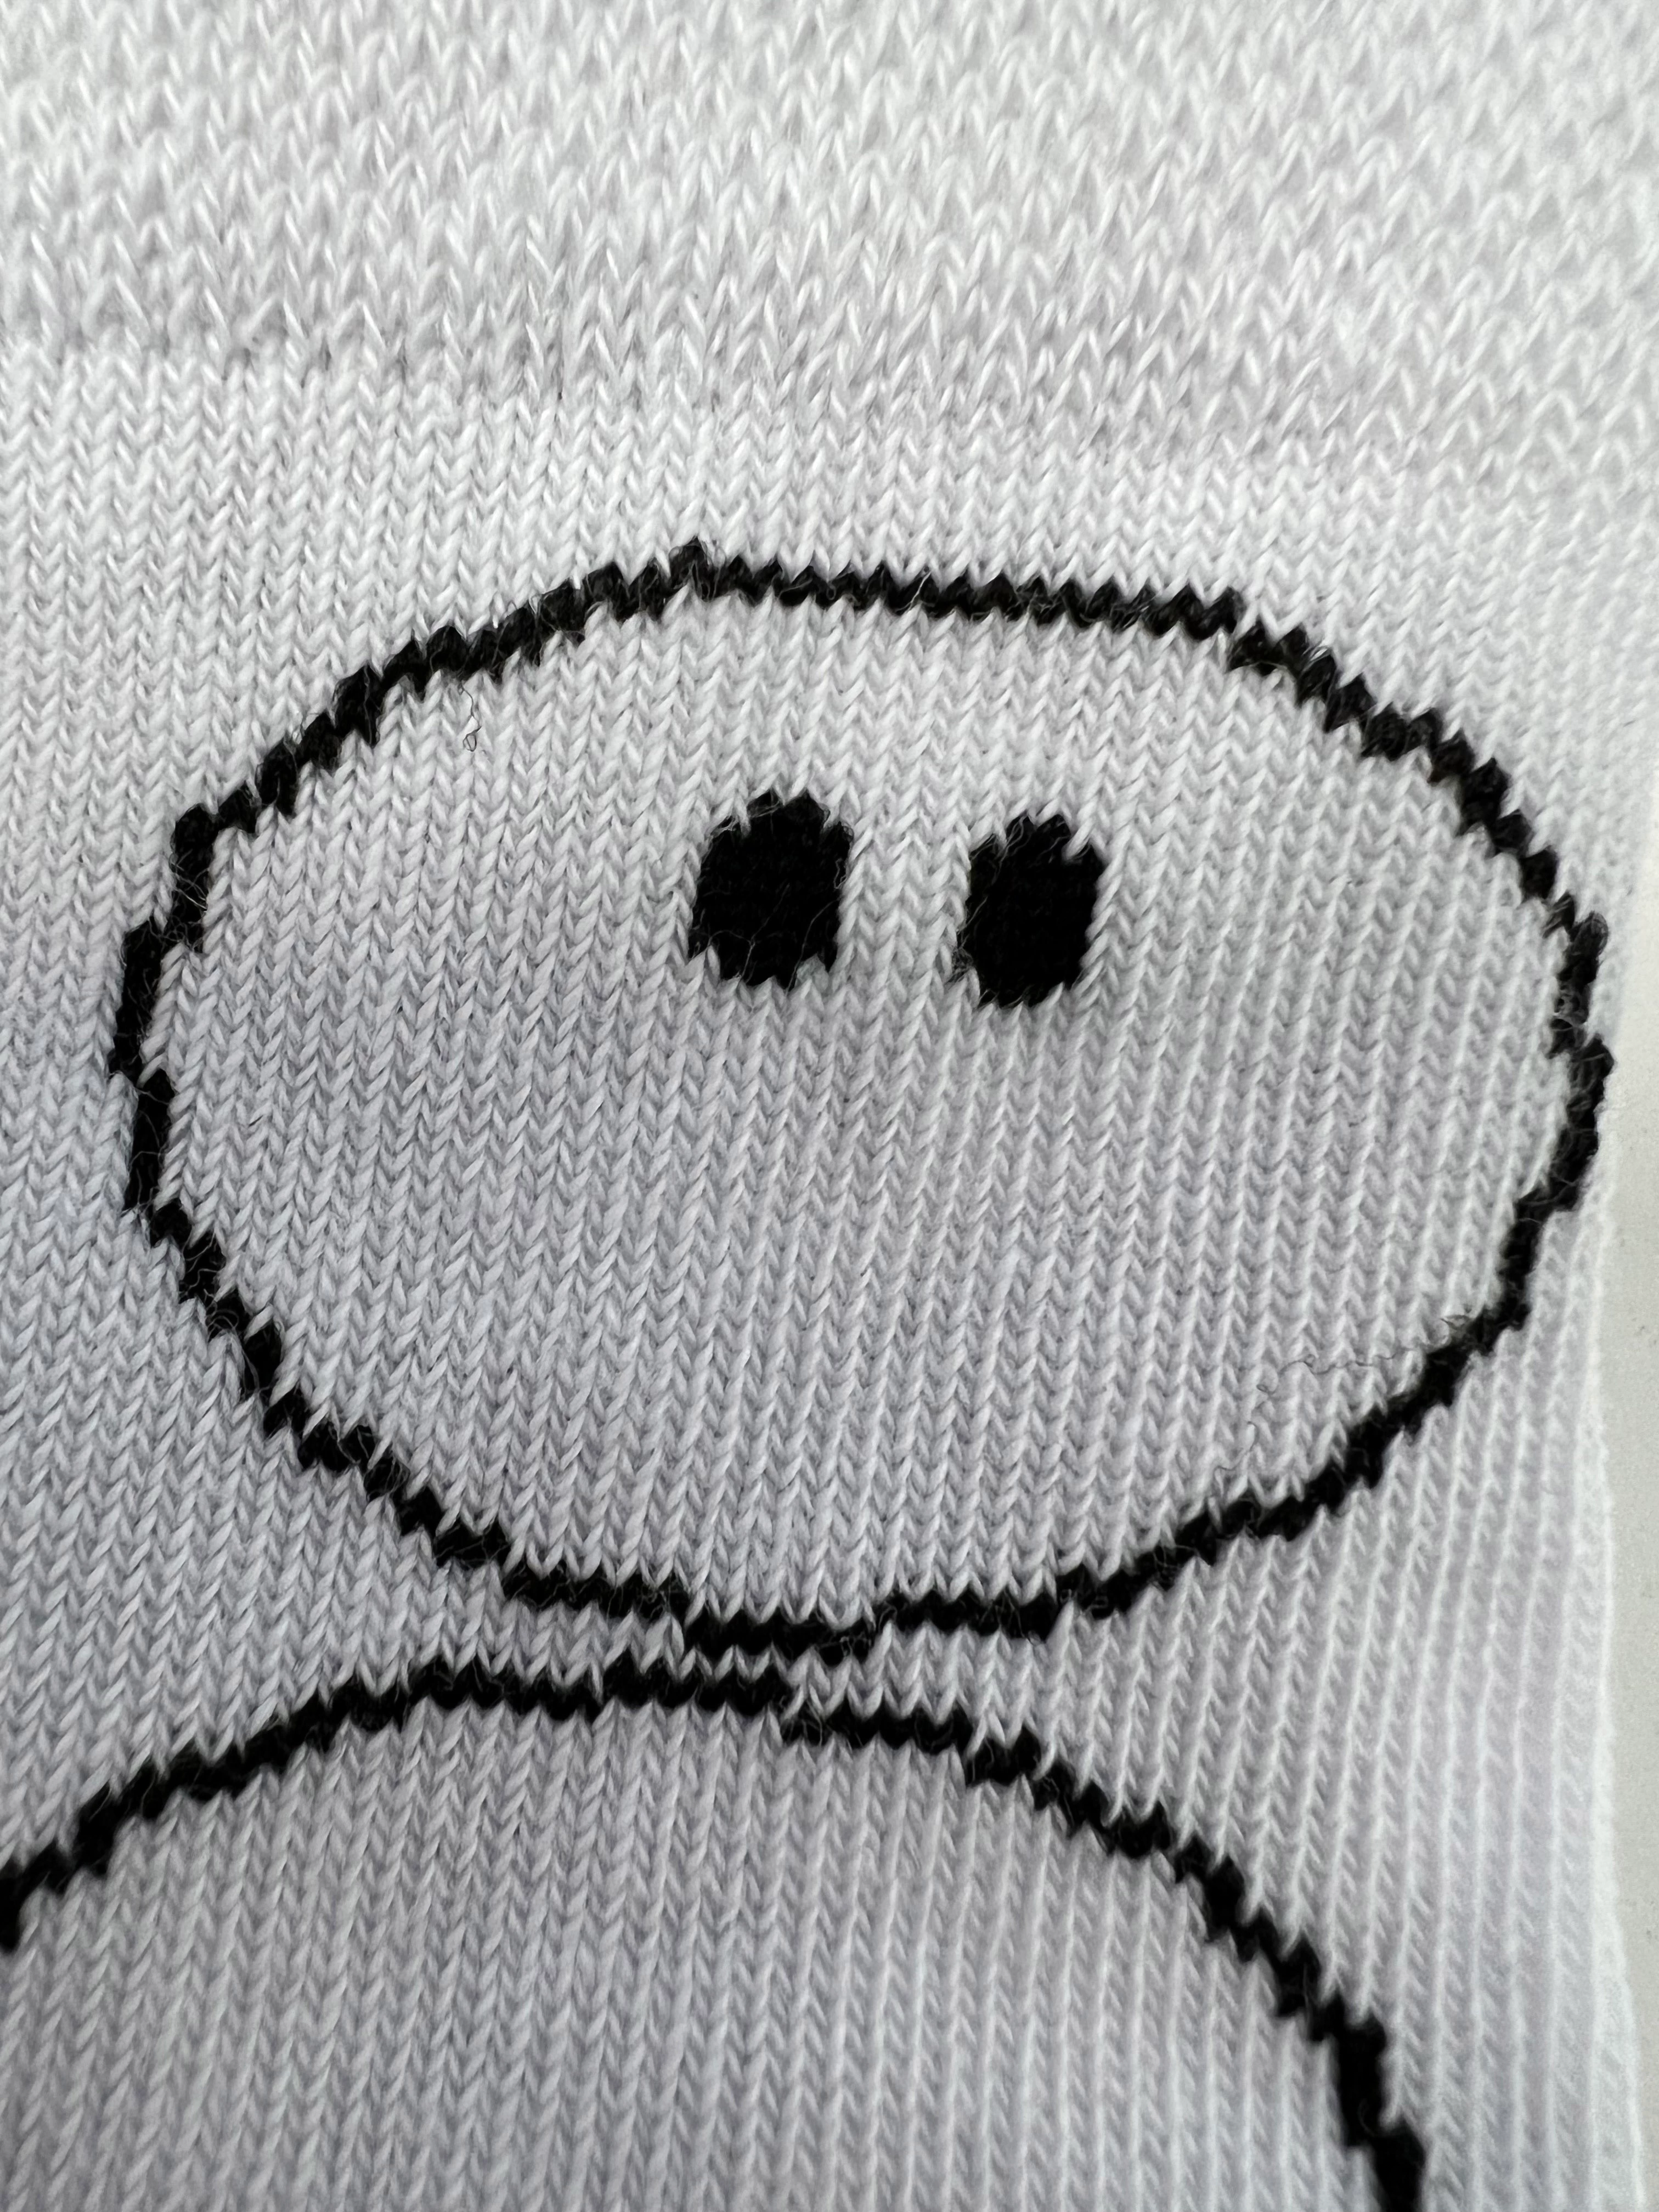
I want to replicate a woven effect of socks in photoshop. But not only with importing a texture and putting my design on top, I want the actual design to be displaced (see my refernce image) like it would in real life, due to the stitch.


This is how the design looks like on the socks:

IMG_0073 Kopie.jpg


And this is my current state by using the mosaic filter:

Bildschirmfoto 2021-10-08 um 12.48.49.png

There are a few problems with it: It's just pixelated and it doesn't follow the real structure of my stitch. But thats no so much of a problem when looking from a distance. The bigger problem is that the color isn't exact black anymore and my design now has half transparent pixels (which is not possible on a sock obviously).

Also coloring it on top is no option, because there will be multicolored design in the future, this is just an example.


I tried to use a displacement map, but had no luck with it (anyway I think it's the wrong approach).


So what do you have an idea how I can get close to the real woven effect? I couldn't find any tutorials about this topic.

Important for me is, that it should work on a smartobject, so I can exchange the design without any big adjustments. So an action would be possible if there is no other way, but I think an action can lead to more errors because I have to keep imagesizes etc. in mind.


Thank you very much.

TOPICS
macOS
714
Translate
Report
Community guidelines
Be kind and respectful, give credit to the original source of content, and search for duplicates before posting. Learn more
community guidelines
Adobe
Community Expert ,
Oct 08, 2021 Oct 08, 2021

Please post the image in question. 


As for the illustration: You can apply an Adjustment after applying the Filter. 

Translate
Report
Community guidelines
Be kind and respectful, give credit to the original source of content, and search for duplicates before posting. Learn more
community guidelines
Participant ,
Oct 08, 2021 Oct 08, 2021

What image? I posted two images in my question

Translate
Report
Community guidelines
Be kind and respectful, give credit to the original source of content, and search for duplicates before posting. Learn more
community guidelines
Community Expert ,
Oct 08, 2021 Oct 08, 2021

The image you are talking about in 

»Important for me is, that it should work on a smartobject, so I can exchange the design without any big adjustments.«

… the one containing the Smart Object. 

Is there some background, if so is it illustated or photographed, …? 

Translate
Report
Community guidelines
Be kind and respectful, give credit to the original source of content, and search for duplicates before posting. Learn more
community guidelines
Participant ,
Oct 08, 2021 Oct 08, 2021

Ah, sorry. This comment wasnt here before I posted my image. Inside the smartobject will always be a vector graphic and most of the time a logo without any background.

I will then in a second step but the displaced design on a mockup. We currently have mockups, but they just use a texture to make it look like woven. But the logos will still be super sharp, which is not the reality with a produced sock.


My end goal is to simulate the look of the finished sock, before it gets produced.

Translate
Report
Community guidelines
Be kind and respectful, give credit to the original source of content, and search for duplicates before posting. Learn more
community guidelines
Community Expert ,
Oct 08, 2021 Oct 08, 2021

»I will then in a second step but the displaced design on a mockup.«

So please post that mock-up. 


For a flat simulation one could use a Pattern as an overlay. 

Translate
Report
Community guidelines
Be kind and respectful, give credit to the original source of content, and search for duplicates before posting. Learn more
community guidelines
Community Expert ,
Oct 08, 2021 Oct 08, 2021

Screenshot 2021-10-08 at 14.54.24.png

Translate
Report
Community guidelines
Be kind and respectful, give credit to the original source of content, and search for duplicates before posting. Learn more
community guidelines
Participant ,
Oct 08, 2021 Oct 08, 2021

Thank you very much.

The mockup will be something like this:

Bildschirmfoto 2021-10-08 um 15.11.21.png


But just for visualization your approach is great. Still, I can't manage to make it look the same. My pattern is all over the my whole canvas. How did you do that without using blendmodes or a clippingmask?

Could you please send me that psd? That would be great!

Translate
Report
Community guidelines
Be kind and respectful, give credit to the original source of content, and search for duplicates before posting. Learn more
community guidelines
Community Expert ,
Oct 08, 2021 Oct 08, 2021

The Pattern I used is white with »holes« and the sidelength is the same as the mosaic-setting. 

Please post screenshots. 

Screenshot 2021-10-08 at 16.10.39.png


Translate
Report
Community guidelines
Be kind and respectful, give credit to the original source of content, and search for duplicates before posting. Learn more
community guidelines
Participant ,
Oct 08, 2021 Oct 08, 2021

I can't edit the original post, so this is my design I try to make it look like it's wovenBildschirmfoto 2021-10-08 um 14.30.21.png

Translate
Report
Community guidelines
Be kind and respectful, give credit to the original source of content, and search for duplicates before posting. Learn more
community guidelines
Community Expert ,
Oct 08, 2021 Oct 08, 2021
LATEST

I think the hardest part of the mockup template would be the warping of the sock's replacement design smart object layer to conform to the bend in the sample sock image.

Capture.jpg

JJMack
Translate
Report
Community guidelines
Be kind and respectful, give credit to the original source of content, and search for duplicates before posting. Learn more
community guidelines