- Home
- Photoshop ecosystem
- Discussions
- How to add wave like background curling with textu...
- How to add wave like background curling with textu...
Copy link to clipboard
Copied
Hi all.
I'm new on Photoshop and now learning from teacher.
My teacher gived me homework, that i can't do.
Trying, but failing.
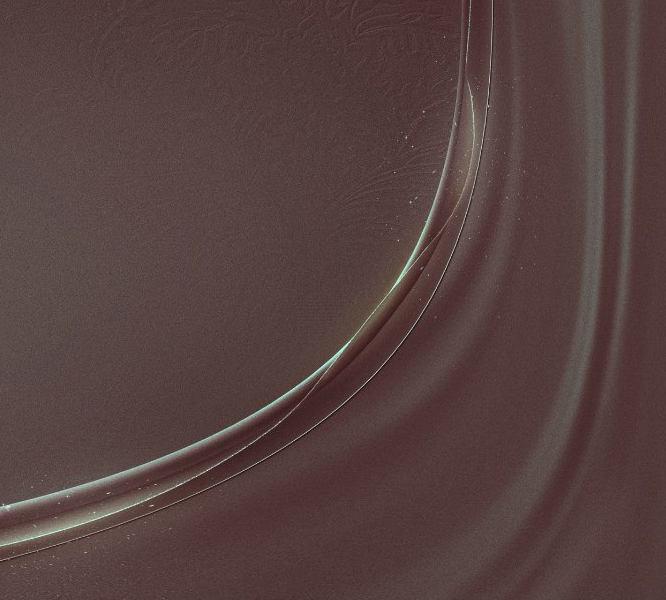
As you see on image it's very well made effect, so question is:
1. How to make 3D-like Curling line?
2. How to make Fabric (on RealDRAW name is Fabric, but RealDRAW is drawing tool, not a "professional photo-editor") like Background, it's too like Curled or 3D-like.
I will be happy if some can teach me, or have YouTube/Vimeo video-course.
Thanks.
Sorry for bad english
 1 Correct answer
Try this
Make a new layer
Draw a path with the pen tool
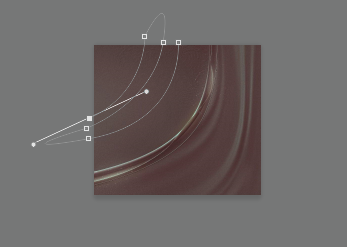
Stroke the path with a soft white brush (Select the brush then stroke the path using the symbol at the bottom of the paths panel)

Pick the path selection tool (black arrow) and move the path down and to the right slightly
The stroke with a soft black brush
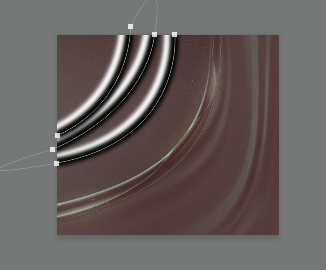
Set the blend mode to luminosity and reduce the opacity to around 16%
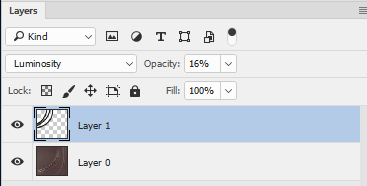
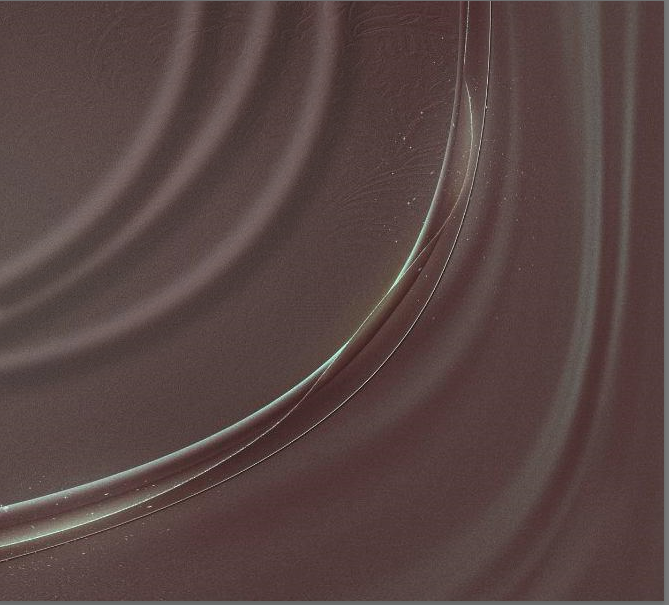
You can go on to put further shading on the new layers as required
Hope that helps
Dave
Explore related tutorials & articles
Copy link to clipboard
Copied
What makes that image is highlights and shadows.
If you take a mid grey image and add a darker color to one side and a lighter side to the other it will appear to push out.
Stop = Location
In the attachment I created a gradient with 5 stops. Stop 0 = 50% (B)rightness | Stop 33 = 33% B | Stop 50 = 50% B | Stop 66=66% B | Stop 100 = 50% B
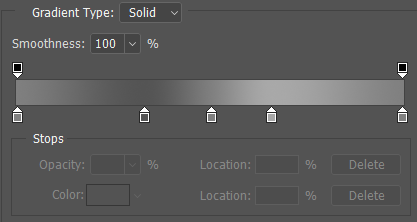
Because Stop 0 and stop 100 are the same as stop 50 I can use a short gradient. Photoshop assumes anything in front of stop 0 should be that color and anything after stop 100 should be that color. Therefore I can make it look like the entire page is a single color before and after that gradient.

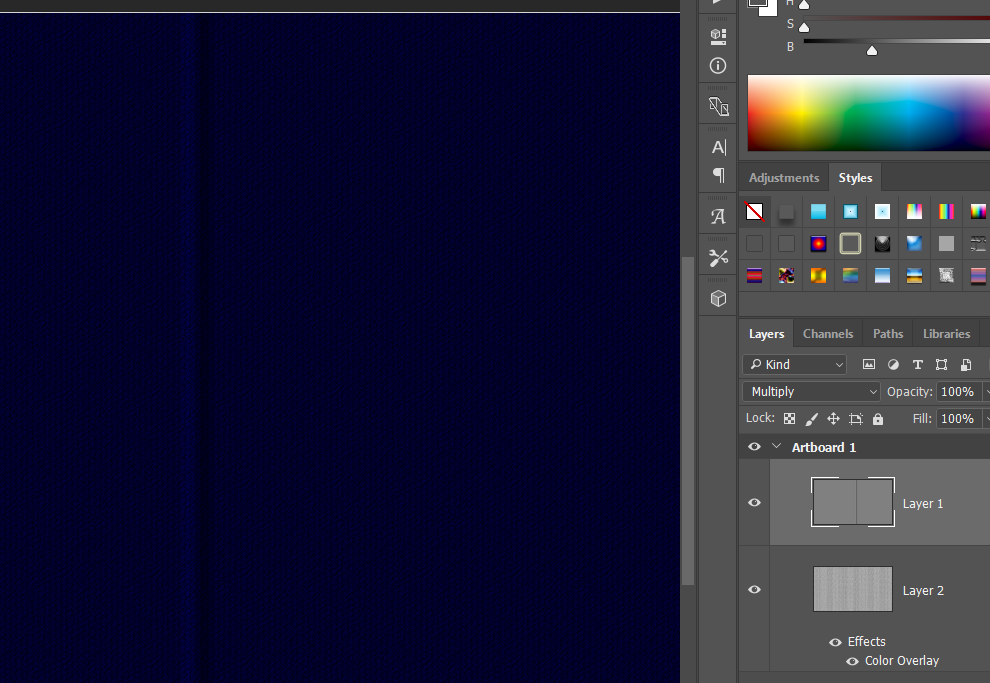
If we add a blend mode to this layer, it can look like it is part of a texture or another solid color.
Copy link to clipboard
Copied
Thanks for reply.
But this not linear line as demo picture shows.
This line is like circular like.
I will be happy to see circed result.
Thanks again
Copy link to clipboard
Copied
Radial gradient can create a curve. The above was just an example to show how shadows and highlights affect the image.
Knowing this you could use a brush and make sweeps or even the pen tool and apply a brush stroke to the path.
Knowing that, you can take a linier gradient and create a brush.
When I get a moment, I will see if I can create a quick brush and apply it to a stroke for an example.
Copy link to clipboard
Copied
Well, brush didn't work like I expected. Must be illustrator I was thinking about.
Any way, the shear filter will curve the linier gradient how you need it. As you can add point then move the points. I believe this technique would require a layer for each curve if you want to add more.

Copy link to clipboard
Copied
Here is the pen tool with layer styles applied. Height and thickness is adjustable.


Play around and you may find even better settings...
Copy link to clipboard
Copied
Here I made a copy of the smart object and set the bevel to down for the indent. (Keep in mind that ctrl-j or cmd-j won't work as the smart object must be separate copy to adjust the settings without affecting the original)

Copy link to clipboard
Copied
Try this
Make a new layer
Draw a path with the pen tool

Stroke the path with a soft white brush (Select the brush then stroke the path using the symbol at the bottom of the paths panel)

Pick the path selection tool (black arrow) and move the path down and to the right slightly
The stroke with a soft black brush

Set the blend mode to luminosity and reduce the opacity to around 16%


You can go on to put further shading on the new layers as required
Hope that helps
Dave
Copy link to clipboard
Copied
I should have added you could also create a displacement map to bend the image over the fold.
I have to leave now but will be back later today, if you need help with that, and in the meantime I am sure Silkrooster or one of the others will help you further
Dave
Copy link to clipboard
Copied
Thanks for super clear and best answer.
I figured out how to make 3D-like background.
So, but interested in "fold/turn/curling" some object, as i think you can do this too. I will be thankful if you show me that too.
Thanks again.
Copy link to clipboard
Copied
Hi
Glad that helped
The next stage I referred to was to use a displacement map to curve the background image over the fold. A displacement map works by
shifting pixels one way for white the other for black (you can specify the shift in the dialogue). Anything 50% gray is left alone.
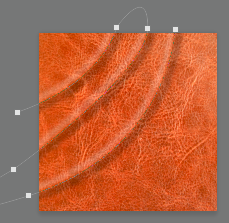
I’ve use a piece of leather in this demo as it started with a higher resolution and has more grain to show the effect clearly.
So starting with the image shaded as per my previous post
- Go to image duplicate and create a duplicate document from the current image file. That will have the two layers and the saved path
- Move the path so that it falls directly over the centre of each fold we made
3. Add a new layer and fill it with 50% gray

4.Stroke the path onto this layer with a white brush, the same as you did previously

5. Use filter Gaussian blur to blur this slightly
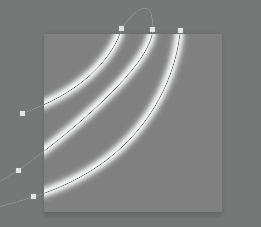
6. Flatten the layers and save this duplicate as a named file eg. Foldsmap.psd
7. Go back to the original image and select the layer with the image and duplicate that layer (we are going to alter the pixels so it is always good to keep the original intact)
8. With the duplicate layer selected go to Filter – Distort – Displace .
With my image I used values of 10 and 30 in scaling – this will vary by image and resolution
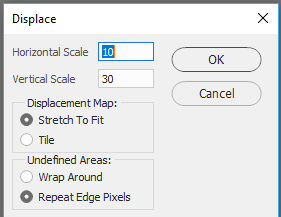
10. When you hit OK it will ask for a file name of the map – Select the map we created at step 6
If you look closely, you will now see that the grain in the material now folds up over each of the folds you made
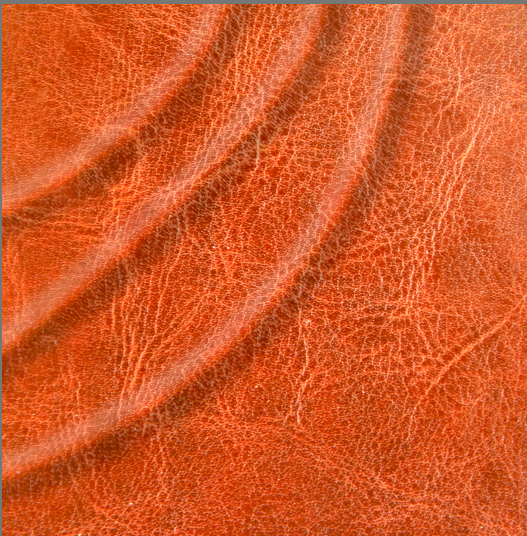
100% view Before displacement (i.e. shadows only) :
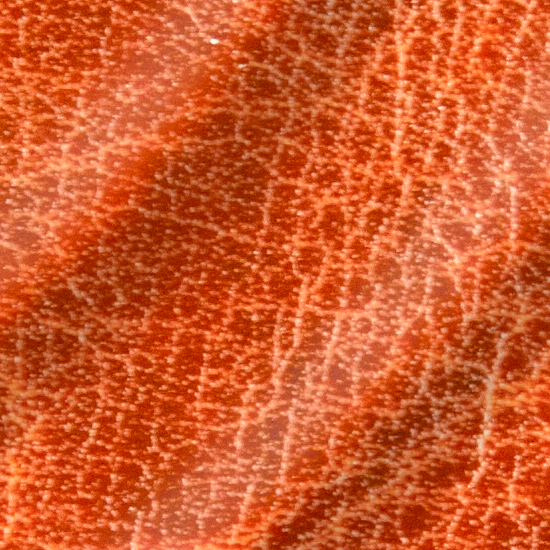
100% view after displacement
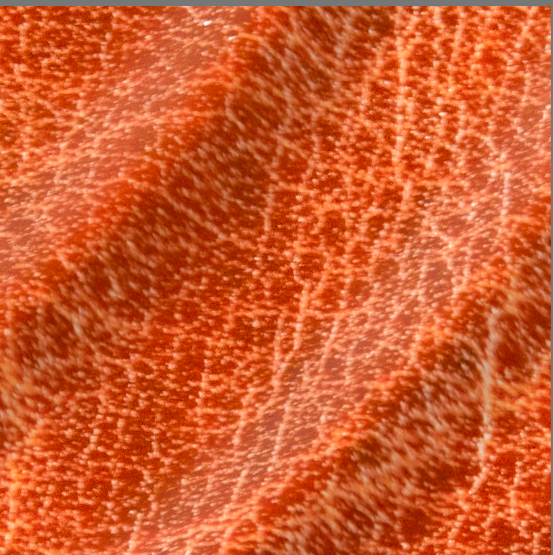
I hope that helps you
Dave
Copy link to clipboard
Copied
Thanks again for amazing and very better work.
If you can, please can you make "PSD" for me.
Of course, i trying and i will get almooost result of folding bg.
But "Curled" object i can't make it work, can you help me for it?
You is best helped me to get work 3D-like background.
I very thankful to you.
Good luck for your all work and i wish to you all bests.
Sorry for bad english and thanks really big thanks again ![]()
Copy link to clipboard
Copied
One thing to check, and I should have mentioned it in my last post. When you save the map.psd to use with the displace filter you need to have maximise compatibility set to on. You can check that in Preferences - File Handling

Try that and see if it works.
If not post the settings you are using and we will try and help spot where you need to change it
Dave
Copy link to clipboard
Copied
I got something looks similar with your tutorial. Nice. Thanks
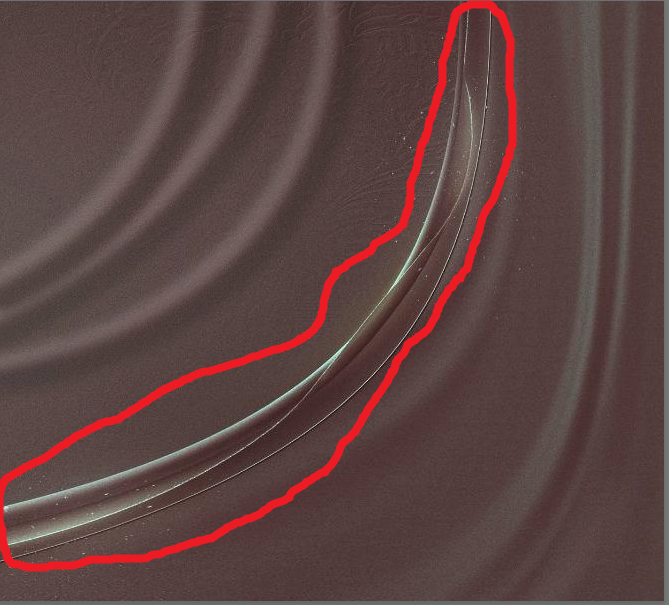
I highlighted what i need now, it's very well made things as i glowing background-like thing, not looks similar.
It maybe made with Illustrator? I not sure. Thanks again.
Copy link to clipboard
Copied
Hi
I was not sure what are trying to do now.
If you mean you want to reproduce that creased part in the middle - then you should use the pen tool as before to add strokes but also to create masks. Using the pen tool will keep the mask edges nice and sharp which means you can brush on to the image part of the layer with nice clean edges.
So each layer I added looks like this (when shown over the original image)
Shade (done with the technique I showed you previously:

Edge Highlight:

More Shade - brushed into a layer with a mask created via the pen tool
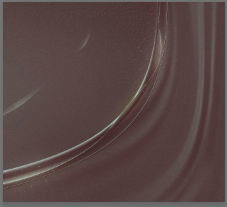
Stroke with drop shadow - produced with the pen tool and stroked - then layer styles drop shadow :
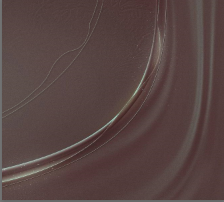
Top shade - brushed into a layer with a mask created via the pen tool:
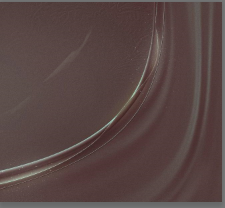
Put them together :

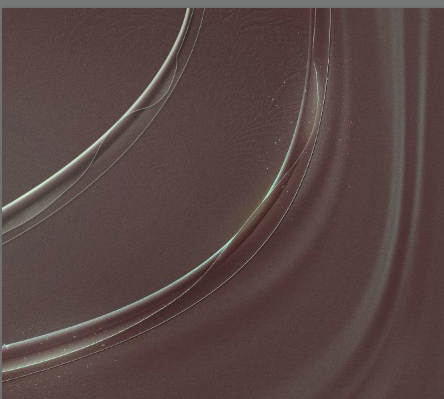
Dave
Copy link to clipboard
Copied
Thanks very thankful i.
I learning two amazing trick and thanks to you for teached me.
Please keep this thread alive, so someone else can find and learn this amazing trick.
Thanks for all for helping at first.
Thanks to @davescm i learning this.
Find more inspiration, events, and resources on the new Adobe Community
Explore Now