Known Participant
October 3, 2020
해결됨

How to bring out the texture of a paper through my illustration ...

  • October 3, 2020
  • 3 답변들
  • 2747 조회

Hello,


I'm struggling to find the words to explain my problem but I'll try to be clear and put screenshots to illustrate.


Voila, I make illustrations on illustrator, and to make them more realistic, I paste them on the photo of a textured paper on Photoshop. Basically the goal is to act as if I had made the drawing on the textured paper directly.


So usually I use a ready-made thing called Atomica from True grit texture. I copy my illustration from illustrator, I paste it and place it in the Atomica .psd file, I put it to the desired size, and it works great thanks to a layer called "highlights", the texture of the paper comes out through the drawing , in short, it's nickel.


Today, for several reasons, I would like to do the same thing but on different papers. So there you go, I went to adobe stock, downloaded some textured paper (more white this time), and tried doing like what I explained just before.


The problem is, I can't bring out the texture of the paper through the design.
I tried copying the highlights layer from the Atomica .psd file, but the texture of the atomica paper stands out.


Here I hope it is clear, otherwise I can detail more.


I put you screenshots:
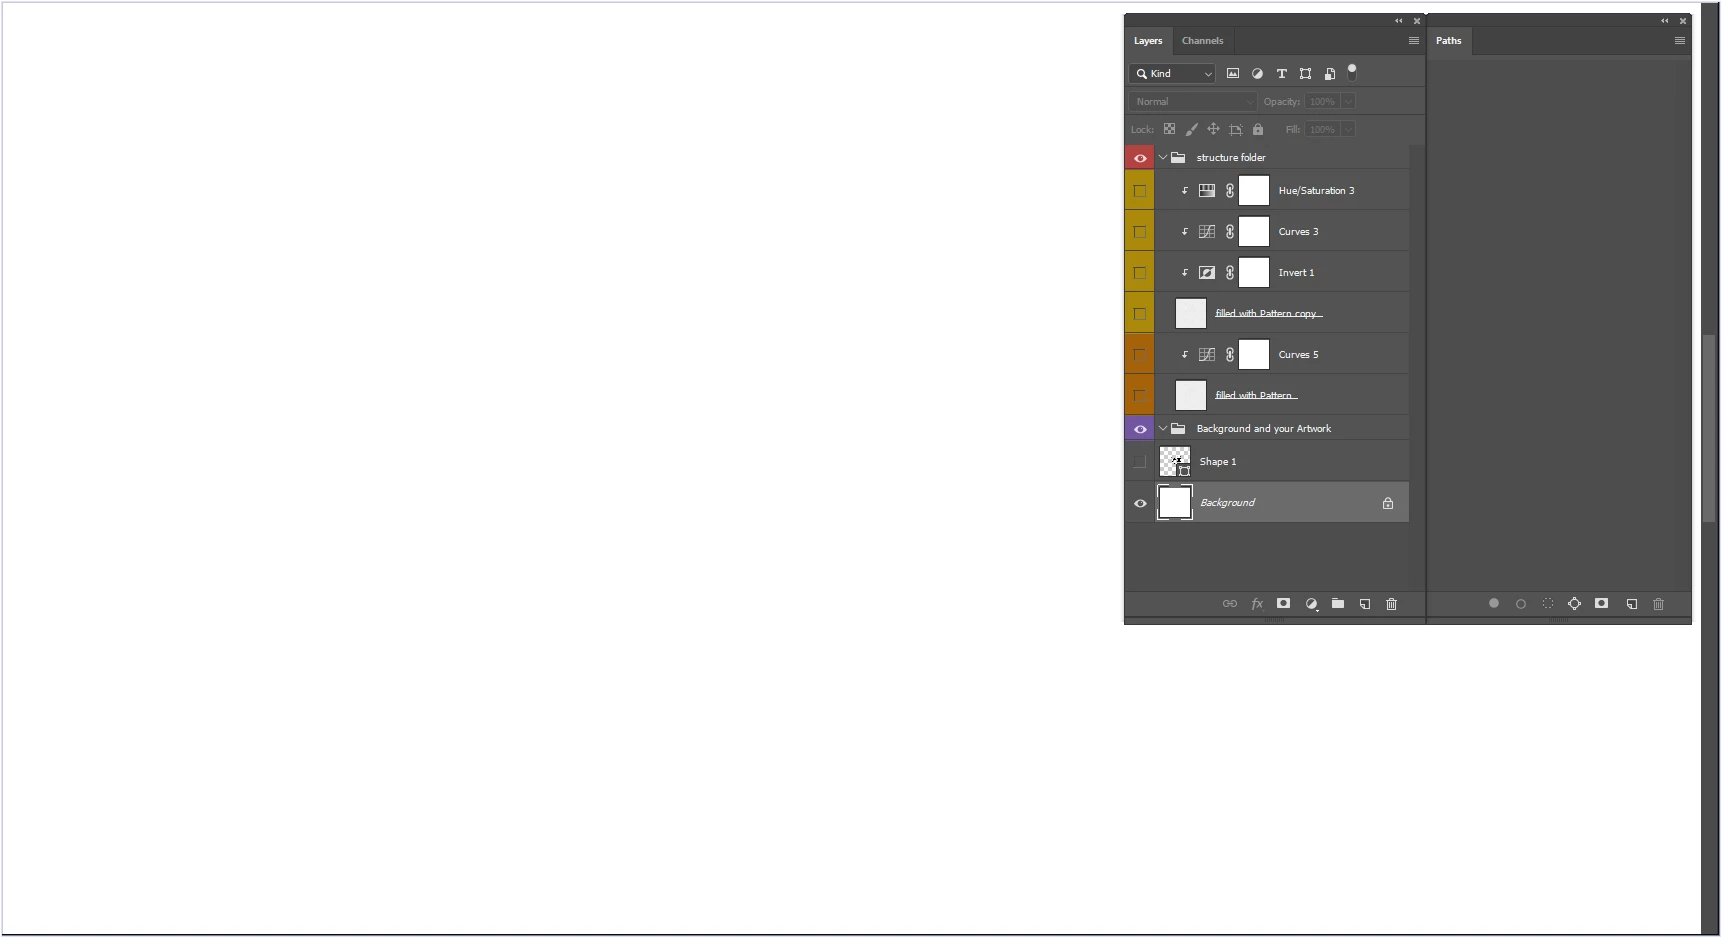
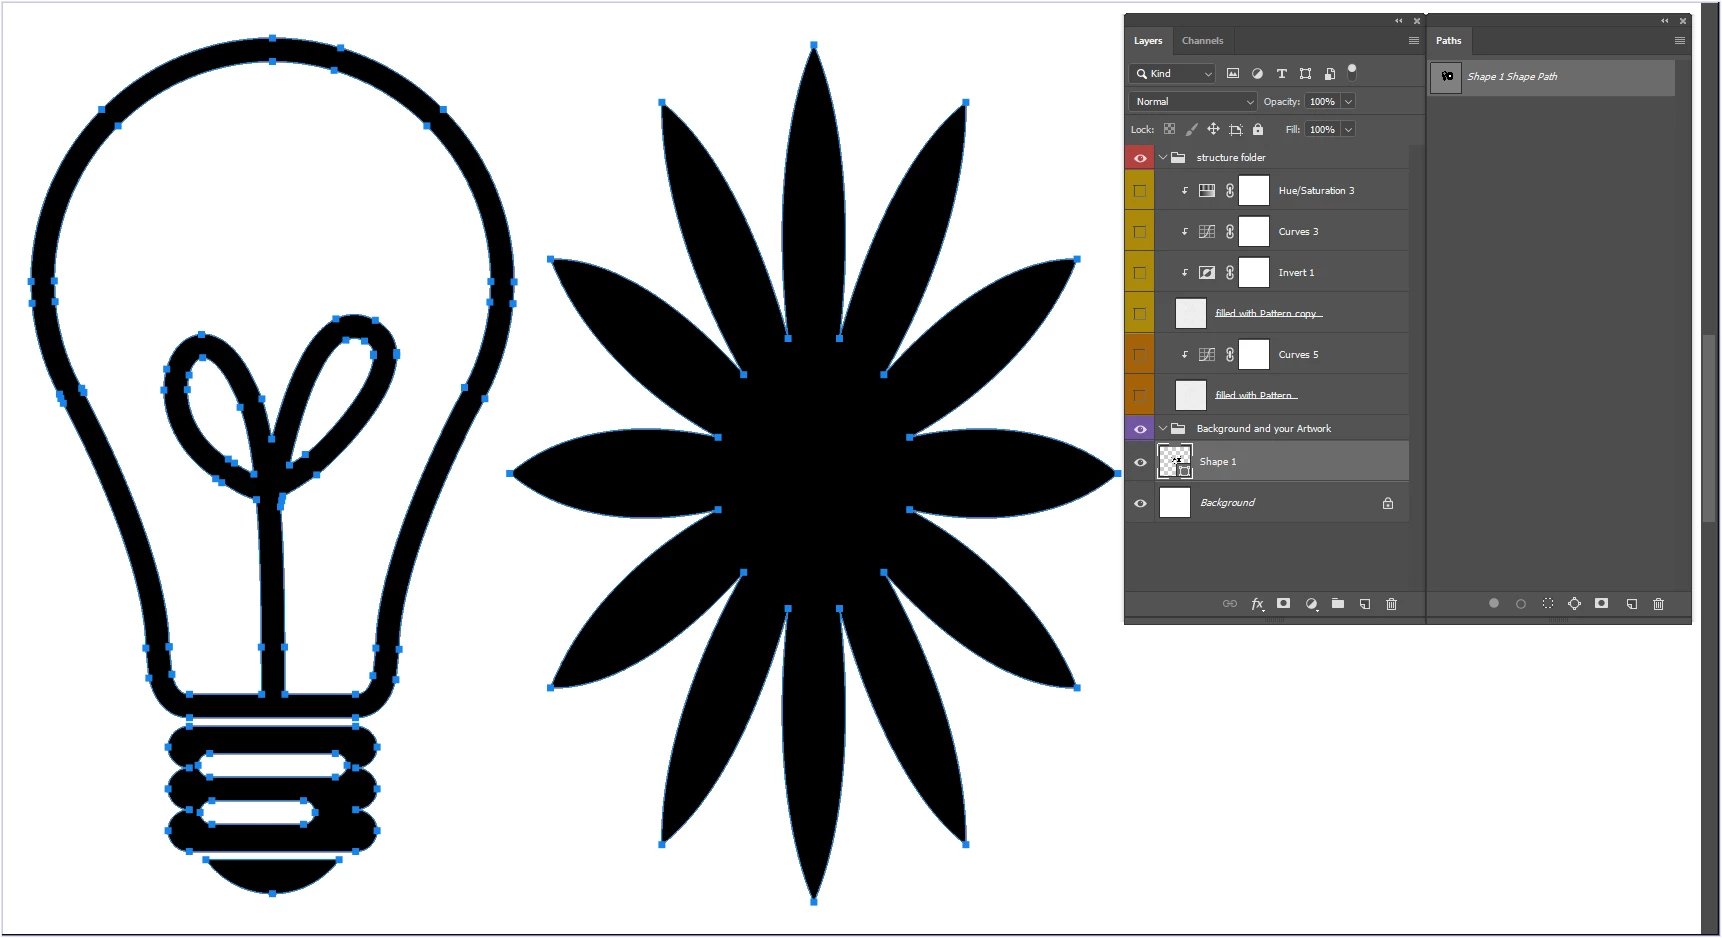
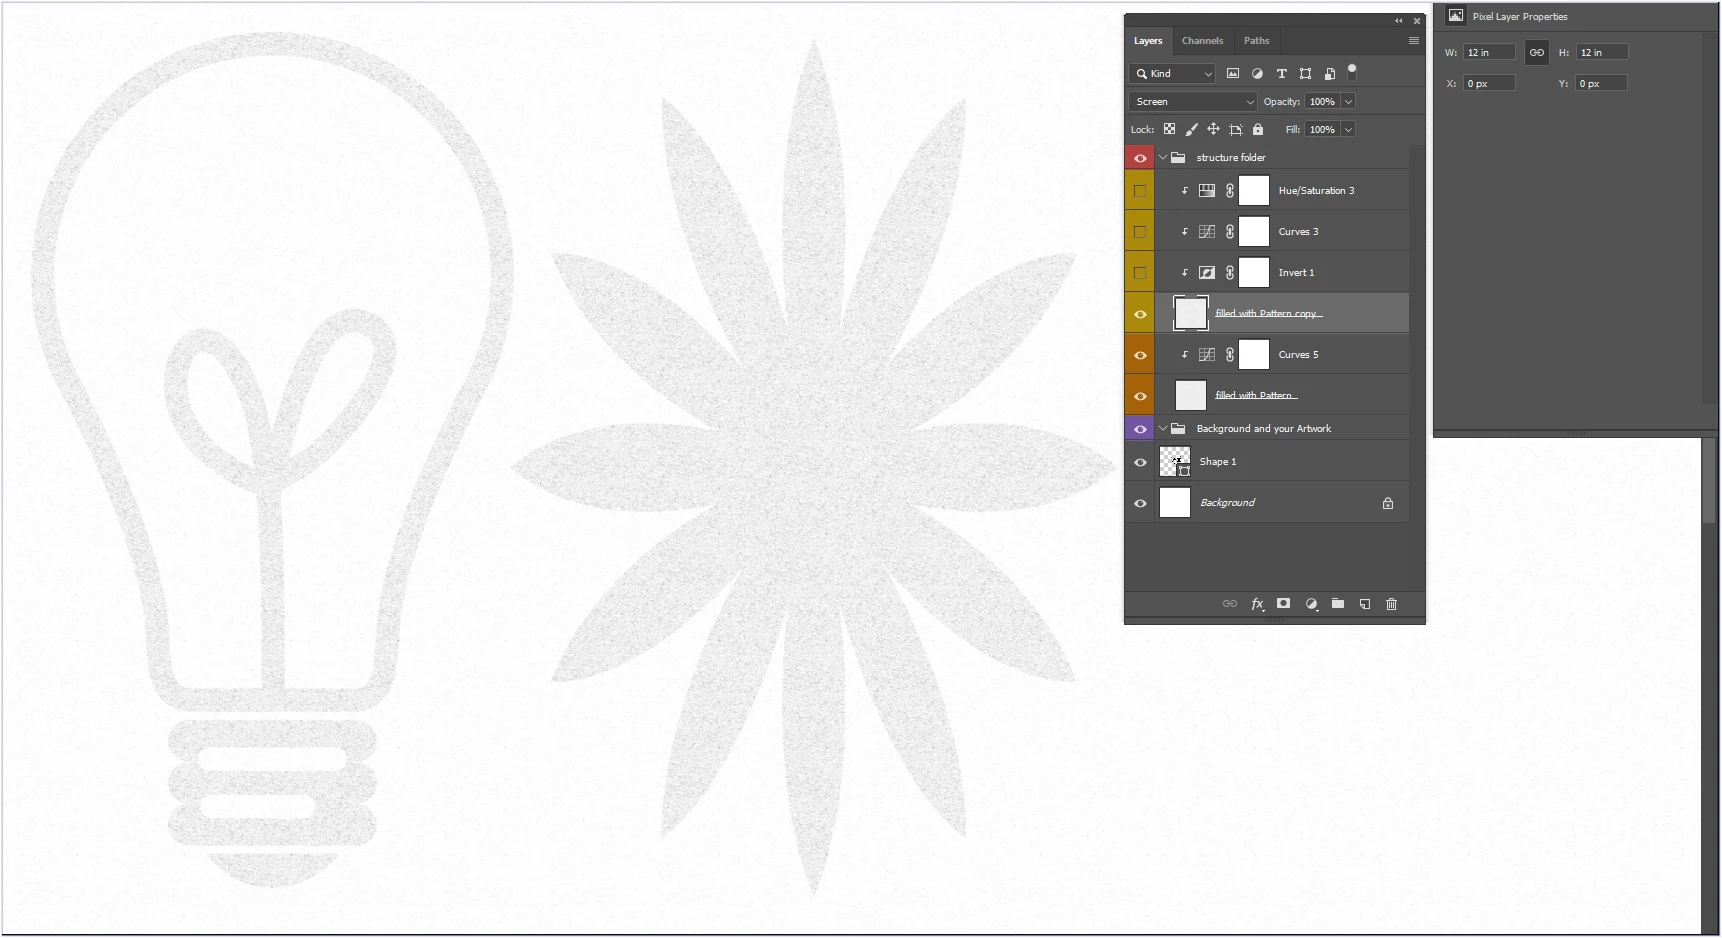
- the first is the atomica .psd file which works great
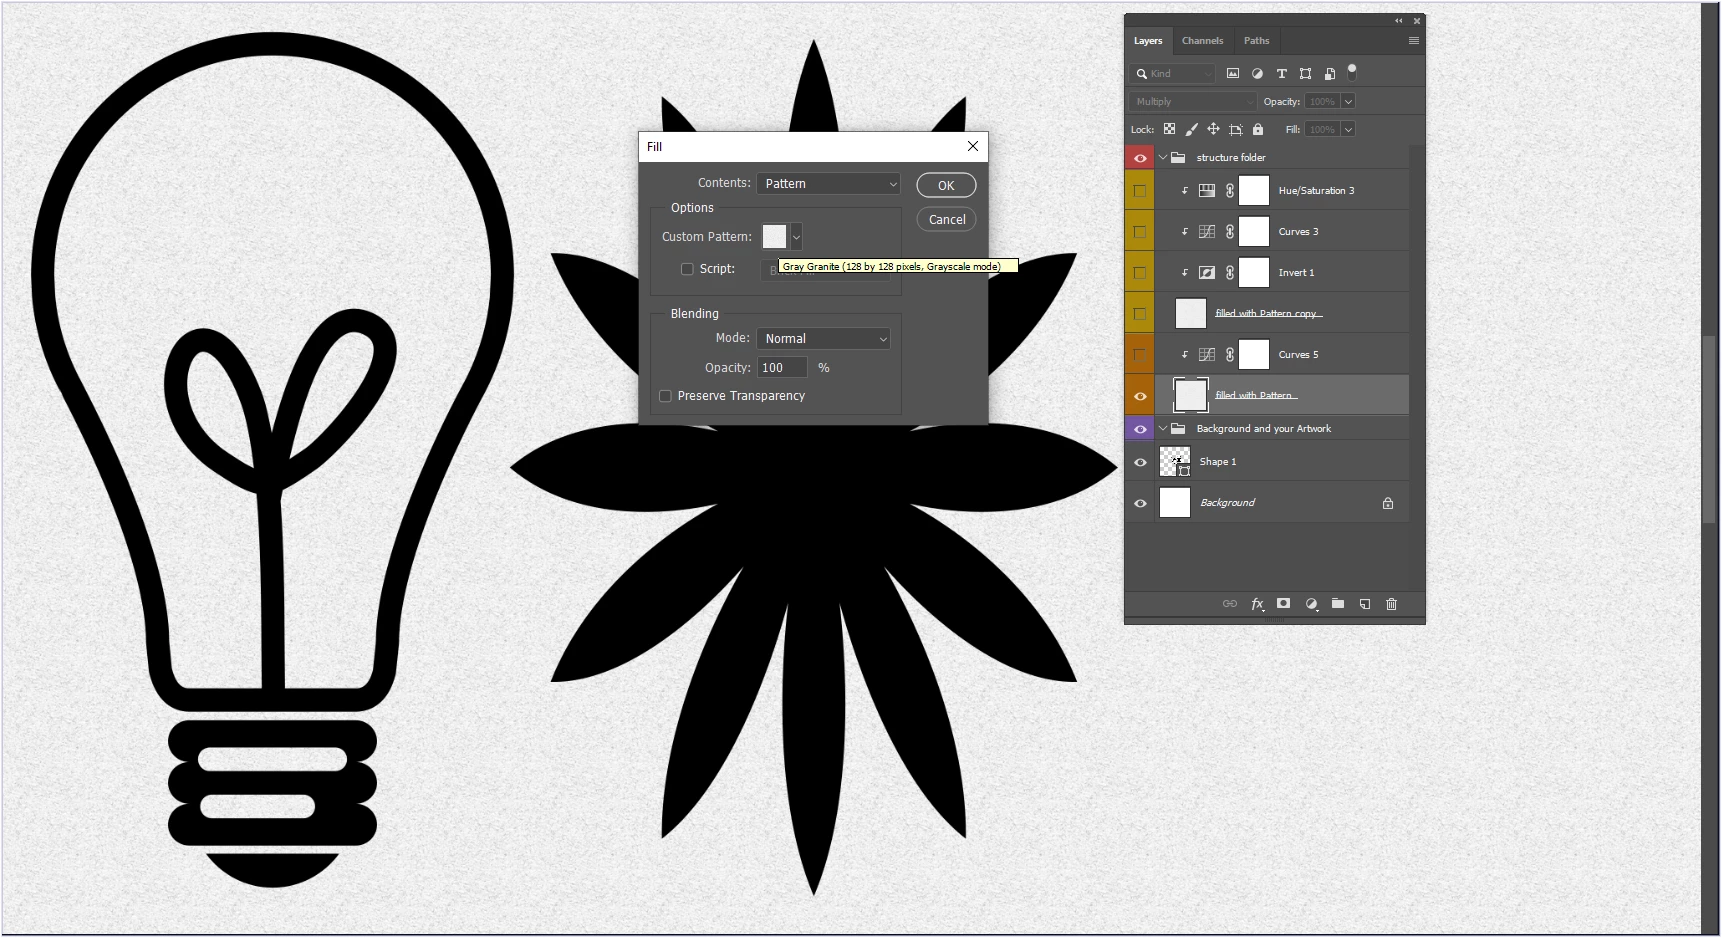
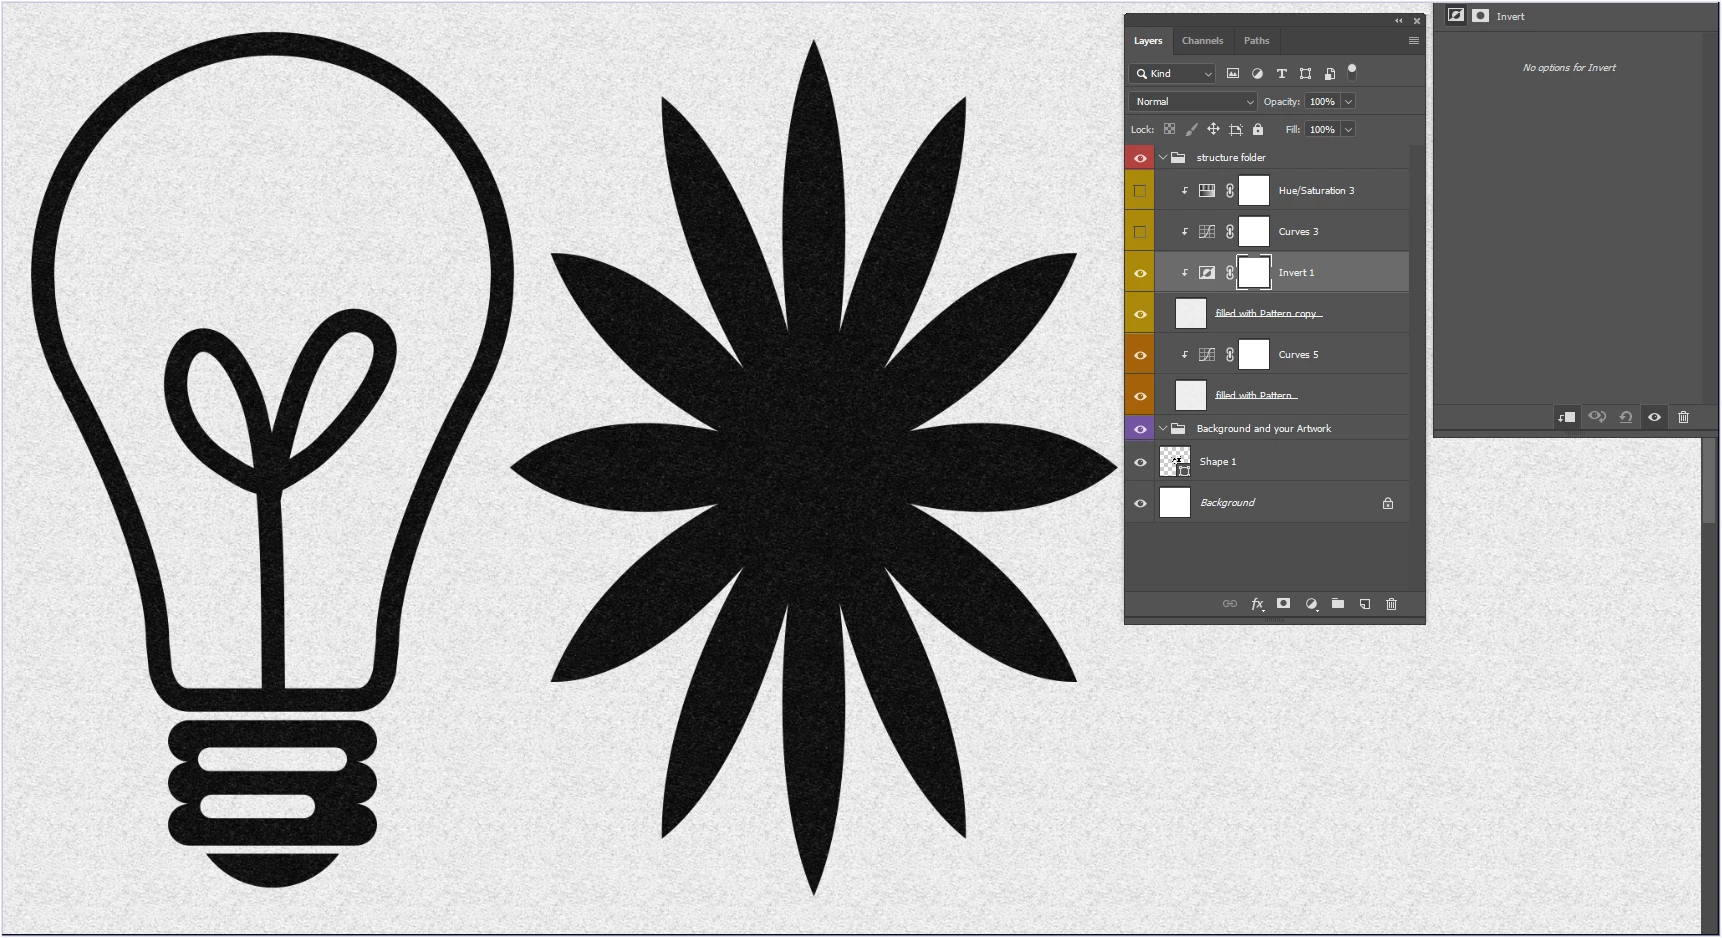
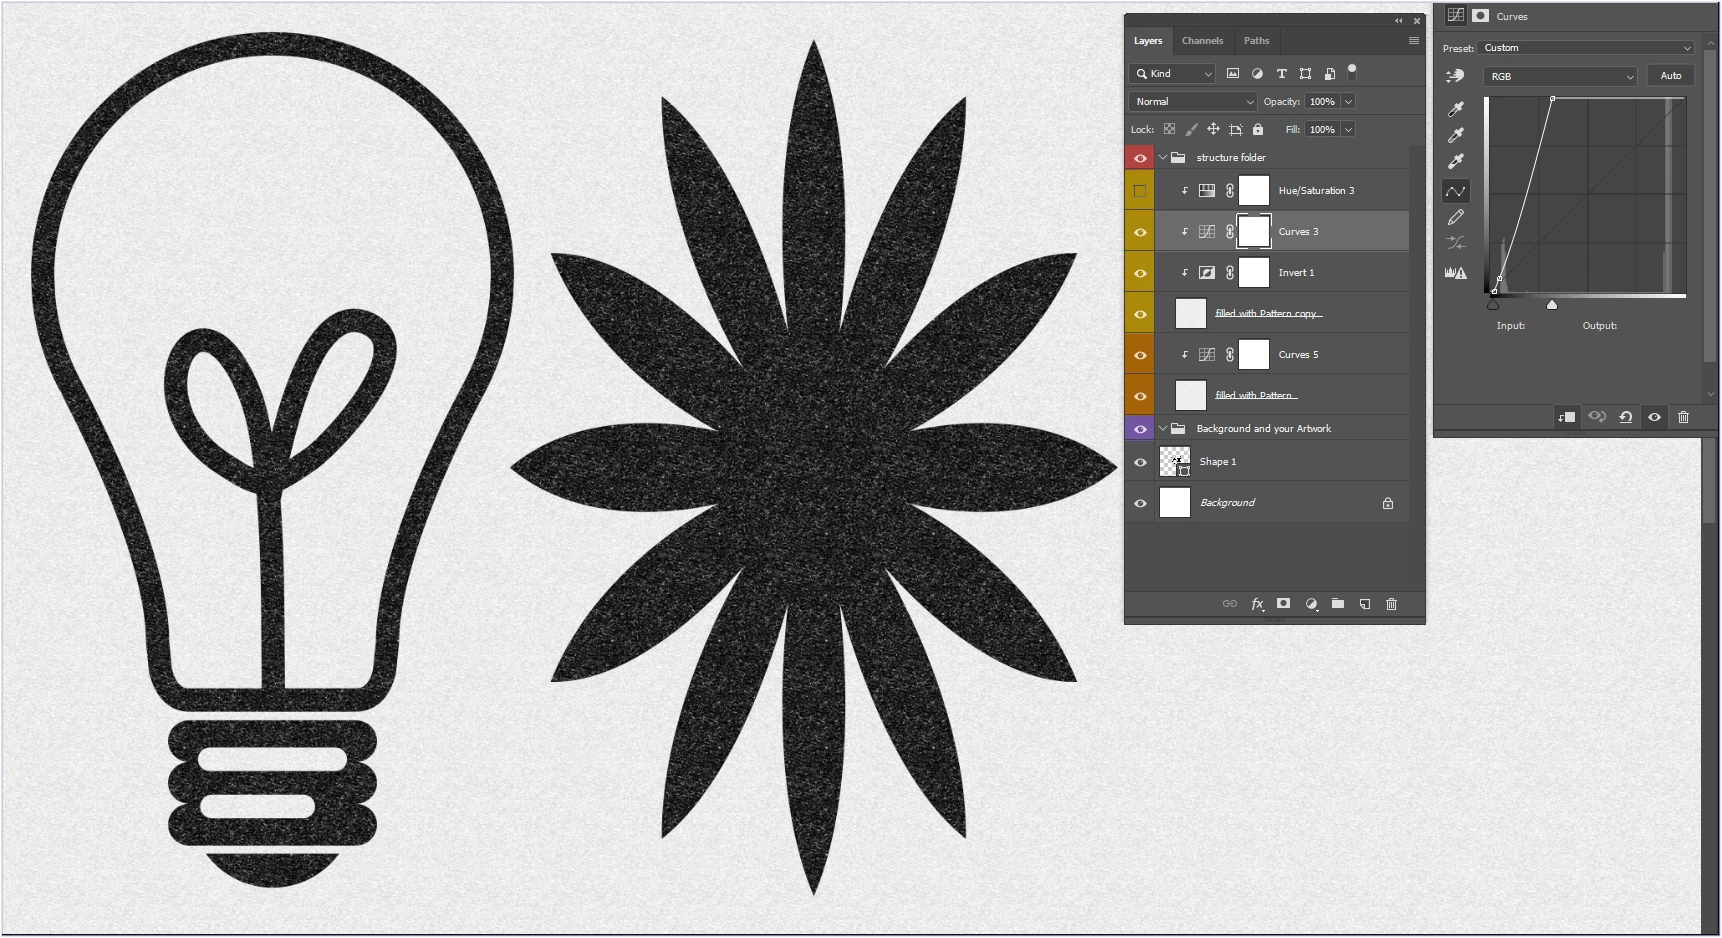
- the second is what I want to reproduce with a new paper but it does not work
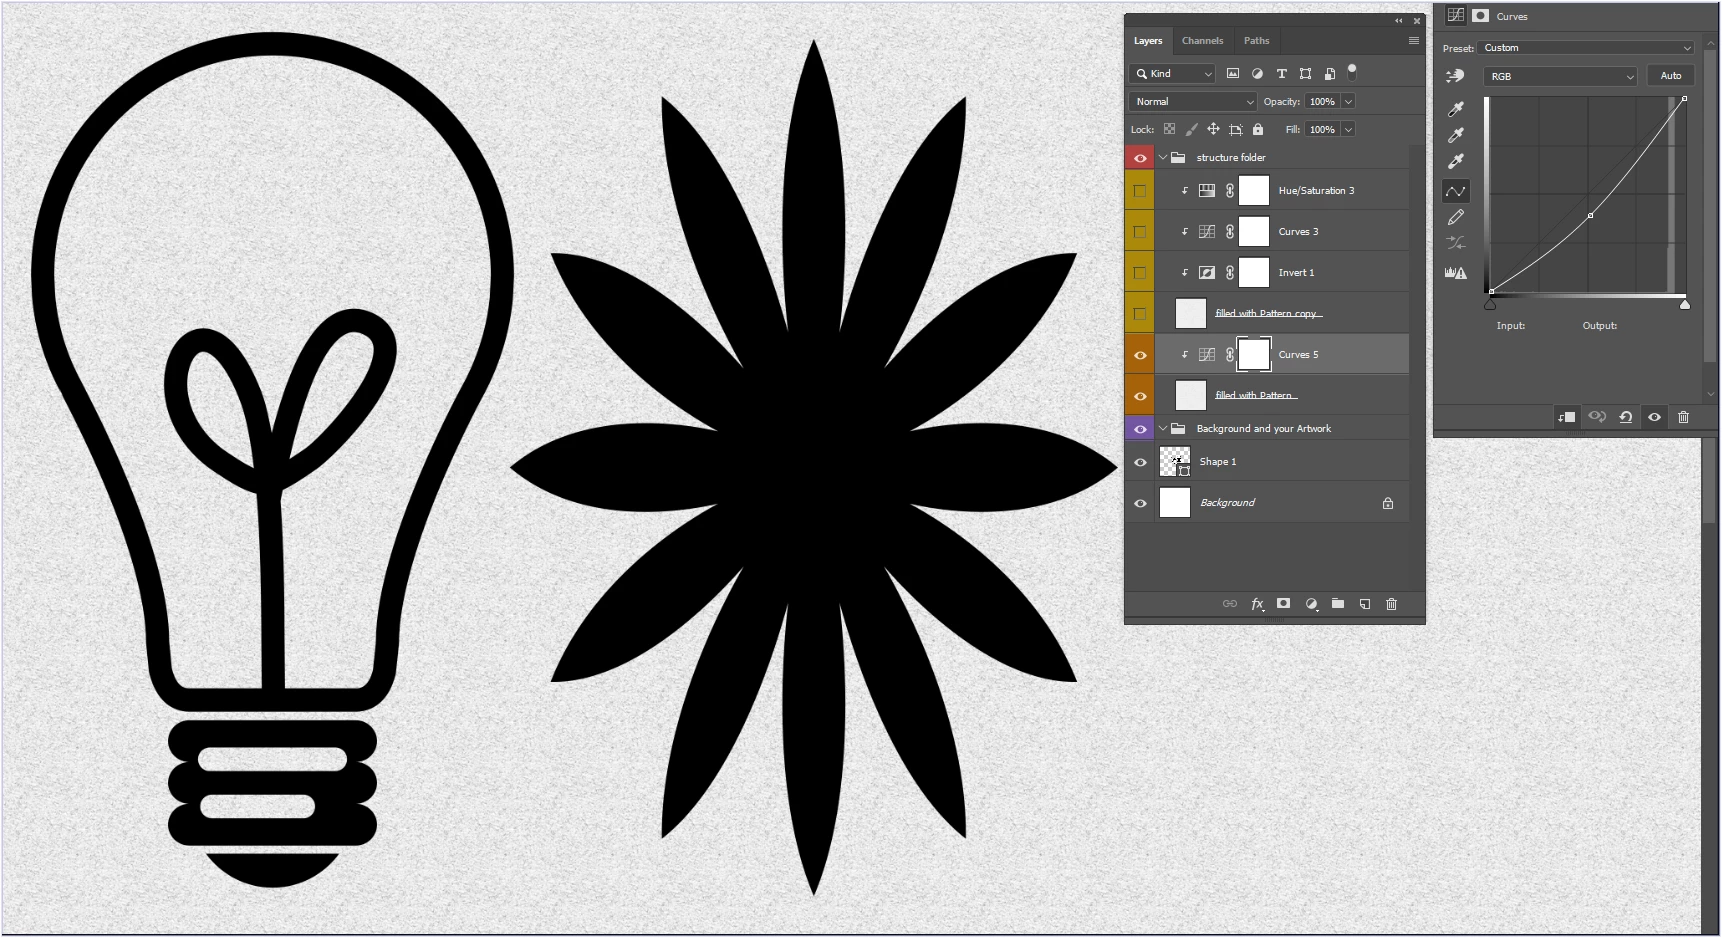
- the third is when I paste the "highlights" layer of Atomica on the file I want to create, and it is the texture of the atomica paper that emerges instead of mine


Thank you in advance for the help you can offer me

이 주제는 답변이 닫혔습니다.
최고의 답변: pixxxelschubser

Too bad, but ok for me.


I'm going to try to give you some general advices on how to get a similar result using PS's own pattern structures and shapes instead. You probably have to "play" something with the values of the adjustment levels and blend modes of the structure layers.


Let's start:

  • create a layer set with white background layer
  • (you see now the complete layer and layer set hierarchy - always pay attention to the active and visible layer)

  • create your shape layer above

  • go into the structure layer set and create a new empty layer
  • fill that layer with your wished structure - I did use PS own pattern "Gray Granite"
  • set the blend mode of this layer (for all bright areas) to "Multiply"

  • create an adjustment layer "Curves" and play with the settings eg for a bit more contrast
  • make a clipping mask with the structure layer ( [Alt]+Click on the line between both layers in Layers panel)


  •  duplicate the structure (pattern) layer
  • set the blend mode of this layer (for all dark areas) eg to "Screen"

  • now create some adjustment layers and always create a clipping mask with the duplicated structure layer
  • at first an adjustment layer "Invert"


  • next: eg adjustment layer "Curves" (example setting are shown in the screenshot) for much more better contrast


  • in my example the last one: eg adjustment layer "Hue/Saturation" (example setting are shown in the screenshot) for more flexibility - color - brightness - saturation

Done!


I hope this explanation helps you to do what you want.


If that works for you

have fun

😉

3 답변

pixxxelschubser
Community Expert
Community Expert
October 4, 2020

Too bad, but ok for me.


I'm going to try to give you some general advices on how to get a similar result using PS's own pattern structures and shapes instead. You probably have to "play" something with the values of the adjustment levels and blend modes of the structure layers.


Let's start:

  • create a layer set with white background layer
  • (you see now the complete layer and layer set hierarchy - always pay attention to the active and visible layer)

  • create your shape layer above

  • go into the structure layer set and create a new empty layer
  • fill that layer with your wished structure - I did use PS own pattern "Gray Granite"
  • set the blend mode of this layer (for all bright areas) to "Multiply"

  • create an adjustment layer "Curves" and play with the settings eg for a bit more contrast
  • make a clipping mask with the structure layer ( [Alt]+Click on the line between both layers in Layers panel)


  •  duplicate the structure (pattern) layer
  • set the blend mode of this layer (for all dark areas) eg to "Screen"

  • now create some adjustment layers and always create a clipping mask with the duplicated structure layer
  • at first an adjustment layer "Invert"


  • next: eg adjustment layer "Curves" (example setting are shown in the screenshot) for much more better contrast


  • in my example the last one: eg adjustment layer "Hue/Saturation" (example setting are shown in the screenshot) for more flexibility - color - brightness - saturation

Done!


I hope this explanation helps you to do what you want.


If that works for you

have fun

😉

Known Participant
October 4, 2020

Hi again @pixxxelschubser 


This is awesome, thank you very much for your precious knowledge, time and kindness


The final aspect looks more like oil than ink, so I will play with it to be able to also simulate ink 


Very best to you ! 🙂

pixxxelschubser
Community Expert
Community Expert
October 3, 2020

😉

these screenshots are much more better to understand your template file.

The "black" layer is not black or inverted - it seems only to be in blend mode Screen with lower opacity.


Is your Atomica.psd a free template? Could you upload the file on a hoster of your choice (Dropbox, or xup.in ) and link to here?

And additional your own new structure?

Known Participant
October 3, 2020

Unfortunatly it is not free... And the new texture too...

pixxxelschubser
Community Expert
Community Expert
October 3, 2020

Hi @Black rainbow  

I don't have a French Photoshop installation. (I don't know which are the exact terms for the several blend modes in french language.)


It seems you need two layers with the wished structure in one layer set above of your art. Probably a normal white structure (which blend mode and opacity has this layer?) and a black (maybe inverted???) structure layer (which blend mode and opacity has this layer?) in a layer set (which blend mode and opacity has this layer set?).

Known Participant
October 3, 2020

Hi @pixxxelschubser 


Do you have an idea about how to invert the white structure ?


On the atomica .psd file which works well :

White structure :

- Blend mode : multiply

- Opacity : 100%

Black structure :

- Blend mode : screen

- Opacity : 60 %

Layer set :

- Blend mode : pass through

- Opacity : 100%


I put you screenshots (I have set my photoshop in english)