• Global community
    • Language:
      • Deutsch
      • English
      • Español
      • Français
      • Português
  • 日本語コミュニティ
    Dedicated community for Japanese speakers
  • 한국 커뮤니티
    Dedicated community for Korean speakers
Exit
Locked
0

How to change skin colour (race) in Photoshop?

Community Beginner ,
Jul 18, 2019 Jul 18, 2019

Copy link to clipboard

Copied

Hello everybody, please give me advice how to switch couple's race = black man (skin colour to white and hair colour into ginger/red, blue eyes). And woman to by black as afroamerican and have black hair and dark eyes? And i hope you don't give me sticker as racist, it is just joke for my friend. Here is sample target image:

6981c94998d8f8bbf71c909639d5b340.jpg

Views

26.8K

Translate

Translate

Report

Report
Community guidelines
Be kind and respectful, give credit to the original source of content, and search for duplicates before posting. Learn more
community guidelines

correct answers 2 Correct answers

Community Expert , Jul 18, 2019 Jul 18, 2019

Short answer: Adjustment Layers and Layer Masks.

But as you might have guessed that’s a pretty short description of a potentially pretty complicated process.

Usually changing an object of a medium-tone color to another color is easier than changing a very bright or dark object’s color,

So in this case the man’s hair may not feature sufficient detail for a meaningful recoloring.

If you want to edit spatial elements like the shape of facial features Filter > Liquify (naturally used as a Smart Filt

...

Votes

Translate

Translate
Community Expert , Jul 18, 2019 Jul 18, 2019

Really not easy to describe or do.  I like the Camera RAW filter as a first step as it lets you target tonal ranges, but that wouldn't fix the colour differences.  Using a layer set to Color doesn't work well either, so I used Screen and set opacity to about 60%, and selected the brush colour from the young lady.  Similar with the young lady, but I think I used Color Burn with reduced opacity, and some dodge and burn to give it some depth.  It's a bit down and dirty with such a small image to wo

...

Votes

Translate

Translate
Adobe
Community Expert ,
Jul 18, 2019 Jul 18, 2019

Copy link to clipboard

Copied

Short answer: Adjustment Layers and Layer Masks.

But as you might have guessed that’s a pretty short description of a potentially pretty complicated process.

Usually changing an object of a medium-tone color to another color is easier than changing a very bright or dark object’s color,

So in this case the man’s hair may not feature sufficient detail for a meaningful recoloring.

If you want to edit spatial elements like the shape of facial features Filter > Liquify (naturally used as a Smart Filter) may prove useful.

Votes

Translate

Translate

Report

Report
Community guidelines
Be kind and respectful, give credit to the original source of content, and search for duplicates before posting. Learn more
community guidelines
Community Expert ,
Jul 18, 2019 Jul 18, 2019

Copy link to clipboard

Copied

Really not easy to describe or do.  I like the Camera RAW filter as a first step as it lets you target tonal ranges, but that wouldn't fix the colour differences.  Using a layer set to Color doesn't work well either, so I used Screen and set opacity to about 60%, and selected the brush colour from the young lady.  Similar with the young lady, but I think I used Color Burn with reduced opacity, and some dodge and burn to give it some depth.  It's a bit down and dirty with such a small image to work with, but I think you'll get the idea.   BTW  I seriously hope this is in good taste between friends, and that no one is going to be offended.  Please promise us that is the case?

Votes

Translate

Translate

Report

Report
Community guidelines
Be kind and respectful, give credit to the original source of content, and search for duplicates before posting. Learn more
community guidelines
Community Beginner ,
Jul 18, 2019 Jul 18, 2019

Copy link to clipboard

Copied

Thank you so much, really don't want to hurt any person with racial switch, just I thought it is good creative idea and it was impossible with my skills. I am very happy especially with afrofather is very natural and real. I personally want to learn it and with you reply it is for me easier to understand.

Votes

Translate

Translate

Report

Report
Community guidelines
Be kind and respectful, give credit to the original source of content, and search for duplicates before posting. Learn more
community guidelines
New Here ,
Oct 05, 2021 Oct 05, 2021

Copy link to clipboard

Copied

Why would you think this is ok?  Reported.

Votes

Translate

Translate

Report

Report
Community guidelines
Be kind and respectful, give credit to the original source of content, and search for duplicates before posting. Learn more
community guidelines
Explorer ,
Jul 25, 2022 Jul 25, 2022

Copy link to clipboard

Copied

LATEST

the poster said they know the couple and are friends. not everybody considers skin color sacred and can take a light hearted joke. please keep your judgements to yourself, that's not what these forums are for. 

Votes

Translate

Translate

Report

Report
Community guidelines
Be kind and respectful, give credit to the original source of content, and search for duplicates before posting. Learn more
community guidelines
Community Expert ,
Jul 18, 2019 Jul 18, 2019

Copy link to clipboard

Copied

(This is part of an Information Sheet I wrote for my students, I hope you find it useful)

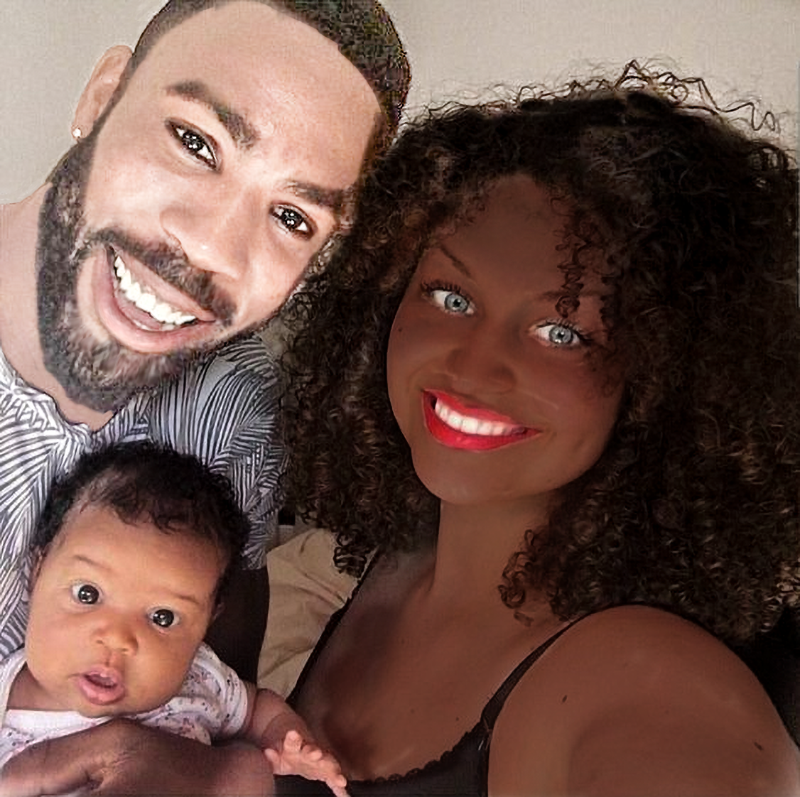
Color of skin varies considerably depending upon ethnicity, type and level of illumination, nearby reflective surfaces, and even time of day. The old Eastman Kodak Q-60 Color Input Target included a dozen skin tone reference samples and those are far from the variety we see in one day. As a result, there is no single combination of RGB or CMYK values in Photoshop that produces the only “correct” flesh tone.

We can, however, come up with some guidelines that may be applied when using Curves to correct what we recognize to be unnatural skin color in a digital image. Moreover, since whatever shifted the skin tone away from normal also affected the colors in the rest of the photograph, correcting skin tones with a curve adjustment automatically contributes to correcting other colors throughout the entire image.

I have found that, for me, flesh tones are more easily and precisely adjusted in CMYK mode. In that context, satisfactory Caucasian skin tone is rendered when the yellow value of the skin is similar to the magenta – certainly within ten points -- and the cyan is one-third to one-fifth the value of the magenta. More often than not, the yellow is a bit stronger than the magenta, but it is not a hard and fast rule.

For example, about c10 m40 y45 k0 is a common combination for light Caucasian skin. Fashion and cosmetic advertising typically reduces those numbers by about 25% -- but the proportion is similar. It is the relationship of the three colors to each other, rather than these exact values, that is the guide here. It provides a general direction for change when the color of a face tends toward lobster, cadaver or ghoul.

baby s.jpg

Fig_.png

1. As mentioned above, for me, flesh tones are more easily and precisely adjusted in CMYK mode. Choose Image > Mode > CMYK Color. While using the Color Sampler tool with the Sample Size in the Options bar set to 3 x 3, position the cursor on a non-highlight part of the face and click. Note that the CMYK values that comprise that skin sample will appear in a separate panel labeled #1 within the Info panel.

2. Choose Image > Adjustments > Curves. Hold down the Cmd+Shift keys and click on the sampler mark in the image. It will seem that nothing has happened but if you look at the Info panel you will see it has added a segment to #1 showing the CMYK values again. Consider them Before and After. As you change the curve, the Info panel will show the change... the After. In addition, you will discover this command also placed a dot on the separate Cyan, Magenta, Yellow and Black curves for you. (Input and Output numbers will appear, as well. They may be slightly different from the numbers in the Info panel for that value. That is not important. It is the Info panel that will be our guide.)

3. Choose a channel from the drop-down menu in the Curves’ Channel field and tap the + key on the keyboard until the marker on the curve turns black.  Use the up or down arrow to move the curve until, in the Info panel, the adjusted value – the After -- for that channel approaches the ratio mentioned above. As you alter the curve, the color of the image will change to reflect it.

4. Proceed from channel to channel and back again as you fine-tune the color, keeping in mind the approximate c10, m40, y45 ratio. Once that relationship has been addressed, additional skin color correction becomes an aesthetic decision. To clear the Color Sampler tool mark, choose that tool and click on Clear in the Options bar.

One final hint: If you are going to err, err to the warm side. Then click OK and return to RGB mode if desired.

3_faces.jpg

Note: With the Caucasian color ratio as the starting reference, Black skin tone composition is typically a stronger in both cyan and magenta. Often the cyan increases to about half of the magenta value. In addition, any touch of black can be considered part of the cyan calculation. The result is an enormous array of tans and rich browns. Asian skin tones, and there are many, are a bit stronger in yellow and cyan than the Caucasian example cited.

Votes

Translate

Translate

Report

Report
Community guidelines
Be kind and respectful, give credit to the original source of content, and search for duplicates before posting. Learn more
community guidelines