- Home
- Photoshop ecosystem
- Discussions
- Re: How to combine two images into one in order to...
- Re: How to combine two images into one in order to...
Copy link to clipboard
Copied
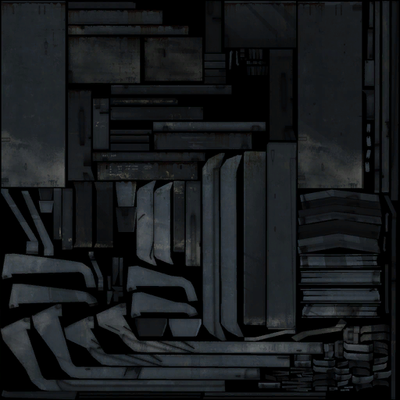
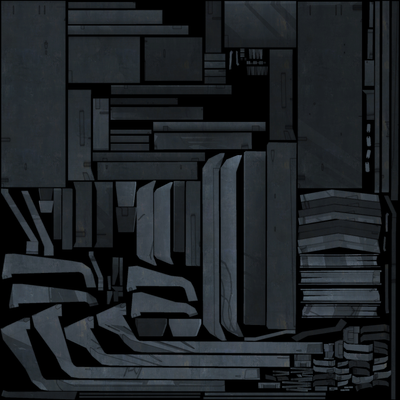
There are two images: one low resolution with the desired shadows and highlights, the other (original) higher resolution with more detail, but without the desired shadows and highlights. How to combine them in order to transfer the dark and light areas of the first image to the second image, so that the detail of the second image remains?
 1 Correct answer
Hi,
I would use an adaptation of Frequency Separation which is often used in retouching to separate high frequency detail from low frequency brightness and shadows.
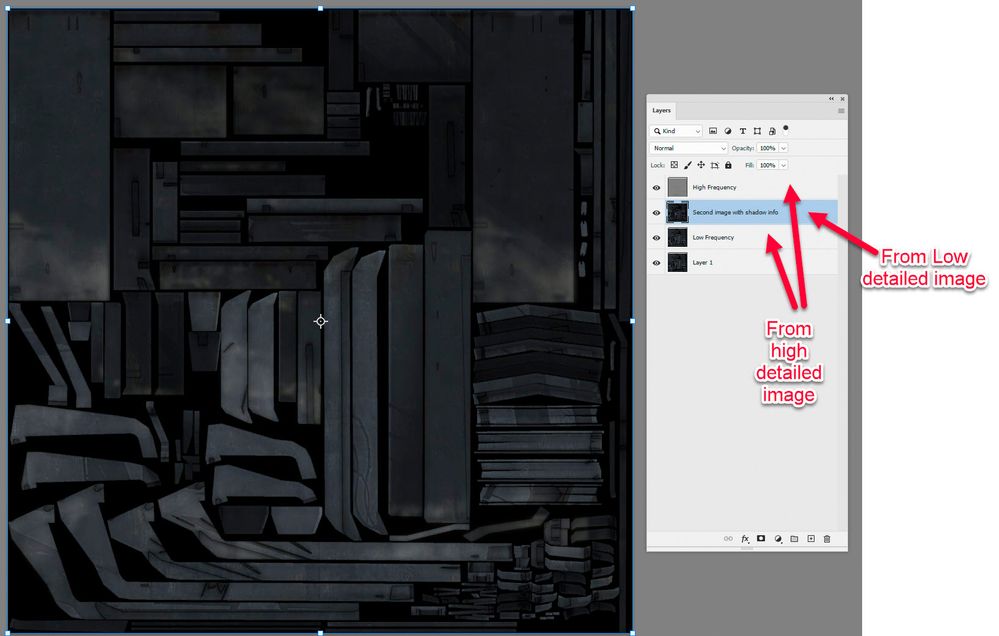
1. Start out with the high detailed version (your 2048 x 2048 pixel image) and make two copies of the image layer. Name the first (lower copy) 'Low Frequency' and the second (upper copy) 'High Frequency'
2. Select the Low layer and use filter Gaussian Blur with a radius of 6px
3. Select the High layer and use menu Image > Apply im
...Explore related tutorials & articles
Copy link to clipboard
Copied
Hi @Гордон285233041q8p you could try using Image>Adjustments>Match Color and use the lo-res as the source. That would match the tonal ranges in the lo-res on the higher res image.
Otherwise you could use a Curves or Levels adjustment layer on the hi-res to try and match or improve the quality on the larger image.
Copy link to clipboard
Copied
Copy link to clipboard
Copied
Hi,
I would use an adaptation of Frequency Separation which is often used in retouching to separate high frequency detail from low frequency brightness and shadows.
1. Start out with the high detailed version (your 2048 x 2048 pixel image) and make two copies of the image layer. Name the first (lower copy) 'Low Frequency' and the second (upper copy) 'High Frequency'
2. Select the Low layer and use filter Gaussian Blur with a radius of 6px
3. Select the High layer and use menu Image > Apply image
4 Set source layer to 'Low Frequency'
Channel RGB
Blending Subtract
Scale 2
Offset 128
Press OK
5. Set the blending mode of that High Frequency Layer to Linear Light
Those steps so far are standard for 8 bit Frequency separation and if you have done them correctly the image should look as it did when you started.
Now the extra steps for your issue
6. Open the second image (your 512 x 512 pixel image) and use Image size 400% to make it 2048 x 2048 px
7. Use Gaussian Blur with Radius 6px
8. Drag the blurred layer onto the other image (hold down shift so that it aligns)
9. Move the layer in the layers panel so that is directly under the High Frequency layer
Now you have the high frequency detail from your first image with the lightness and shadows and low frequency information from your second image
Note : If you try this with 16 bit/channel images then use the following settings in Apply Image
Blending Add
Scale 2
Offset 0
Dave
Copy link to clipboard
Copied
@davescm - I was going to suggest the same, but I wanted to test first as I'm currently on a phone.
Copy link to clipboard
Copied
@Stephen Marsh Yes it works 🙂
Dave
Copy link to clipboard
Copied
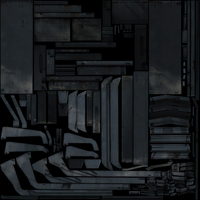
Greetings. This advice seems to suit me better! At first I tried to do exactly according to your instructions, and got quite a good result. Then I decided to try to improve the quality by changing some steps, namely: I increased the resolution of a small image using Topaz AI Gigapixel, after which I made it a Gaussian blur of 1.3 pixels; for Low-frequency I made a Gaussian blur of 3 pixels. And I think I got a great result. Thanks to you and everyone who responded to my question!
Get ready! An upgraded Adobe Community experience is coming in January.
Learn more